Desserts

Caramel Pecan Sticky Bun Monkey Bread Delight
Welcome to the sweet world of Caramel Pecan Sticky Bun Monkey Bread Delight! If you’re craving a treat that’s ooey-gooey, nutty, and utterly delicious, you’ve
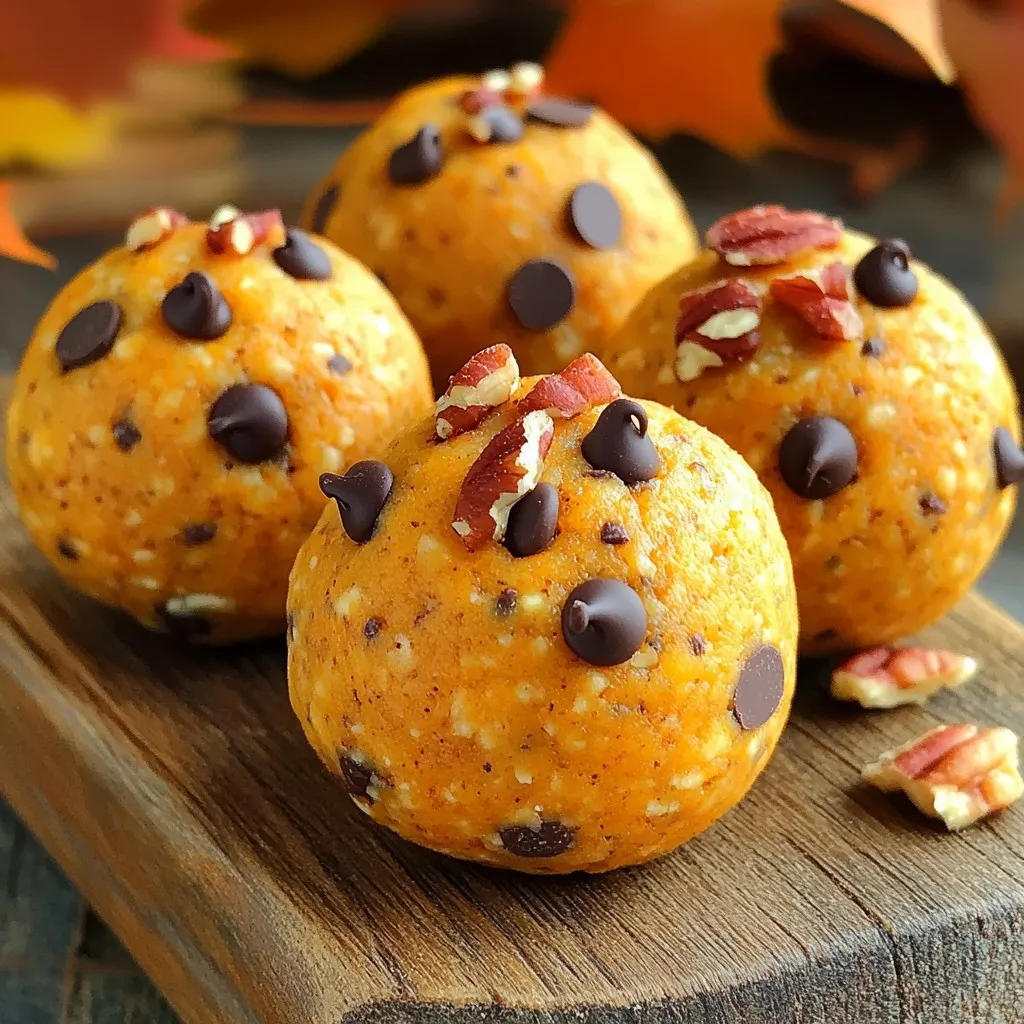
No-Bake Pumpkin Cheesecake Energy Balls Delightful Treat
Looking for a quick and tasty treat? These No-Bake Pumpkin Cheesecake Energy Balls are just the thing. Packed with flavor and nutrients, they make a
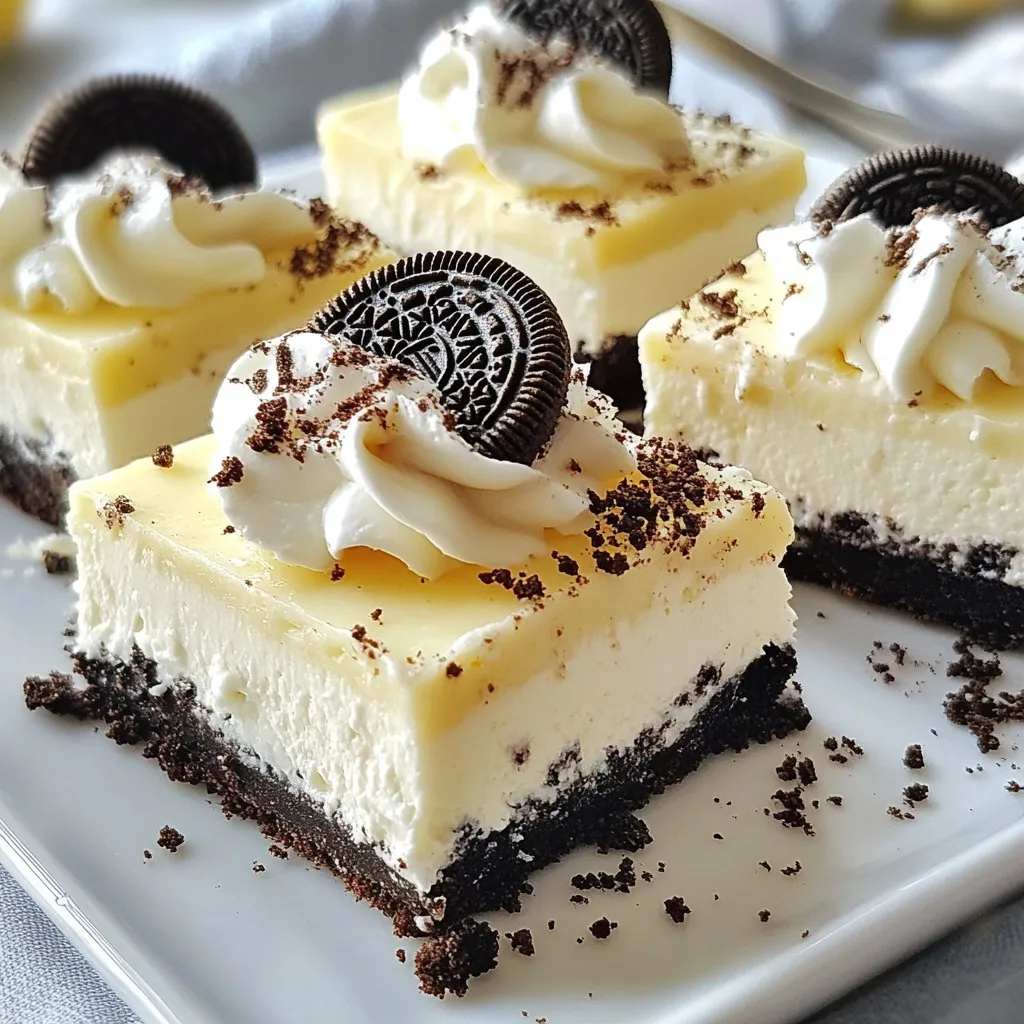
No Bake Oreo Cheesecake Bars Delicious and Simple Treat
If you’re craving a sweet treat that’s quick and easy to make, look no further! My No Bake Oreo Cheesecake Bars are a simple way
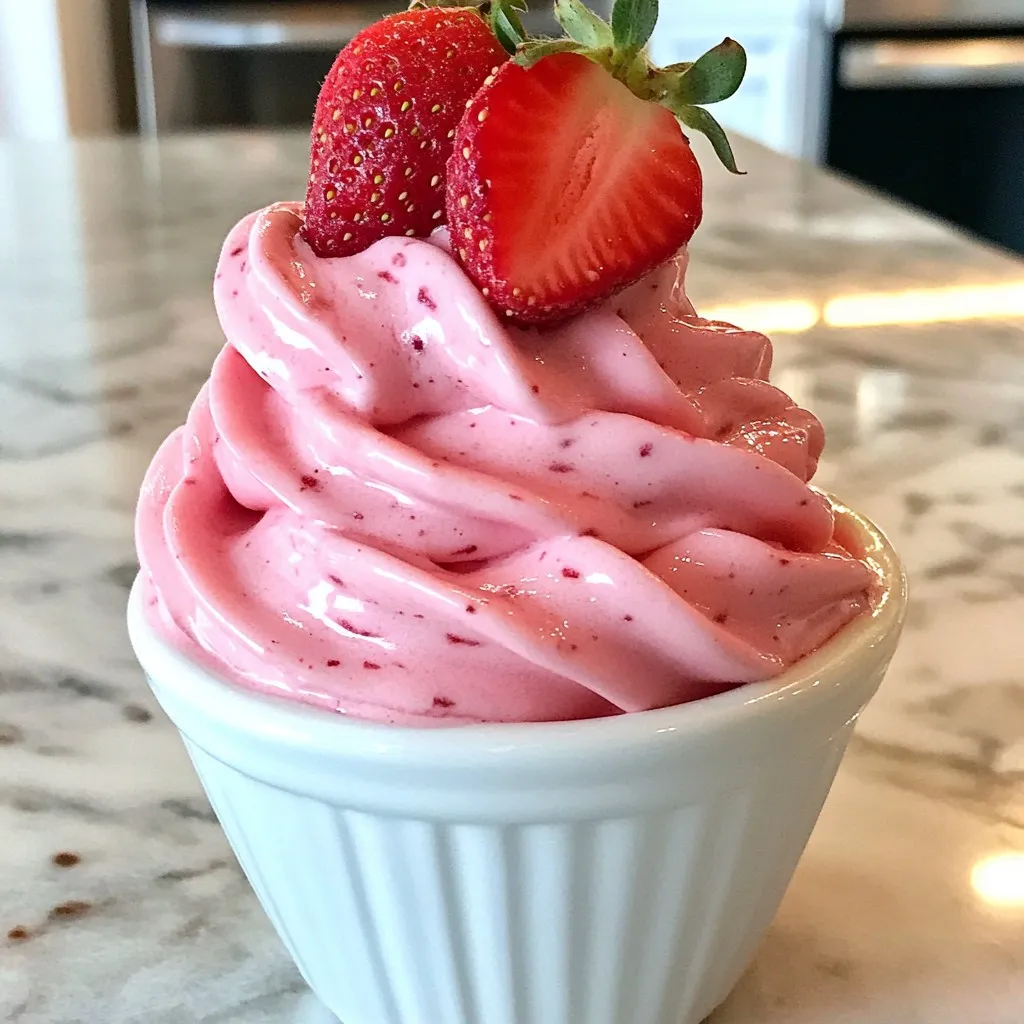
Strawberry Dole Whip Creamy Summer Treat Recipe
Summer is here, and what better way to cool down than with a Strawberry Dole Whip? This creamy treat combines frozen strawberries and coconut milk
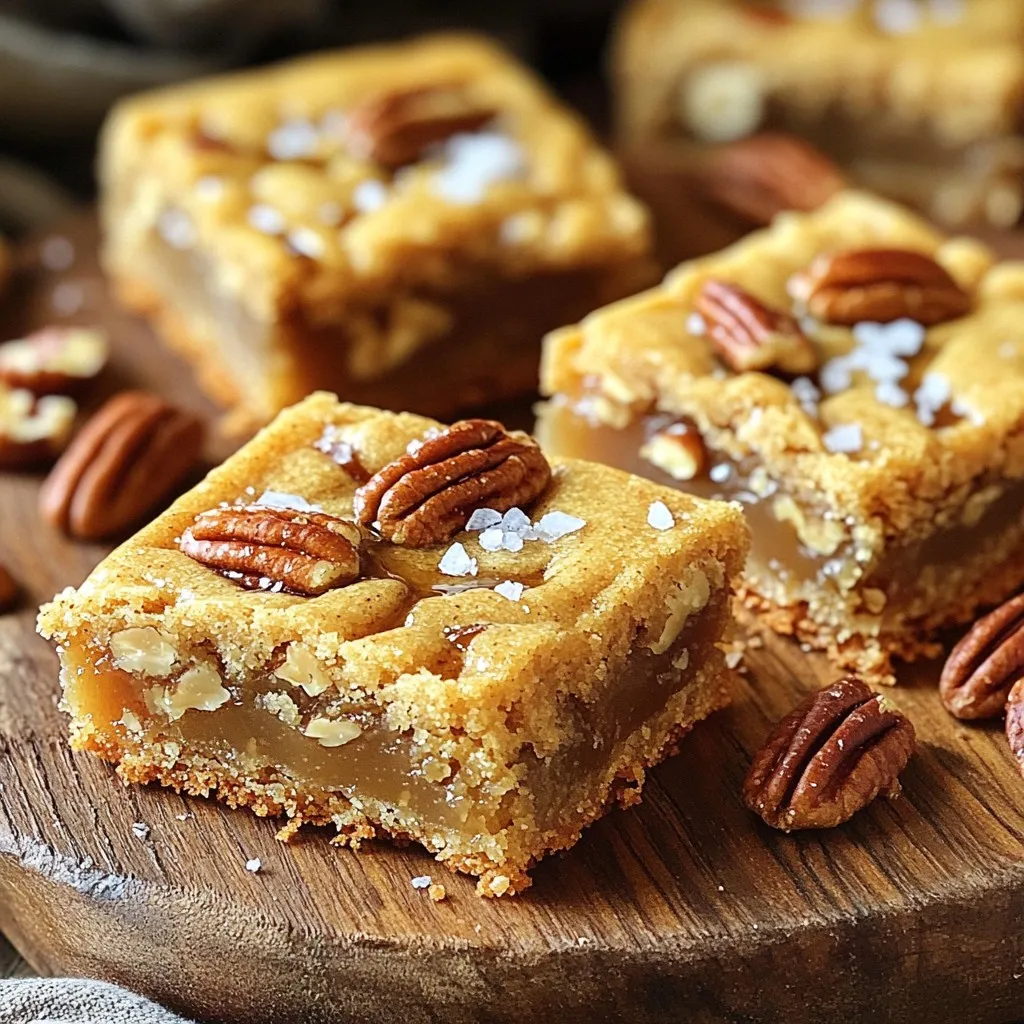
Salted Maple Pecan Cookie Bars Easy and Tasty Treat
Get ready to indulge in a sweet and crunchy delight with my Salted Maple Pecan Cookie Bars! This easy treat combines rich maple flavor with
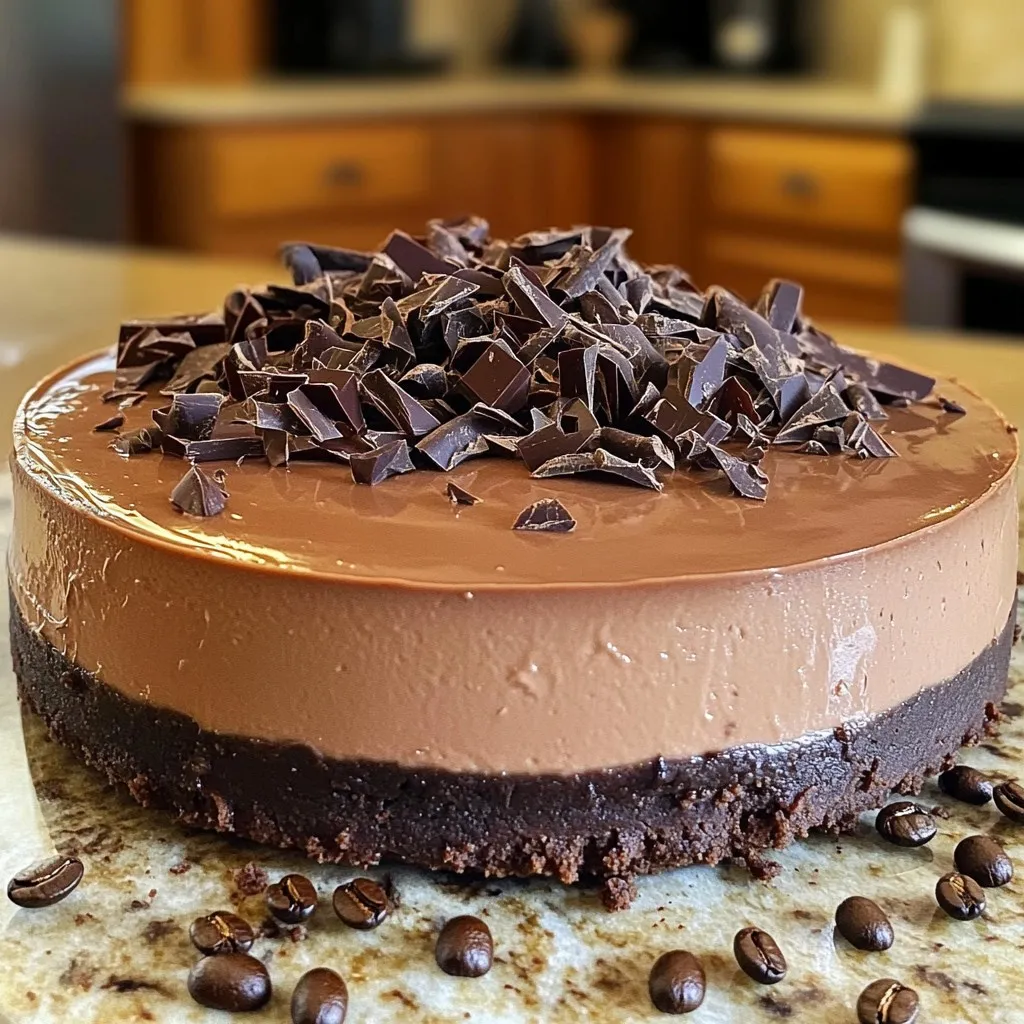
No-Bake Chocolate Espresso Cheesecake Delight
Craving something sweet yet easy to make? Dive into the rich world of my No-Bake Chocolate Espresso Cheesecake Delight. This treat combines the bold flavors
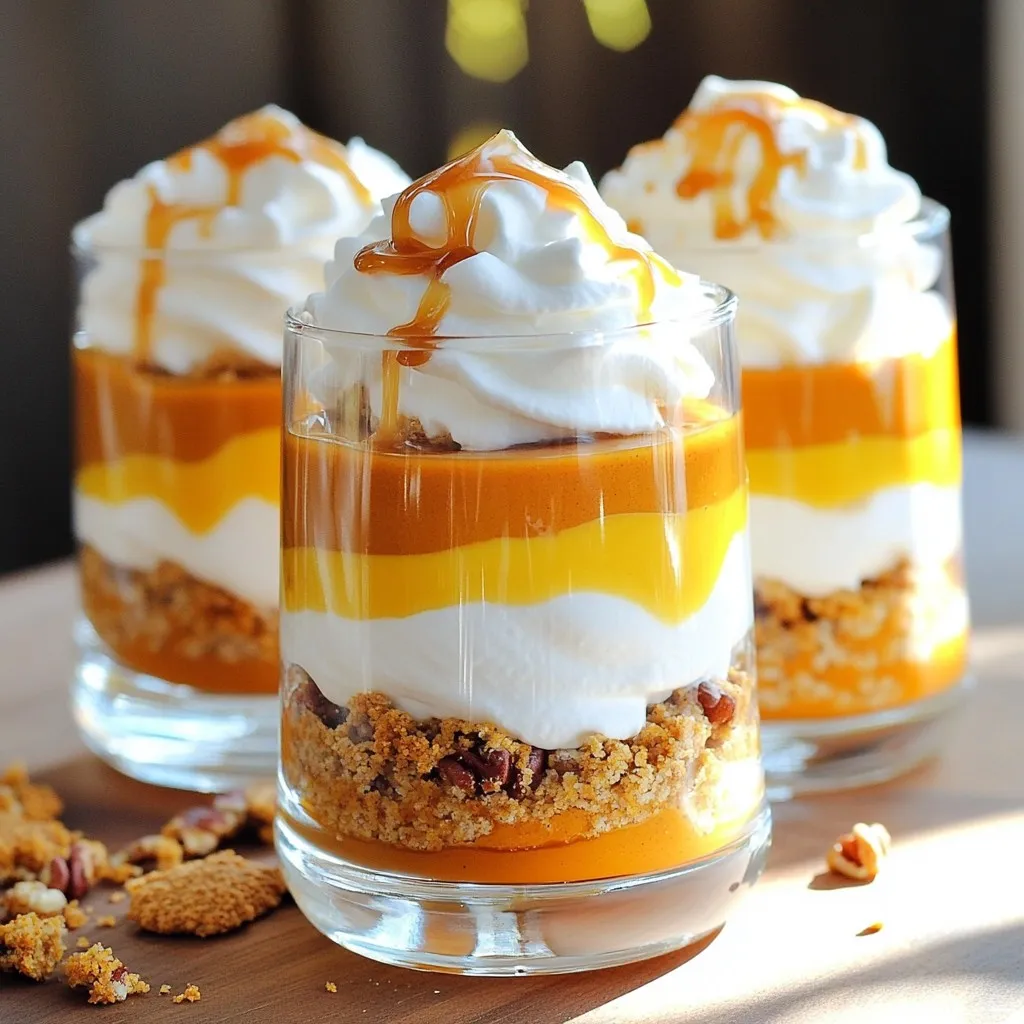
Caramel Pumpkin Pie Parfaits Delightful Fall Treat
Ready to dive into fall flavors? Caramel Pumpkin Pie Parfaits are a sweet treat that blends rich pumpkin, creamy layers, and a drizzle of caramel.

No-Bake Oreo Cheesecake Bites Simple and Tasty Treat
Craving something sweet that requires no baking? These No-Bake Oreo Cheesecake Bites are the perfect solution! They’re quick to make and packed with delicious Oreo
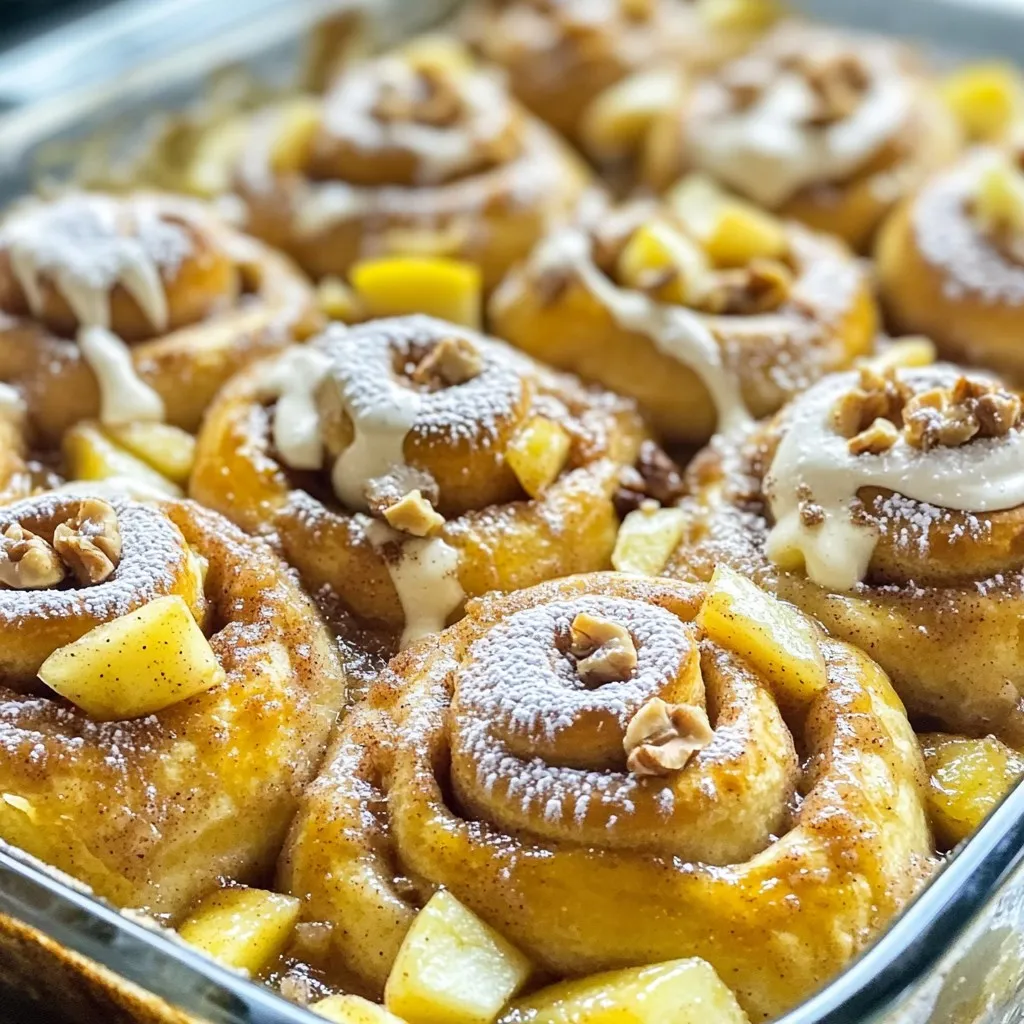
Apple Pie Cinnamon Roll Bake Irresistible Dessert Treat
If you love apple pie and cinnamon rolls, you’re in for a treat! My Apple Pie Cinnamon Roll Bake combines two favorites into one easy
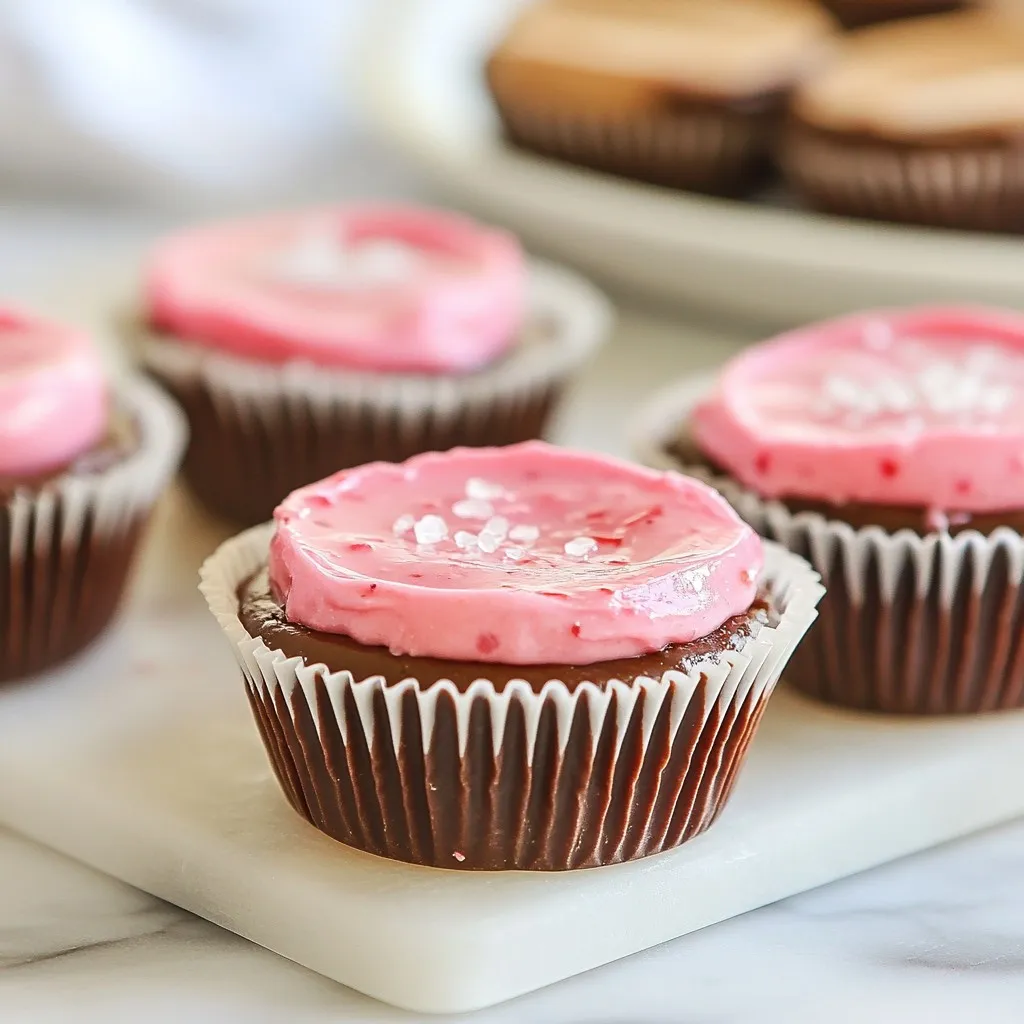
Strawberry Peanut Butter Cups Delightful No-Bake Treat
Looking for a sweet and easy treat? You’ll love these Strawberry Peanut Butter Cups! They’re no-bake, quick to whip up, and use simple ingredients you