Desserts
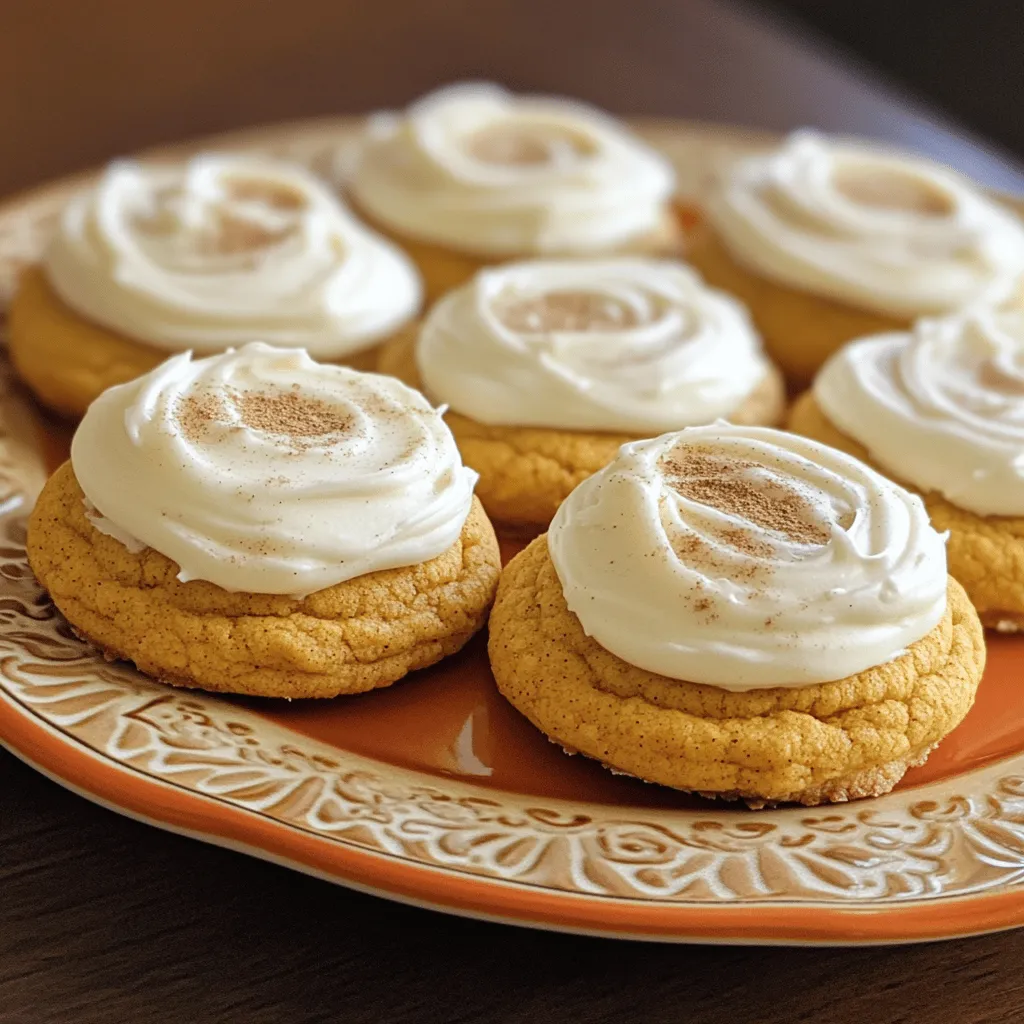
Soft Pumpkin Cookies with Cream Cheese Frosting Delight
Get ready to indulge in the ultimate fall treat! Soft Pumpkin Cookies with Cream Cheese Frosting combine warm spices with a rich, creamy topping for
![To make the Harry Potter Butterbeer Cake, you need some tasty ingredients. Here’s what you will need: - 2 cups all-purpose flour - 1 ½ cups granulated sugar - 1 tablespoon baking powder - ½ teaspoon salt - 1 cup buttermilk, at room temperature - ½ cup unsalted butter, melted and slightly cooled - 3 large eggs, at room temperature - 2 teaspoons vanilla extract - 1 teaspoon butterscotch extract - 1 cup butterscotch chips - 1 cup heavy cream, chilled - ¼ cup powdered sugar - 1 teaspoon vanilla extract (for whipped cream topping) - Additional butterscotch sauce, for drizzling Each ingredient plays an important role in making the cake taste great. For example, the all-purpose flour gives structure. The sugar adds sweetness, while the buttermilk keeps the cake moist. The extracts bring that magical butterbeer flavor, and the butterscotch chips add delightful bursts of sweetness. This cake is not just for Harry Potter fans. It's a fun treat for everyone. You can even use this full recipe to impress your friends and family. Enjoy baking! Start by preheating your oven to 350°F (175°C). While it heats, take two 9-inch round cake pans. Grease them with butter and dust with flour. Tap out any extra flour to avoid sticking. In a big bowl, whisk together the dry ingredients. Combine 2 cups of all-purpose flour, 1 ½ cups of granulated sugar, 1 tablespoon of baking powder, and ½ teaspoon of salt. Mix until there are no lumps. In another bowl, mix the wet ingredients. Add 1 cup of buttermilk, ½ cup of melted butter, and 3 eggs. Also, stir in 2 teaspoons of vanilla extract and 1 teaspoon of butterscotch extract. Whisk until smooth. Now, slowly pour the wet mix into the dry mix. Use a spatula to stir gently. Be careful not to over-mix. This can change the cake's texture. Next, fold in 1 cup of butterscotch chips. Make sure they spread evenly in the batter. Pour the batter into the prepared pans. Smooth the tops with a spatula. Place the pans in the oven and bake for 25-30 minutes. To check if they're ready, insert a toothpick in the center. If it comes out clean, they are done. Once baked, let the cakes cool in the pans for 10 minutes. Then, transfer them to a wire rack to cool fully. While your cakes cool, prepare the whipped cream. In a mixing bowl, combine 1 cup of chilled heavy cream, ¼ cup of powdered sugar, and 1 teaspoon of vanilla extract. Beat it with an electric mixer until soft peaks form. Be careful not to whip it too much. When the cakes are cool, place one layer on a serving plate. Spread a good amount of whipped cream on top. Then, carefully place the second layer on top. Decorate by spreading more whipped cream on the second layer. Finally, drizzle butterscotch sauce over it. For a special touch, sprinkle more butterscotch chips on top. Enjoy this magical treat from the full recipe! To achieve a perfect cake texture, always measure your ingredients accurately. Use a kitchen scale for the best results. When mixing the dry and wet ingredients, mix just until combined. Over-mixing can lead to a dense cake. Let your ingredients sit at room temperature before mixing. This helps the batter blend well and rise properly. Having the right tools makes baking easier and more fun. Here are some must-haves: - Mixing bowls (various sizes) - Whisk and spatula - Measuring cups and spoons - 9-inch round cake pans - Electric mixer for whipping cream - Toothpick to check cake doneness A stunning presentation makes your cake even more special. After assembling, add a generous layer of whipped cream on top. Drizzle butterscotch sauce over the whipped cream for a sweet touch. Sprinkle extra butterscotch chips on top for texture. Serve each slice with a side of whipped cream and a drizzle of sauce. This makes an enchanting treat that looks as good as it tastes. For the full recipe, check out the details above! {{image_4}} You can add a twist to the classic Butterbeer cake by making it chocolatey. To do this, swap out half of the all-purpose flour for cocoa powder. This will give your cake a rich chocolate flavor that pairs well with the butterscotch. You can still follow the [Full Recipe] for the rest of the ingredients. The result? A delightful chocolate Butterbeer cake that feels magical! If you need a gluten-free option, you can use a gluten-free flour blend instead of all-purpose flour. Make sure the blend has xanthan gum in it. This will help the cake rise and hold its shape. The butter and butterscotch flavors will shine through just as brightly. Your friends will never guess it's gluten-free! While the whipped cream topping is great, you can try other frostings too. Cream cheese frosting adds a tangy flavor that complements the cake well. For a richer option, use a butterscotch frosting by mixing butterscotch chips with butter and powdered sugar. This gives the cake a decadent touch. Each variation brings a new taste experience to your Butterbeer cake! To store leftover cake, first, let it cool completely. Then, wrap each slice in plastic wrap. Place the wrapped slices in a cake box or airtight container. This helps keep the cake moist and fresh. You can store it in the fridge for up to five days. If you don't want to eat it all right away, consider freezing some portions. Freezing is a great way to save Butterbeer cake for later. Slice the cake before freezing. Wrap each slice tightly in plastic wrap, then place them in a freezer bag. Make sure to remove as much air as possible before sealing. Label the bag with the date. The cake can last up to three months in the freezer. When you're ready to enjoy, just take out a slice! To reheat the cake, you can use the microwave. Place a slice on a microwave-safe plate. Heat it for about 10 to 15 seconds. If you prefer, you can use the oven. Preheat the oven to 350°F (175°C). Wrap the slice in foil and warm it for about 10 minutes. This keeps the cake moist. After reheating, add some fresh whipped cream and butterscotch sauce for extra delight. Butterbeer cake has a sweet and rich flavor. It blends butterscotch and vanilla well. You’ll enjoy a moist cake with creamy whipped topping. The butterscotch chips add bursts of flavor. Each bite feels like a warm hug. Yes, you can make this cake ahead of time. Bake the cakes and cool them completely. Wrap them tightly in plastic wrap. Store in the fridge for up to three days. You can also freeze the cakes for longer storage. This cake lasts about three to four days at room temperature. If you store it in the fridge, it can last up to a week. Be sure to keep it covered to maintain freshness. You can make a buttermilk substitute easily. Mix one cup of milk with one tablespoon of vinegar or lemon juice. Let it sit for five minutes. This mixture will work well in the recipe. Absolutely! This recipe is perfect for a layered cake. Just bake two layers as the recipe shows. Then, stack them with whipped cream in between. It creates a stunning dessert for any occasion. Butterbeer comes from the Harry Potter series. It is a popular drink among wizards. The drink is served at the Three Broomsticks Inn in Hogsmeade. It is a blend of butterscotch and cream flavors, making it delightful! For the full recipe to create this magical Butterbeer Cake, refer to the Full Recipe. You learned how to make a delicious Butterbeer Cake. We covered key ingredients, steps, and tips. Baking this cake is fun and easy. You can also try fun variations, like gluten-free options. Don’t forget to store leftovers properly. Enjoying this cake will impress your friends and family. I hope you feel ready to bake and share this tasty treat!](https://meltedrecipes.com/wp-content/uploads/2025/08/065955af-a408-4ab8-a43b-18041bc81625.webp)
Harry Potter Butterbeer Cake Delightful Sweet Treat
If you’re a Harry Potter fan with a sweet tooth, you’ll love this Butterbeer Cake! This delightful treat mixes the rich flavors of butterscotch and
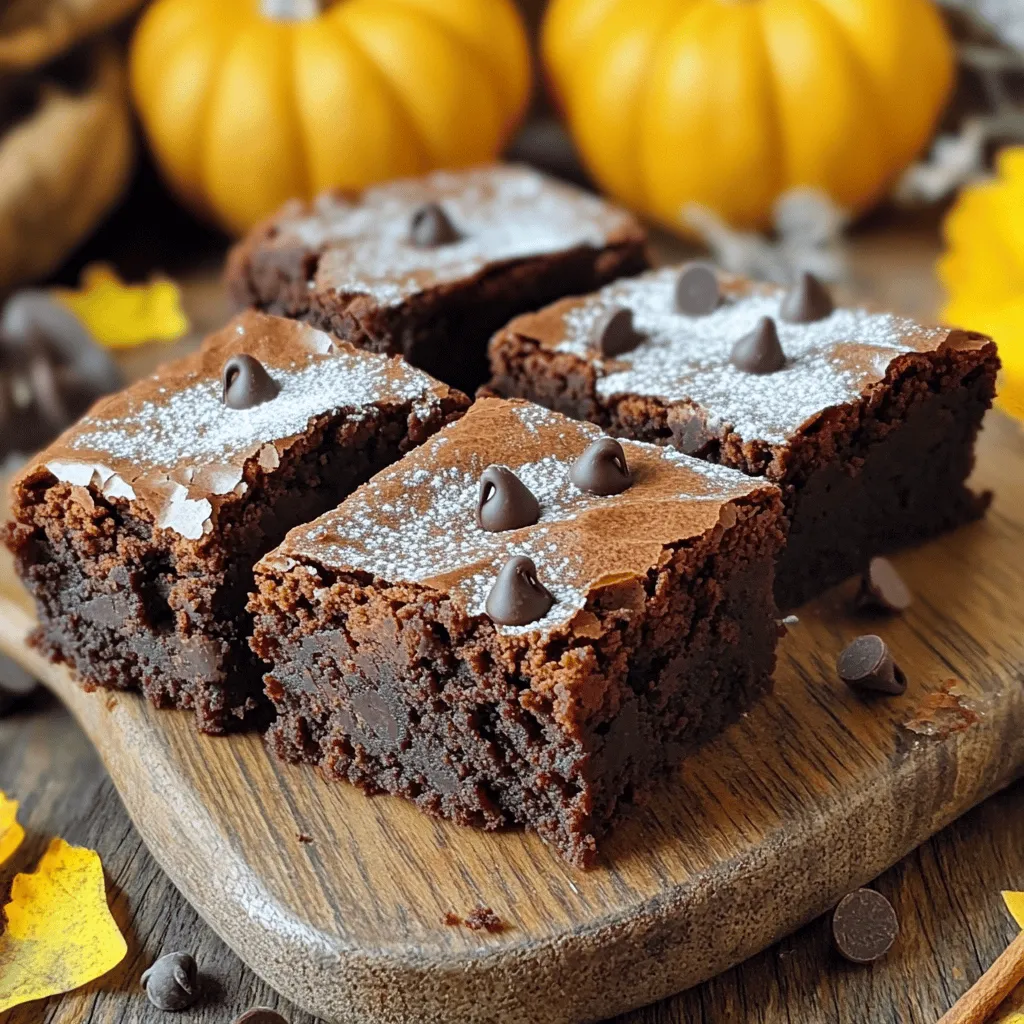
Pumpkin Brownies Delightful and Simple Treat Recipe
Are you ready to bake a delicious fall treat? These pumpkin brownies are easy to make and incredibly tasty! Imagine fudgy brownies infused with pumpkin
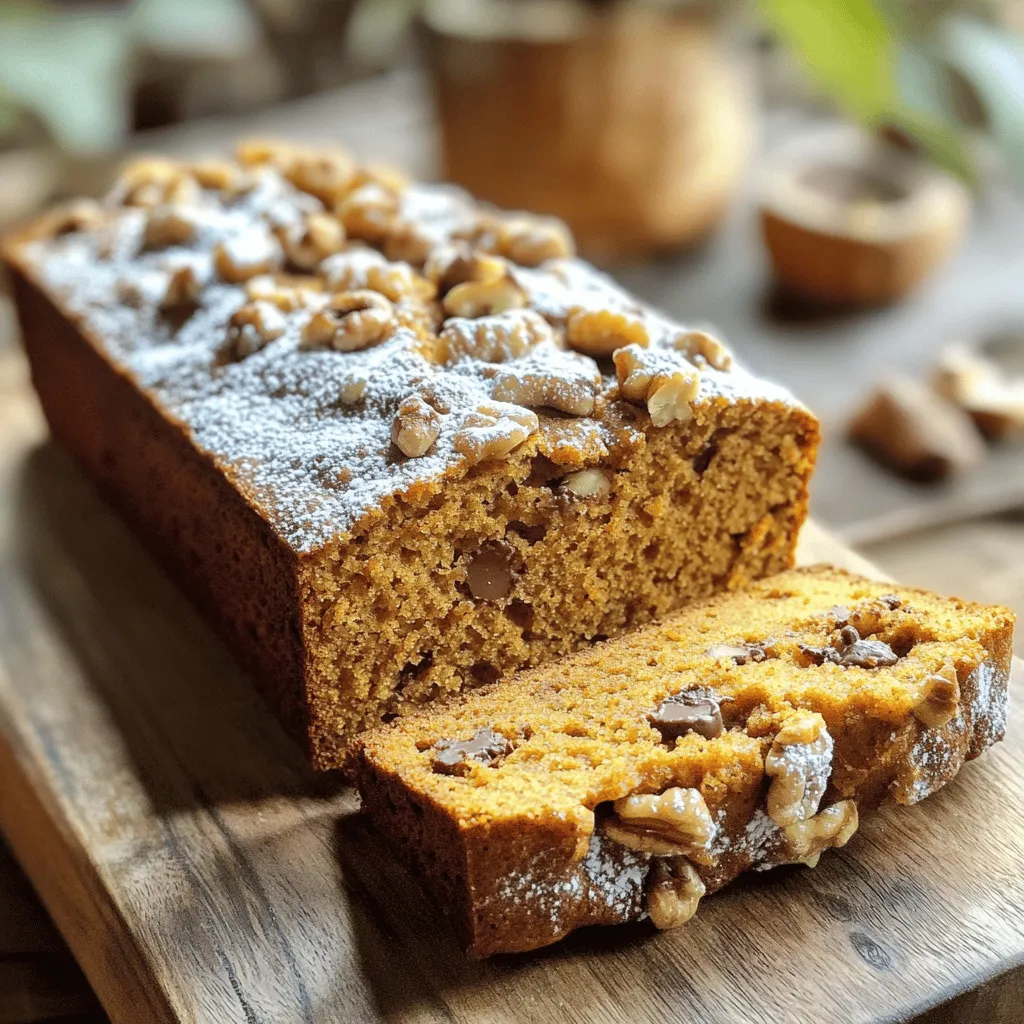
Pumpkin Bread with Chocolate Chips Simple and Tasty Recipe
Are you ready to bake something special this fall? My Pumpkin Bread with Chocolate Chips recipe is delicious and simple. With a blend of warm
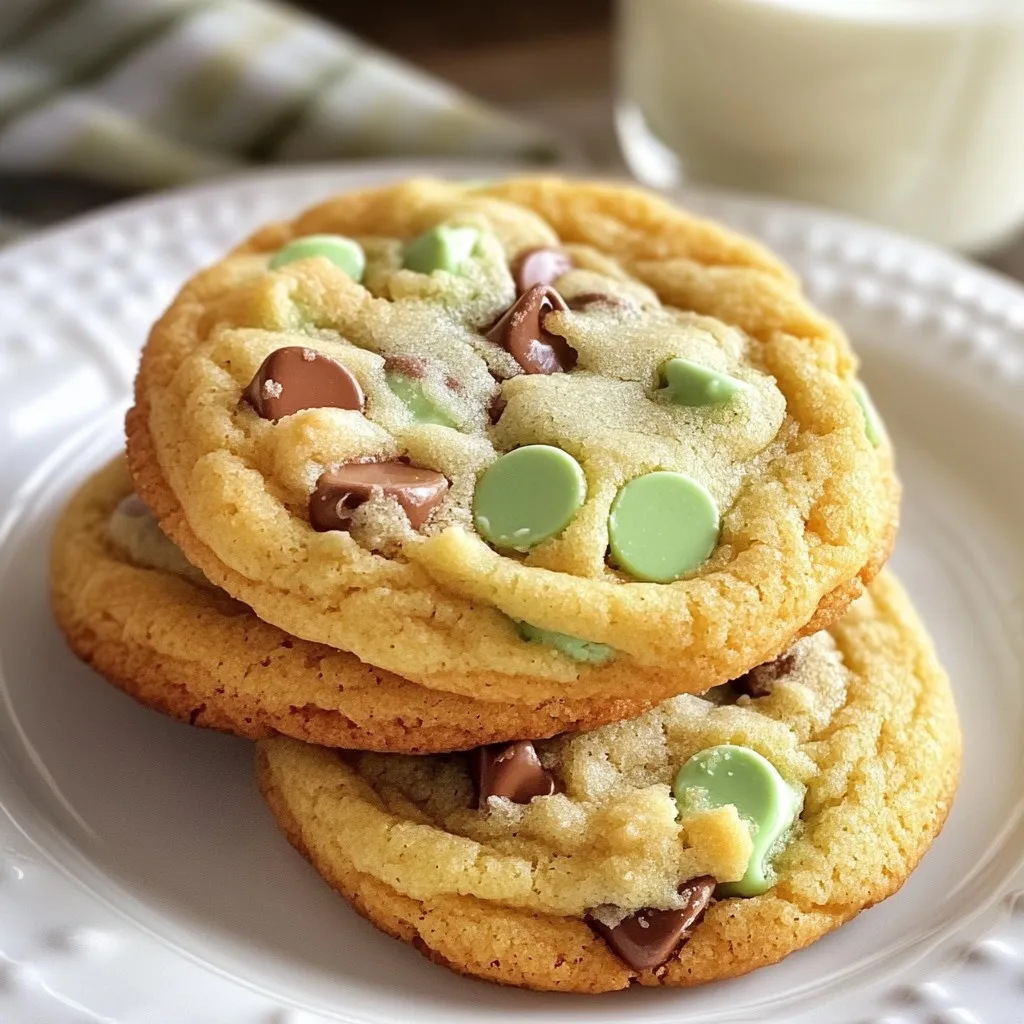
Mint Chocolate Chip Cookies Delicious and Easy Recipe
Craving something sweet and refreshing? You’re in the right place! In this guide, I’ll walk you through making delicious mint chocolate chip cookies that are
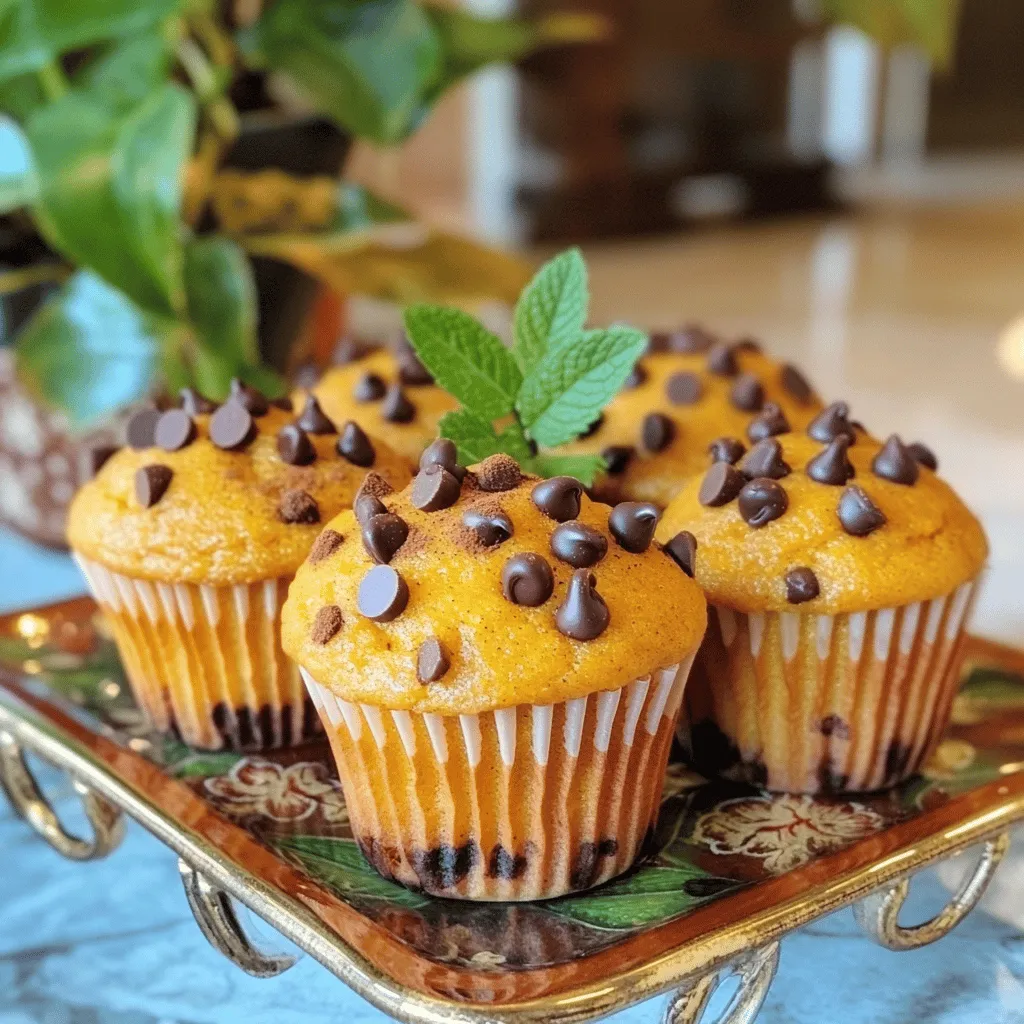
Pumpkin Chocolate Chip Cupcakes Delightful and Easy
Who doesn’t love a sweet treat that pairs pumpkin and chocolate? If you want something easy to bake, you’ve come to the right place! In
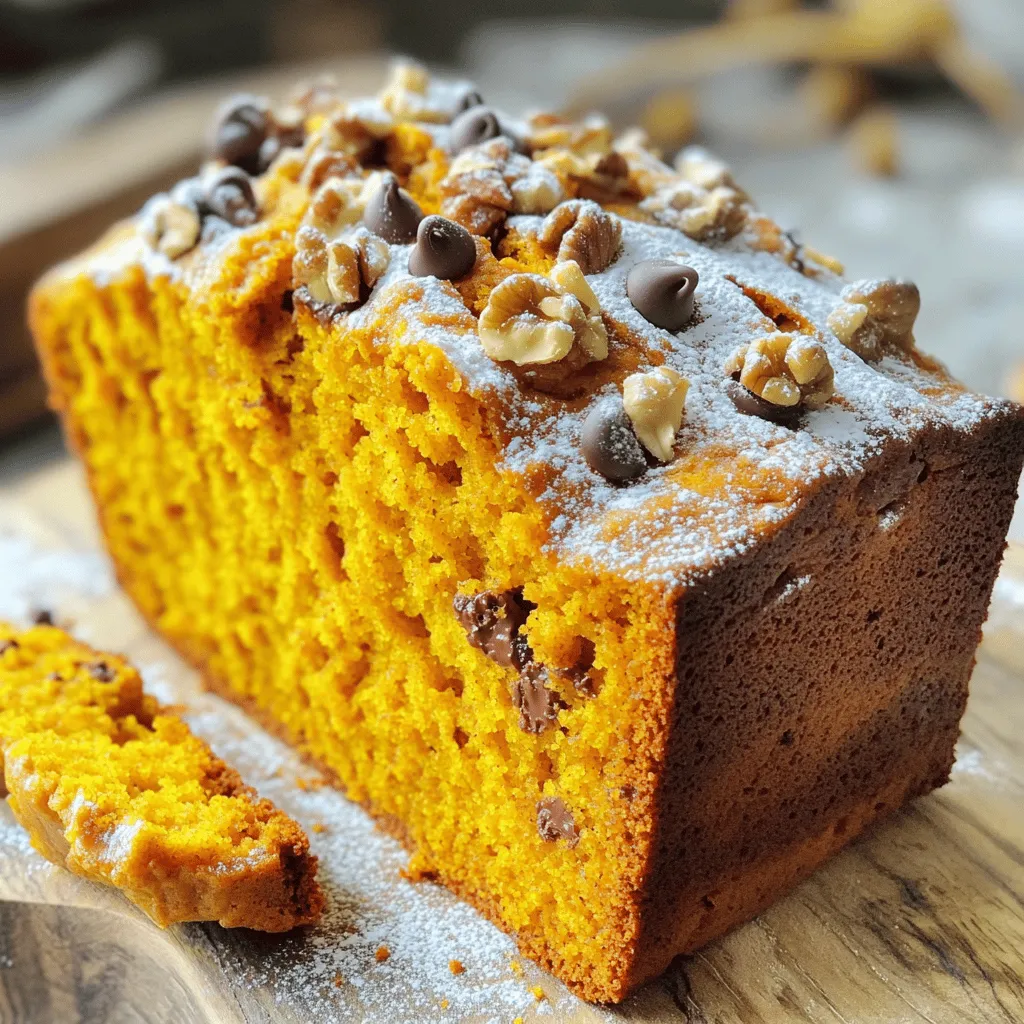
The BEST Pumpkin Bread Easy and Flavorful Recipe
Craving a warm slice of pumpkin bread? You’re in the right place! In this simple and flavorful recipe, I’ll show you how to whip up
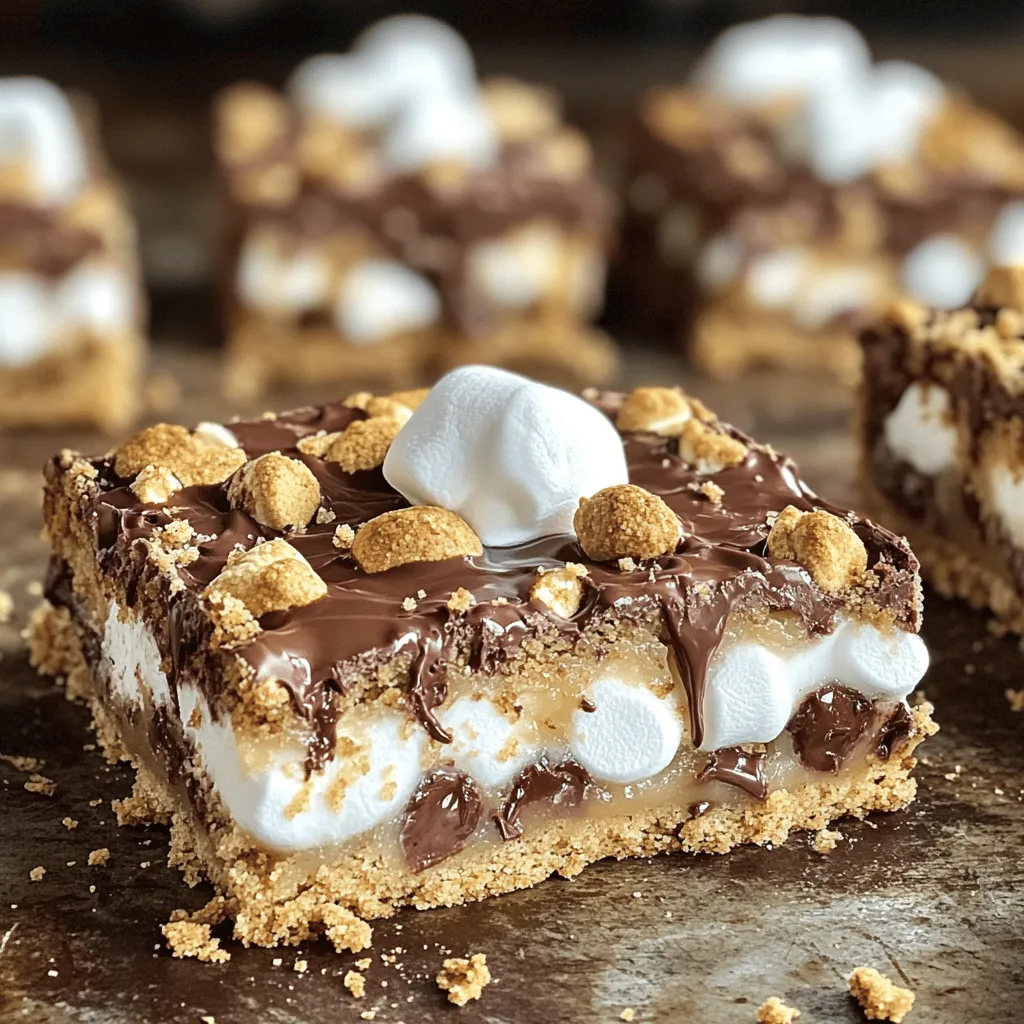
S’more Cookie Bars Irresistible Treat for Everyone
Get ready to indulge in the gooey delight of S’more Cookie Bars! These bars combine chocolate, marshmallows, and graham crackers for a treat that everyone
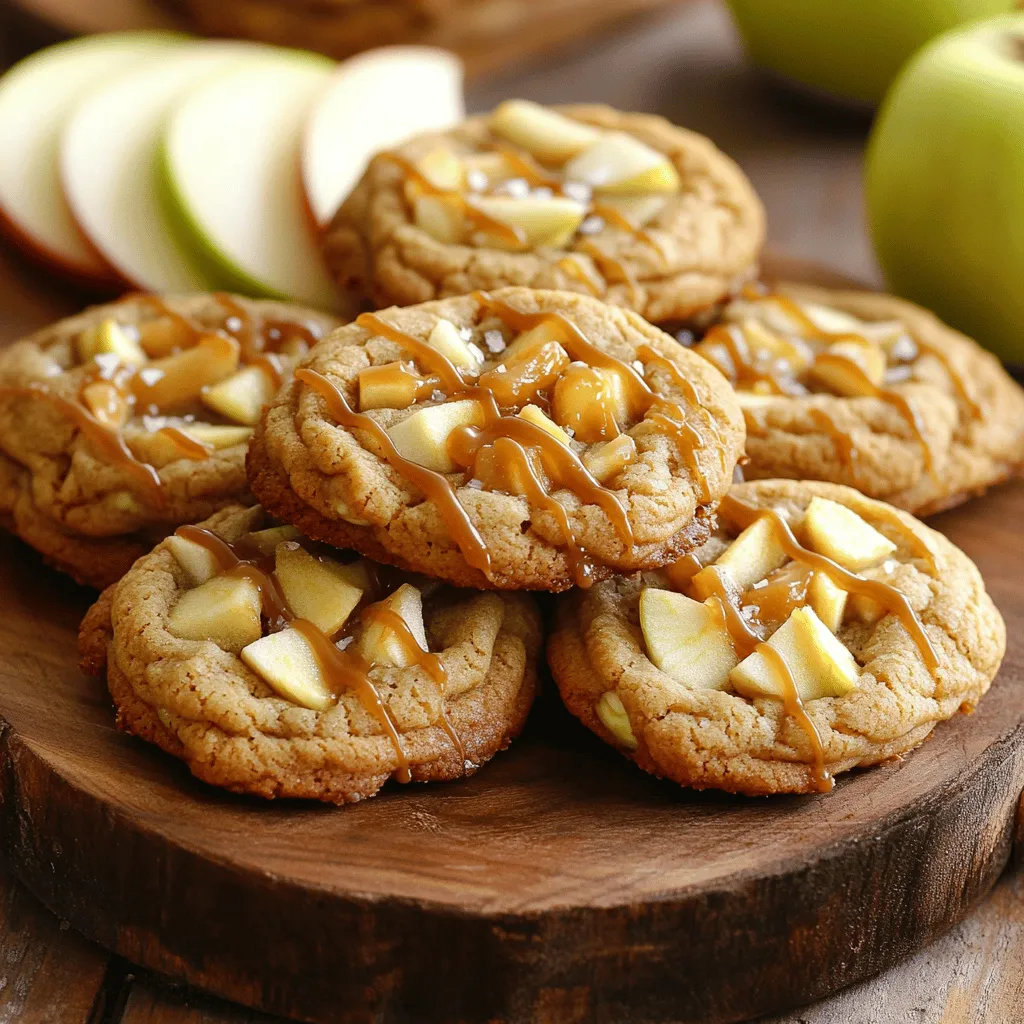
Decadent Caramel Apple Cookies Soft and Chewy Treat
If you love the sweet taste of fall, you’re in for a treat! These Decadent Caramel Apple Cookies are soft, chewy, and burst with flavor.
![To make a fantastic Pumpkin Pie Crisp, you need these key ingredients: - 2 cups pumpkin puree (freshly cooked or canned) - 1 cup packed brown sugar - 1 teaspoon ground cinnamon - 1/2 teaspoon ground nutmeg - 1/2 teaspoon ground ginger - 1/4 teaspoon salt - 3 large eggs, lightly beaten - 1 cup rolled oats - 1/2 cup all-purpose flour - 1/2 cup unsalted butter, melted These ingredients create a creamy base and a crunchy topping. The pumpkin puree gives it a rich flavor. The brown sugar, spices, and eggs add sweetness and depth. The oats and flour make the topping crispy. You can add these extras to make your dessert even better: - 1/2 cup chopped pecans (optional for added crunch) - Whipped cream (for serving, optional) Adding pecans gives a nutty flavor and a nice texture. Whipped cream brings a creamy touch and looks great on top. Feel free to skip these if you prefer a simpler dessert. Check out the Full Recipe for more details! Preheat your oven to 350°F (175°C). This helps cook the pie crisp evenly. Next, take a 9x9-inch baking dish and grease it. Use butter or cooking spray. This step stops the dessert from sticking. In a large bowl, combine 2 cups of pumpkin puree, 1 cup of packed brown sugar, and the spices. Add 1 teaspoon of ground cinnamon, 1/2 teaspoon of ground nutmeg, 1/2 teaspoon of ground ginger, and 1/4 teaspoon of salt. Mix this well until smooth. Then, mix in 3 lightly beaten eggs. Whisk until everything is combined. Grab another bowl to prepare the topping. Combine 1 cup of rolled oats, 1/2 cup of all-purpose flour, and 1/2 cup of melted unsalted butter. If you want some crunch, add 1/2 cup of chopped pecans. Stir until the mixture is crumbly. This will add a nice texture to the crisp. Pour the pumpkin mixture into the greased baking dish. Spread it out evenly with a spatula. Now, sprinkle the oat topping over the pumpkin layer. Make sure to cover it all. Bake the crisp in your preheated oven for 30 to 35 minutes. It’s done when the topping is golden brown and crisp to the touch. Once baked, let it cool for about 10 minutes. This helps it set before you serve. For the full recipe, you can check out the details provided earlier. Enjoy this easy and delicious dessert! To get a creamy pumpkin filling, use high-quality pumpkin puree. If you use fresh pumpkin, make sure it's well cooked and smooth. Blend it well with brown sugar and spices. This ensures a rich taste in every bite. For the topping, you want it crunchy and golden. Mix rolled oats, flour, and melted butter until crumbly. The butter helps it crisp up nicely in the oven. Sprinkle the topping evenly over the pumpkin layer. This way, each piece has that delightful crunch. Serve your Pumpkin Pie Crisp warm for the best taste. Warm desserts taste better and feel cozy. You can also add a dollop of whipped cream on top. This adds a lovely touch of creaminess. Want to make it special? Try serving it with a scoop of vanilla ice cream. It melts into the warm crisp, creating a delicious mix. You can also sprinkle extra cinnamon on top for a burst of flavor. These small touches make a big difference. For the full recipe, check out the [Full Recipe]. {{image_4}} You can make pumpkin pie crisp even more fun by changing the spices. Instead of just cinnamon, try adding cardamom or allspice. These spices bring a warm taste to your crisp. For a bit of heat, add a pinch of cayenne pepper. You can also switch up the nuts in the topping. Pecans are great, but walnuts add a nice flavor too. If you want a nut-free option, use pumpkin seeds. They give a nice crunch without the nuts. If you need a gluten-free version, swap all-purpose flour for a blend of almond flour and gluten-free oats. This keeps the crisp tasty and safe for all diets. For a vegan twist, replace the eggs with flaxseed meal. Use one tablespoon of flaxseed mixed with three tablespoons of water for each egg. You can also use coconut oil instead of butter. This gives a rich flavor while keeping it plant-based. These variations let you enjoy pumpkin pie crisp in new ways, fitting your needs and tastes. Enjoy exploring these options! Once you enjoy your pumpkin pie crisp, you may have some leftovers. Let the crisp cool to room temperature. This step is key to keeping it fresh. After it cools, transfer it to an airtight container. A glass or plastic container works well. Cover it tightly to avoid air exposure. This way, your dessert stays moist and tasty. You can store the crisp in the fridge for up to four days. Every time you serve it, the flavor will still be amazing! If you want to keep your pumpkin pie crisp for longer, freezing is a great choice. To freeze, cut the cooled crisp into portions. Wrap each piece tightly in plastic wrap. Then, place them in a freezer-safe bag or container. Be sure to label the bag with the date. This helps you remember when you made it. You can freeze the crisp for up to three months. When you're ready to enjoy it again, remove a piece from the freezer. Let it thaw in the fridge overnight. If you want it warm, you can reheat the crisp in the oven. Set your oven to 350°F (175°C) and bake for about 15 minutes. This will make it warm and ready to serve. For the best taste, enjoy it with whipped cream on top! You can prepare the filling a day before. Mix the pumpkin, sugar, and spices. Store it in the fridge. You can also make the oat topping ahead. Just keep it in a separate bowl. On the day you want to serve, simply combine them and bake. This way, you save time and enjoy a fresh dessert. Yes, you can use fresh pumpkin. First, cook the pumpkin until soft. Then, scoop out the flesh and blend until smooth. This gives a nice flavor. Make sure to measure two cups of the puree for the recipe. Fresh pumpkin can add a lovely taste that many enjoy. If you need an egg substitute, try using unsweetened applesauce. Use 1/4 cup of applesauce for each egg. Another option is to use ground flaxseed. Mix one tablespoon of flaxseed with three tablespoons of water. Let it sit for a few minutes until it thickens. These replacements work well and keep your dessert tasty. The Pumpkin Pie Crisp can last about three to four days in the fridge. Store it in an airtight container. This keeps the flavors fresh and the topping crunchy. Before serving, you can warm it up in the oven or microwave for the best taste. You learned how to make a delicious Pumpkin Pie Crisp. This dessert blends pumpkin, spices, and an oat topping for a comforting treat. Remember to preheat your oven and prepare your dish for baking. Perfect your filling and topping for the best texture. Consider variations to fit your needs, like gluten-free or vegan options. Store leftovers properly, so you can enjoy them later. With these tips, you can make this recipe shine at any gathering. Enjoy creating your own Pumpkin Pie Crisp masterpiece!](https://meltedrecipes.com/wp-content/uploads/2025/08/5cef0574-e352-43f5-9574-3a33edca83e7.webp)
Pumpkin Pie Crisp Delightfully Easy Dessert Recipe
Craving a sweet, fall-inspired treat? You’re in the right place! This Pumpkin Pie Crisp is an easy dessert that combines creamy pumpkin with a crunchy