Desserts

Maple Glazed Donut Holes Irresistible Sweet Treat
There’s nothing quite like the sweet, warm embrace of homemade Maple Glazed Donut Holes. Imagine biting into a fluffy, golden treat coated in rich maple
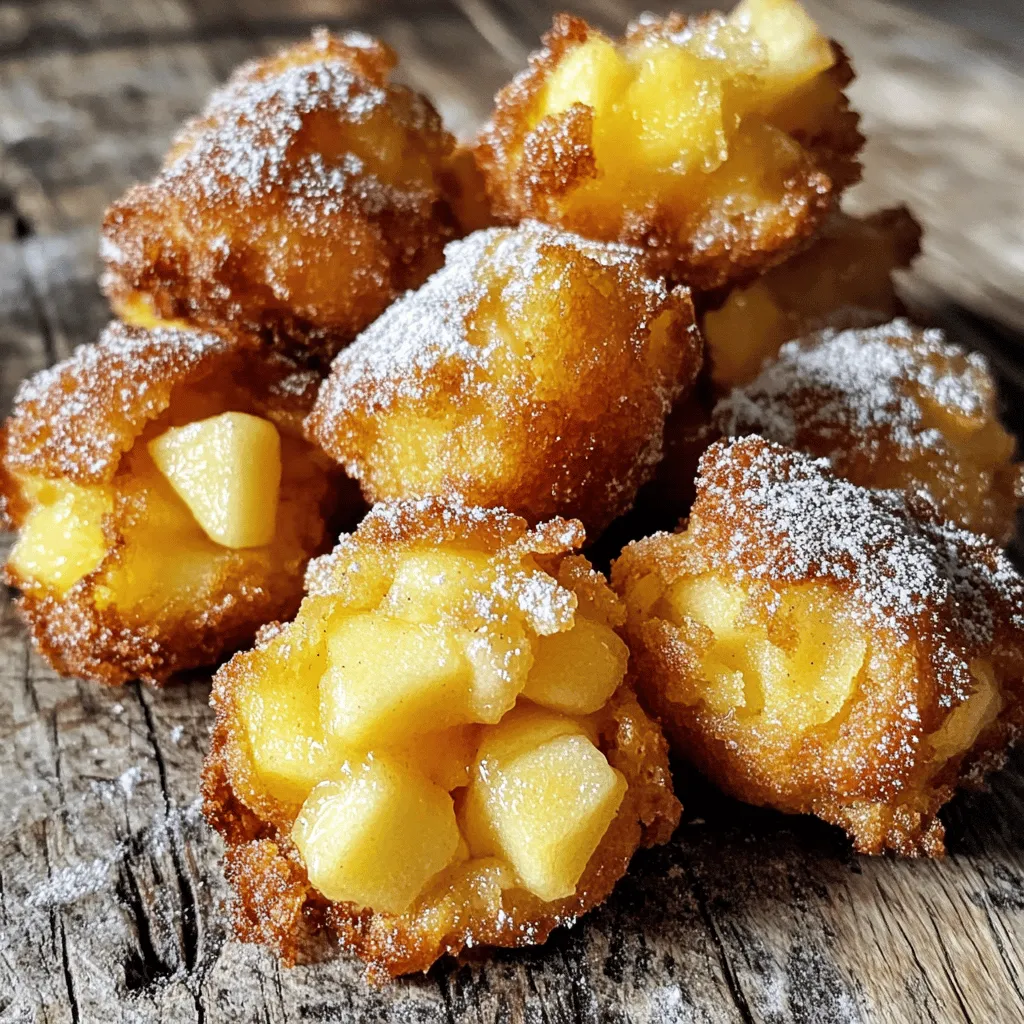
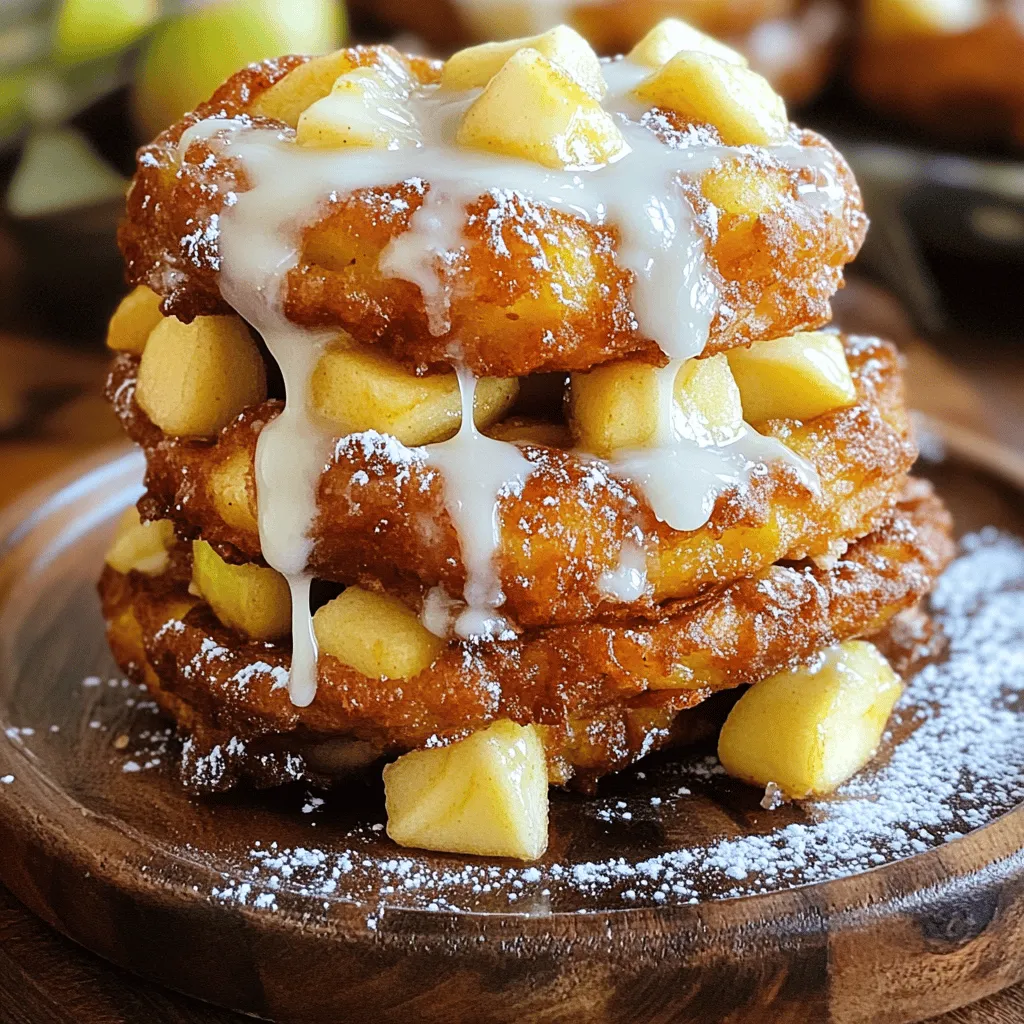
Air Fryer Apple Fritter Bites Delightful and Easy Treat
Craving a sweet, simple treat? These Air Fryer Apple Fritter Bites are your answer! Bursting with apple flavor, they’re crispy on the outside and soft
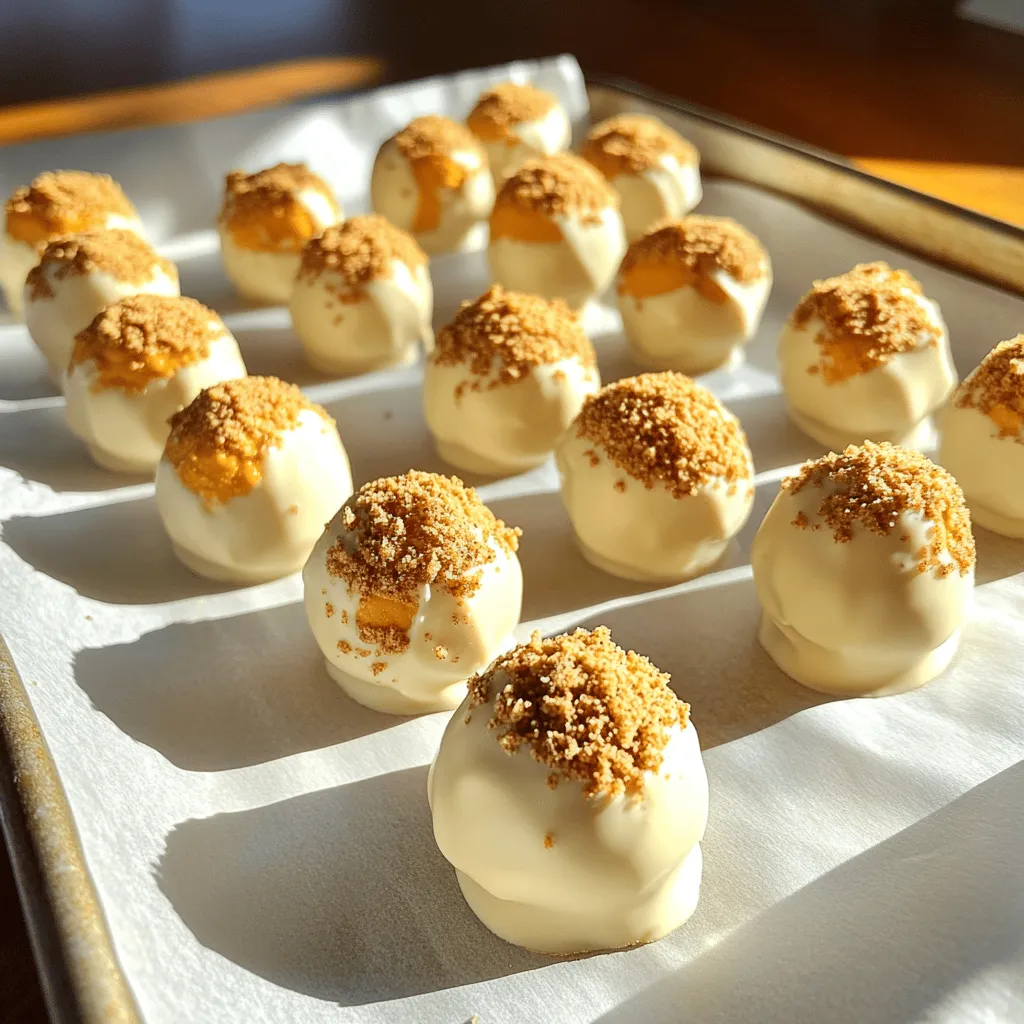
Pumpkin Cheesecake Truffles Irresistible Fall Treat
When fall rolls around, nothing says cozy like Pumpkin Cheesecake Truffles. These tasty bites mix cream cheese, pumpkin puree, and sweet spices for a perfect
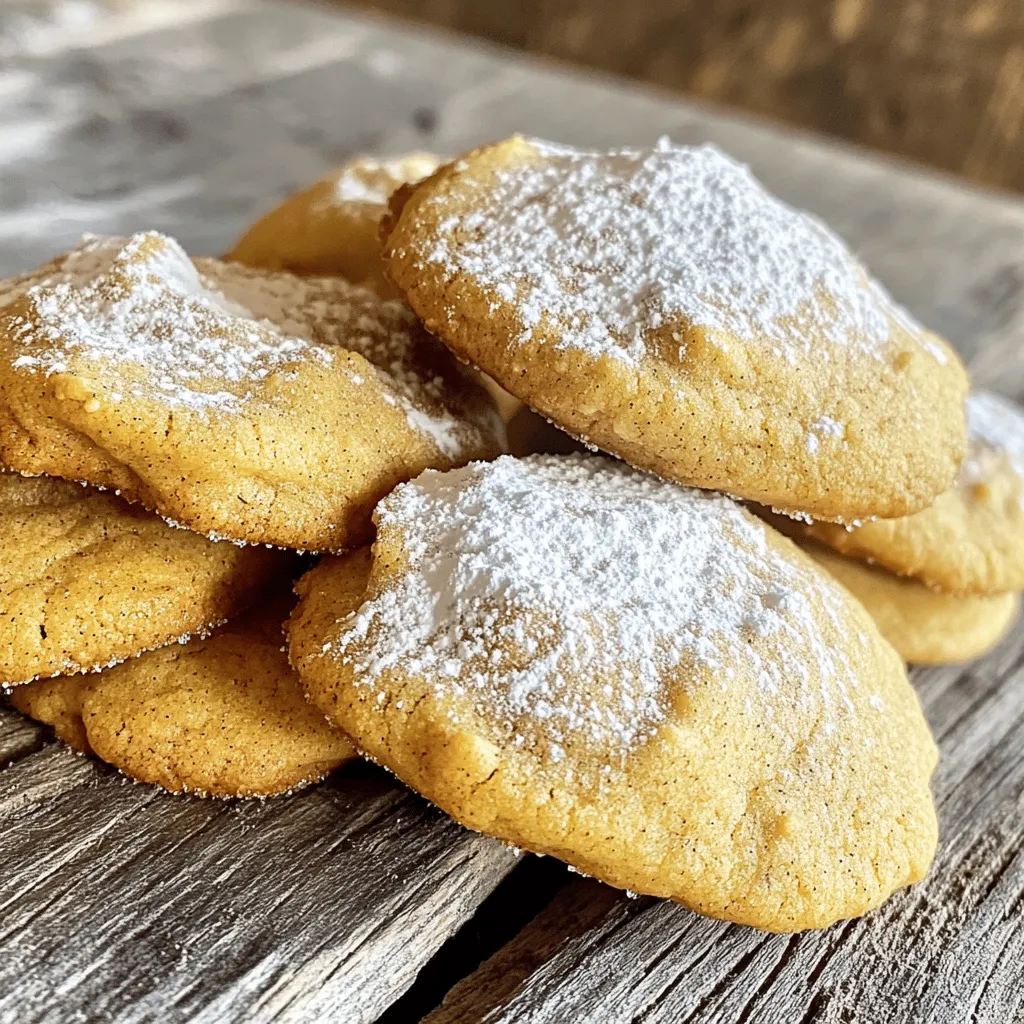
Soft Chai Spice Cookies Delightfully Chewy Treat
Craving a sweet treat that’s soft, chewy, and bursting with flavor? You’re in the right place! My Soft Chai Spice Cookies bring together warm spices
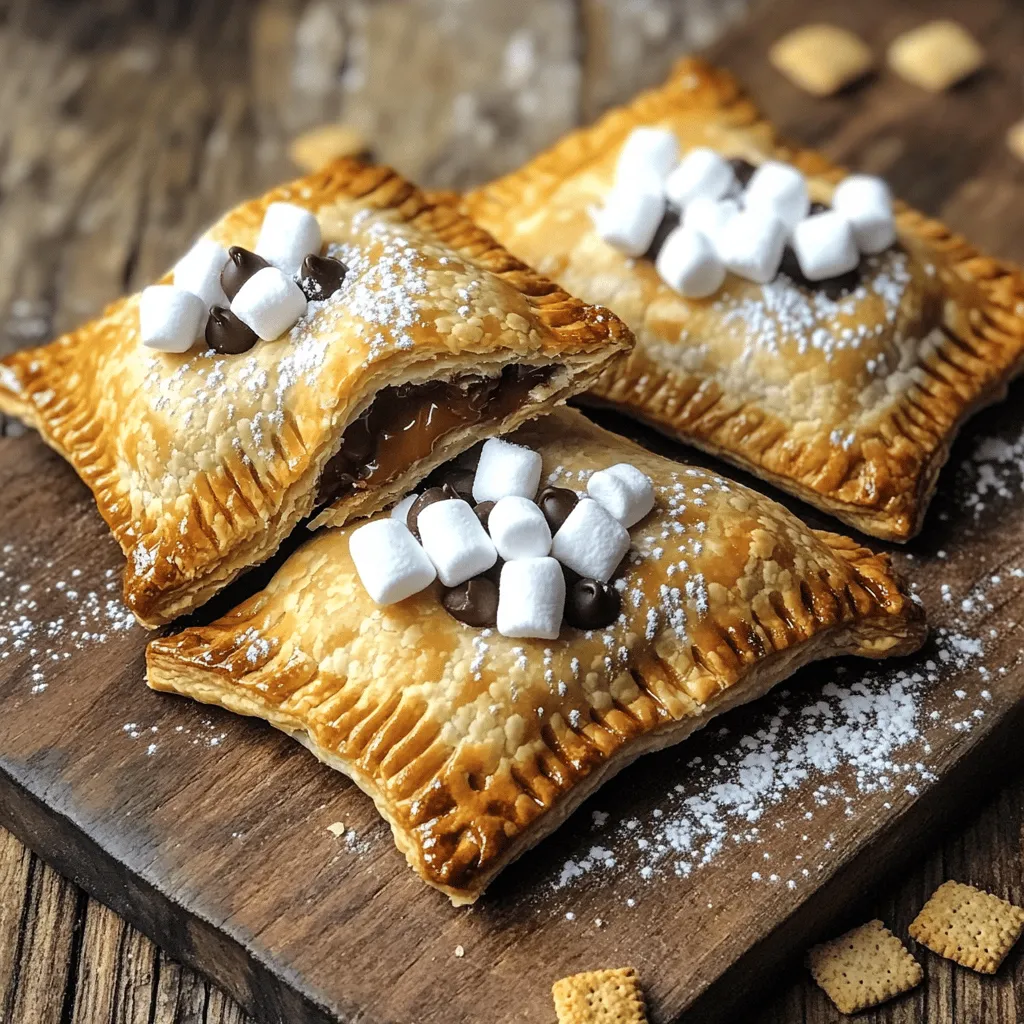
S’mores Hand Pies Irresistible Easy Dessert Recipe
Do you love s’mores? Who doesn’t? Now, imagine enjoying that tasty treat in a hand pie! Today, I’m sharing my irresistible and easy S’mores Hand
Glazed Baked Apple Fritters Easy and Delicious Recipe
Craving a sweet treat that’s easy to make at home? Glazed baked apple fritters are your answer! This recipe blends juicy apples with warm spices,

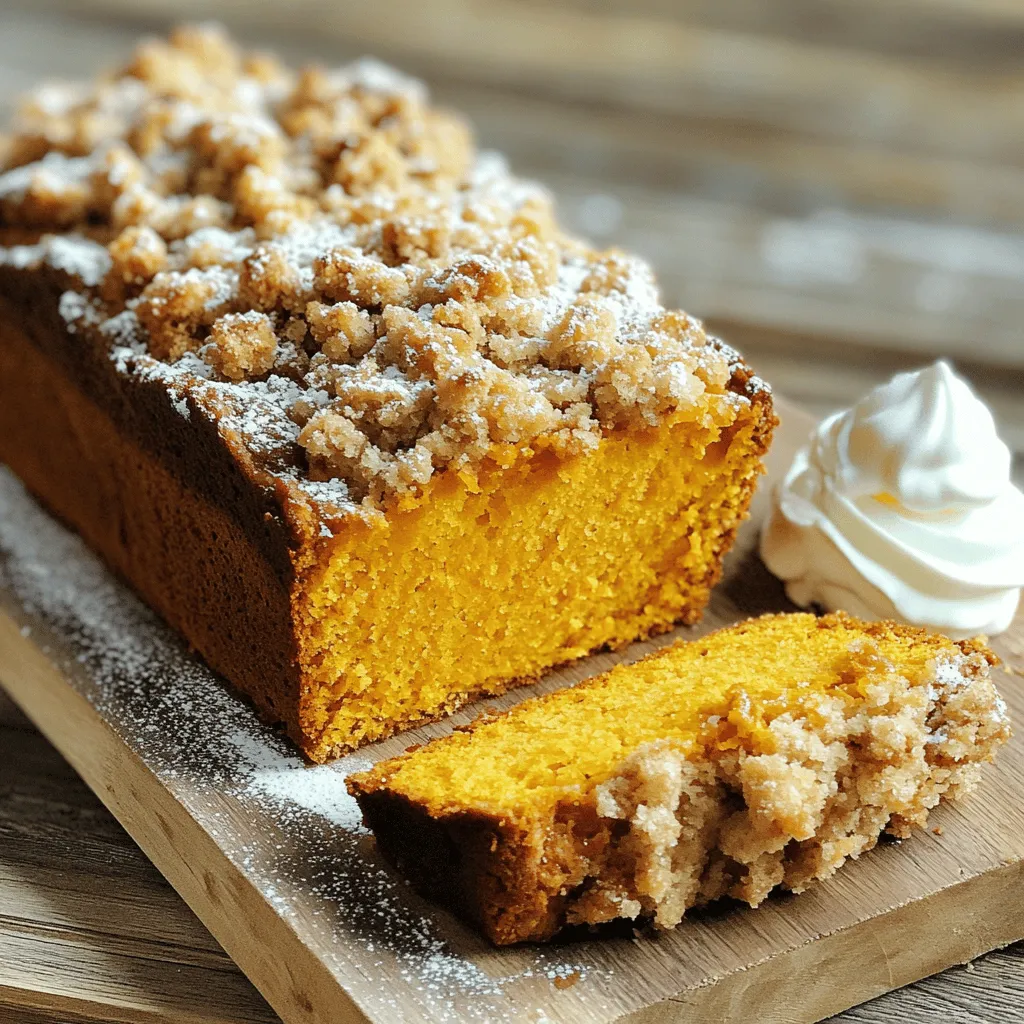
Pumpkin Streusel Bread Moist and Flavorful Delight
If you love warm, spiced flavors, you’ll adore my Pumpkin Streusel Bread. This easy recipe uses canned pumpkin puree and a mix of spices to
Streusel Pumpkin Loaf Delightful Fall Treat Recipe
As fall approaches, the craving for cozy recipes awakens. I’m excited to share my delicious Streusel Pumpkin Loaf recipe. This cake is soft, rich, and
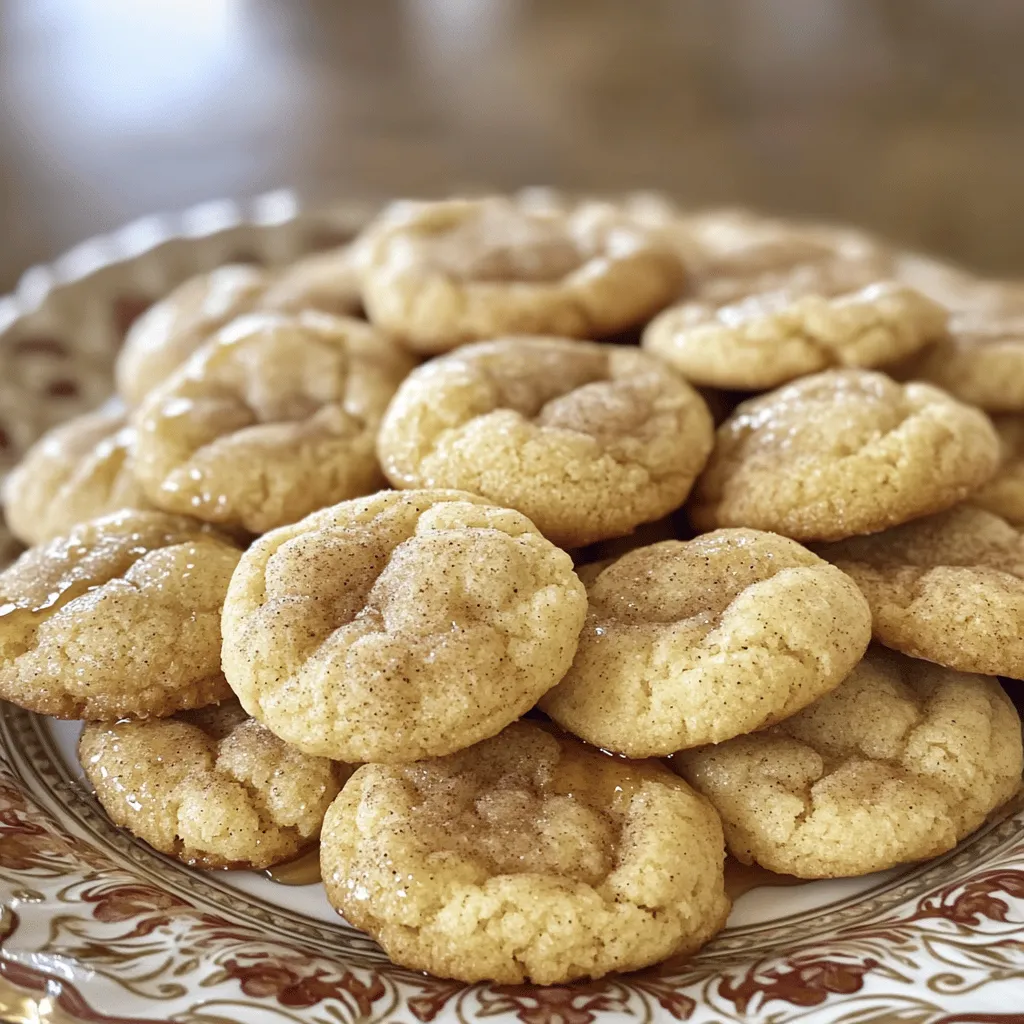
Maple Snickerdoodles Simple and Flavorful Treat
If you crave a cookie that’s both simple and delicious, you need to try Maple Snickerdoodles! These cookies blend the warm flavor of maple with
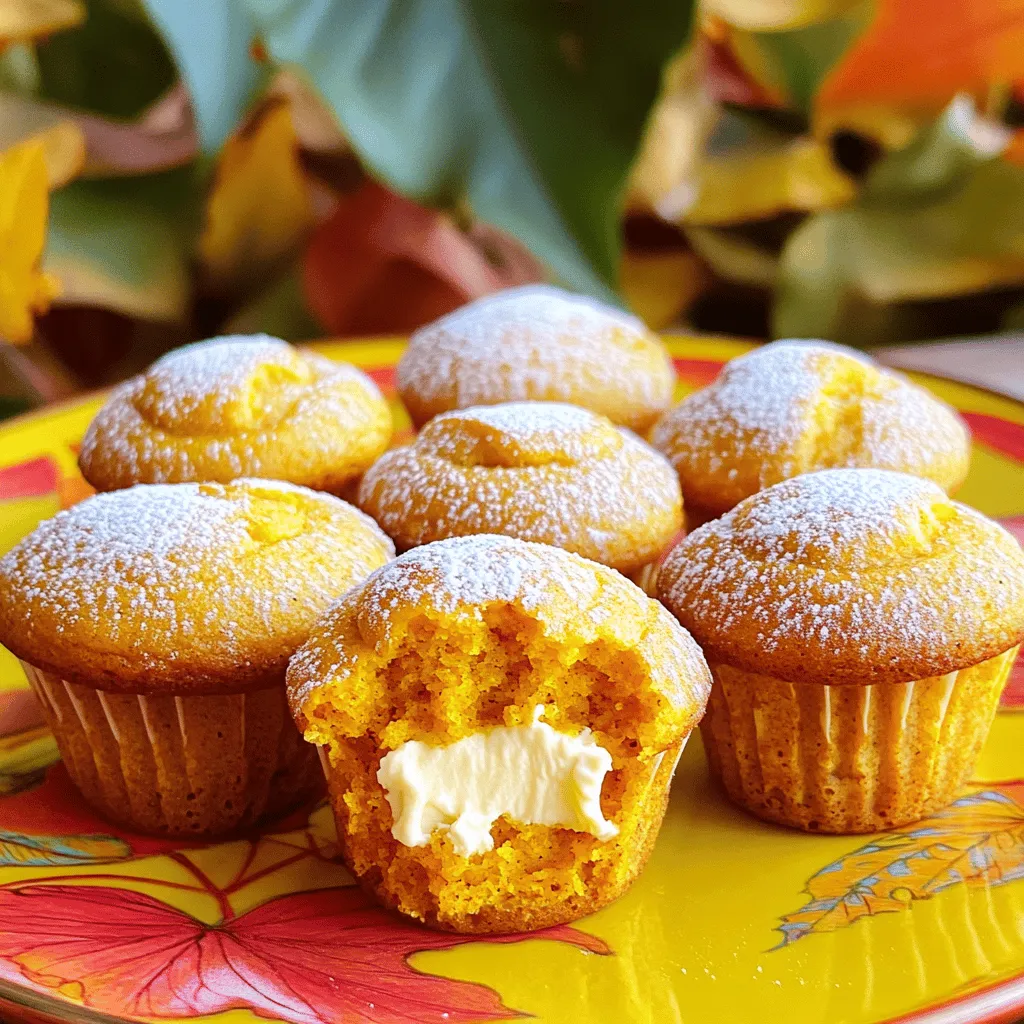
Mini Pumpkin Cream Cheese Muffins Cozy and Tasty Snack
Fall is here, and what better way to celebrate than with mini pumpkin cream cheese muffins? These tasty bites are perfect for snacks, breakfast, or