Desserts
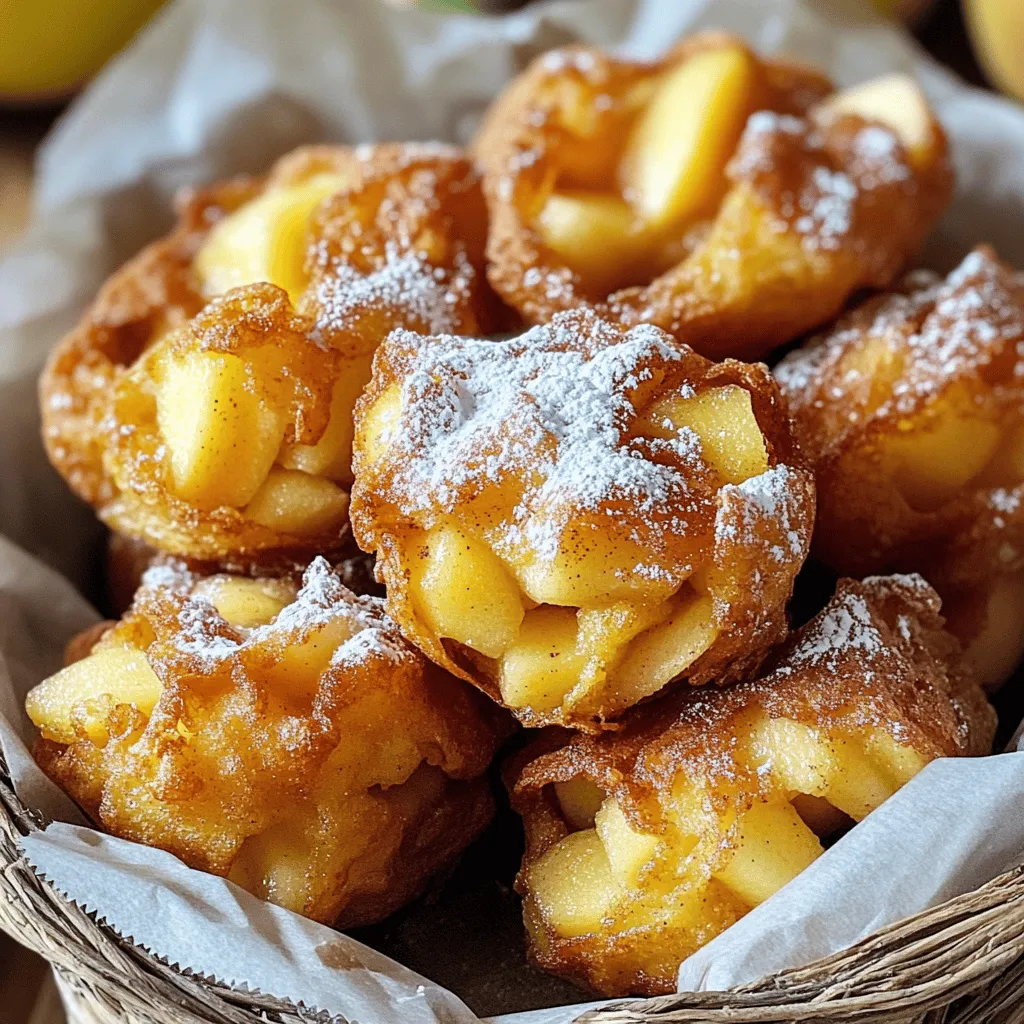
Apple Fritter Bites Savory and Simple Delight
Get ready to experience a sweet treat like no other with my Apple Fritter Bites! These bites pack all the delightful flavors of traditional apple
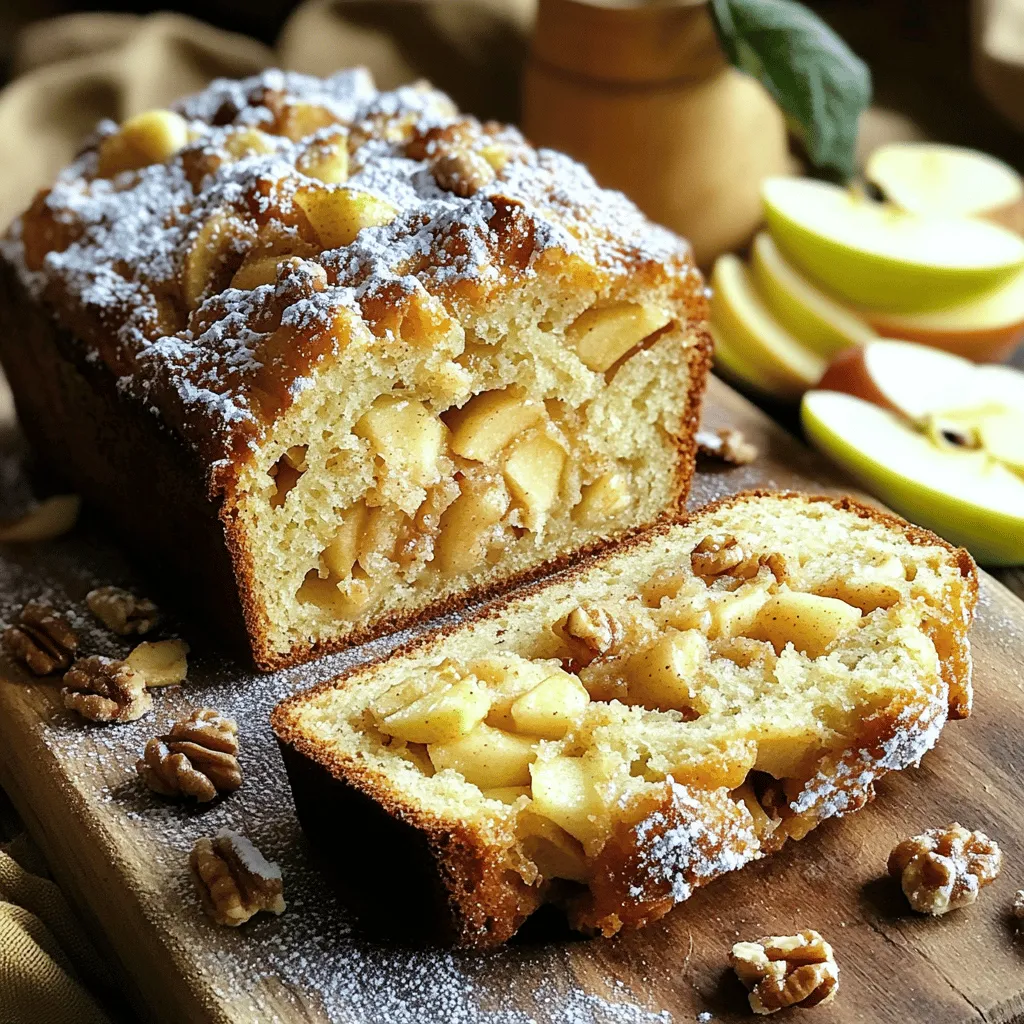
Country Apple Fritter Bread Simple and Tasty Recipe
Are you ready to bake something truly delightful? This Country Apple Fritter Bread recipe combines sweet apples and soft dough for a treat that everyone
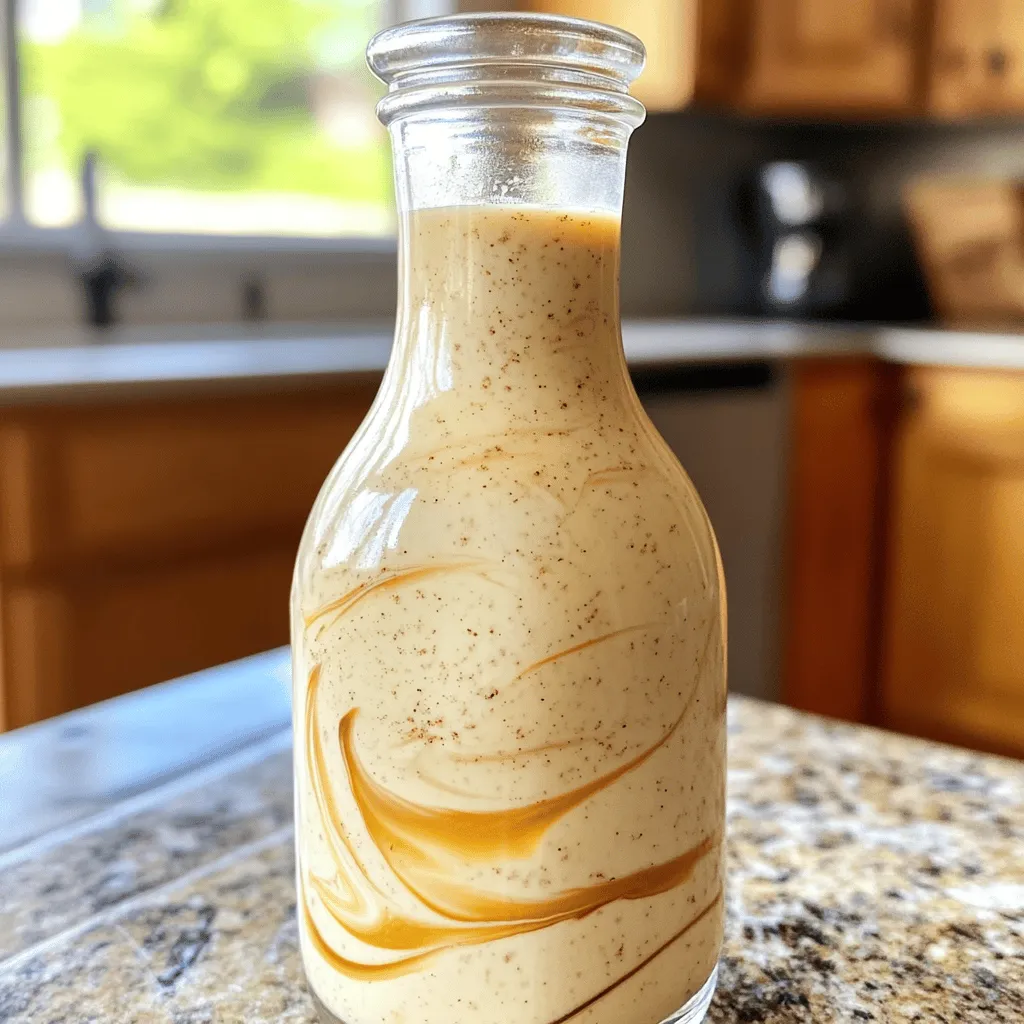
Vanilla Bean Coffee Creamer Delightfully Creamy Recipe
Are you ready to elevate your morning coffee with a rich, homemade Vanilla Bean Coffee Creamer? This delightfully creamy recipe will impress your taste buds
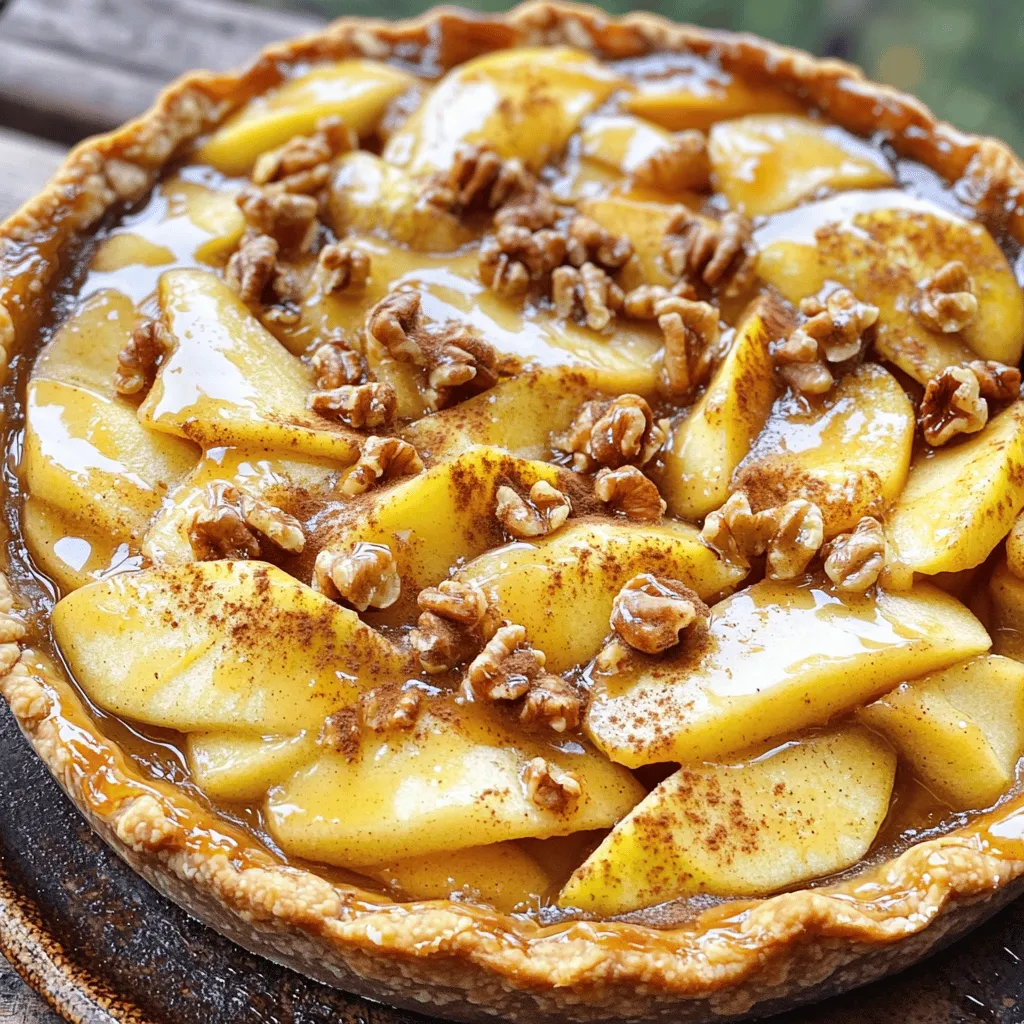
Toffee Apple Pie with Vanilla Custard Delightful Treat
Craving a dessert that combines sweet, crunchy apples with rich, creamy custard? Look no further than this Toffee Apple Pie with Vanilla Custard! I’ll share

Small Batch Pumpkin Biscuits Easy and Flavorful Treat
Looking for a tasty treat that’s quick and simple? You’re in the right place! These Small Batch Pumpkin Biscuits are perfect for autumn or any
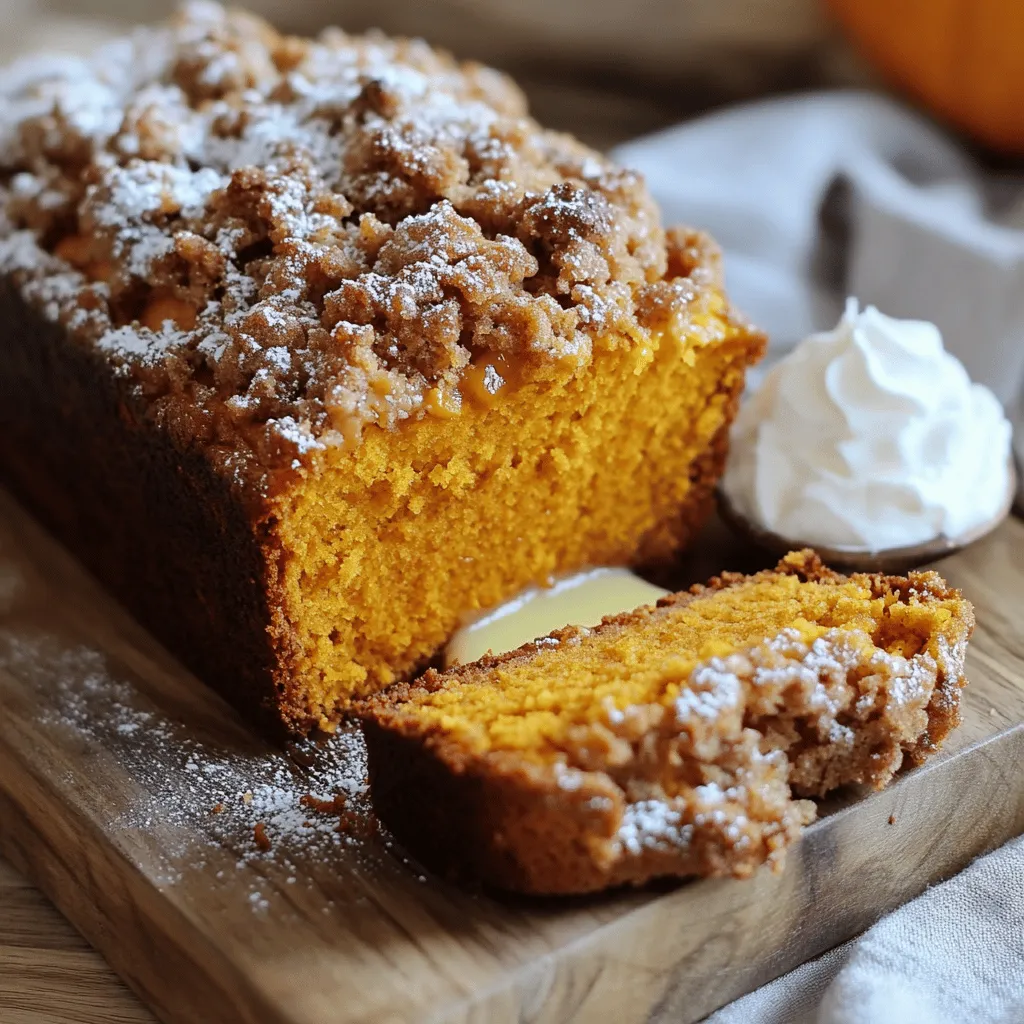
Streusel Pumpkin Loaf Easy and Flavorful Recipe
Are you ready to bake something delicious? My Streusel Pumpkin Loaf recipe combines warm spices, creamy pumpkin, and a crunchy topping, creating a treat that
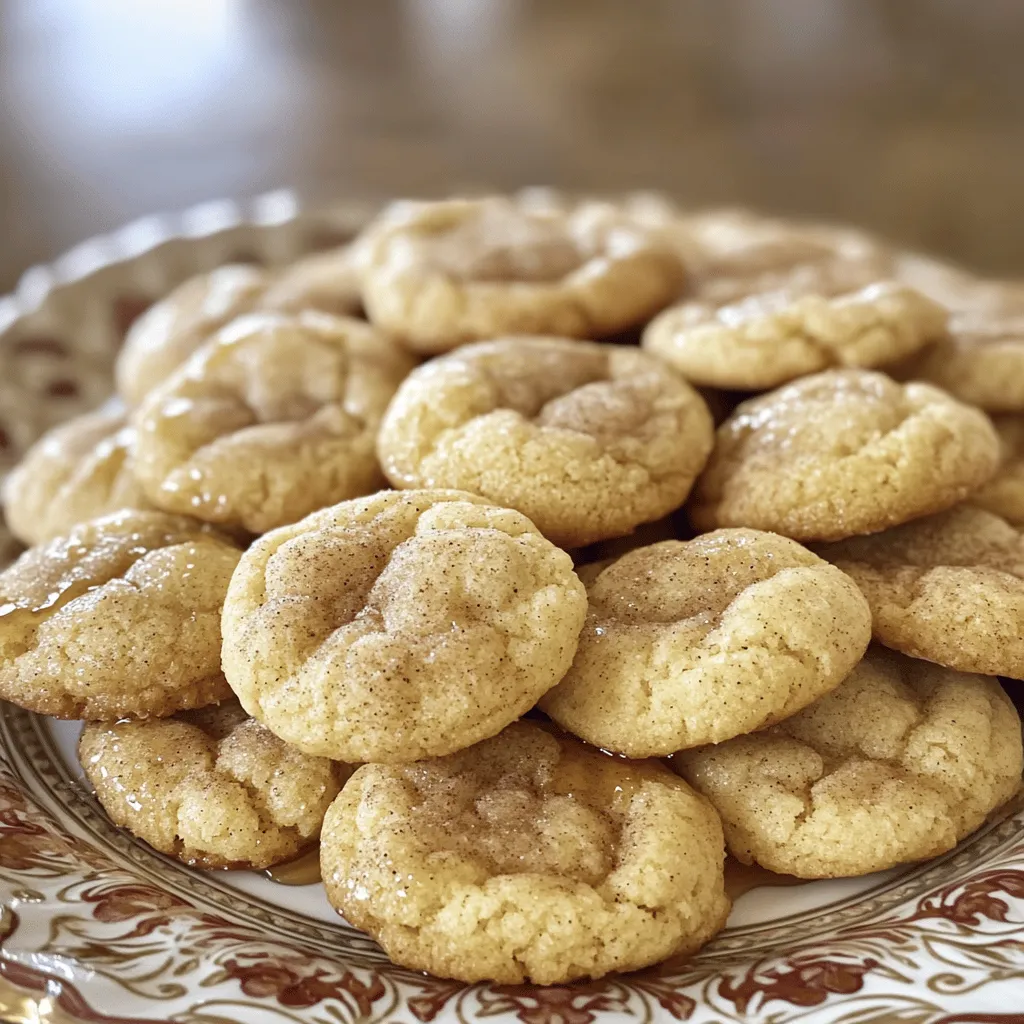
Maple Snickerdoodles Soft and Chewy Cookie Delight
Are you ready to try a new twist on your favorite cookies? Maple Snickerdoodles are soft and chewy, bursting with warm maple flavor. In this
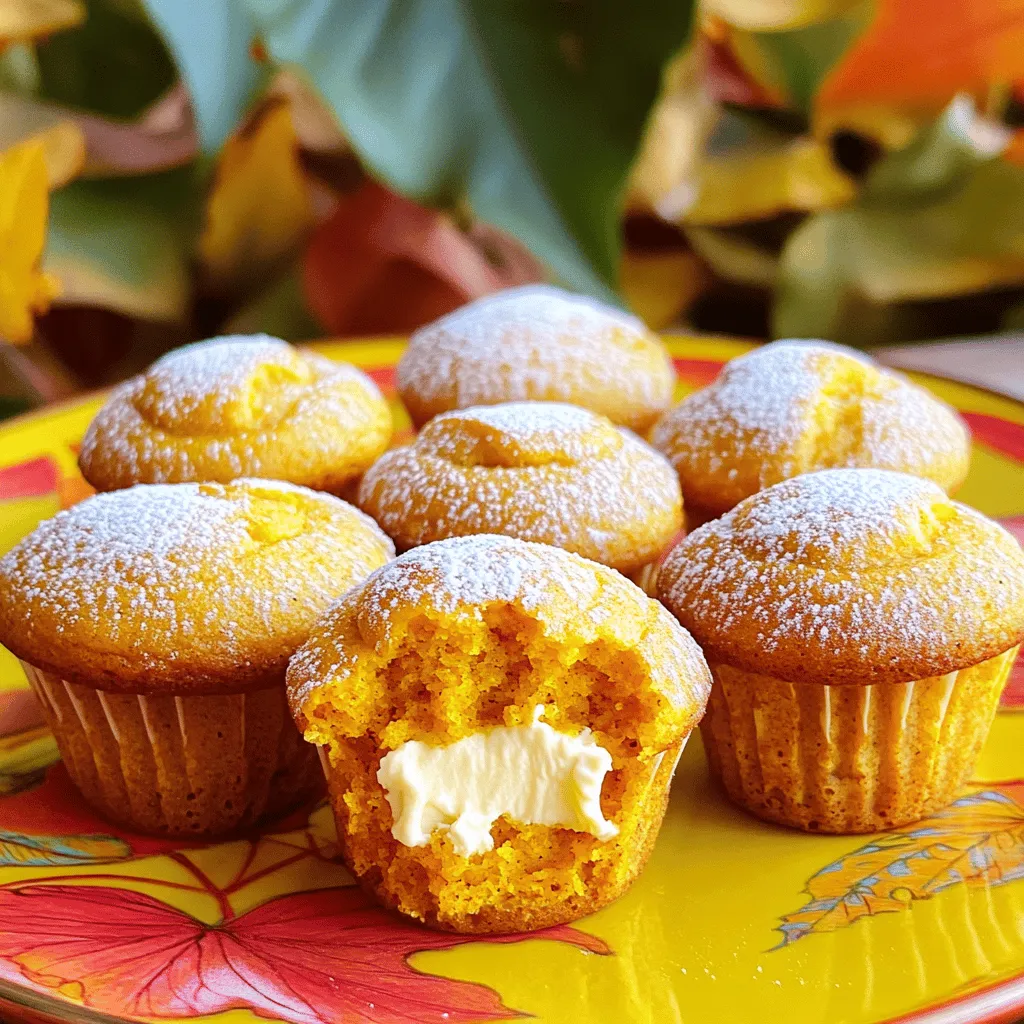
Mini Pumpkin Cream Cheese Muffins Delightful Treat Recipe
Fall is just around the corner, and what better way to celebrate than with Mini Pumpkin Cream Cheese Muffins? These delightful treats combine soft, spiced
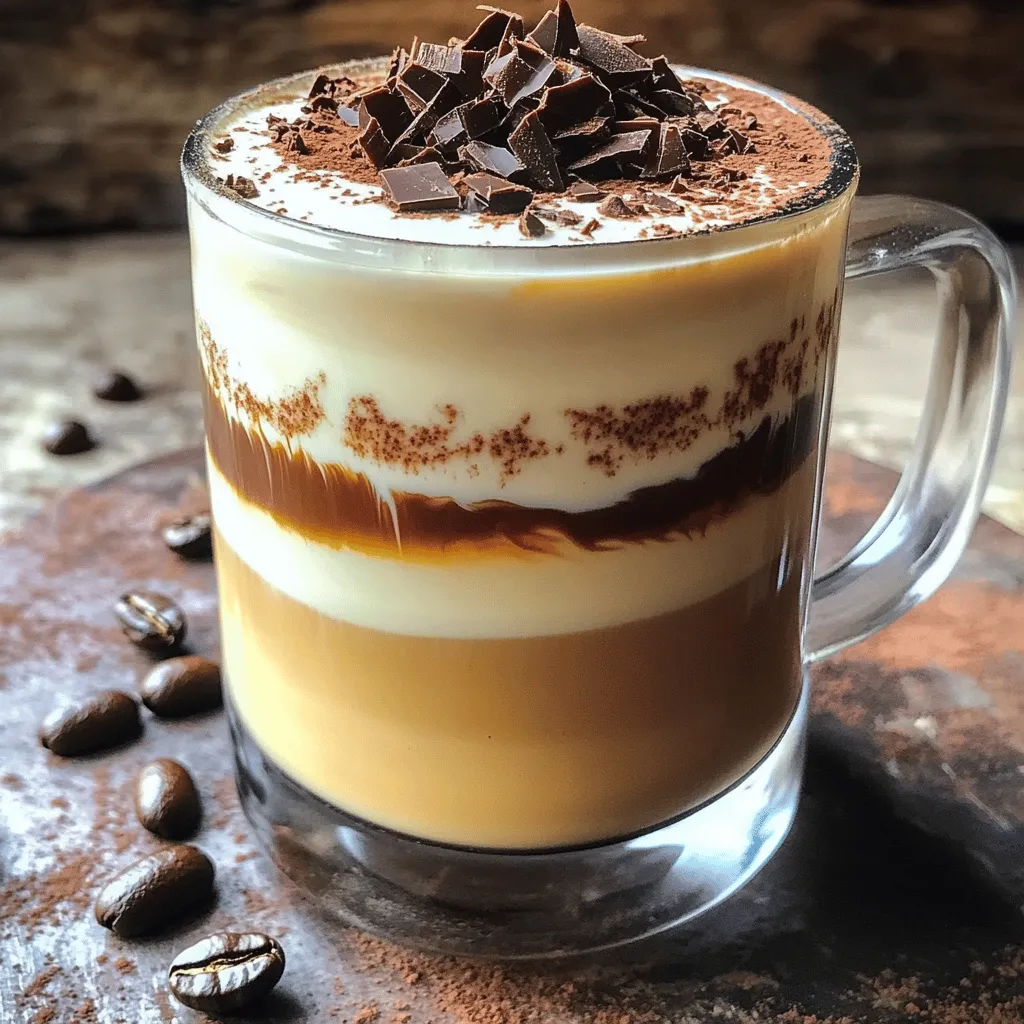
Tiramisu Latte Delightful Recipe for Coffee Lovers
Are you ready to elevate your coffee game? This Tiramisu Latte recipe is an absolute treat for coffee lovers! With rich espresso and creamy milk,
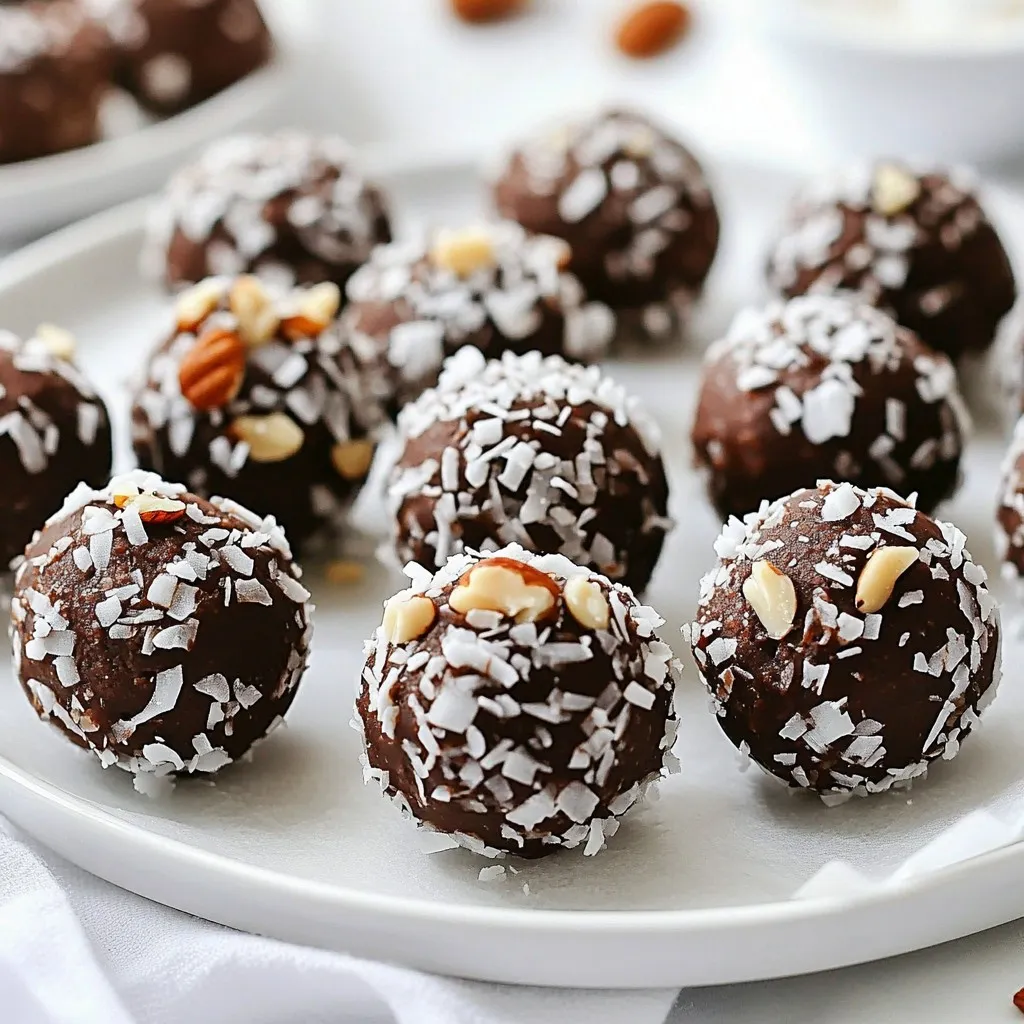
No-Bake Brownie Bites Tasty Healthy Treats
Looking for a sweet treat that’s easy to make and healthy? These No-Bake Brownie Bites fit the bill! With simple ingredients like almond flour and