Desserts
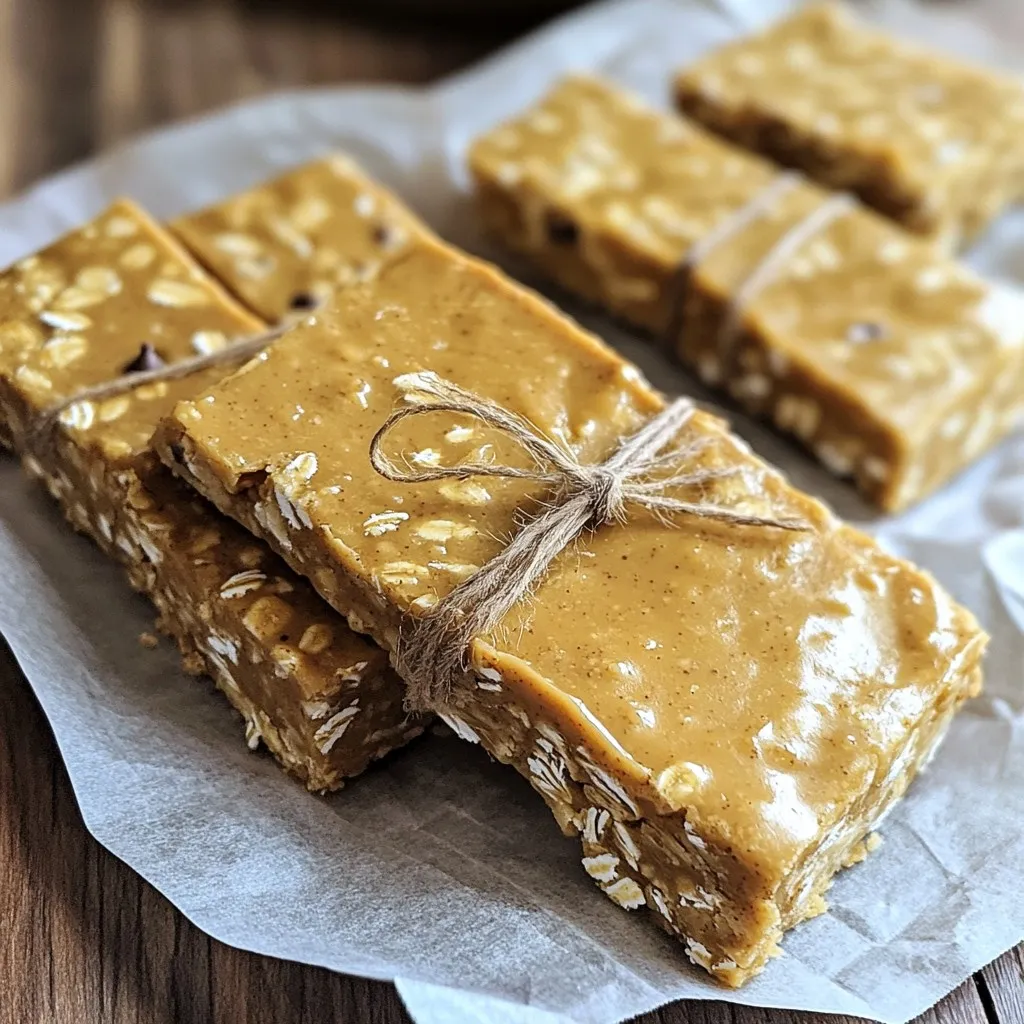
No-Bake Peanut Butter Oat Protein Bars Recipe Delight
Are you looking for a quick and tasty snack? You’ll love my No-Bake Peanut Butter Oat Protein Bars! They are easy to make, healthy, and
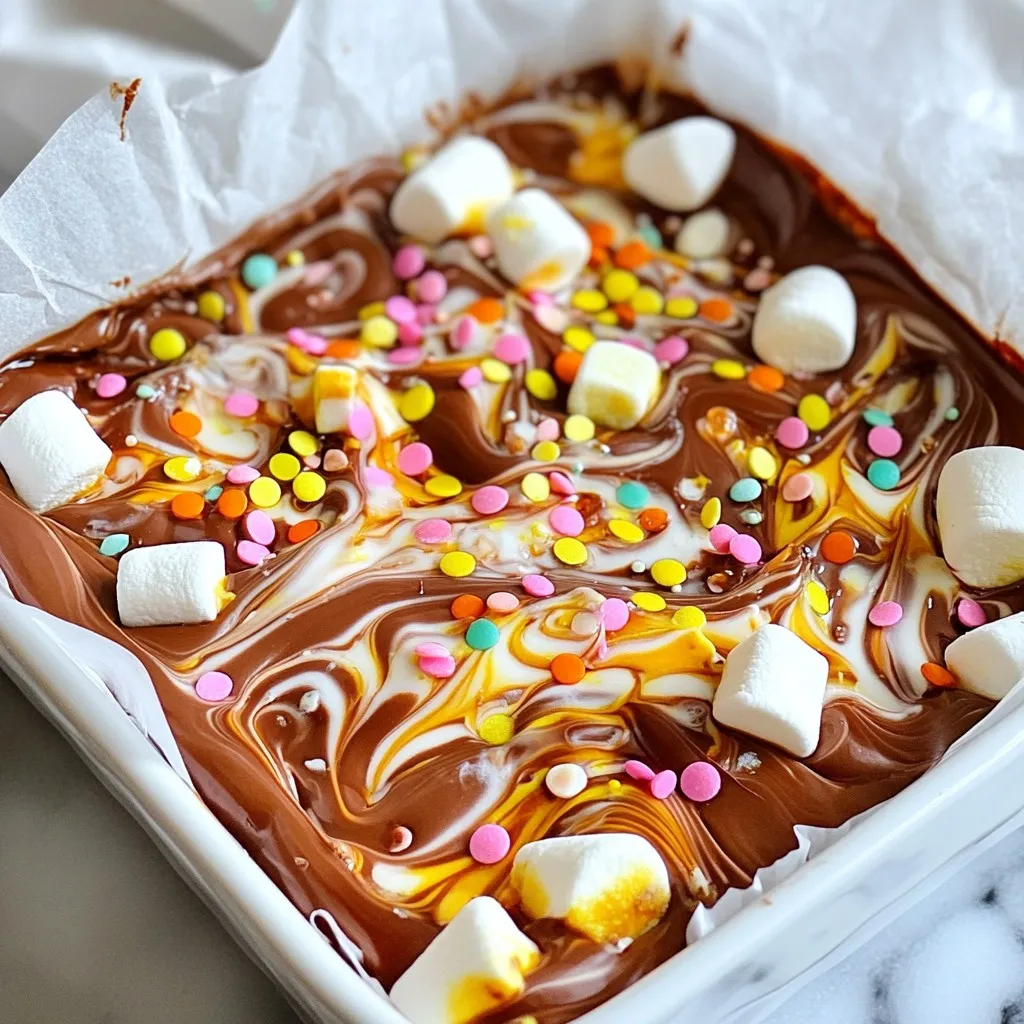
Marshmallow Swirl Fudge Irresistible Homemade Treat
Are you ready to indulge in a sweet and creamy delight? Marshmallow Swirl Fudge is a simple, yet irresistible treat you can make at home.
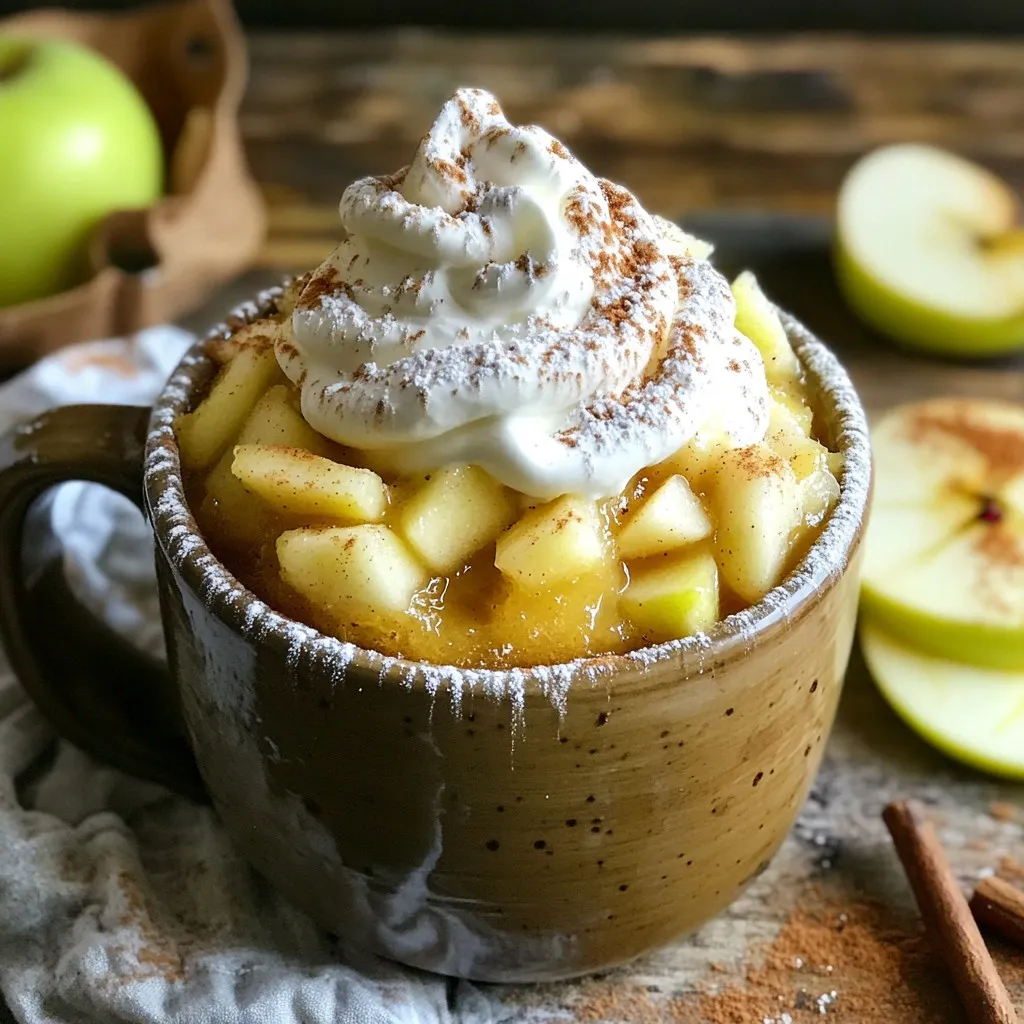
Irresistible Apple Cider Donut Mug Cake Recipe
Craving something sweet and warm? Get ready to whip up my Irresistible Apple Cider Donut Mug Cake! In just a few minutes, you can enjoy
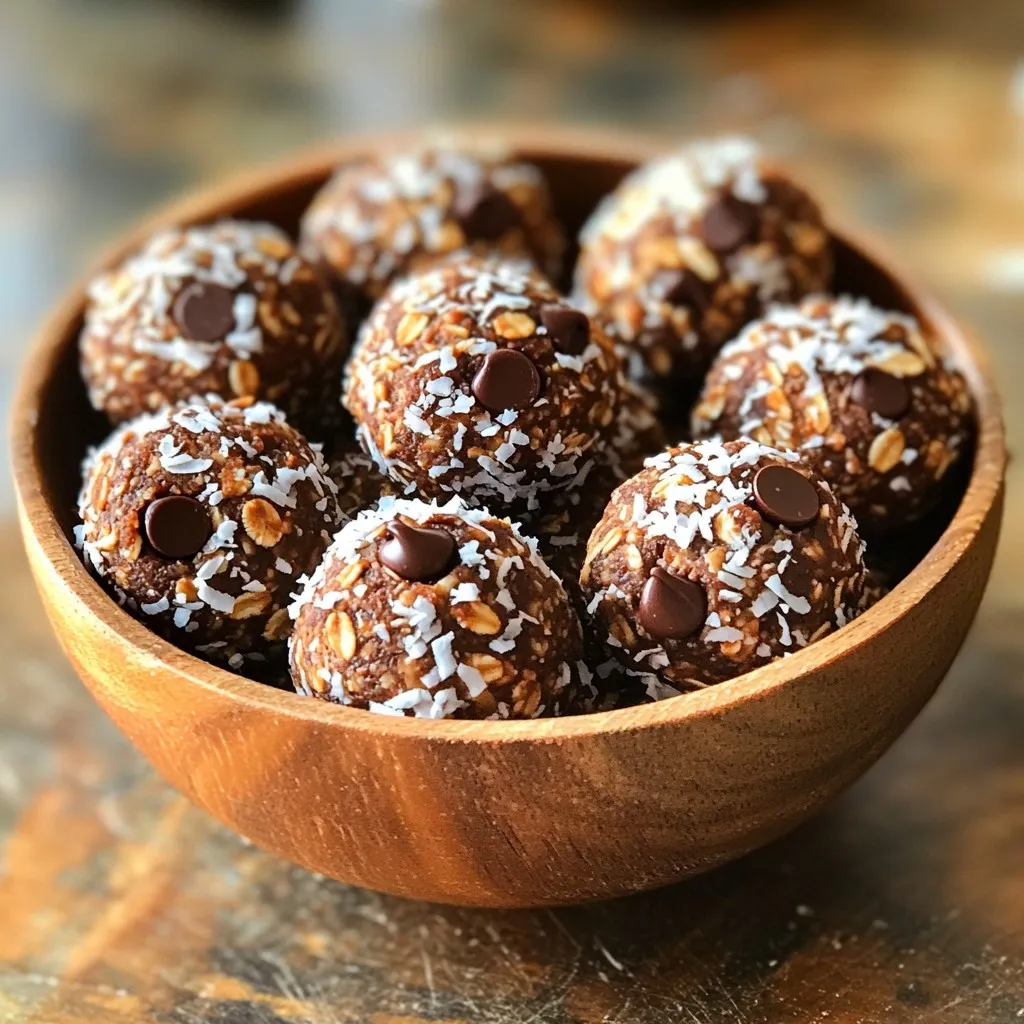
No-Bake Chocolate Coconut Energy Bites Easy Snack
Are you looking for a quick, healthy snack that packs a delicious punch? These No-Bake Chocolate Coconut Energy Bites are your answer! With just a
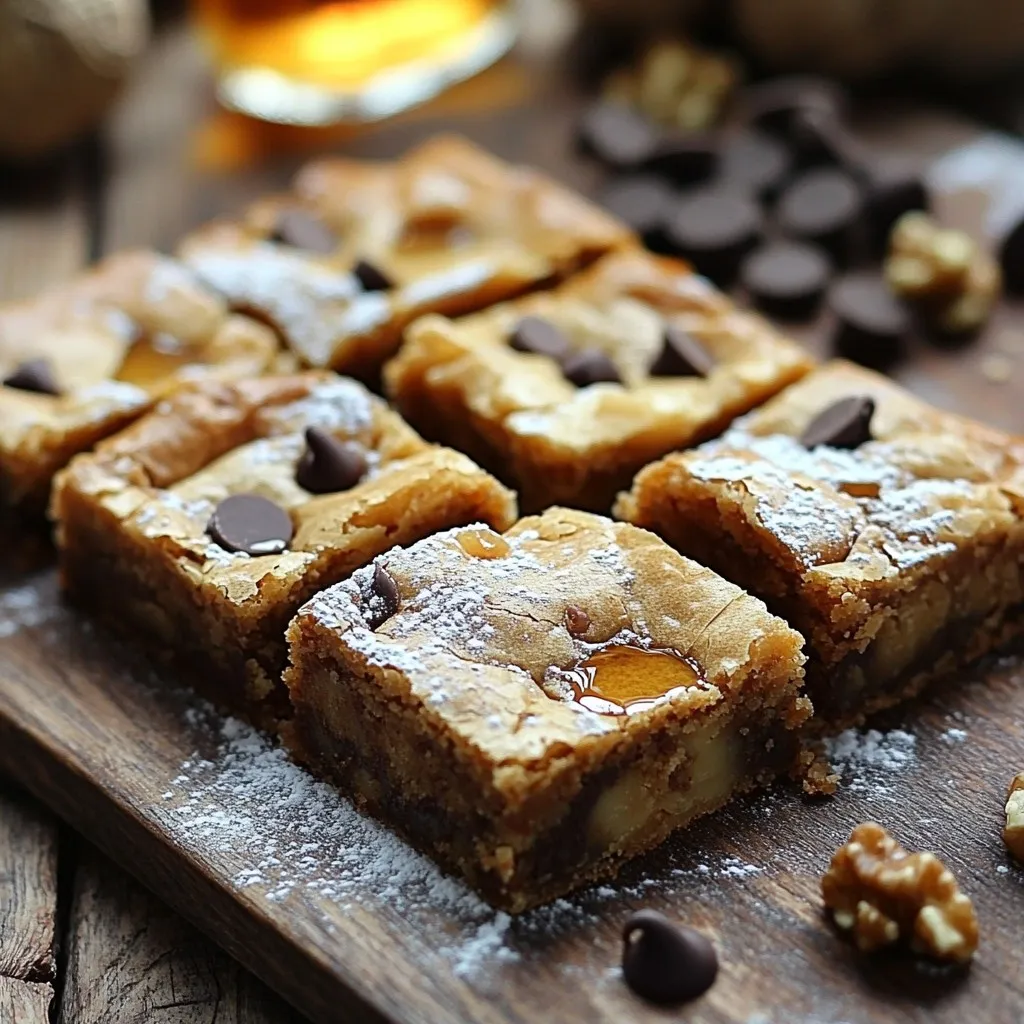
Brown Butter Maple Blondies Tasty and Simple Treat
Get ready to indulge in a sweet delight! Brown Butter Maple Blondies bring a warm, nutty flavor that you won’t forget. With simple ingredients and
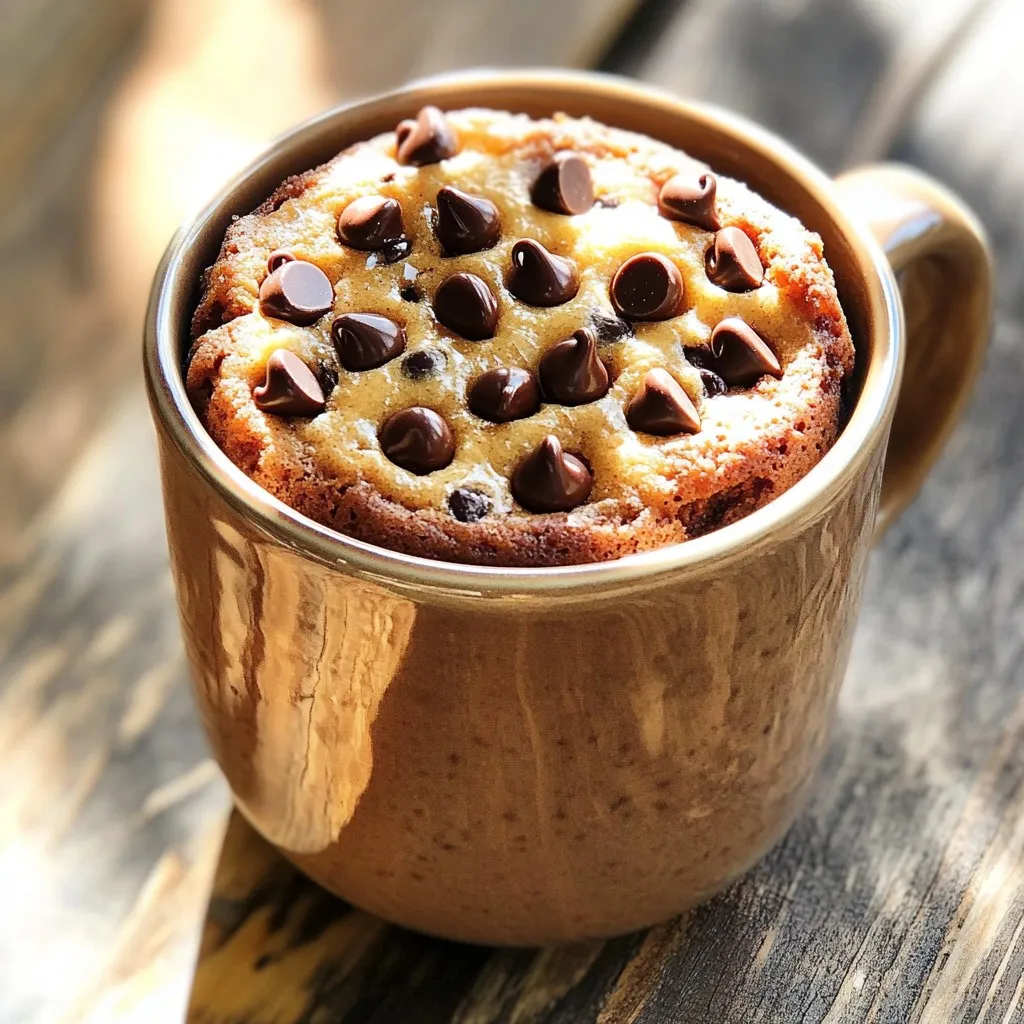
Protein Chocolate Chip Mug Cake Rich and Simple Recipe
Are you craving a sweet treat that’s also healthy? Look no further! My Protein Chocolate Chip Mug Cake recipe is both rich and simple. Packed
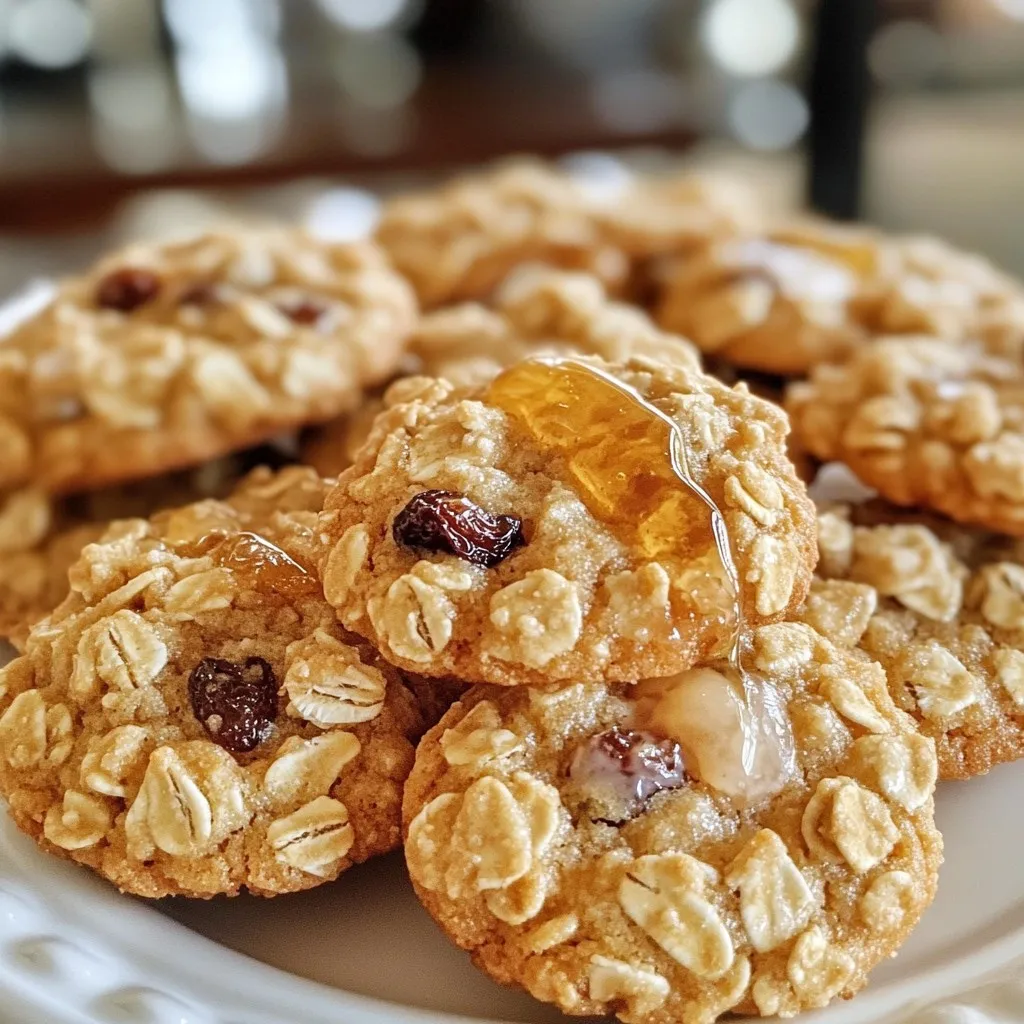
Soft Honey Oatmeal Cookies Delightful Easy Recipe
Looking for a cozy treat that’s simple to make? These Soft Honey Oatmeal Cookies are fast, fun, and packed with flavor. With just a few
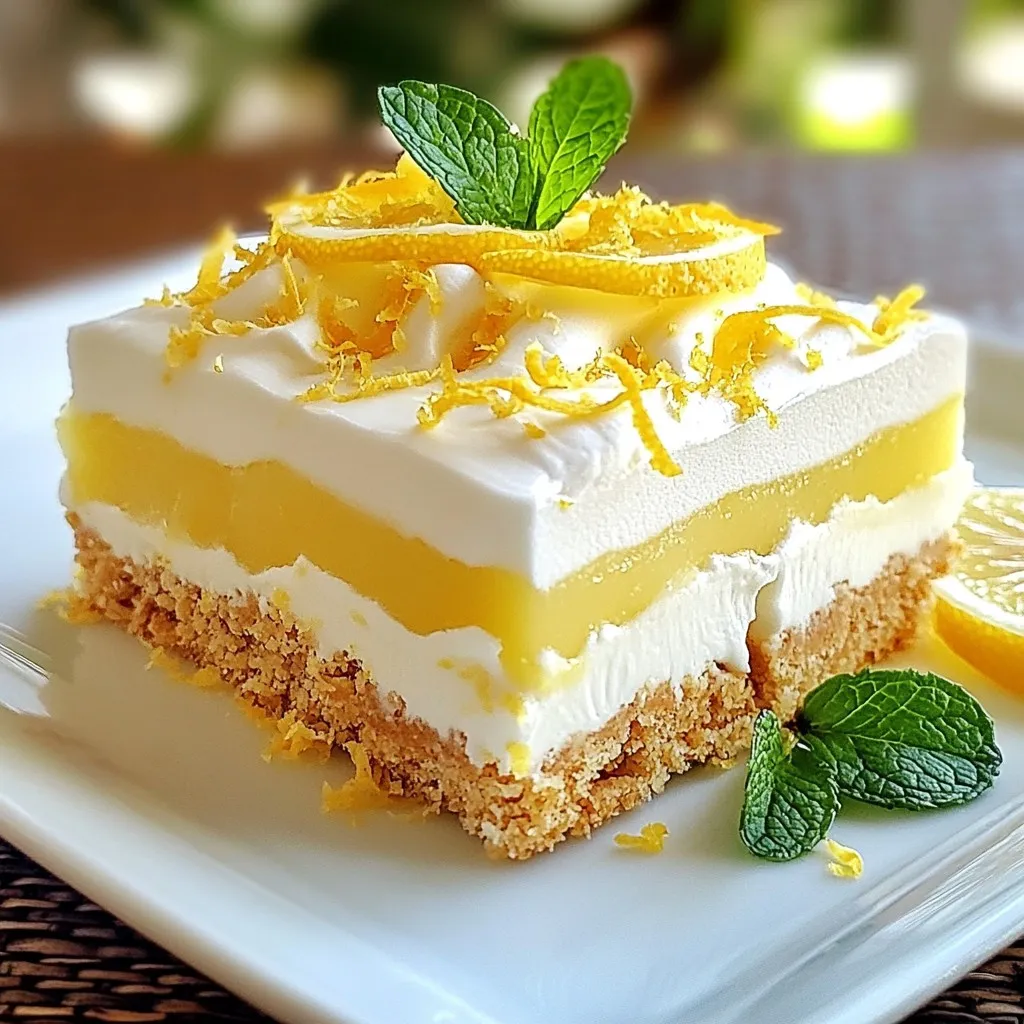
No-Bake Lemon Icebox Bars Refreshing Summer Dessert
Are you craving a light and zesty dessert? Look no further! My No-Bake Lemon Icebox Bars are the perfect treat for summer. With minimal effort,
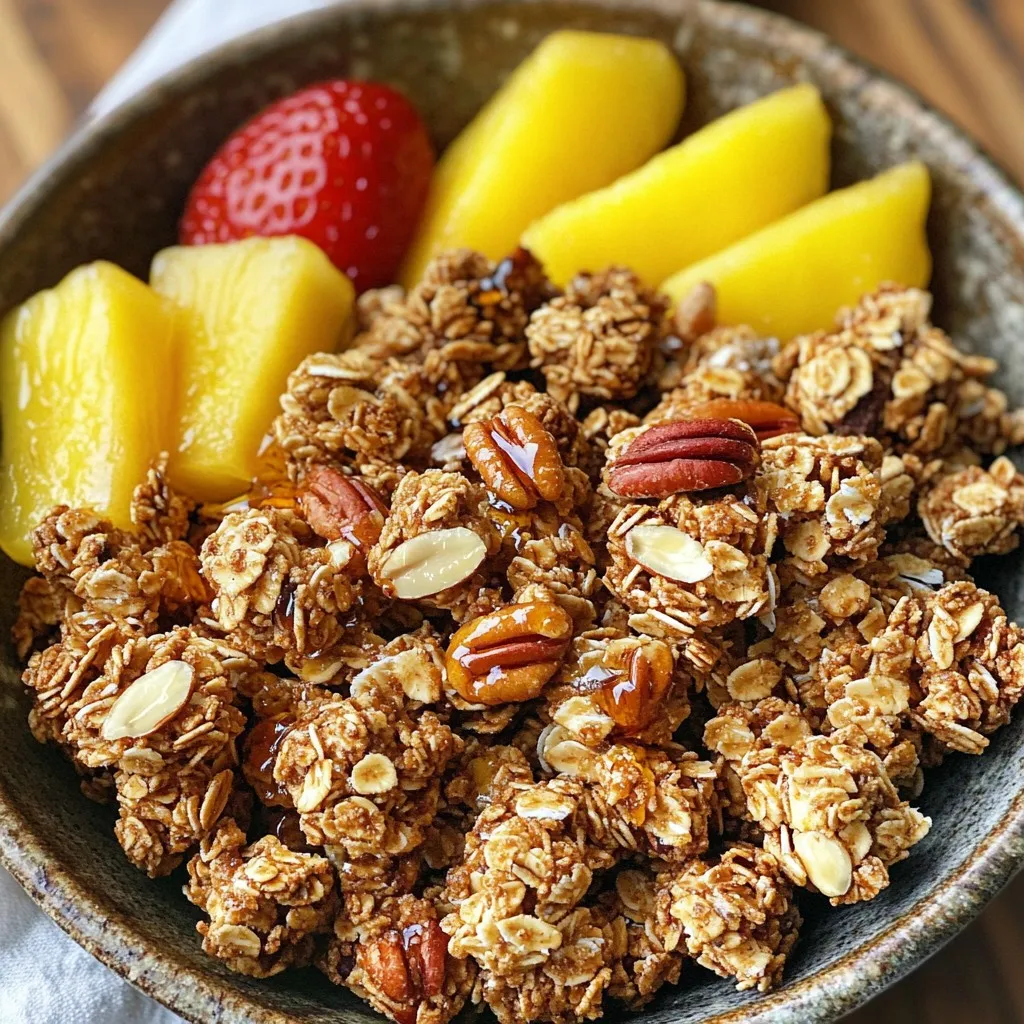
Maple Pecan Granola Clusters Healthy and Tasty Snack
Looking for a healthy and tasty snack? You’ve found it! Maple Pecan Granola Clusters are not only easy to make but also packed with nutrients.
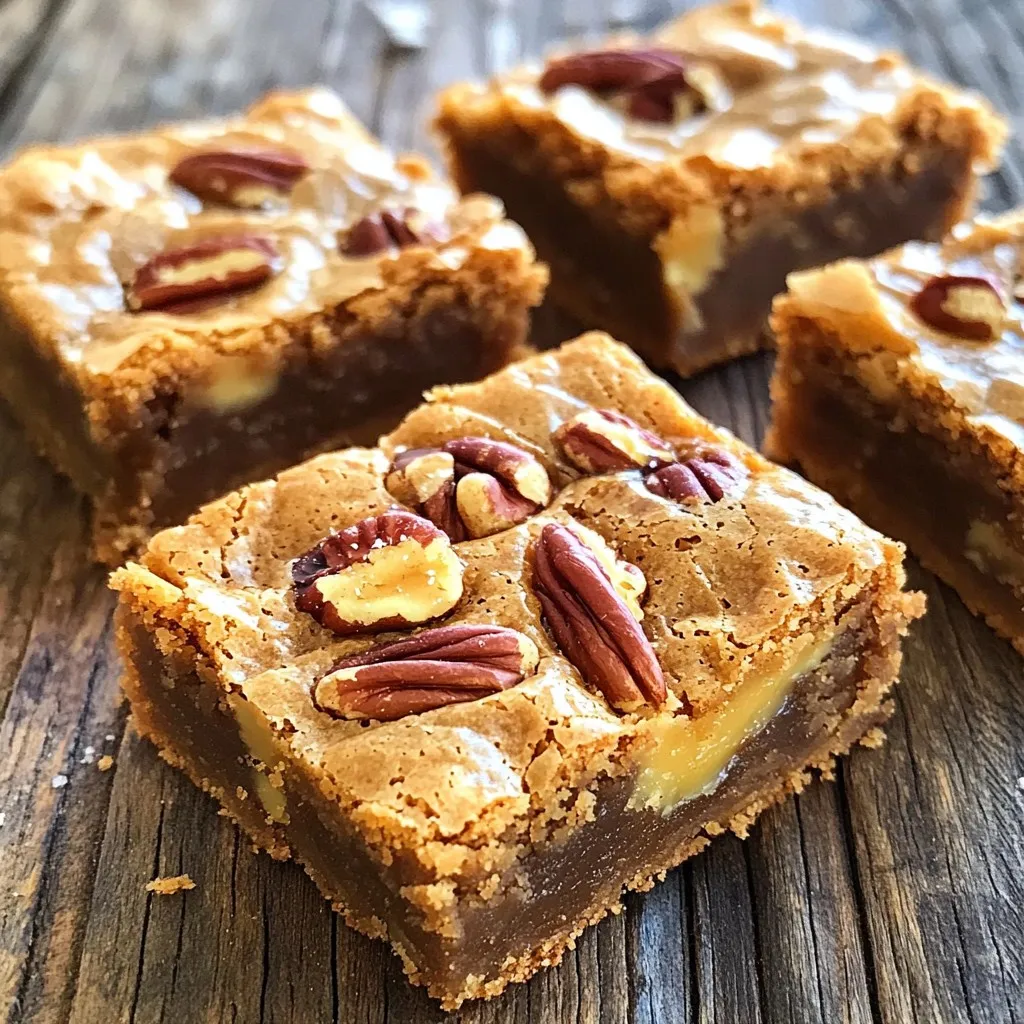
Brown Butter Maple Pecan Blondies Delightful Treat
If you’re craving a sweet treat that’s easy to make, you’ve come to the right place! Brown Butter Maple Pecan Blondies are a delightful dessert