Desserts
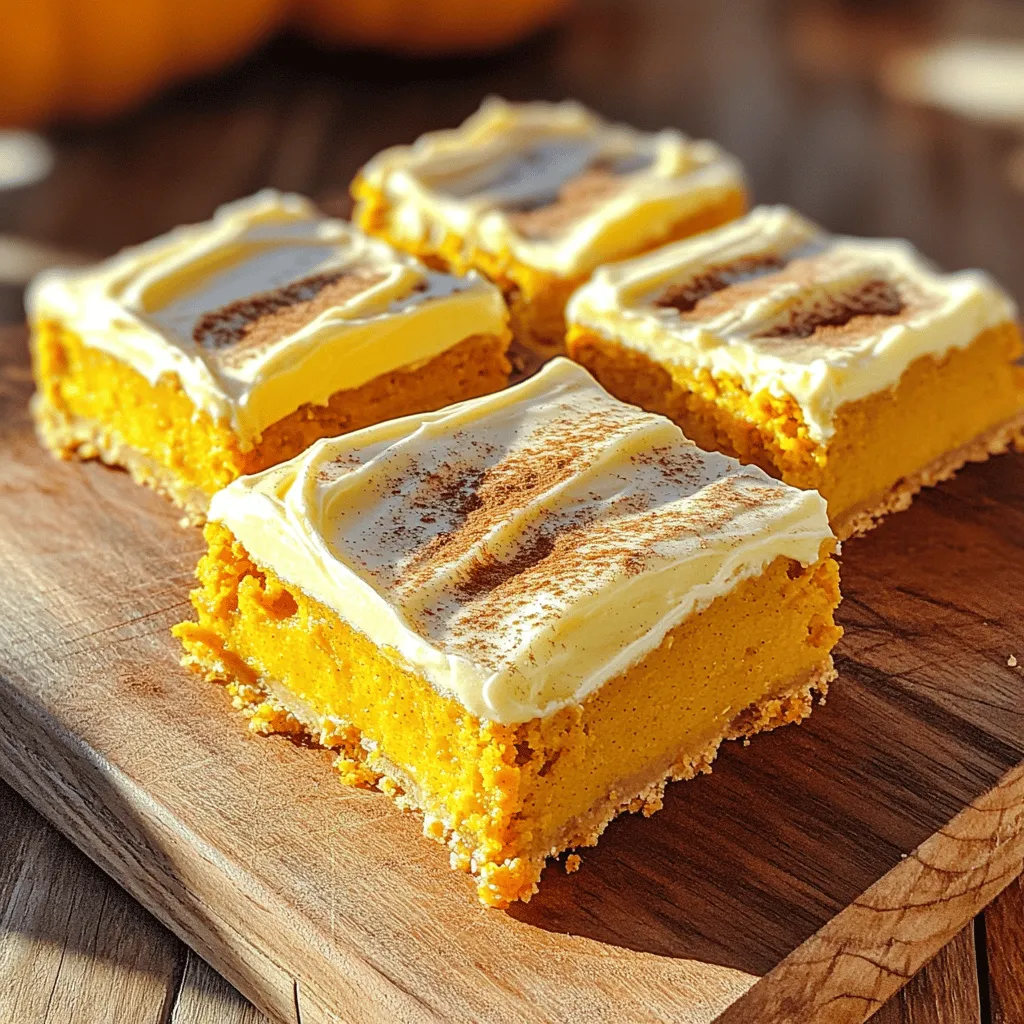
Frosted Pumpkin Bars Irresistible Fall Dessert Recipe
Fall is here, and it’s time for a treat that speaks to the season—Frosted Pumpkin Bars! In this blog post, I’ll guide you through making
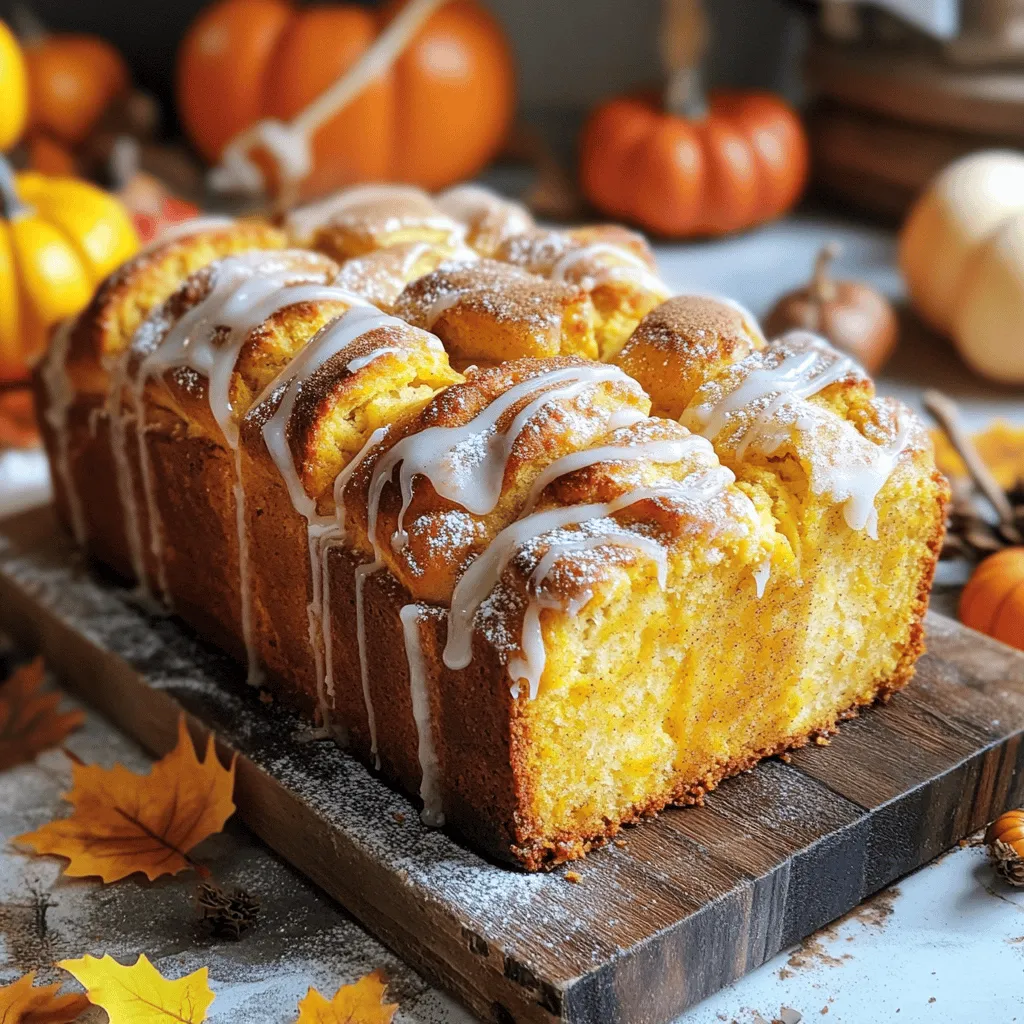
Pumpkin Spice Pull-Apart Bread Irresistible and Warm
Fall is here, and nothing embodies the season quite like Pumpkin Spice Pull-Apart Bread. This warm, gooey delight is perfect for sharing or enjoying alone
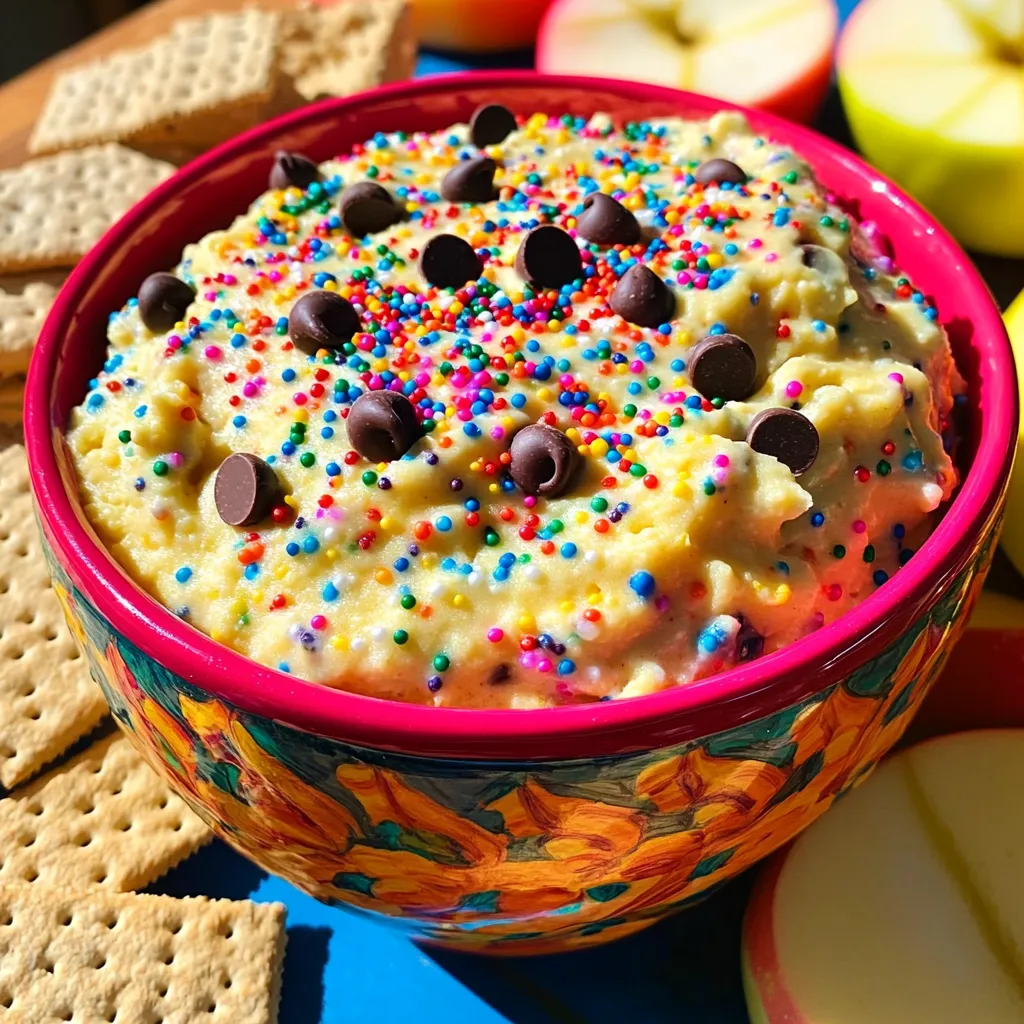
Funfetti Cookie Dough Dip Tasty Sweet Treat
Craving something sweet and fun? Funfetti Cookie Dough Dip is the perfect treat! It’s creamy, colorful, and easy to make. With a few simple ingredients
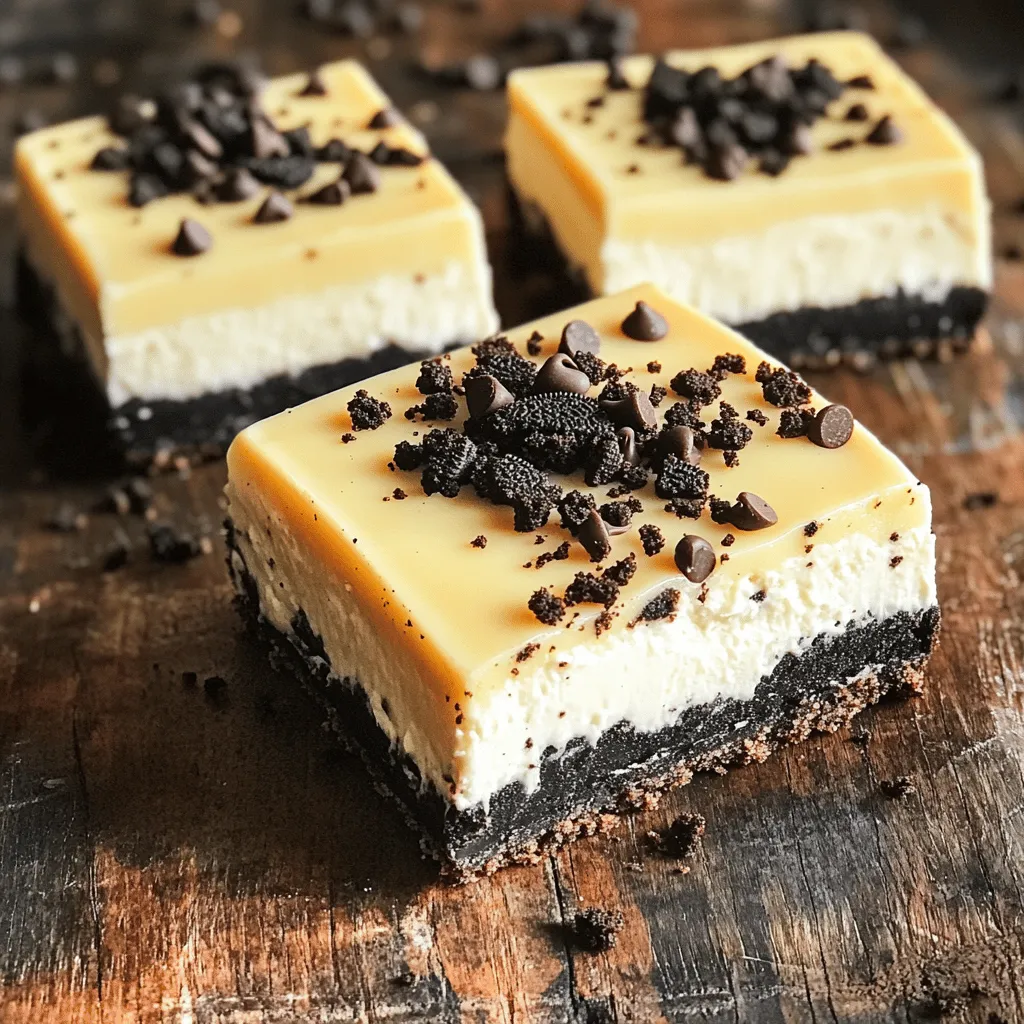
No-Bake Oreo Cheesecake Bars Quick and Easy Recipe
Are you craving a sweet treat that’s simple and delicious? Look no further! In just a few easy steps, you can whip up No-Bake Oreo
Greek Yogurt Protein Cookies Simple and Tasty Treat
Looking for a sweet treat that’s both simple and packed with protein? These Greek Yogurt Protein Cookies are just what you need! With a blend
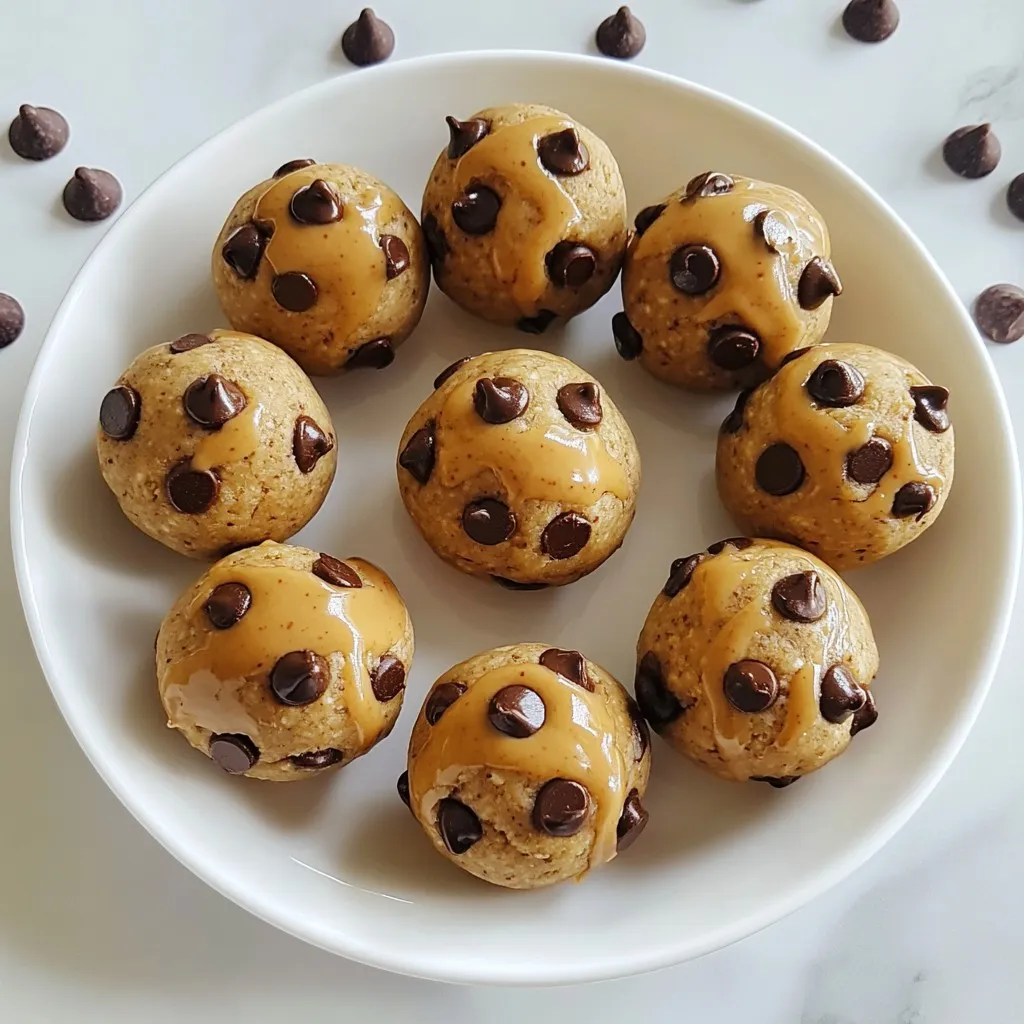
Chocolate Chip Cookie Dough Protein Balls Simple and Tasty
Craving a sweet treat that packs a protein punch? You’ve come to the right place! My Chocolate Chip Cookie Dough Protein Balls are simple to

Pumpkin Pie Fudge Irresistible Sweet Treat Recipe
Love pumpkin spice? You’ll adore this Pumpkin Pie Fudge! It blends creamy white chocolate with rich pumpkin puree for a sweet treat that’s perfect for
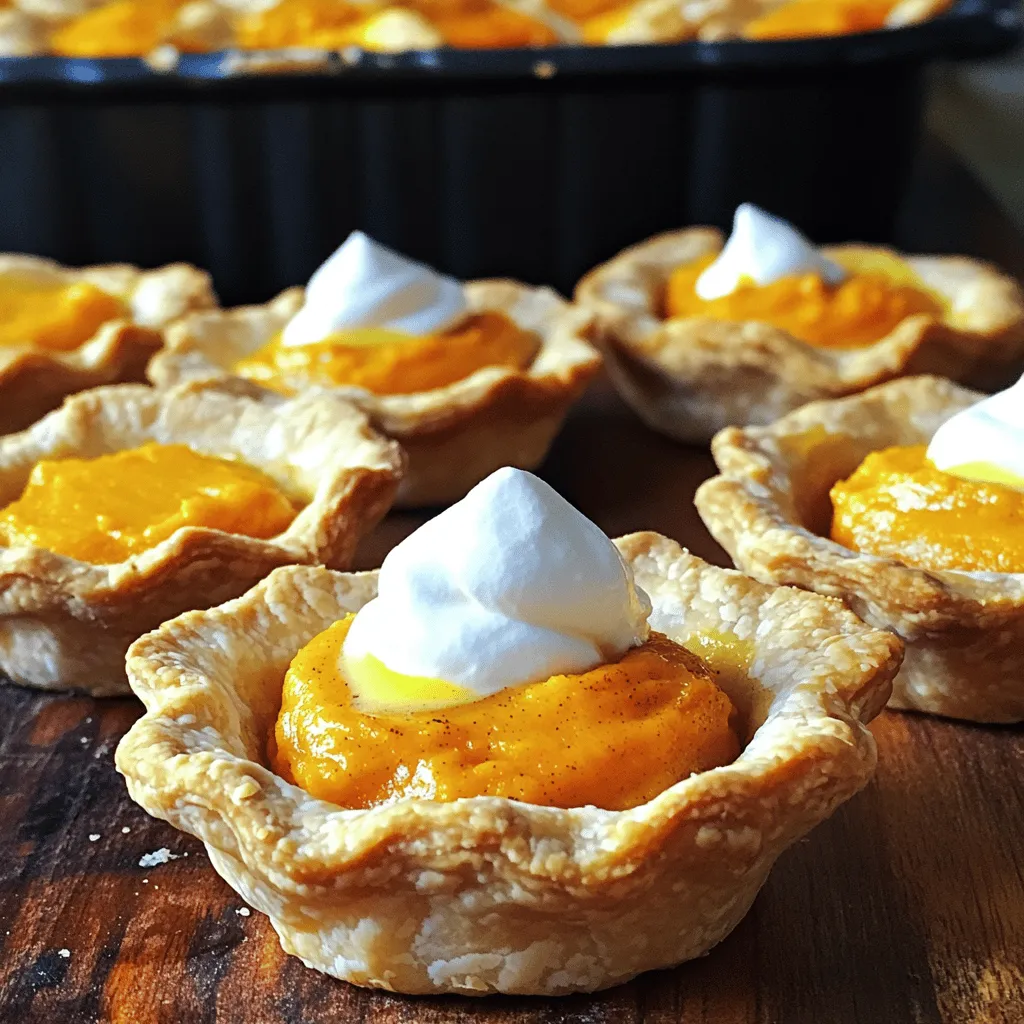
Mini Sweet Potato Pies Delicious and Easy Recipe
Looking for a tasty treat that’s both easy to make and fun to eat? These Mini Sweet Potato Pies are just the ticket! Packed with
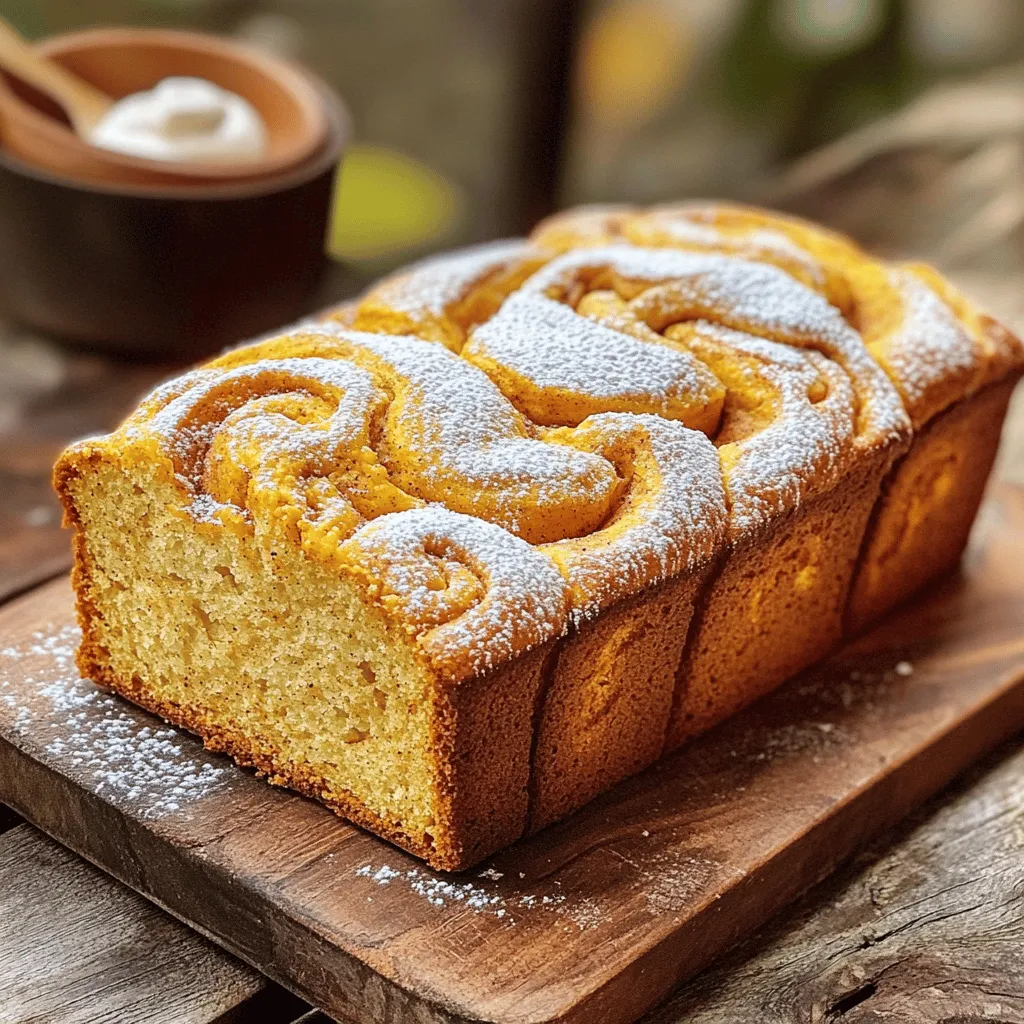
Starbucks Style Pumpkin Bread Deliciously Simple Recipe
Craving that cozy Starbucks pumpkin bread? In this post, I’ll show you how to make it at home with a deliciously simple recipe. You’ll find
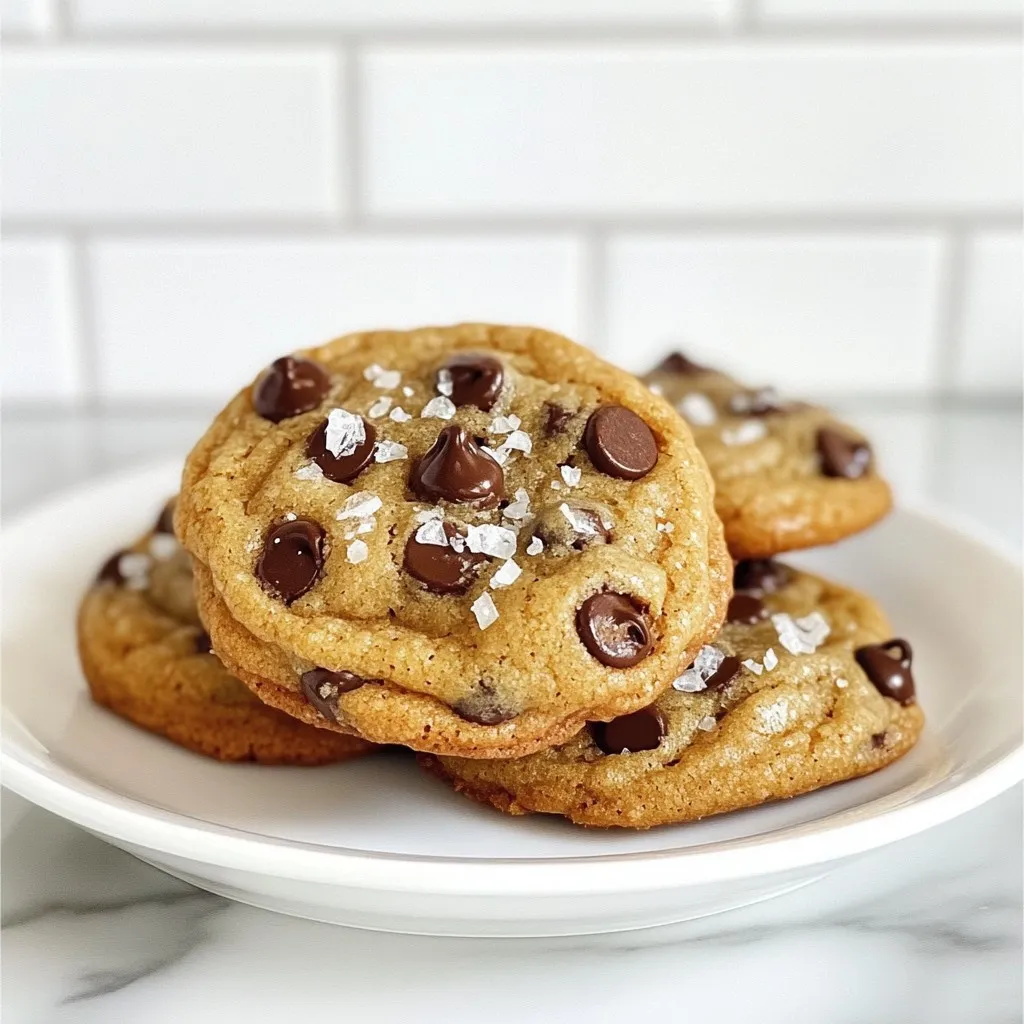
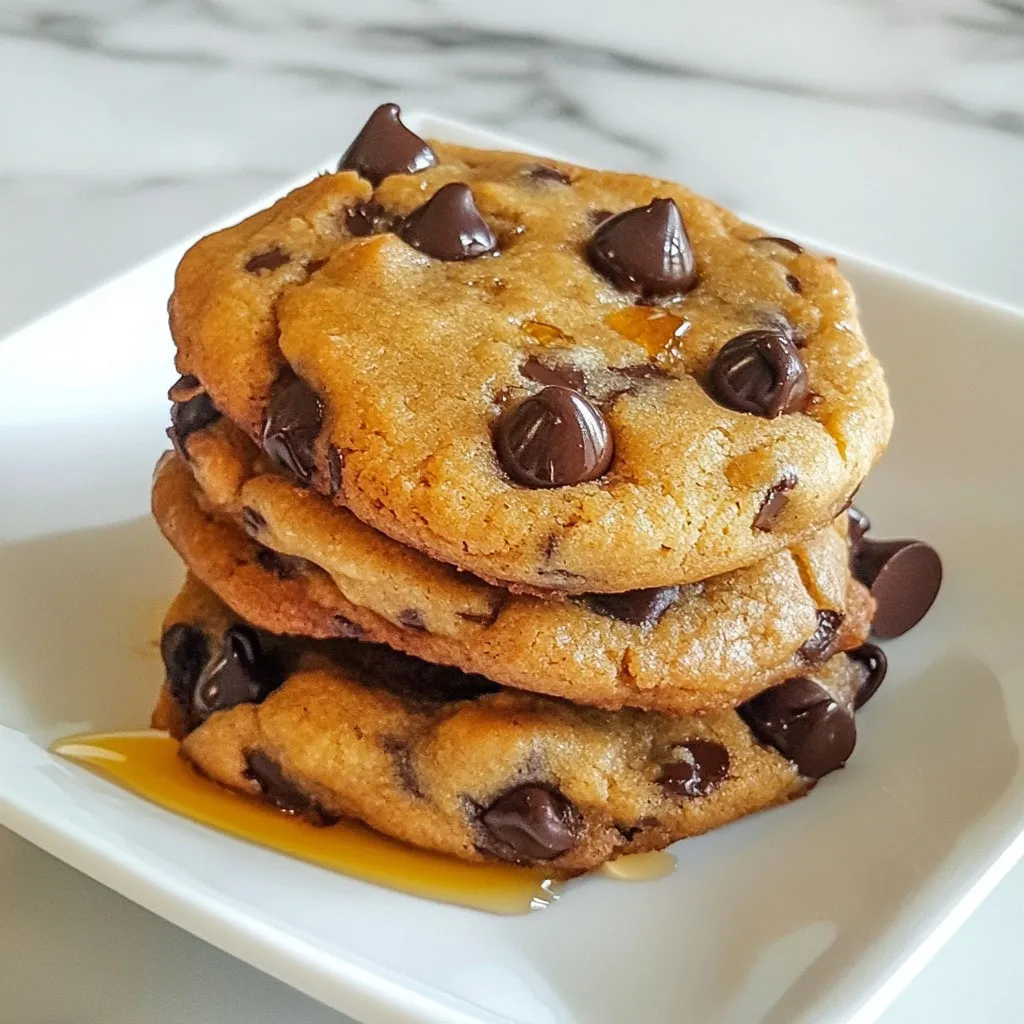
Perfect Bakery Style Chocolate Chip Cookies Recipe
Craving that perfect bakery-style chocolate chip cookie? You’re not alone! I’ve crafted a recipe that makes cookies so good, they’ll take you right back to