Desserts
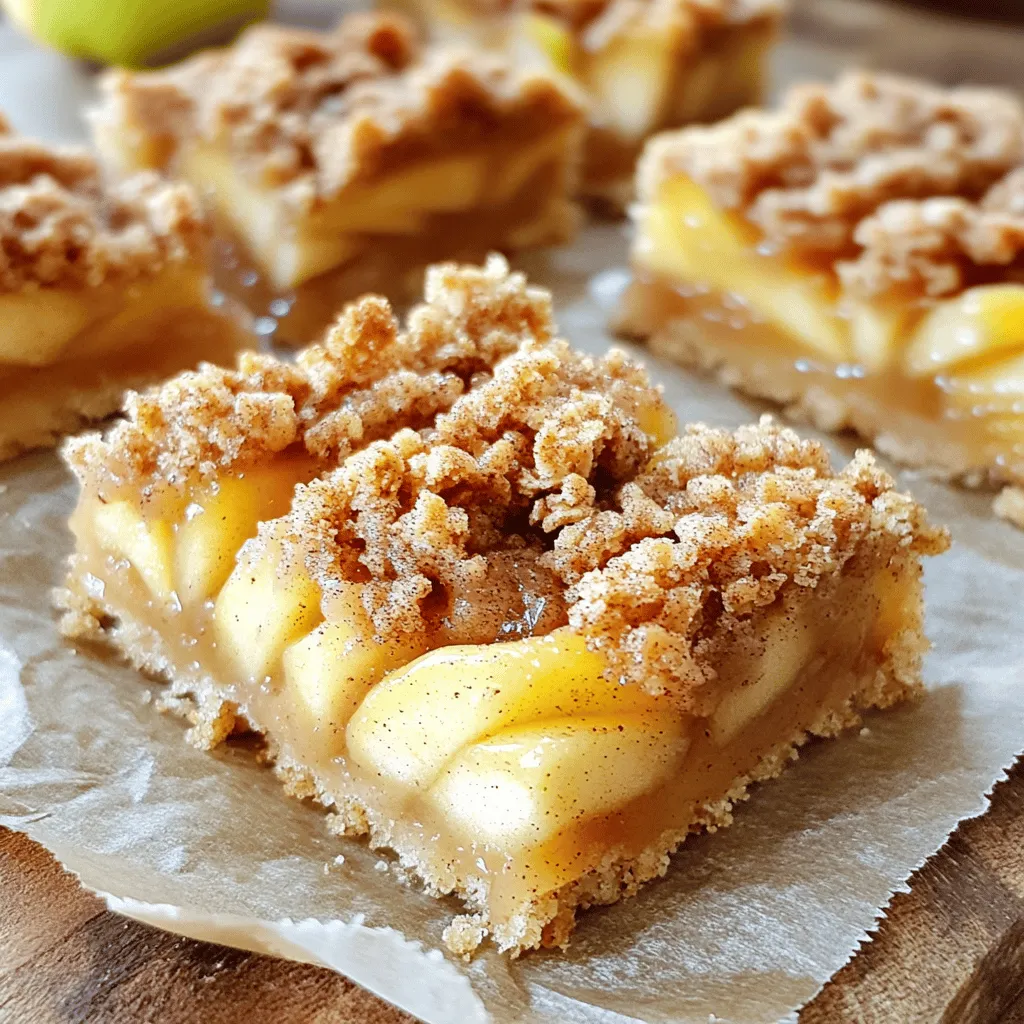
Apple Crisp Bars Delightful Dessert for Any Occasion
Are you ready to dive into a dessert that’s bursting with flavor? These Apple Crisp Bars are your new go-to sweet treat for any occasion.
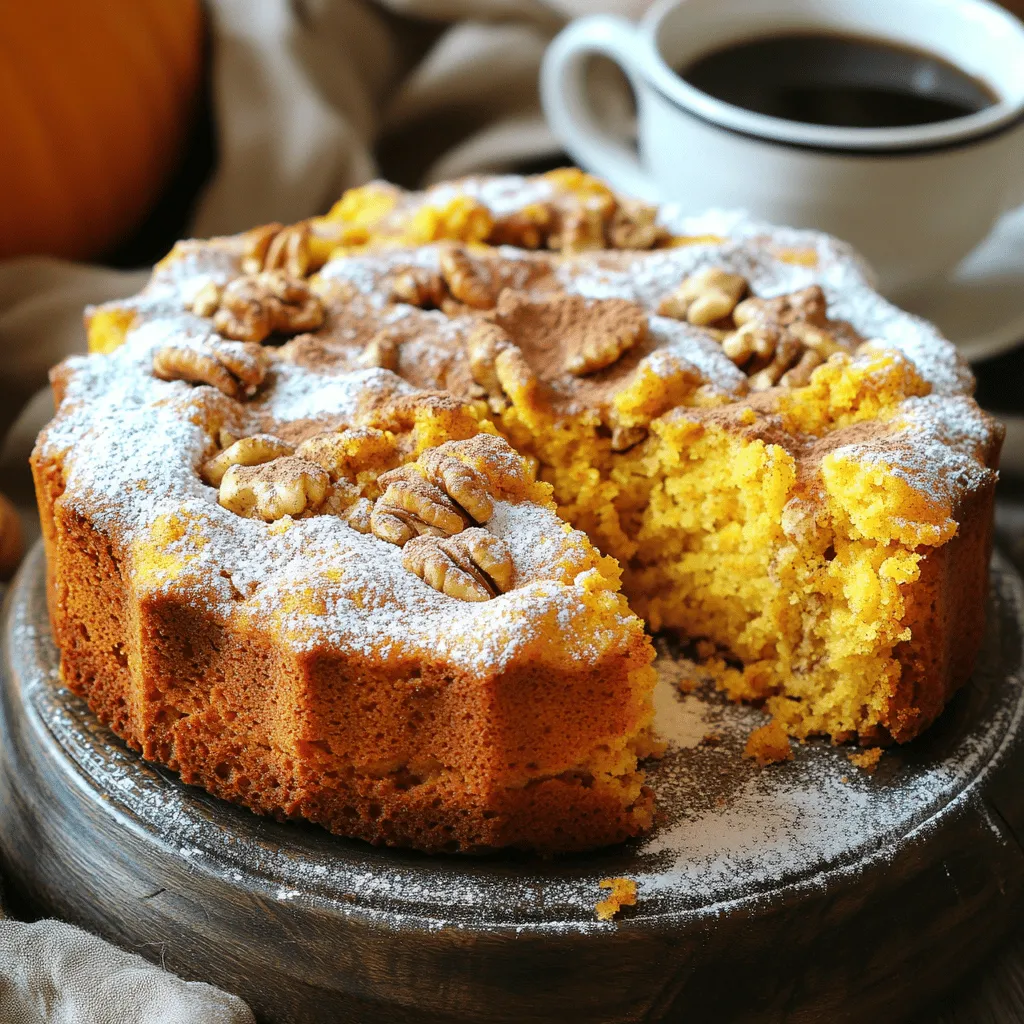
Pumpkin Coffee Cake Delightful and Simple Recipe
Fall brings cozy vibes, and what better treat than Pumpkin Coffee Cake? This delightful and simple recipe combines warm pumpkin flavors with rich spices, making
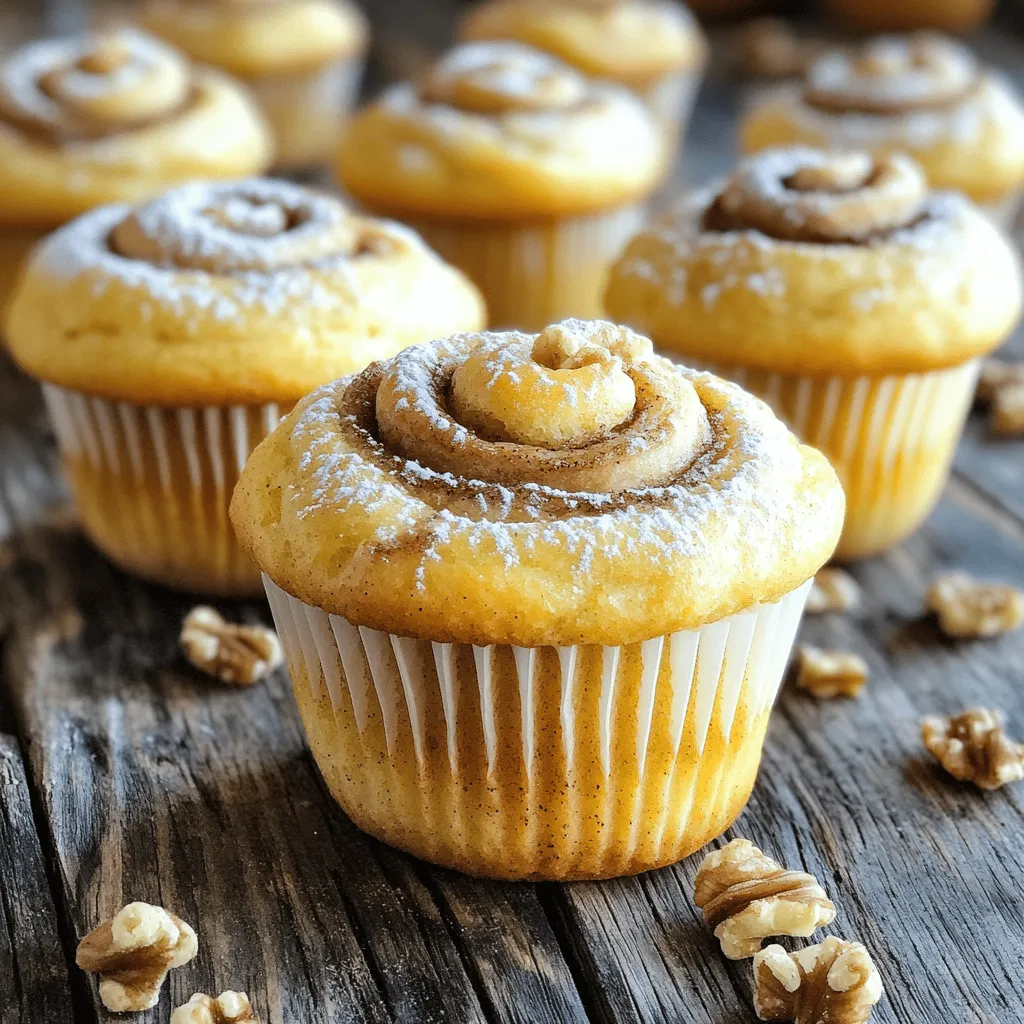
Pumpkin Cinnamon Roll Muffins Cozy and Tasty Treat
Craving a cozy, warm treat? You’ll love these Pumpkin Cinnamon Roll Muffins! They combine the soft, fluffy texture of muffins with the sweet spice of

One Bowl Brownies Super Easy and Delicious Treat
Craving a sweet treat but short on time? One Bowl Brownies are the answer! These fudgy delights come together in minutes and create less mess

Apple Fritter Waffle Donuts Easy and Tasty Treat
Do you love sweet and tasty treats? Then you must try my Apple Fritter Waffle Donuts! These fun desserts mix the best of apple fritters
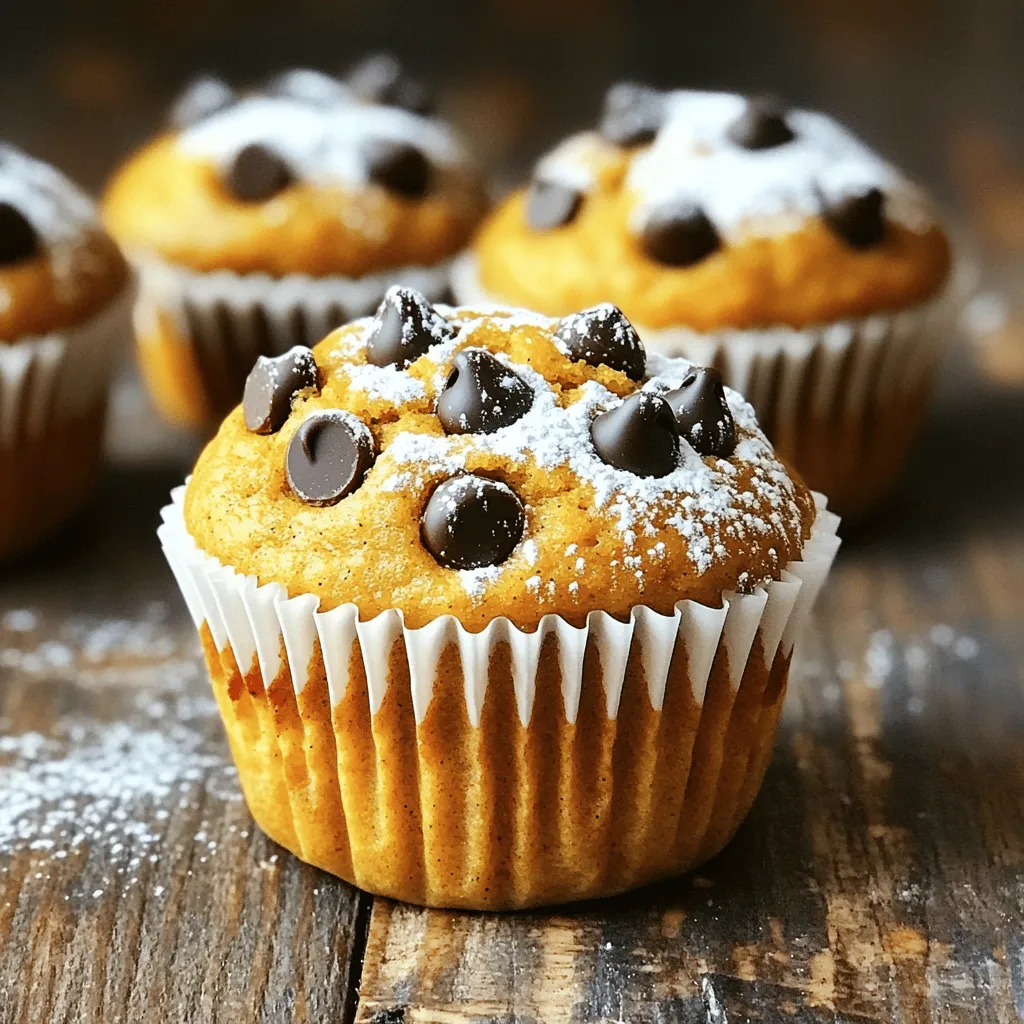
Best Pumpkin Chocolate Chip Muffins Delightful Recipe
Pumpkin chocolate chip muffins are a fall must-have. Their warm spices mix perfectly with sweet chocolate. I’ll share my best recipe to make these delightful
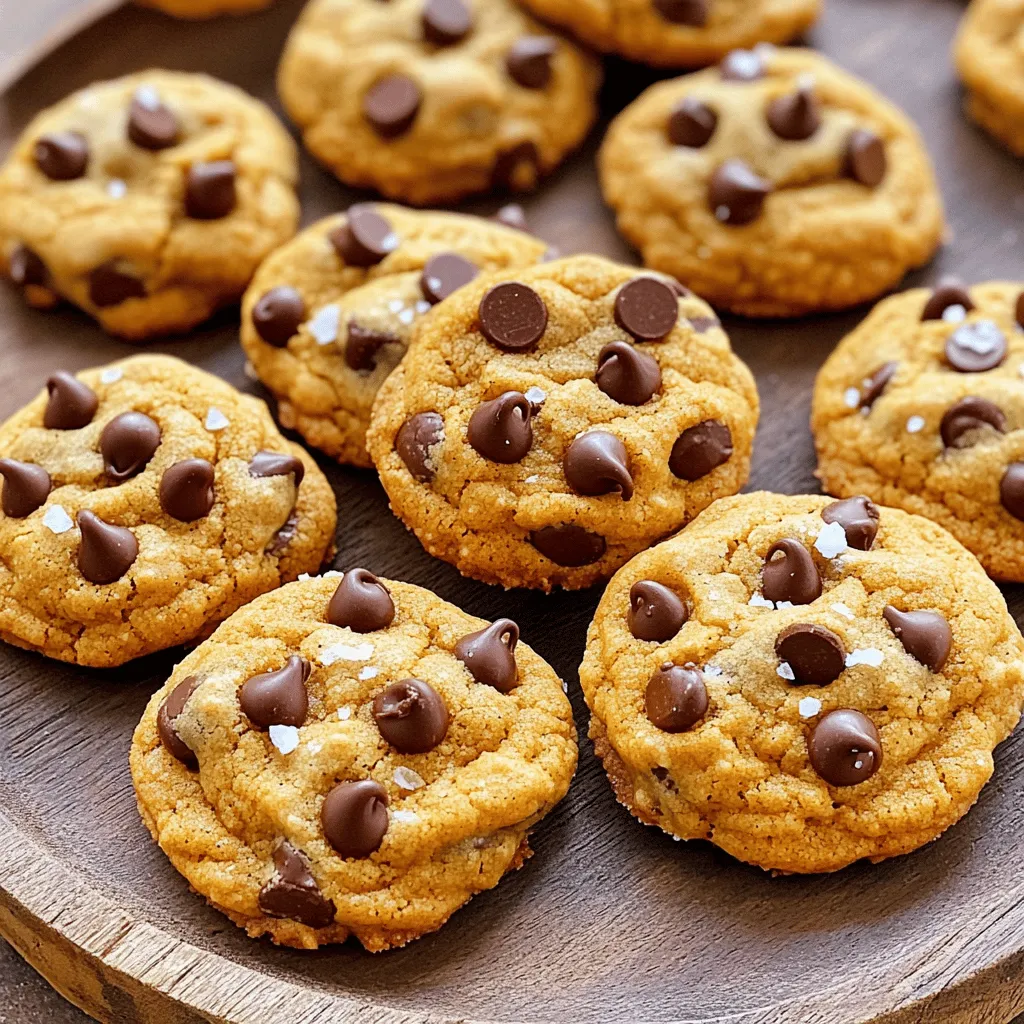
Brown Butter Pumpkin Chocolate Chip Cookies Delight
Get ready to indulge in the holiday spirit! My Brown Butter Pumpkin Chocolate Chip Cookies combine rich, nutty flavor with sweet pumpkin goodness. With every
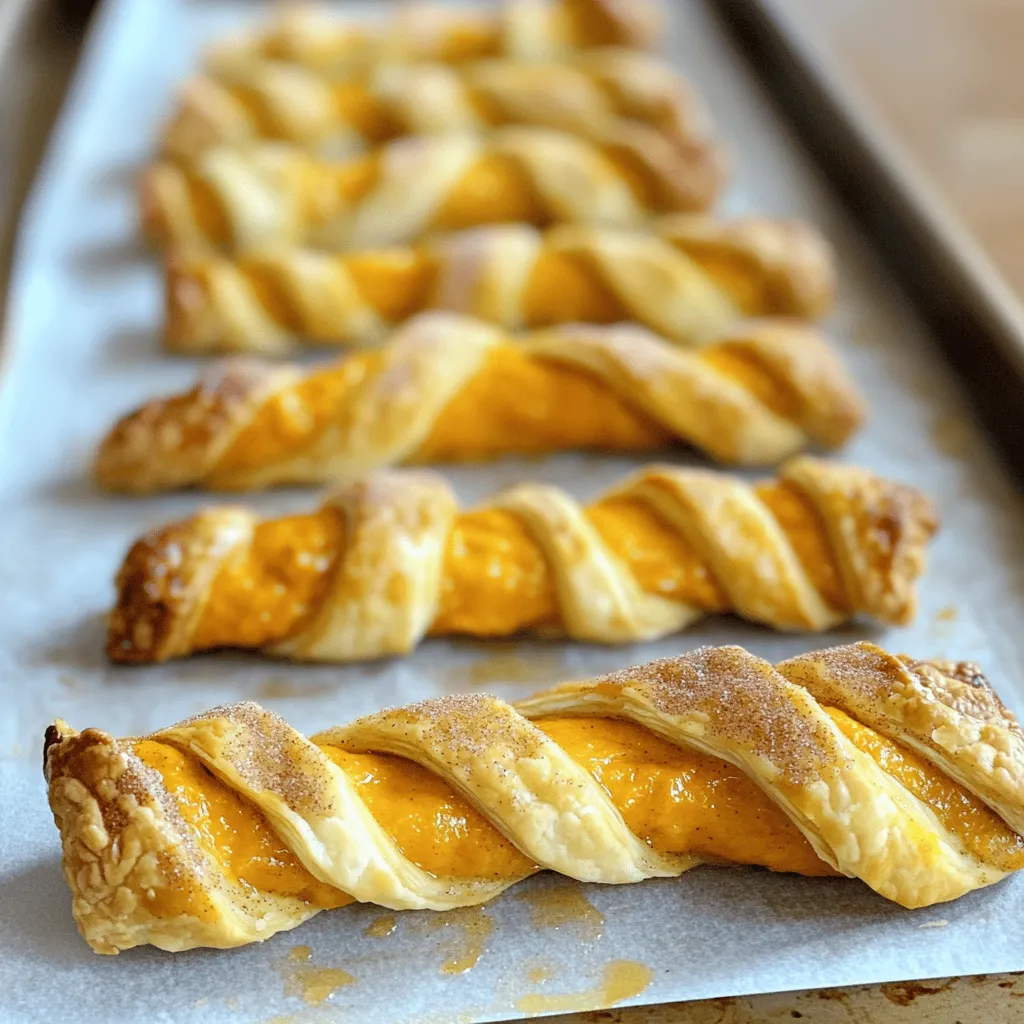
Cinnamon Sugar Pumpkin Pie Twists Delightful Treat
Get ready to enjoy a delightful fall treat! Cinnamon Sugar Pumpkin Pie Twists combine buttery puff pastry with creamy pumpkin filling and warm spices. In
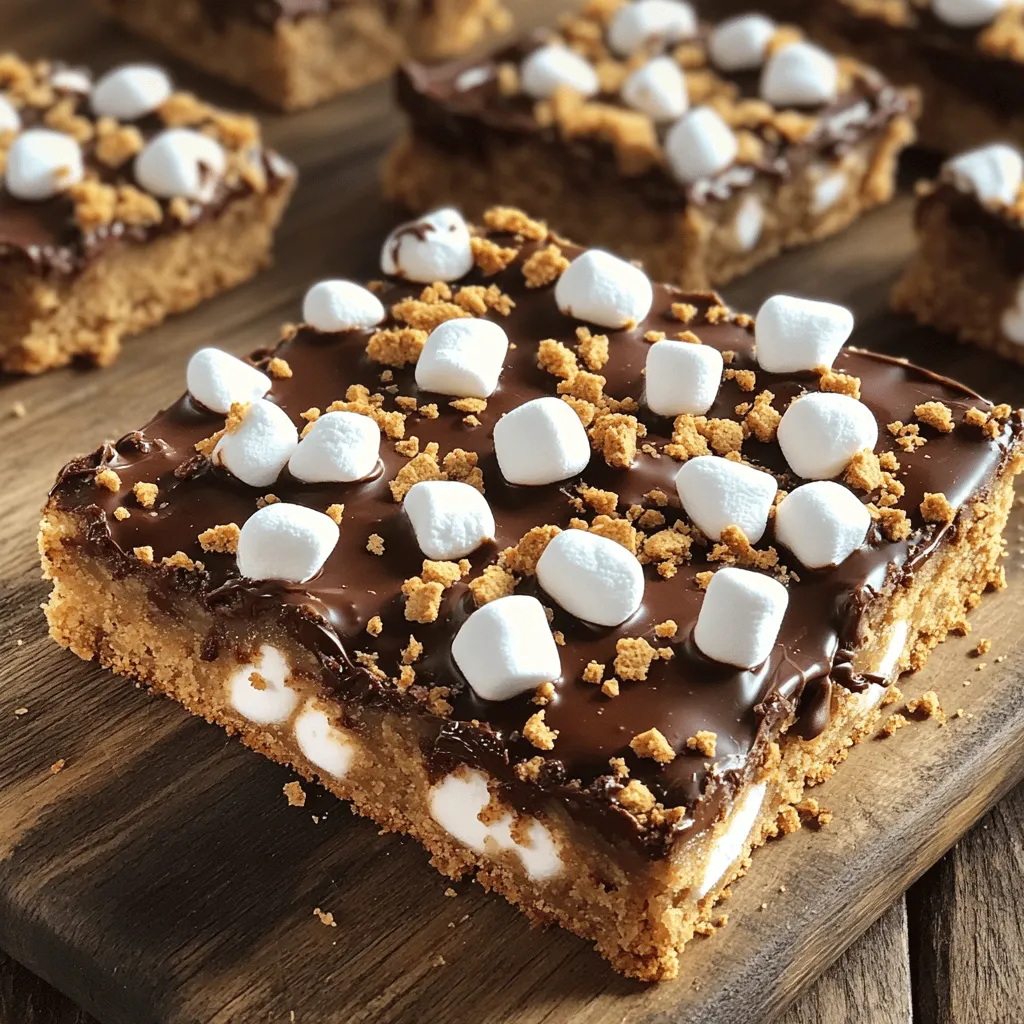
S’mores Cookie Bars Delightful and Easy Recipe
Get ready to indulge in your new favorite treat: S’mores Cookie Bars! This recipe is not only simple but also packed with the classic flavors
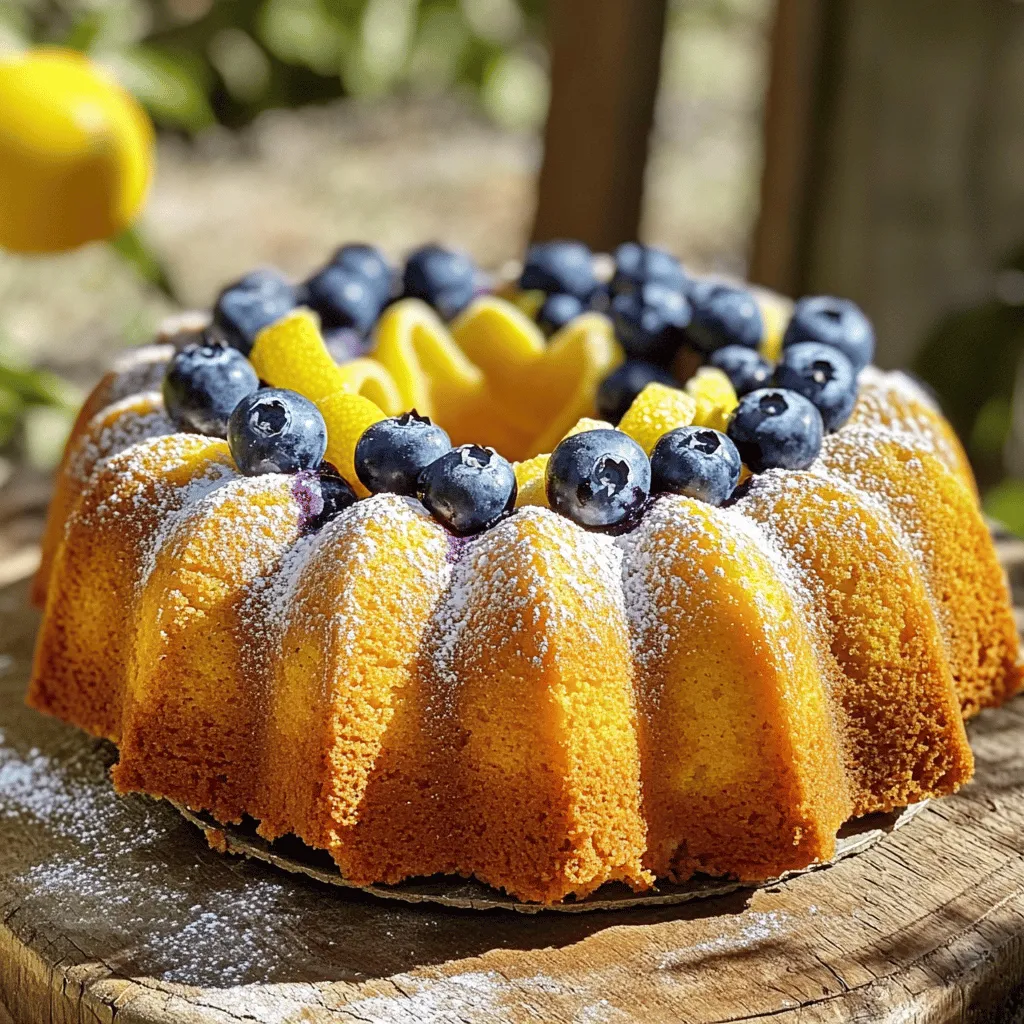
Lemon Blueberry Pound Cake Delightful and Easy Recipe
Welcome to the world of Lemon Blueberry Pound Cake! In this post, I’ll share a delightful and easy recipe that’s perfect for any occasion. With