Desserts

Pumpkindoodle Cookies Delightful Fall Treat Recipe
Fall is here, and it’s time to fill your kitchen with the warm scent of Pumpkindoodle Cookies! These soft and chewy treats blend classic snickerdoodle
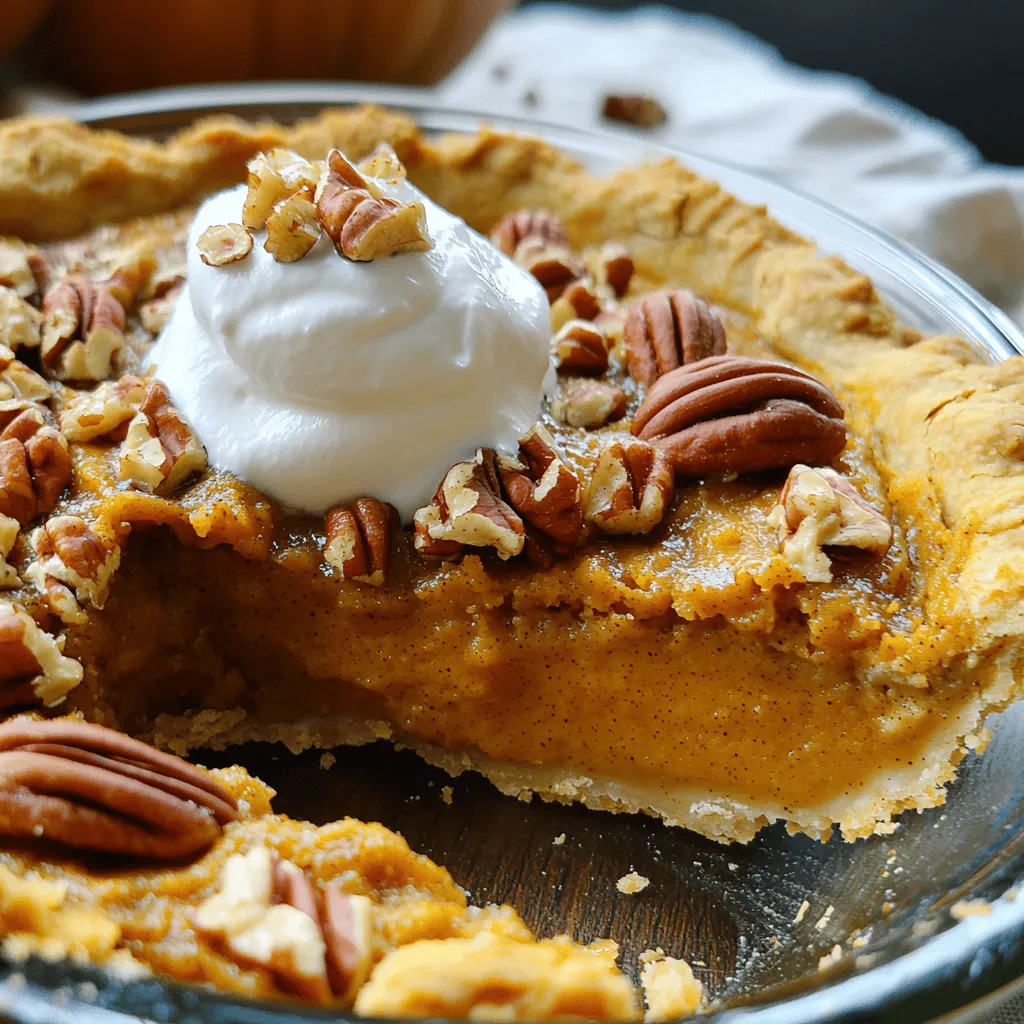
Pumpkin Pecan Cobbler Heavenly Dessert Delight
Craving a dessert that combines the warm flavors of fall? Look no further than my Pumpkin Pecan Cobbler. This heavenly treat brings together pure pumpkin,
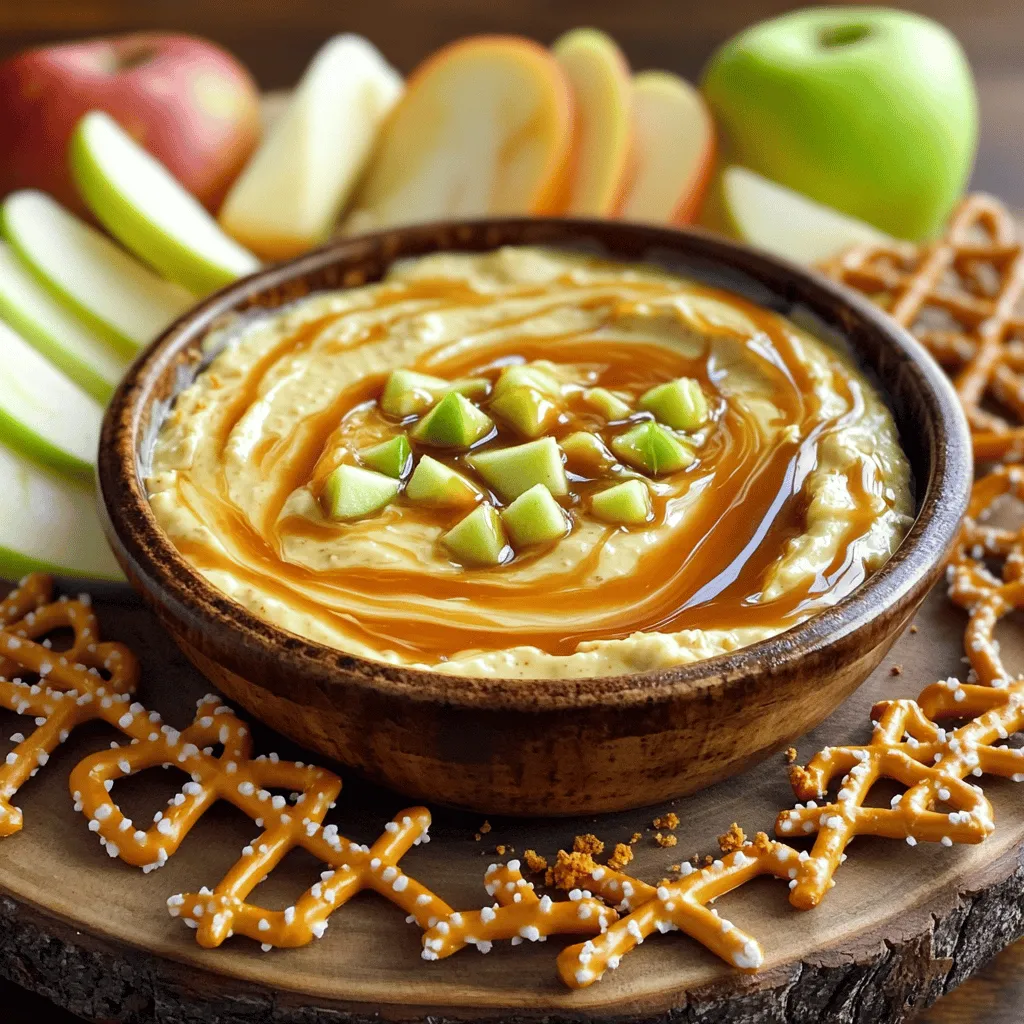
Caramel Apple Cheesecake Dip Tasty Fall Favorite
Fall is here, and that means it’s time for warm, cozy flavors! Today, I’m sharing my favorite recipe: Caramel Apple Cheesecake Dip. This sweet treat
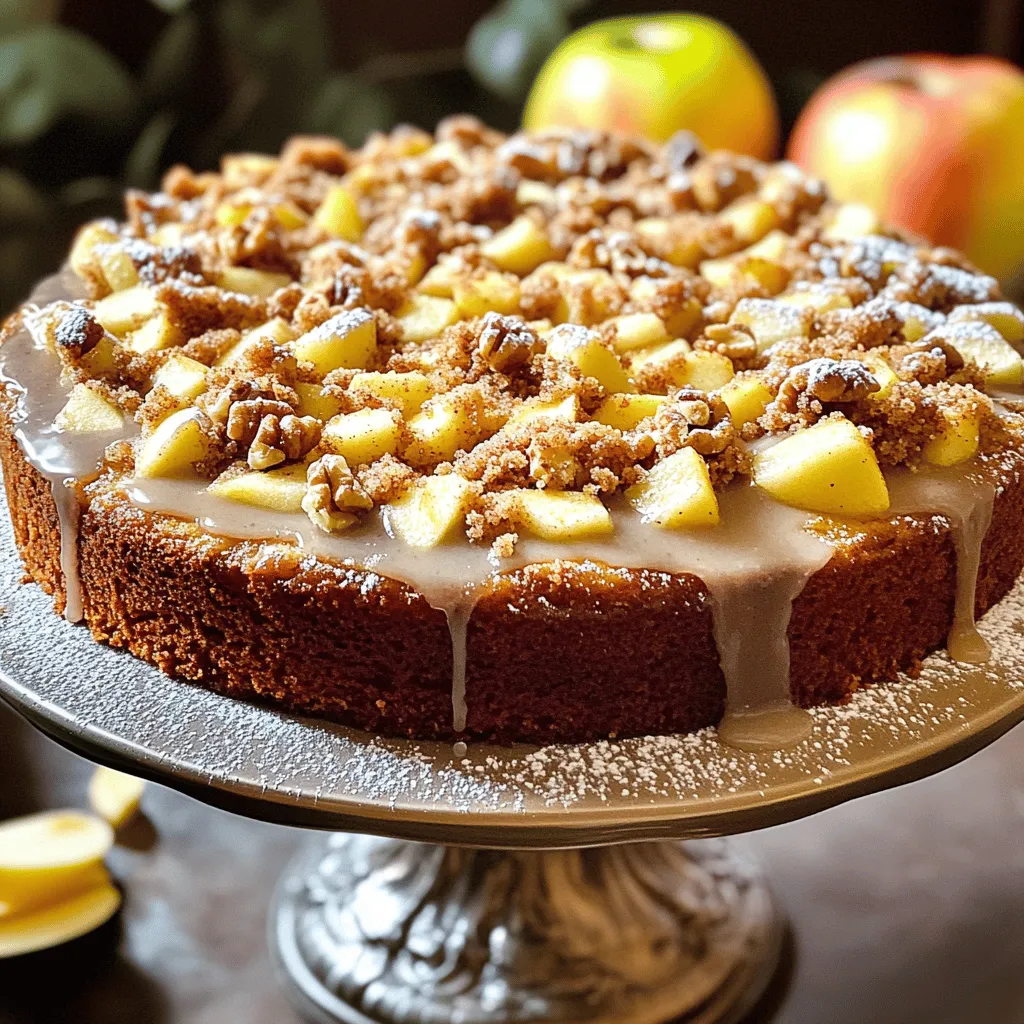
Apple Crumb Cake with Cinnamon Drizzle Delight
If you love the warm, cozy flavors of fall, my Apple Crumb Cake with Cinnamon Drizzle Delight is for you. This cake brings together tender
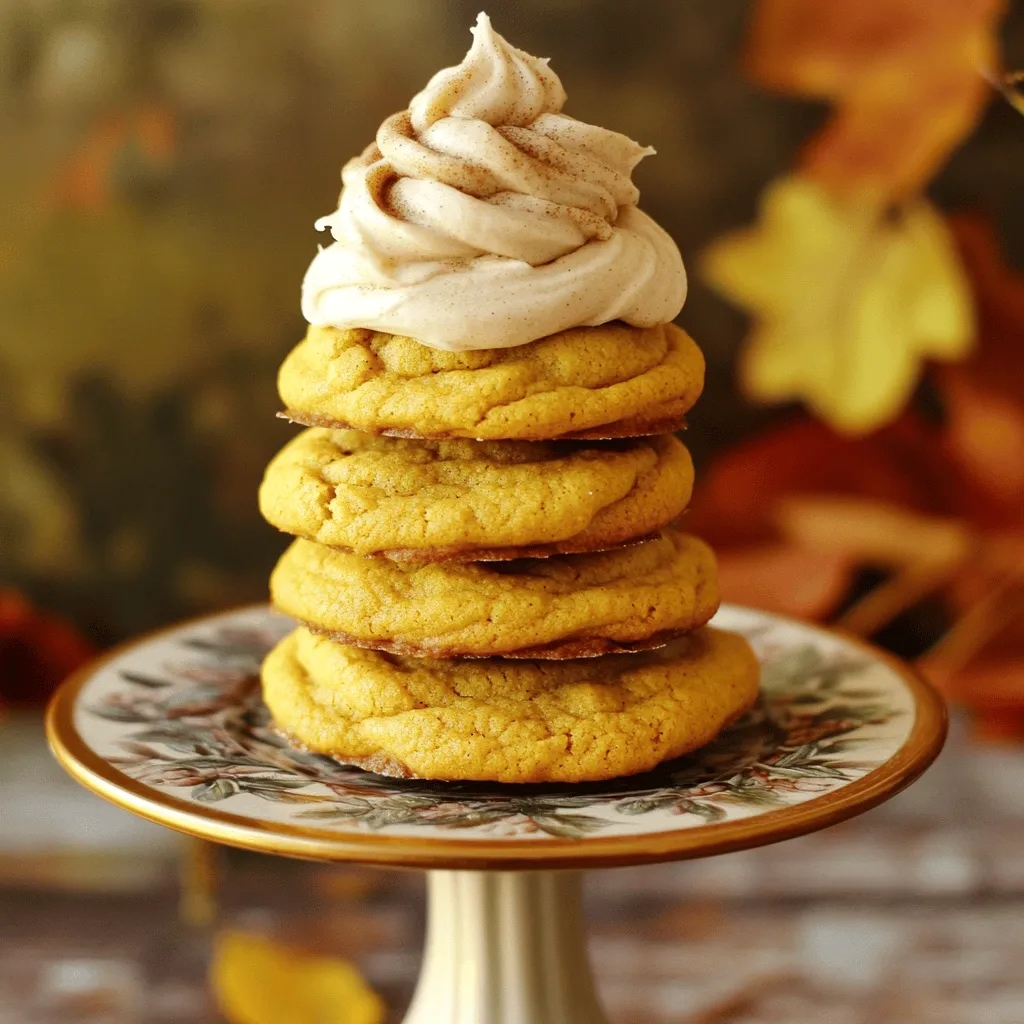
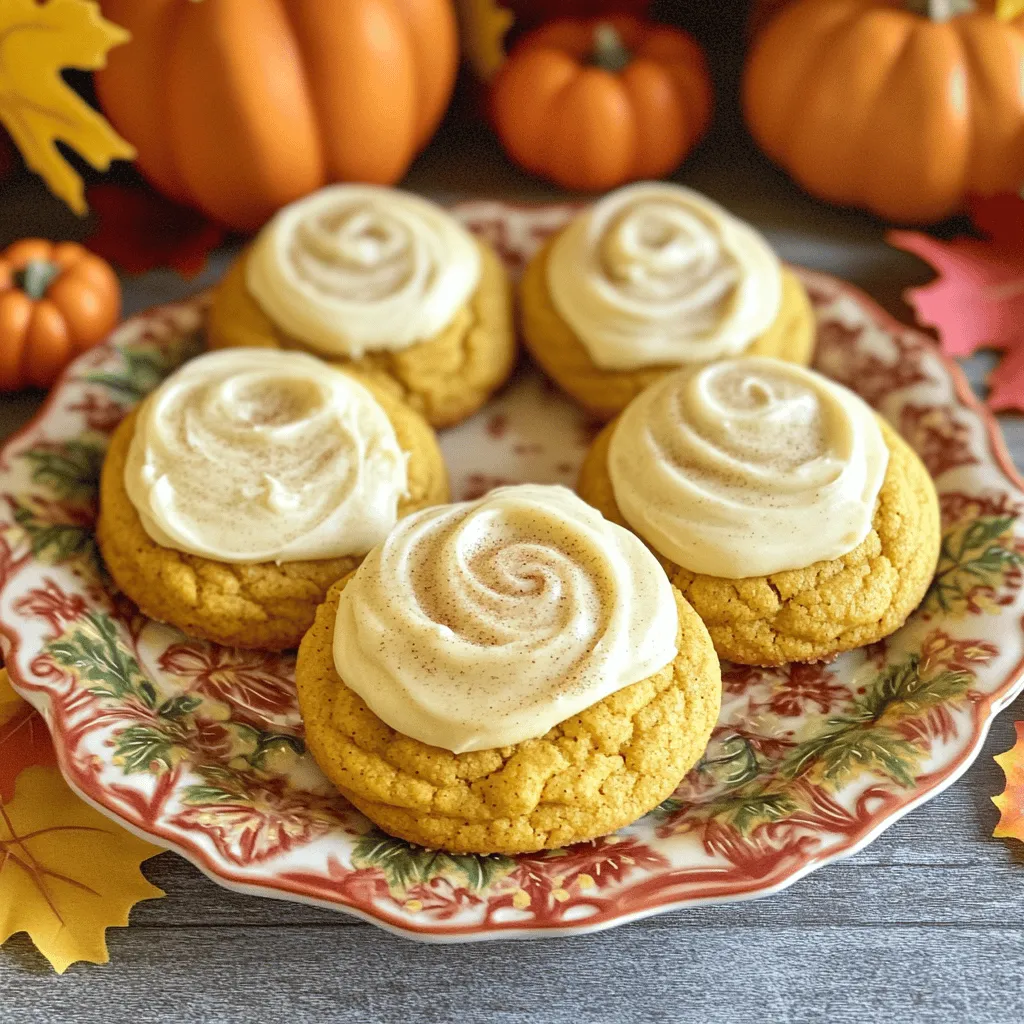
Soft Pumpkin Cookies with Cinnamon Frosting Delight
Get ready to indulge in soft pumpkin cookies topped with creamy cinnamon frosting! These delightful treats are perfect for fall gatherings or cozy nights at
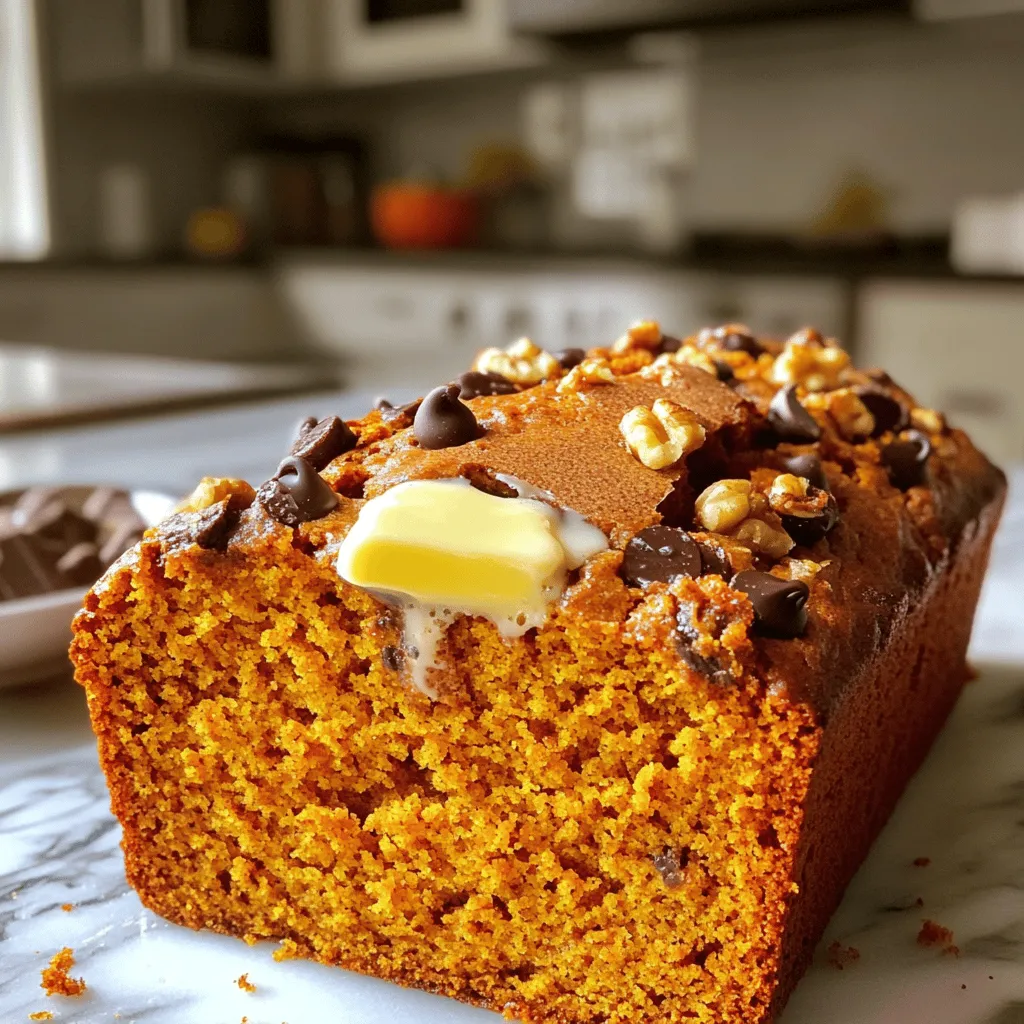
Super Moist Pumpkin Bread Perfect for Fall Flavor
Are you ready to embrace the flavors of fall? This Super Moist Pumpkin Bread recipe will fill your kitchen with warmth and coziness. Made with

Delicious Apple Crumble Cheesecake Easy and Tasty Recipe
Craving something sweet and comforting? You’re in the right place! My delicious apple crumble cheesecake combines creamy goodness with crispy topping. This easy recipe will
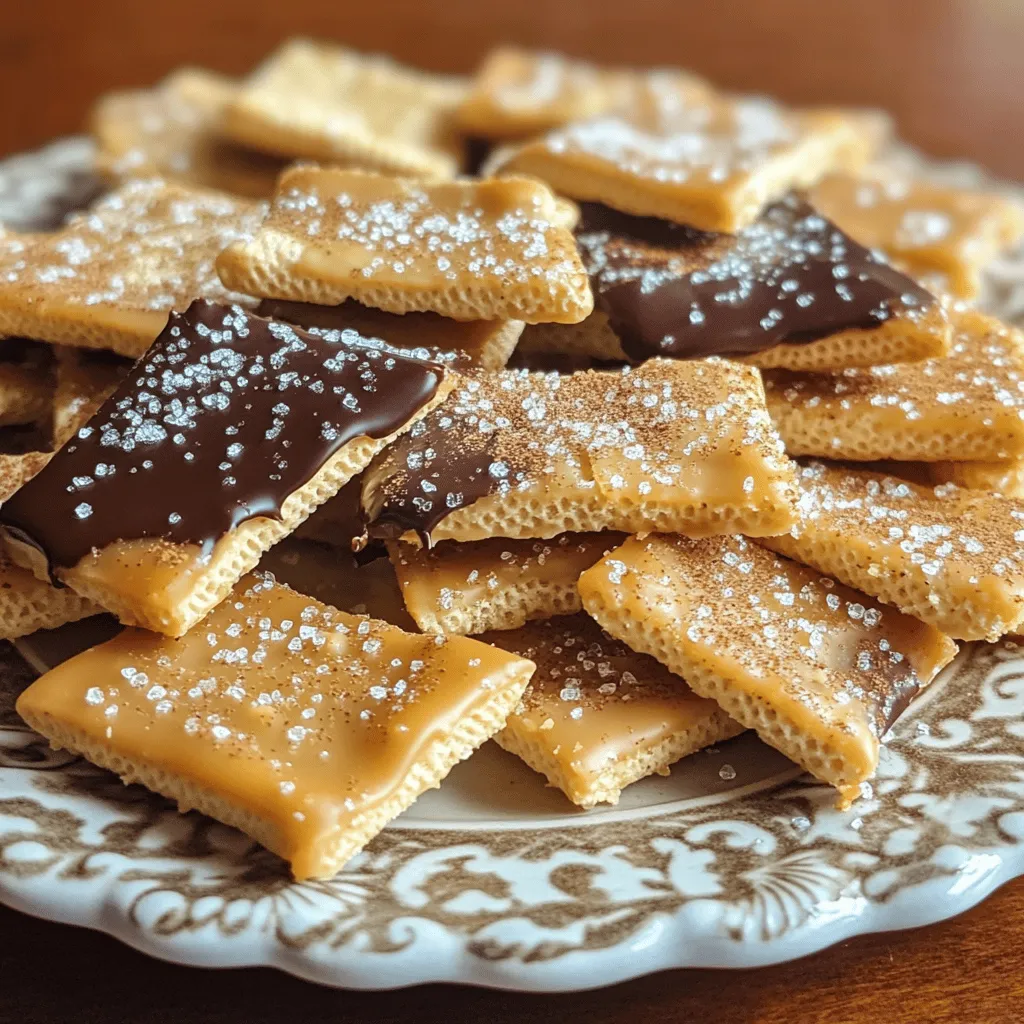
Churro Saltine Toffee Delightful Sweet Treat Recipe
Are you ready to try a sweet treat that will blow your mind? Churro Saltine Toffee mixes the crunch of Saltines with warm, gooey caramel
Soft Pumpkin Cookies with Cream Cheese Icing Delight
If you crave a sweet and soft treat this fall, you’ll love my Soft Pumpkin Cookies with Cream Cheese Icing. These cookies blend warm spices
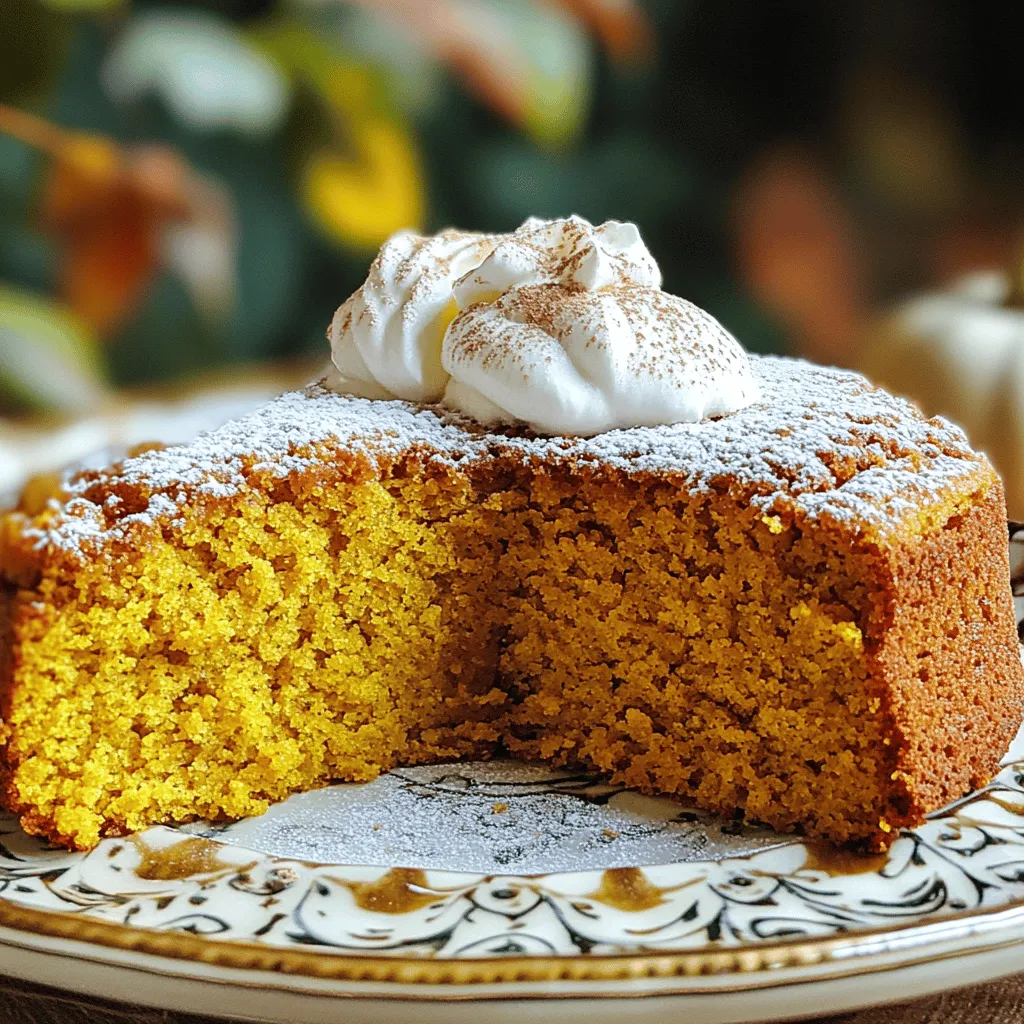
Easy Pumpkin Spice Cake Delicious and Quick Recipe
Want a sweet treat that captures the essence of fall? Look no further! This Easy Pumpkin Spice Cake is quick to make and packed with