Desserts
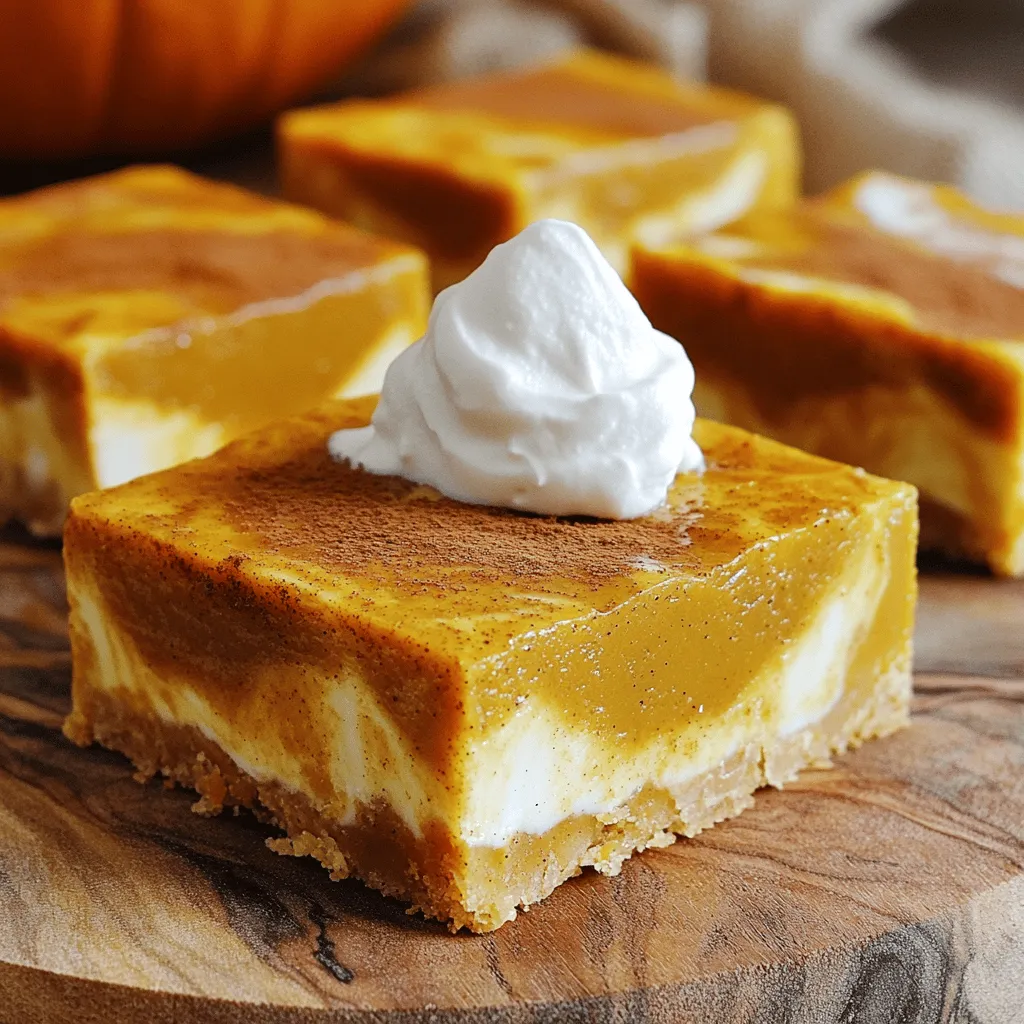
Pumpkin Pie Bars Tasty Fall Dessert Recipe Guide
Are you craving a sweet and cozy fall treat? Look no further! My Pumpkin Pie Bars are the perfect dessert to bring warmth to any
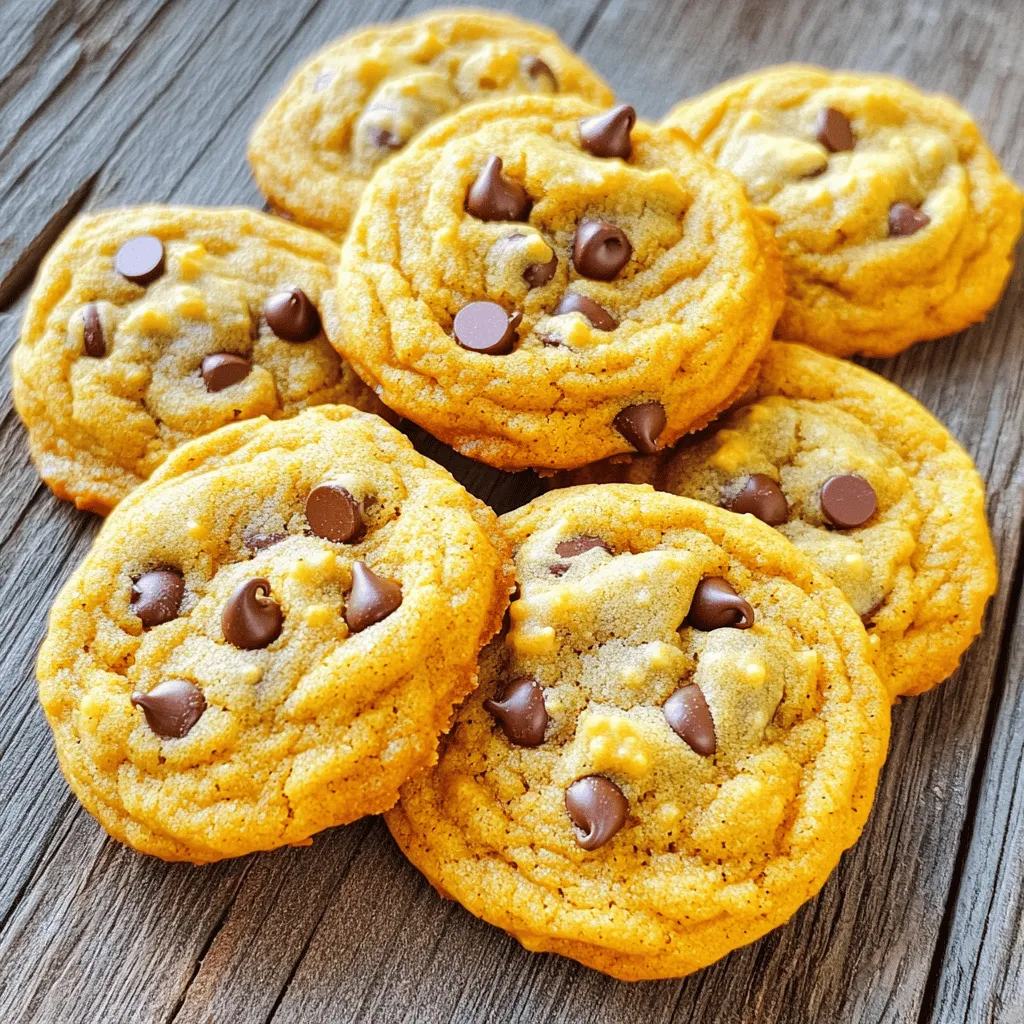
Soft Pumpkin Chocolate Chip Cookies Flavorful Treat
Get ready to delight in the flavors of fall with my soft pumpkin chocolate chip cookies. These cookies are warm, soft, and filled with sweet,
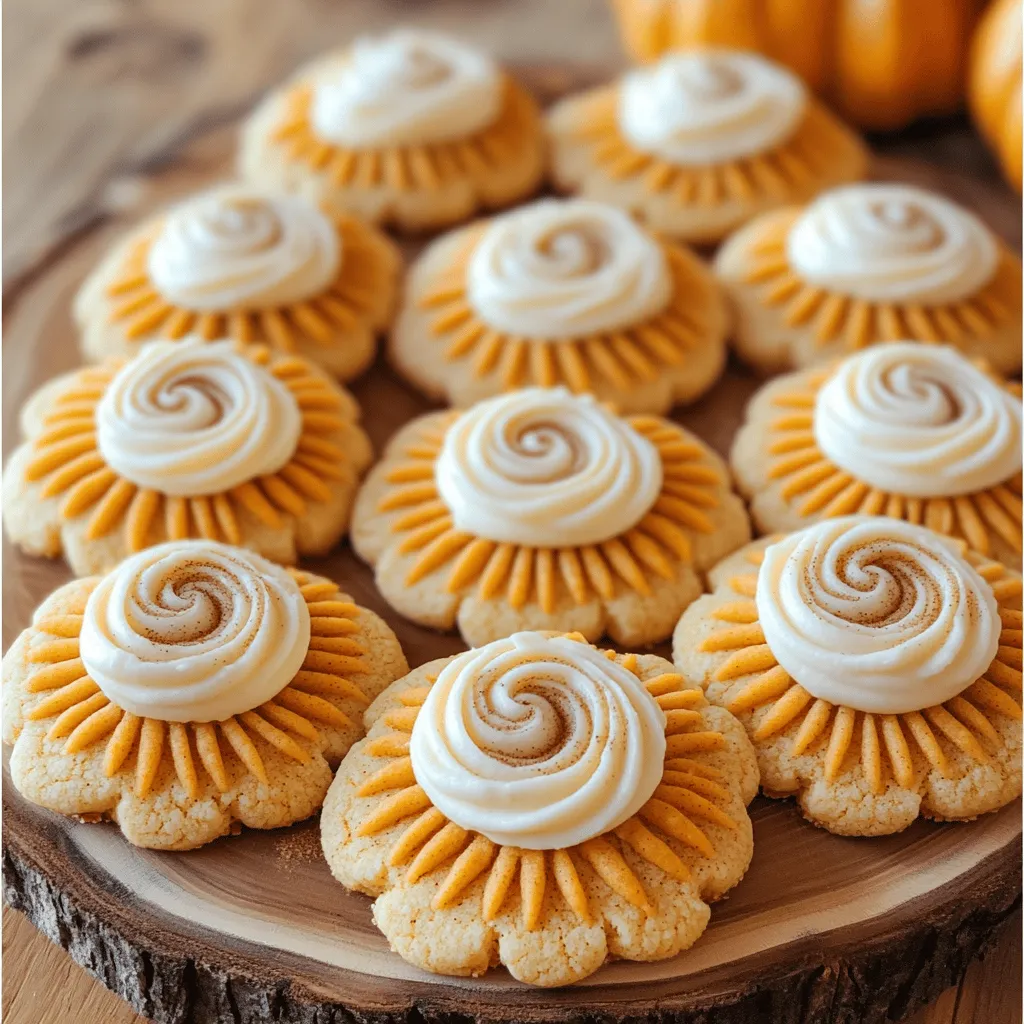
Pumpkin Sugar Cookies with Cream Cheese Frosting Delight
Ready to elevate your fall baking with a delightful twist? Pumpkin Sugar Cookies with Cream Cheese Frosting are the perfect treat for any occasion! These
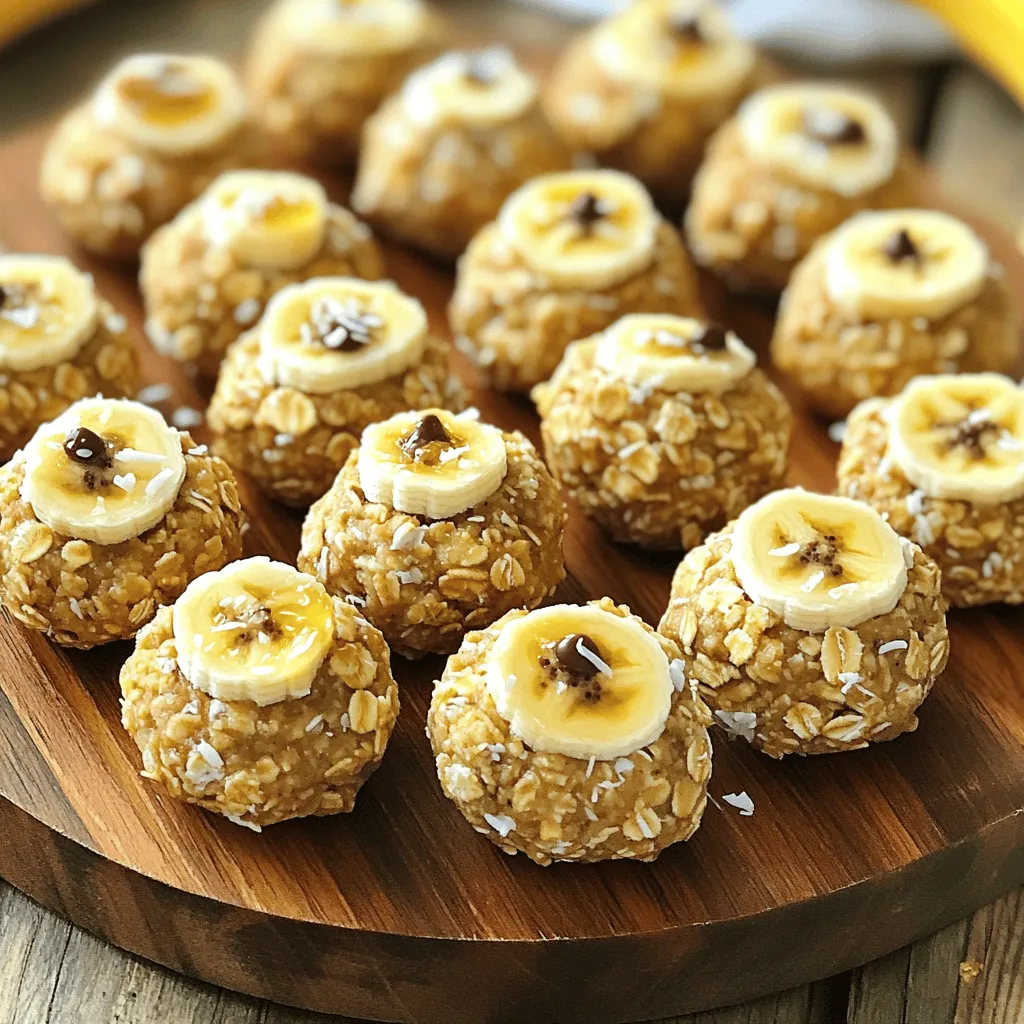
Nut-Free Banana Oat Energy Bites Easy and Healthy Snack
Are you looking for a healthy snack that’s easy to make and packed with flavor? Nut-Free Banana Oat Energy Bites are perfect for you! They
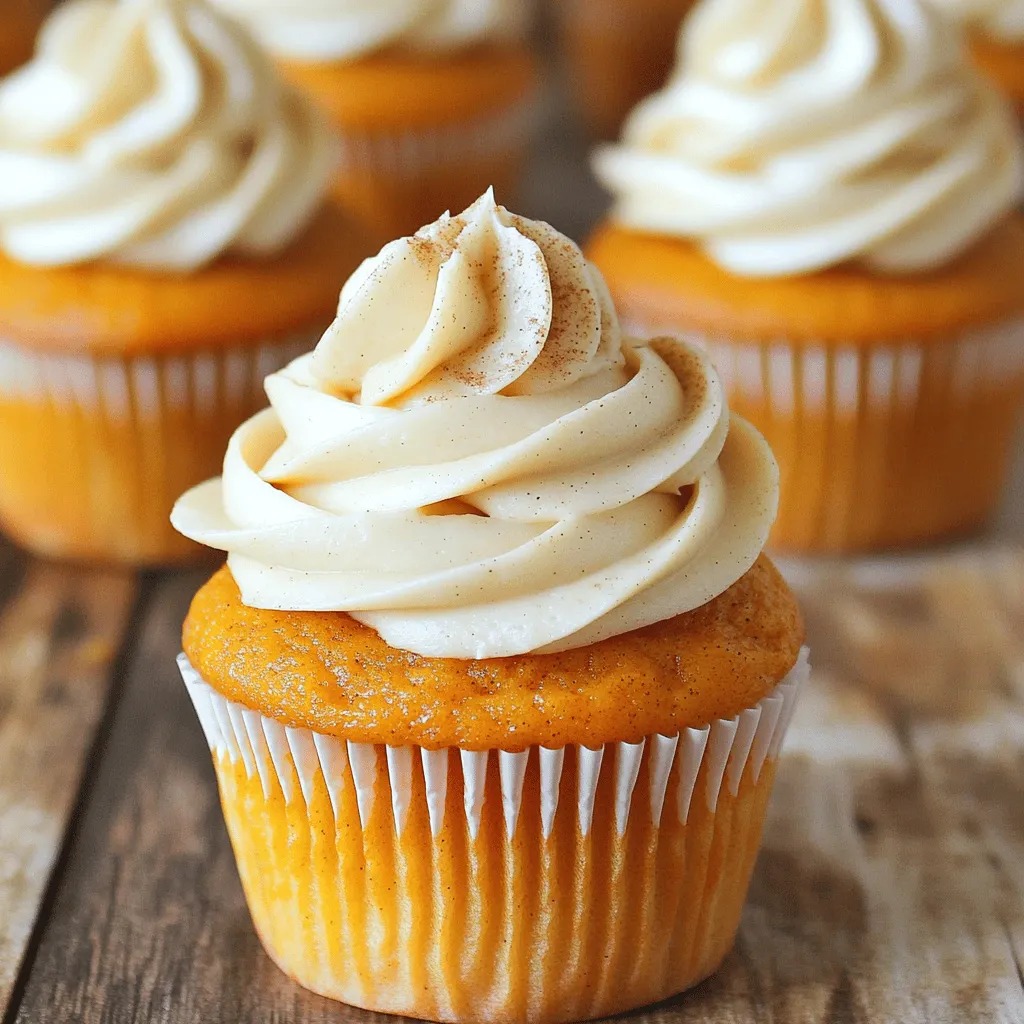
Pumpkin Cupcakes with Pumpkin Frosting Delight
Get ready to savor the fall with my Pumpkin Cupcakes with Pumpkin Frosting Delight! These treats combine the warm flavors of cinnamon and nutmeg with
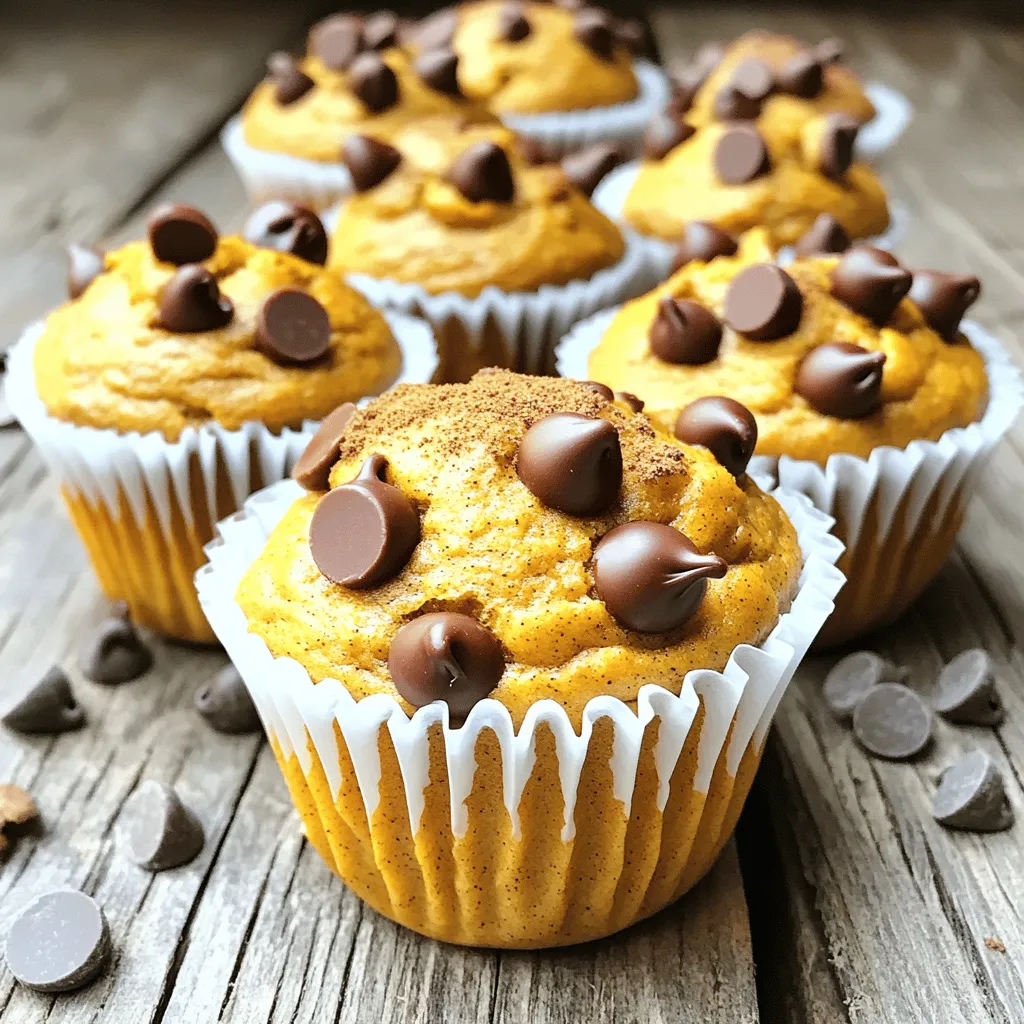
Pumpkin Chocolate Chip Muffins Tasty Fall Delight
If you crave a cozy fall treat, pumpkin chocolate chip muffins are a must-try! With their soft texture and sweet chocolate bits, they capture autumn’s
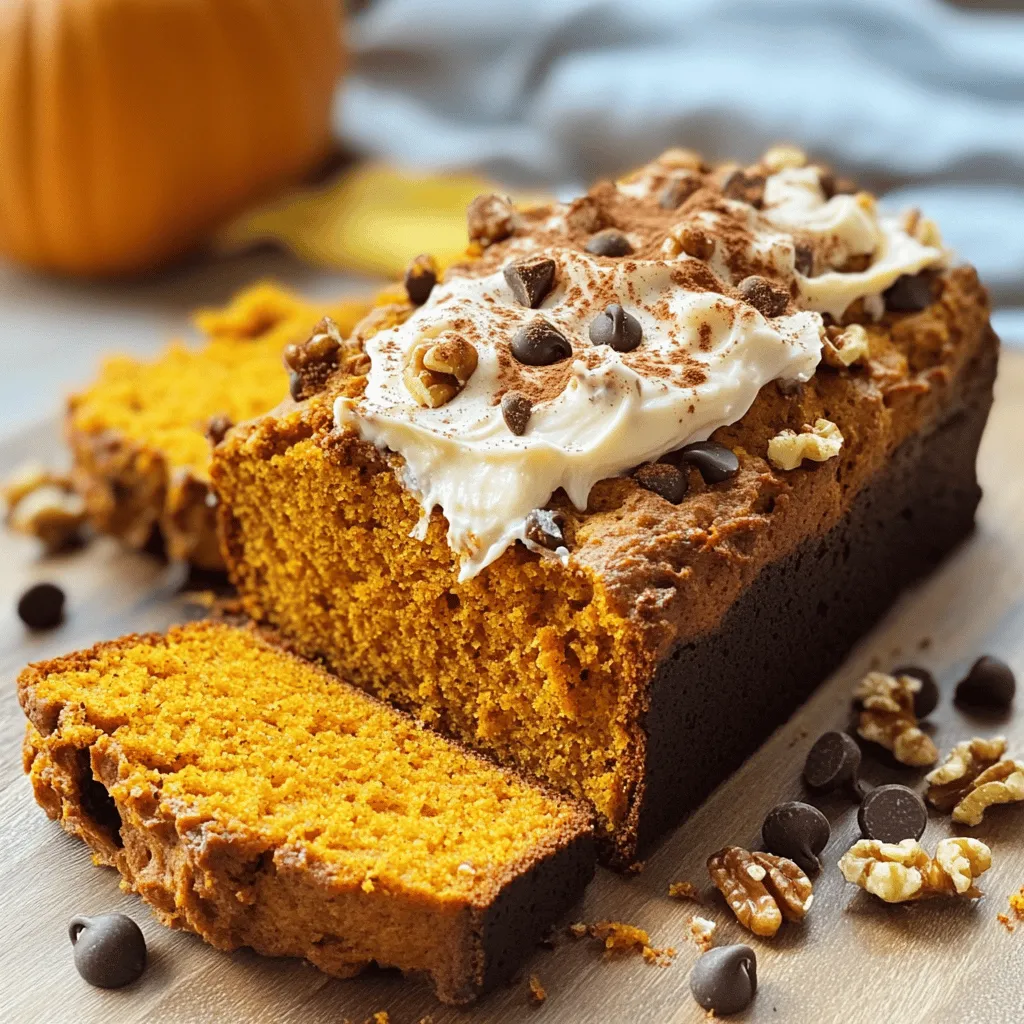
Cake Mix Pumpkin Bread Quick and Easy Recipe
Looking for a quick and easy way to enjoy the flavors of fall? My Cake Mix Pumpkin Bread recipe combines the rich taste of pumpkin
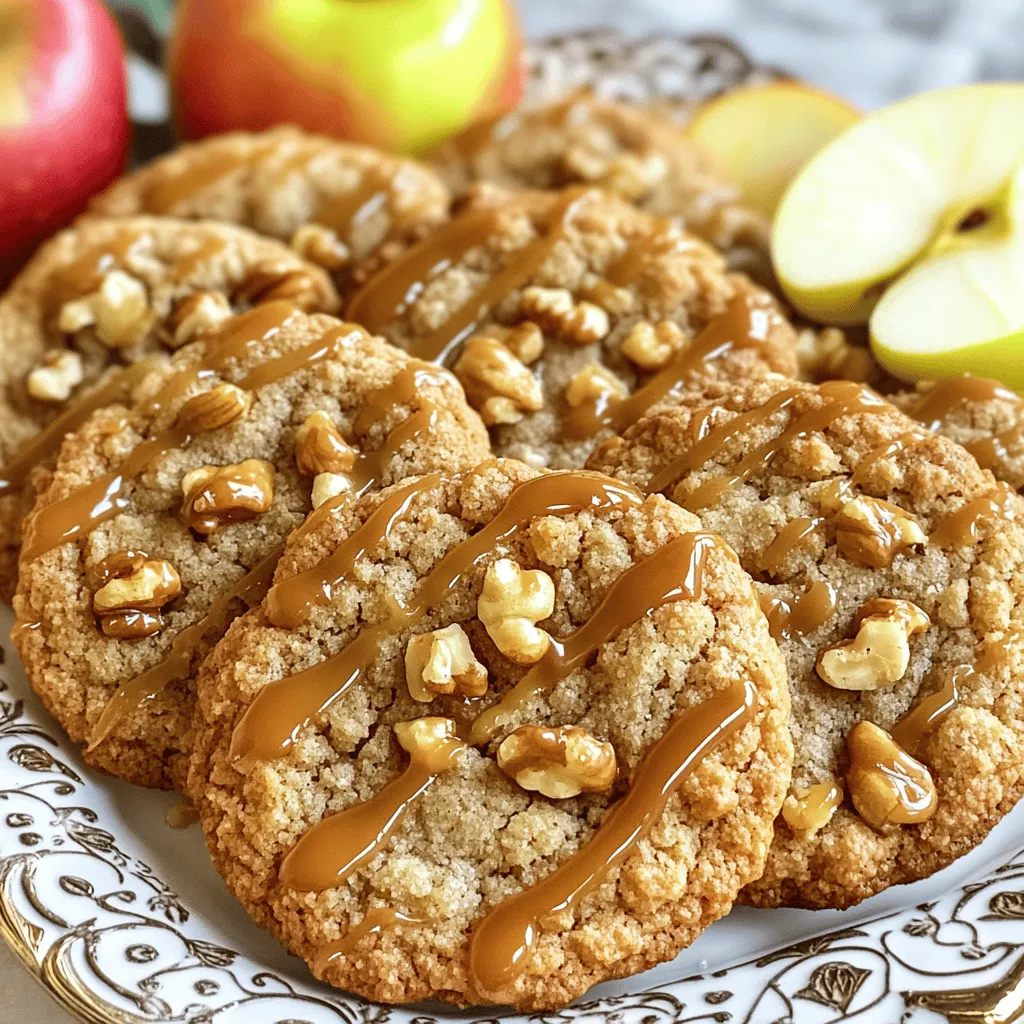
Crumbl Copycat Caramel Apple Cookies Easy Recipe
Craving something sweet and delicious? You’ve come to the right place! My Crumbl Copycat Caramel Apple Cookies recipe is easy to follow and will bring
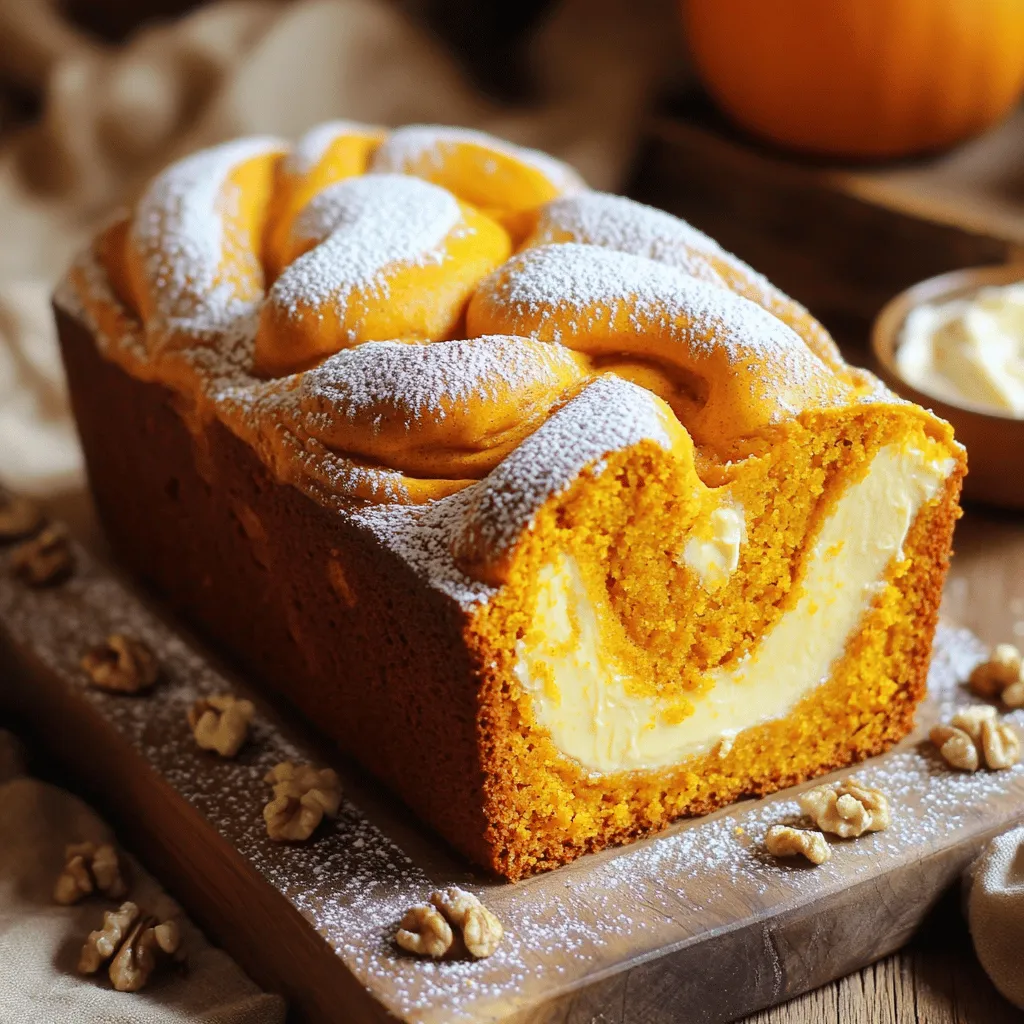
Pumpkin Cream Cheese Bread Irresistible Fall Recipe
Fall is the perfect time to bake something special, and this Pumpkin Cream Cheese Bread hits the mark! Its warm spices and creamy filling create
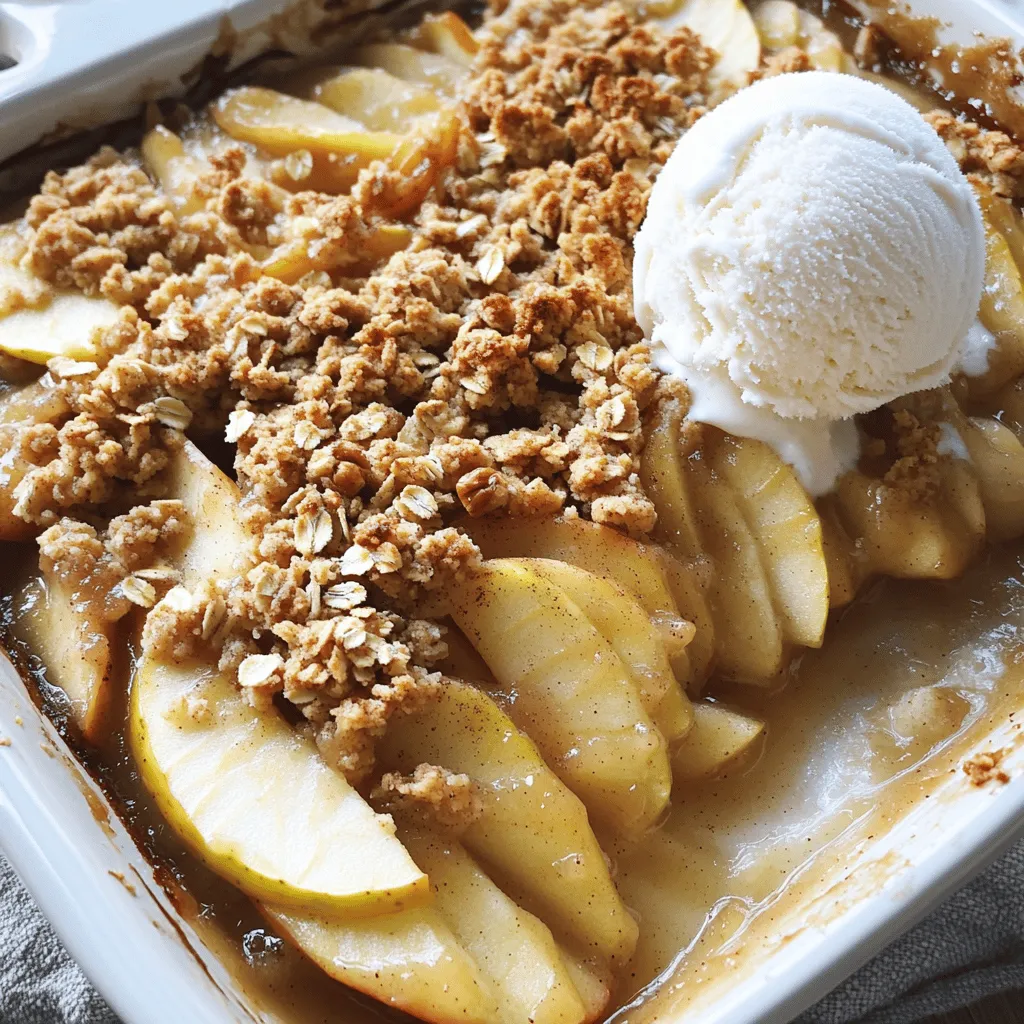
Simple Apple Crisp Delightful and Easy Dessert Recipe
Are you ready for a sweet treat that’s easy to make? My Simple Apple Crisp will delight your taste buds and warm your heart. With