Desserts
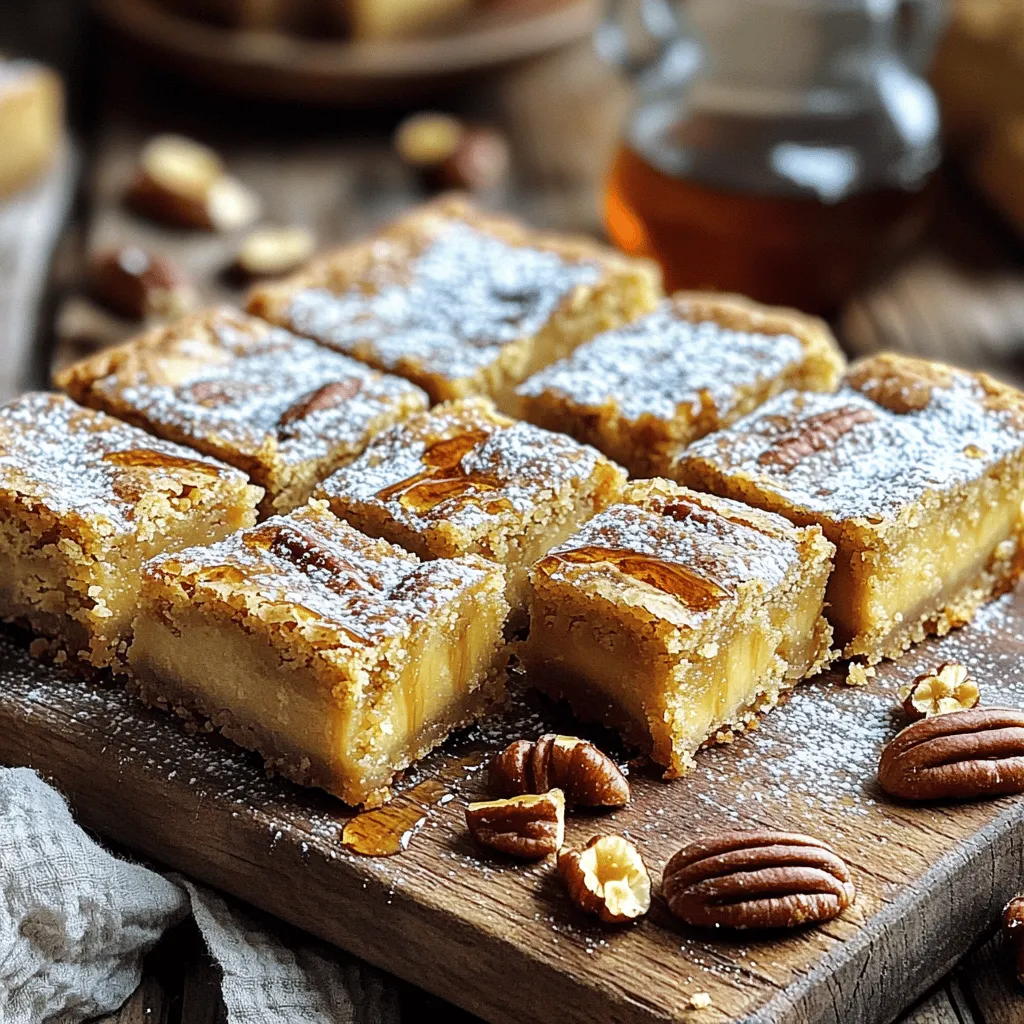
Brown Butter Maple Blondies Irresistible Sweet Treat
If you love sweet treats, you’re in for a delight with these Brown Butter Maple Blondies! These bars are rich, chewy, and bursting with the
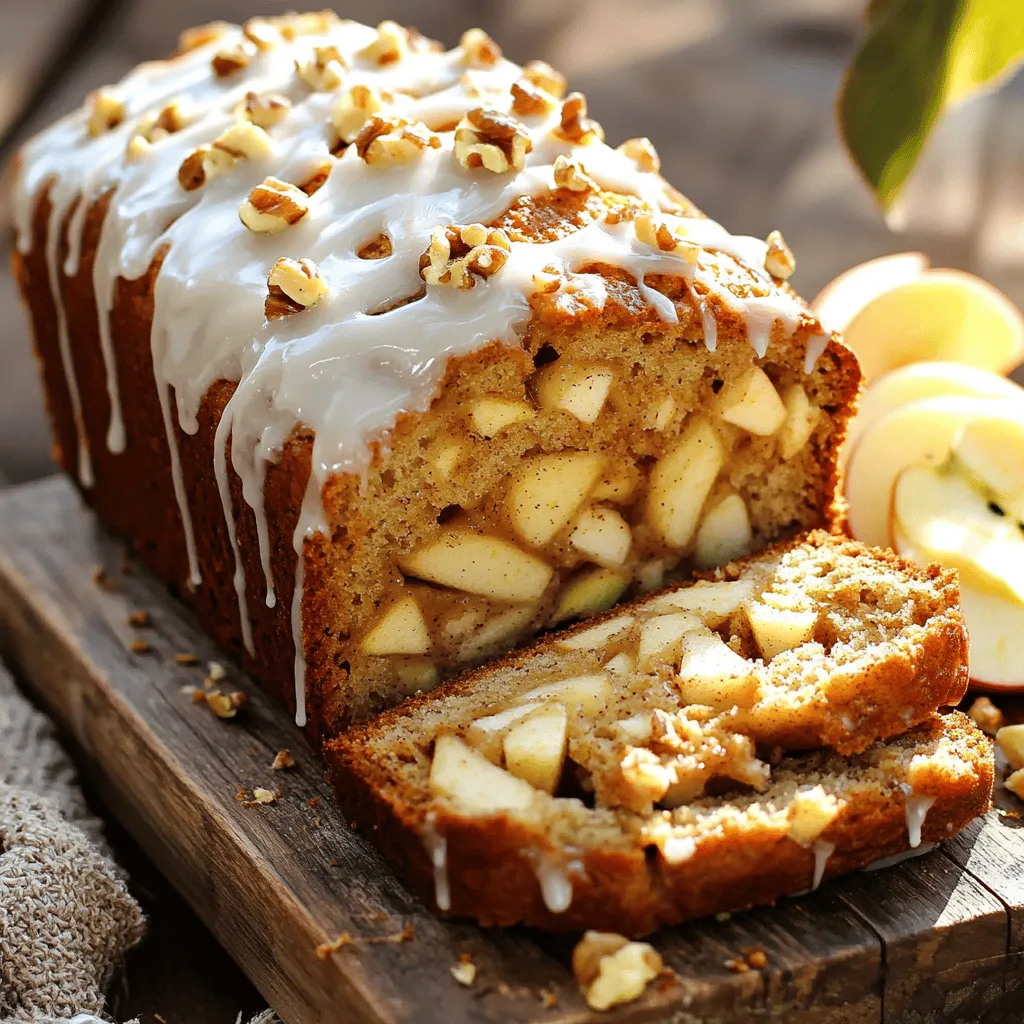
Glazed Apple Fritter Bread Deliciousness Awaits You
You’re about to dive into the delicious world of Glazed Apple Fritter Bread. Imagine warm bread, packed with sweet apples and a shiny glaze that
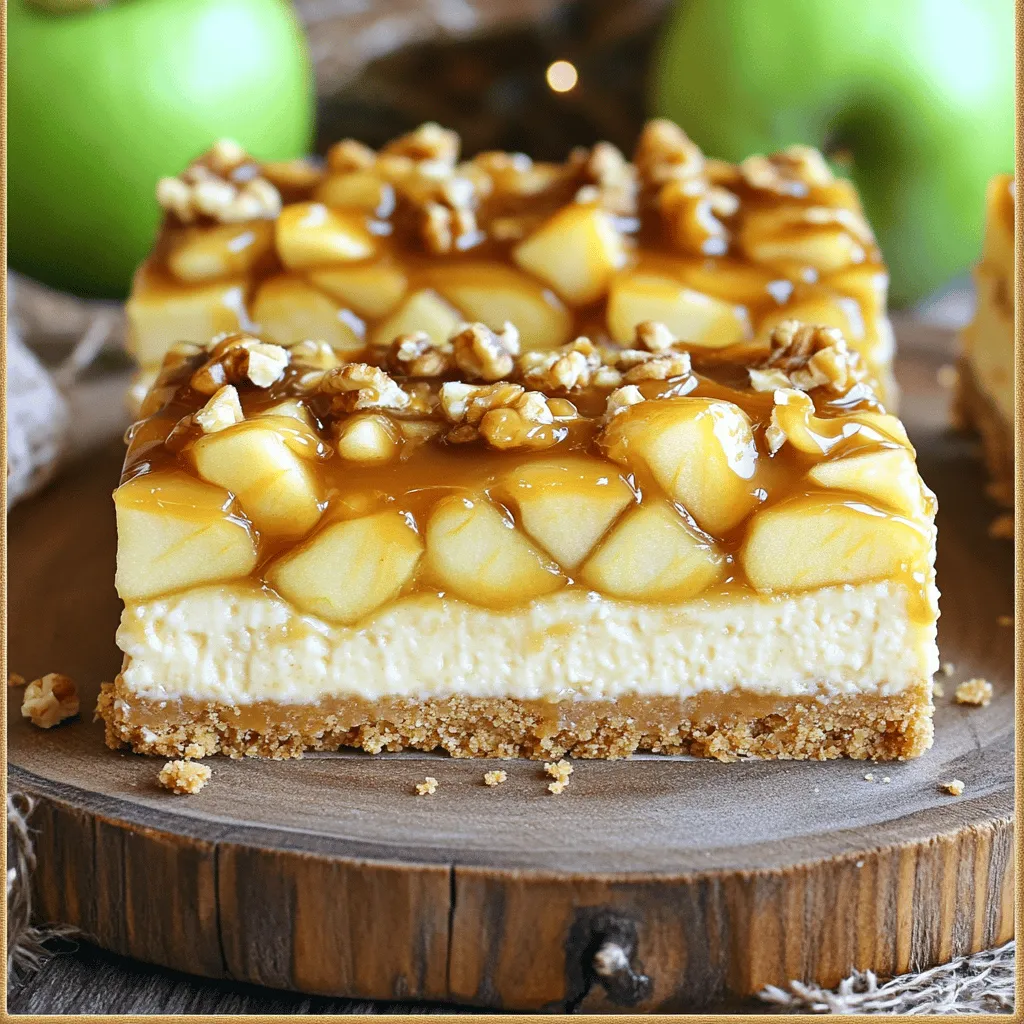
Caramel Apple Cheesecake Bars Delightful Fall Treat
Fall is here, and it’s time to treat yourself with something special! Caramel Apple Cheesecake Bars are the perfect blend of sweet and creamy. Imagine
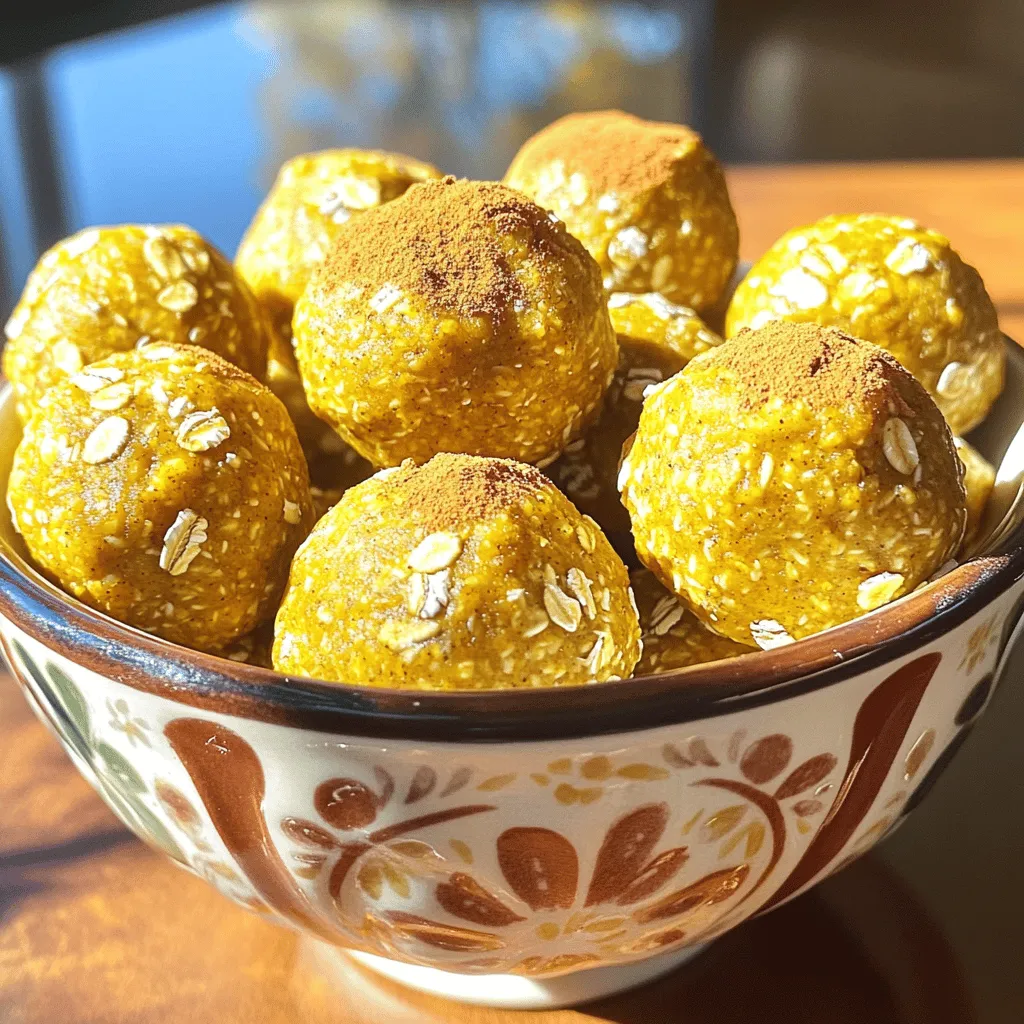
Pumpkin Spice Energy Bites Essential Healthy Snack
Looking for a quick, healthy snack that packs a pumpkin spice punch? These Pumpkin Spice Energy Bites are your answer! With simple ingredients, you’ll whip
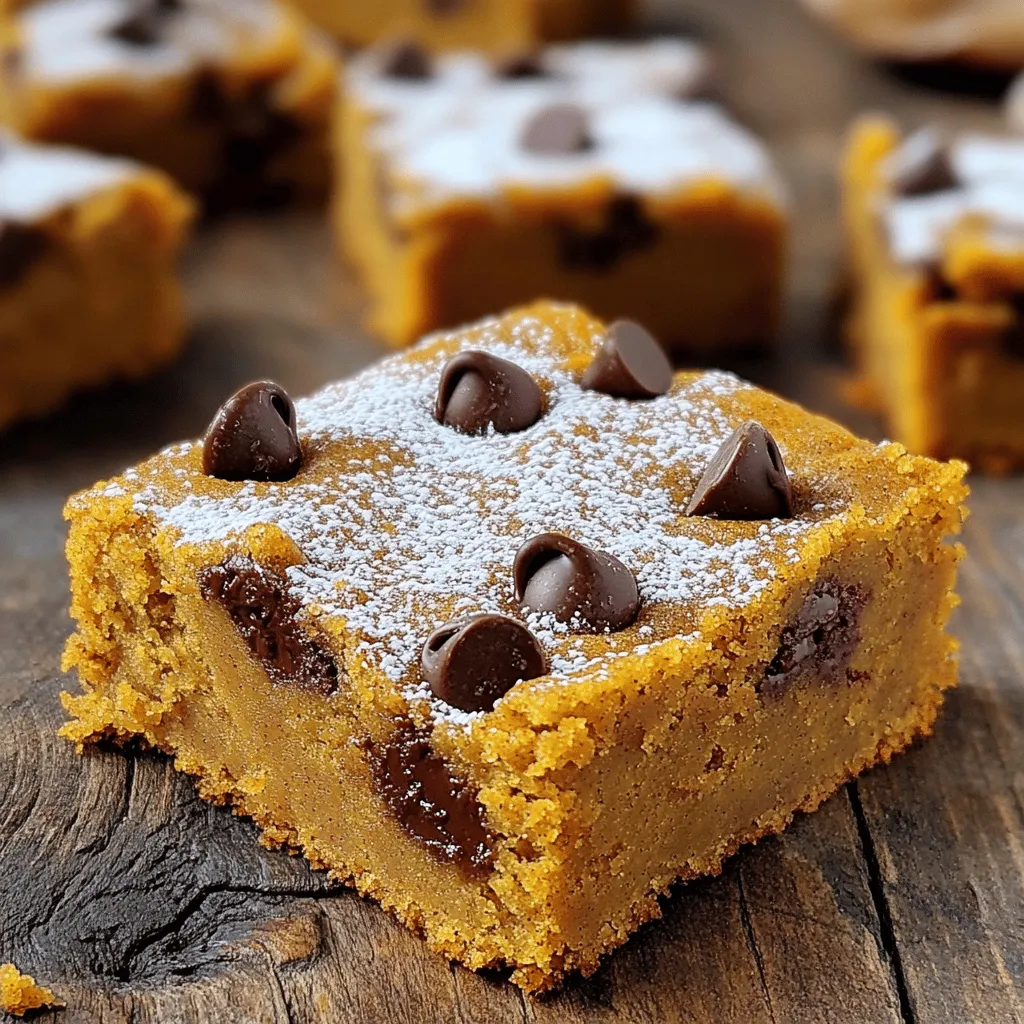
Pumpkin Bars with Cake Mix Easy and Tasty Recipe
Looking for a simple way to bring fall flavors to your kitchen? You’re in the right place! These Pumpkin Bars with Cake Mix come together
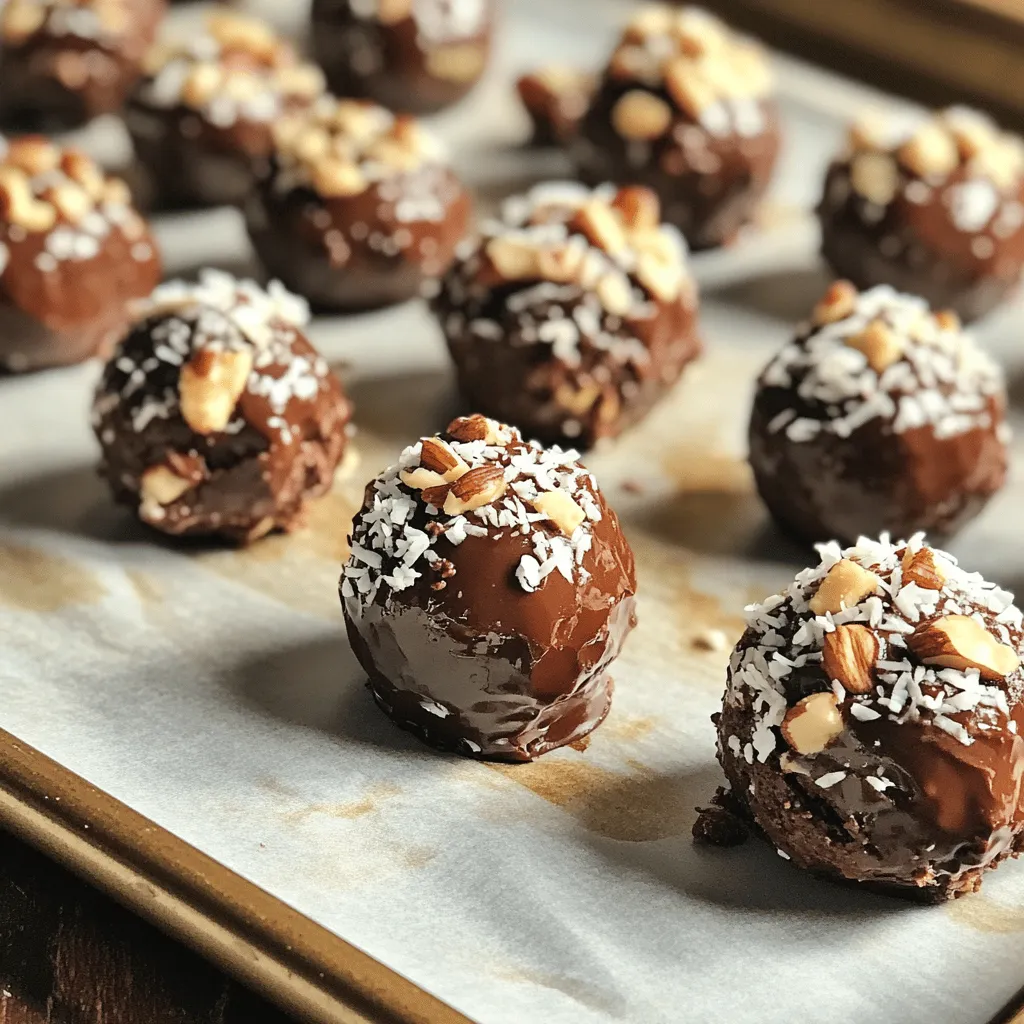
No Bake Brownie Bites Fun and Easy Dessert Recipe
Looking for a quick and tasty dessert? You’ve found it! These No Bake Brownie Bites are easy to make and fun to eat. Whether you’re
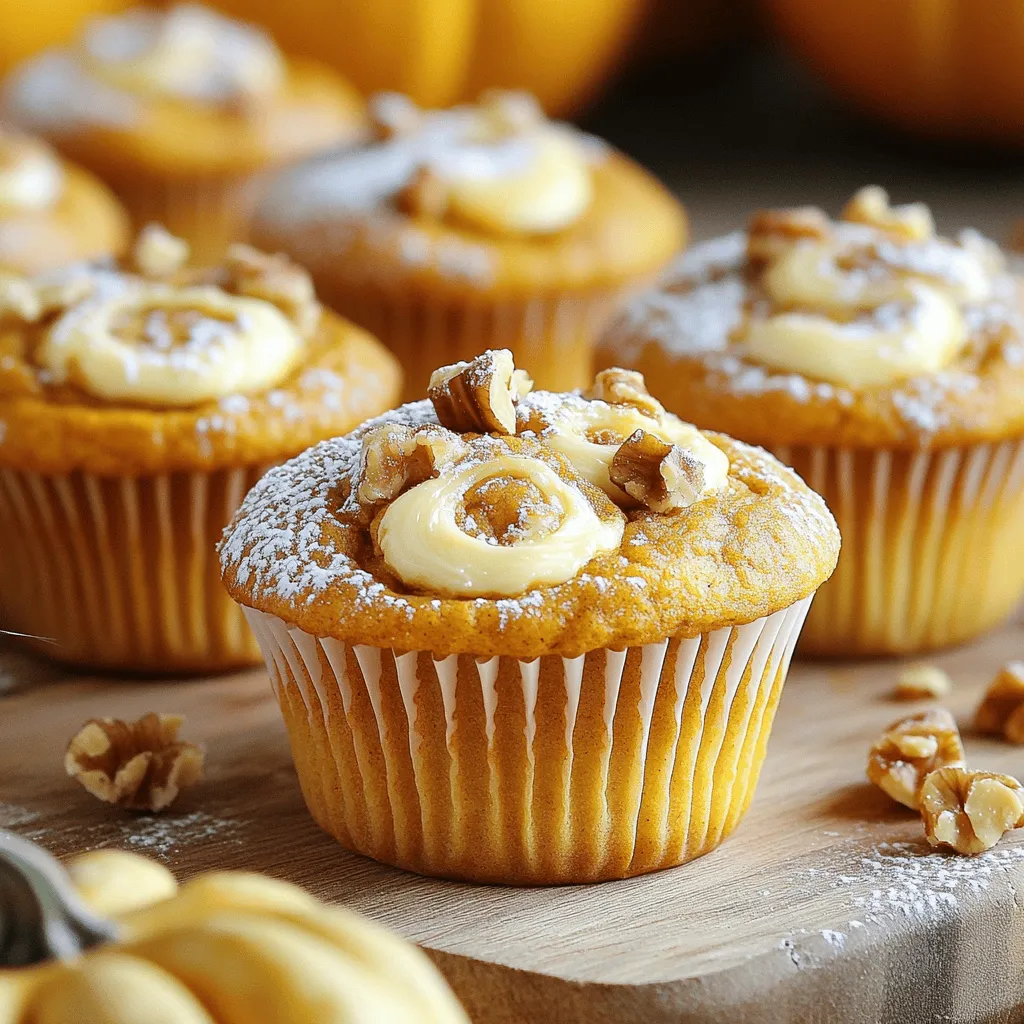
Pumpkin Cream Cheese Muffins Irresistible Treat Recipe
Are you ready to bake something truly delightful? These Pumpkin Cream Cheese Muffins will make your kitchen smell amazing! With a soft, spiced pumpkin base
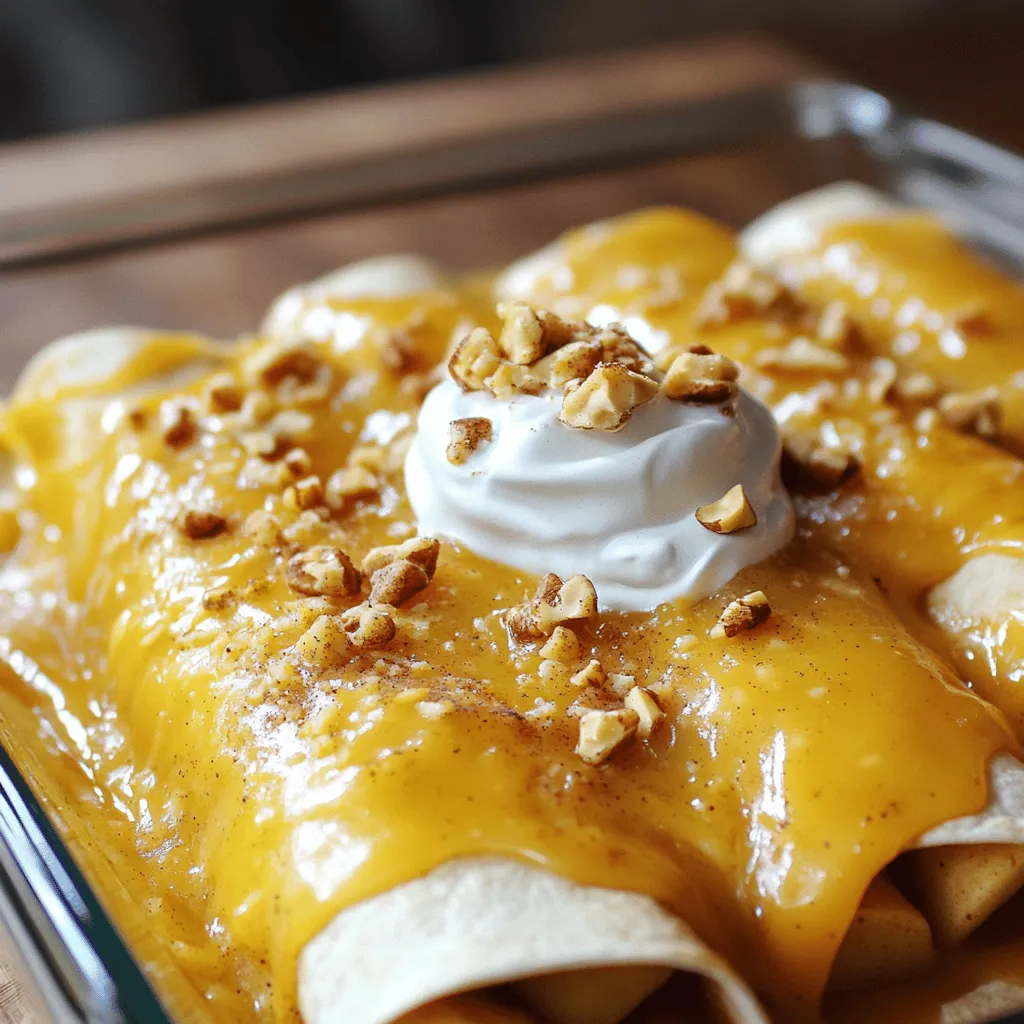
Apple Pie Enchiladas Tasty and Quick Dessert Recipe
Craving a sweet twist on a classic dessert? Try my Apple Pie Enchiladas! This tasty, quick recipe combines warm, spiced apples wrapped in soft tortillas,
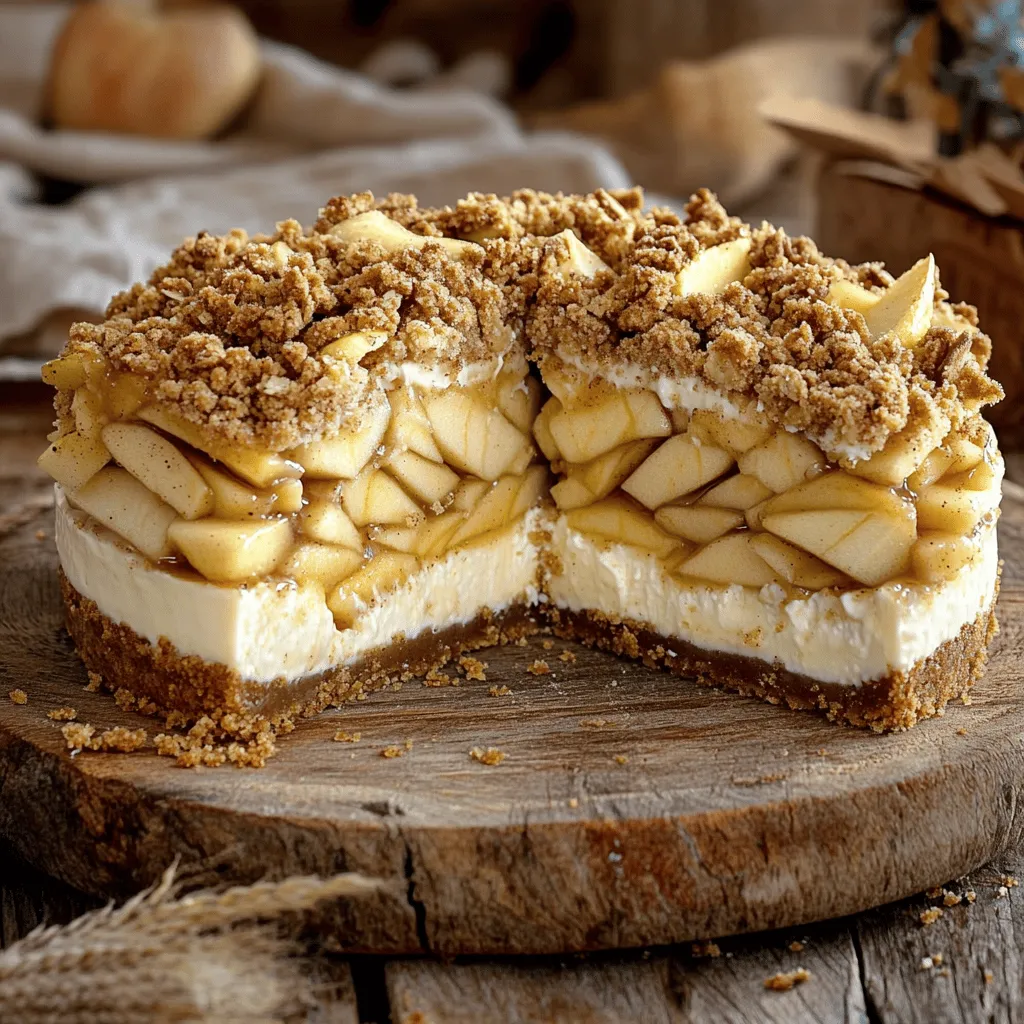
Apple Crumble Cheesecake Irresistible Dessert Recipe
Craving a dessert that combines the warmth of apple pie with the creaminess of cheesecake? You’re in the right place! This Apple Crumble Cheesecake is
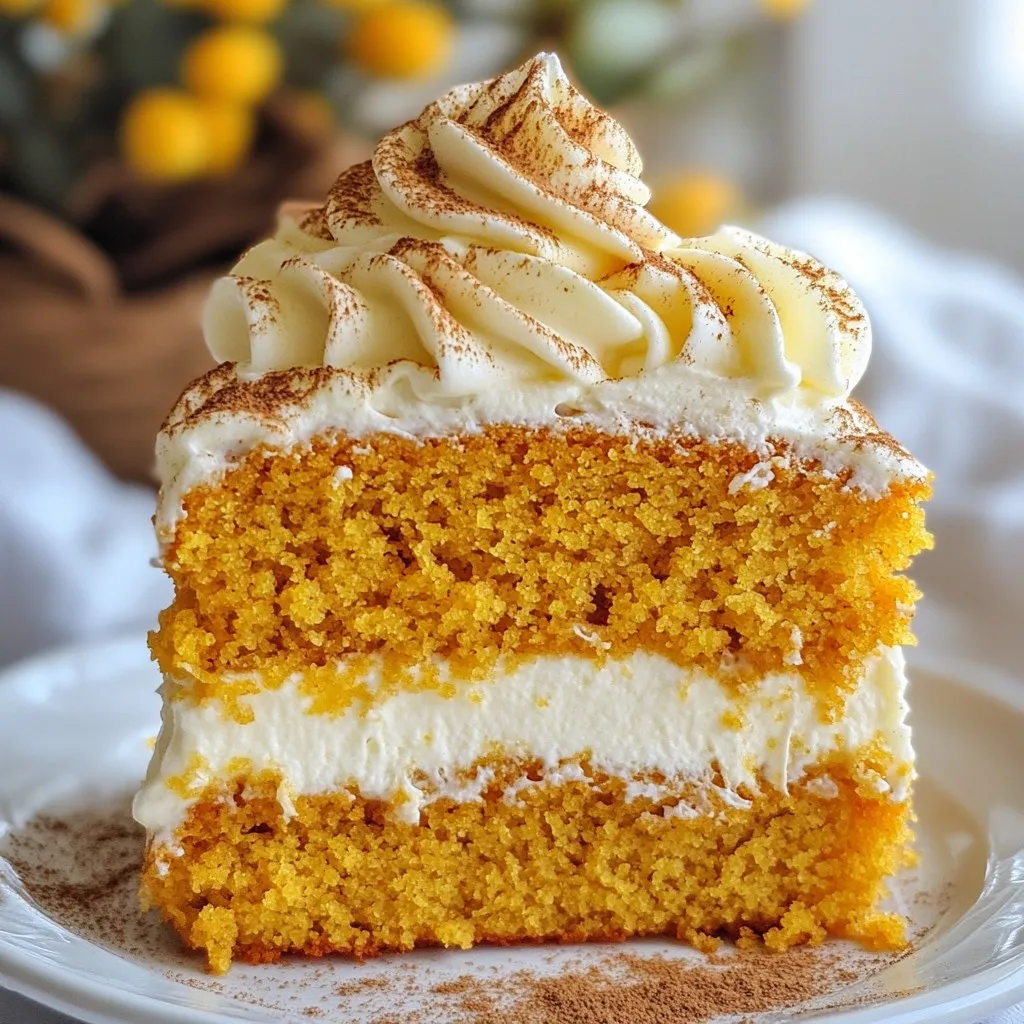
Pumpkin Spice Latte Cake Irresistible Fall Treat
Craving a sweet treat that screams autumn? Look no further than the Pumpkin Spice Latte Cake! This scrumptious cake combines the cozy flavors of pumpkin