Breakfast
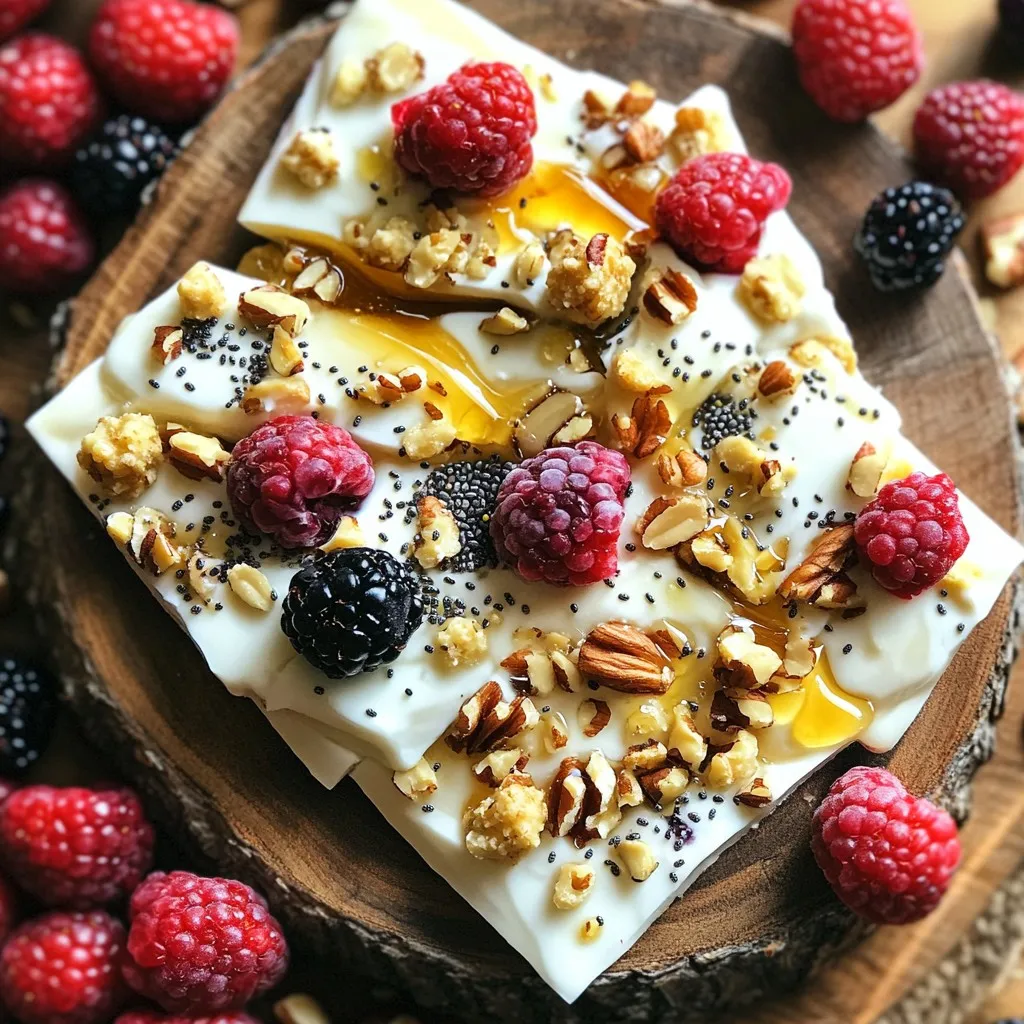
High-Protein Greek Yogurt Breakfast Bark Delight
Ready for a tasty treat that’s also good for you? My High-Protein Greek Yogurt Breakfast Bark Delight is not just a snack; it’s a wholesome
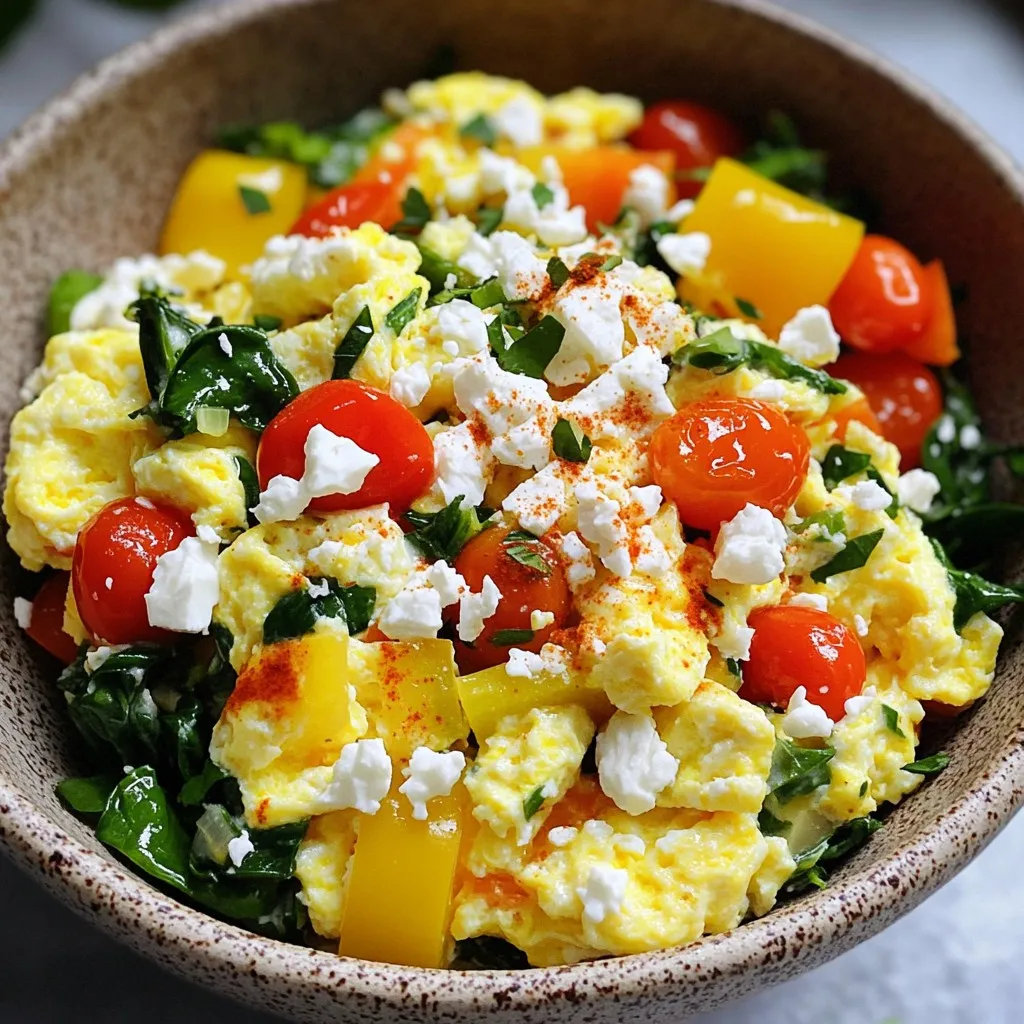
Minute Egg White Scramble Bowl Simple and Quick Recipe
Ready for a quick, healthy meal? My Minute Egg White Scramble Bowl is perfect for busy days. Packed with protein and colorful veggies, this dish

Minute Breakfast Protein Flatbread Easy and Quick Meal
Looking for a quick and tasty breakfast option? With my Minute Breakfast Protein Flatbread, you can whip up a satisfying meal in no time! This

Maple Pecan Bakery Muffins Rich and Flavorful Recipe
Craving a sweet treat that’s both rich and easy to make? Look no further! My Maple Pecan Bakery Muffins are the perfect blend of nutty
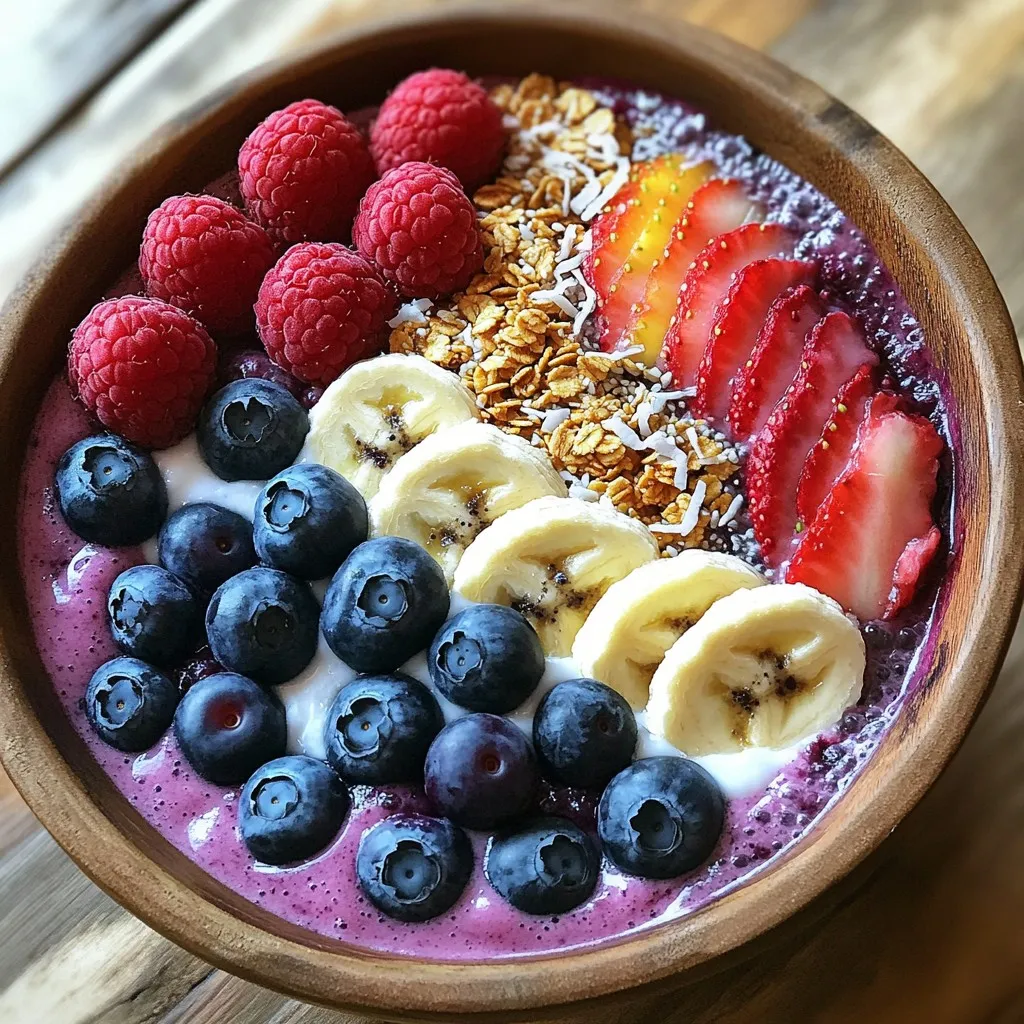
Protein Cottage Cheese Smoothie Bowl Healthy Delight
Looking for a tasty way to fuel your day? The Protein Cottage Cheese Smoothie Bowl is your answer! Packed with essential nutrients, this bowl is
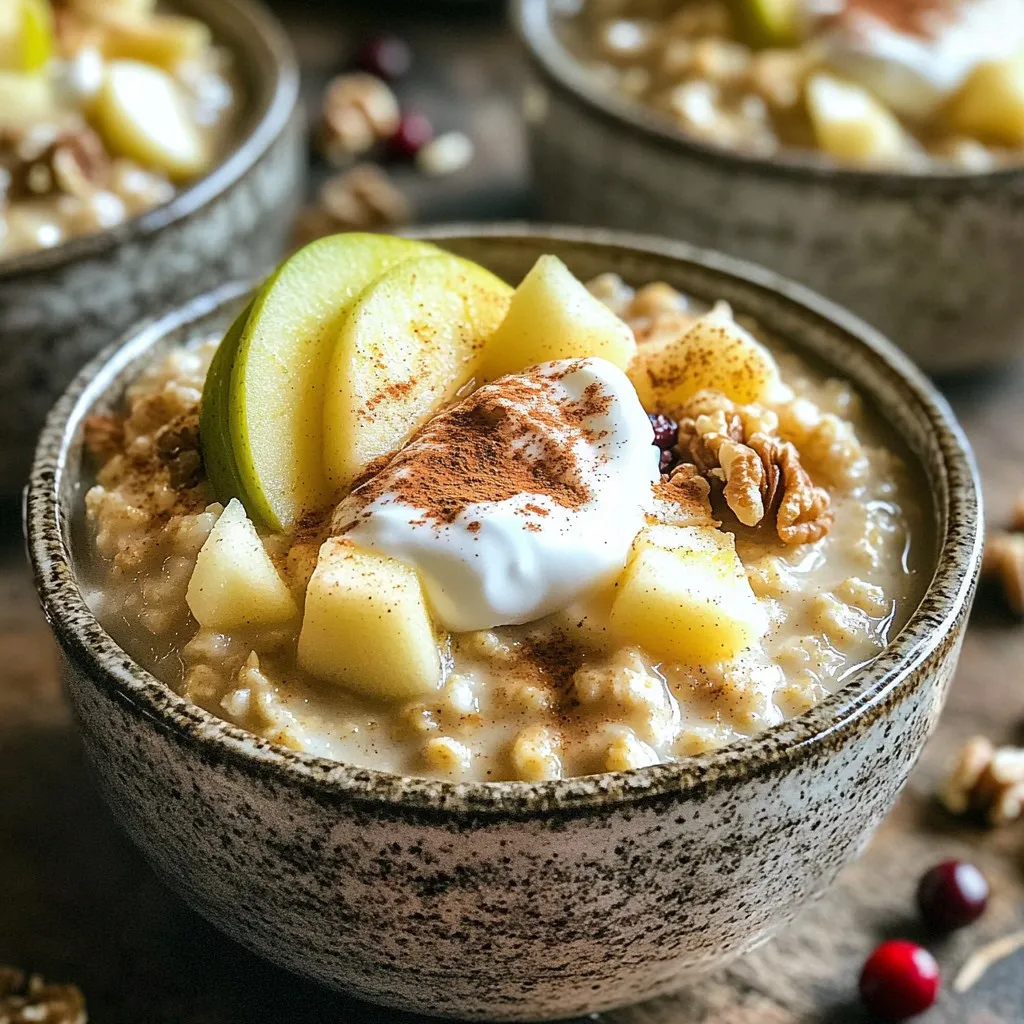
Slow Cooker Apple Cinnamon Steel Cut Oats Recipe
Start your day with a warm bowl of Slow Cooker Apple Cinnamon Steel Cut Oats. This easy recipe is packed with flavor and nutrients. Made
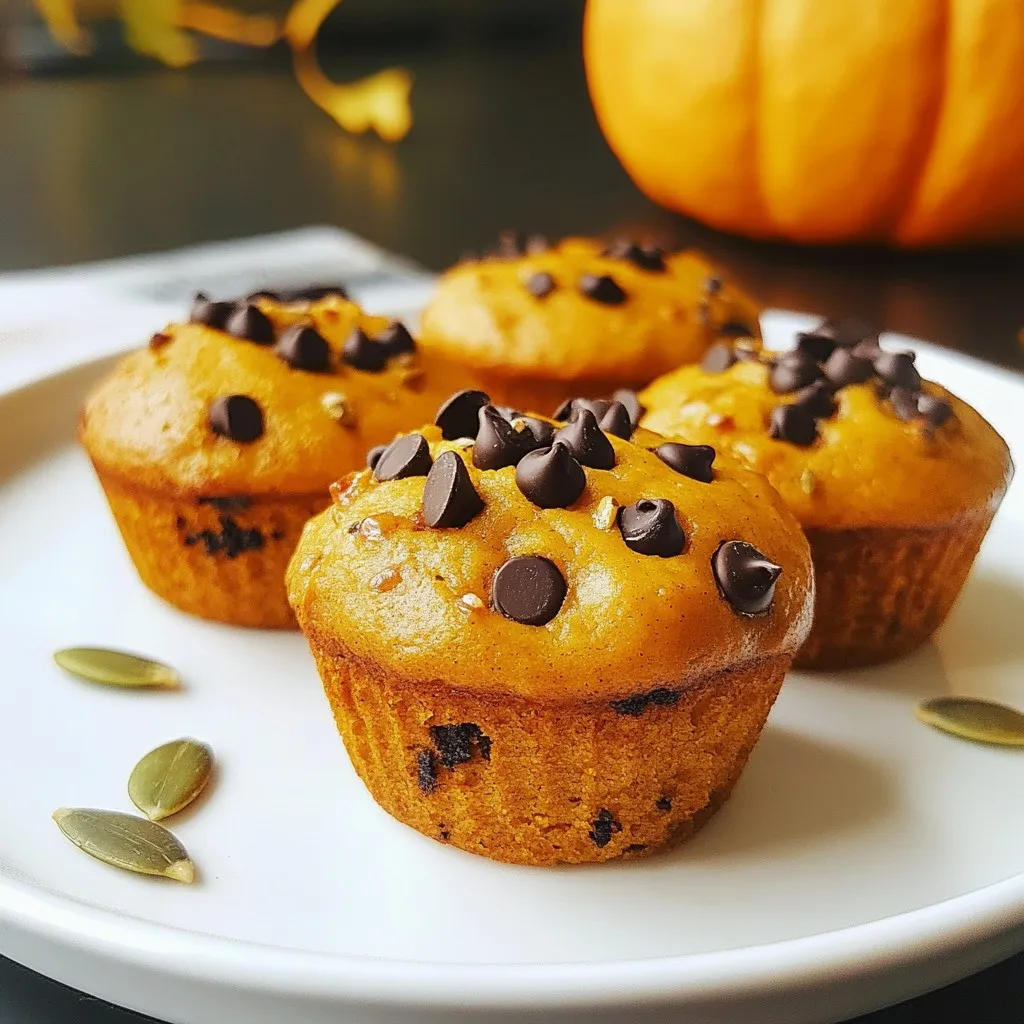
Protein Packed Pumpkin Muffins Easy and Healthy Recipe
Looking for a healthy treat that’s also packed with protein? My Protein Packed Pumpkin Muffins are the answer! Using simple ingredients like pumpkin puree, Greek

Freezer-Friendly Protein Biscuits Simple and Tasty Treat
Looking for a snack that’s both healthy and easy to make? I’ve got just the thing! These Freezer-Friendly Protein Biscuits are simple to whip up

Lemon Poppy Seed Greek Yogurt Muffins Delightful Recipe
If you’re ready to bake a treat that’s both tasty and good for you, you’re in the right place! These Lemon Poppy Seed Greek Yogurt

Protein-Packed Gingerbread Cottage Cheese Smoothie Delight
Are you ready to sip on something delicious and nutritious? I’ve crafted a Protein-Packed Gingerbread Cottage Cheese Smoothie that bursts with festive flavor and protein.