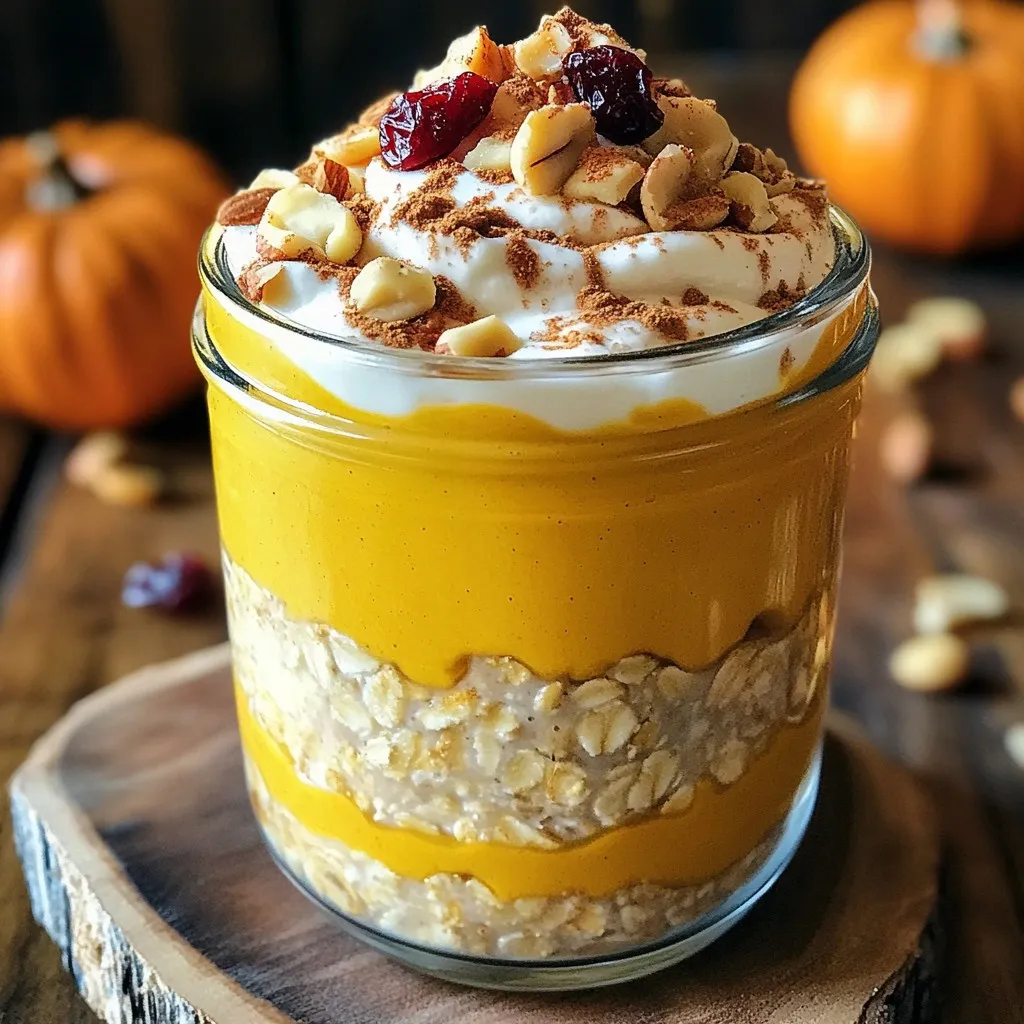
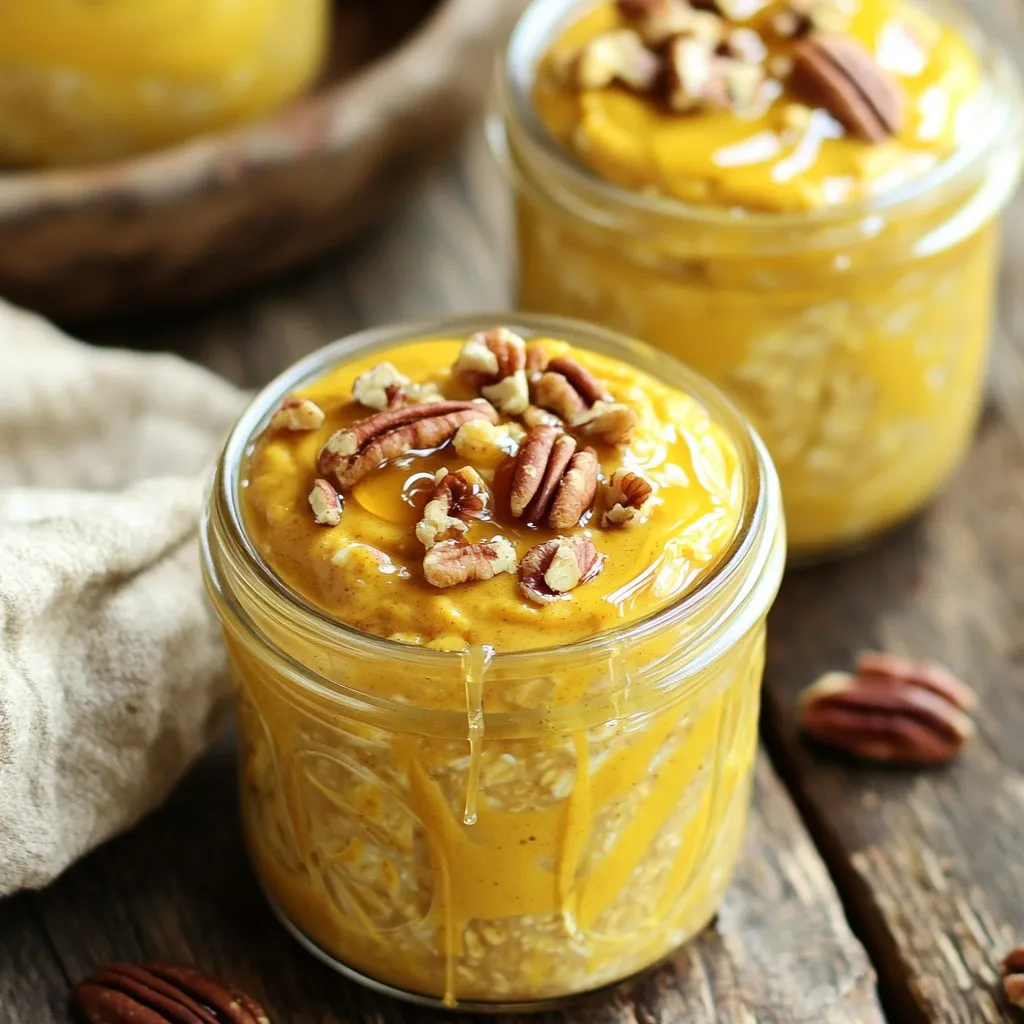
Pumpkin Spice Overnight Oats Simple and Tasty Recipe
A creamy and delicious breakfast option featuring pumpkin and warm spices, perfect for fall.
8h
2
Fresh and energizing breakfast options
A creamy and delicious breakfast option featuring pumpkin and warm spices, perfect for fall.
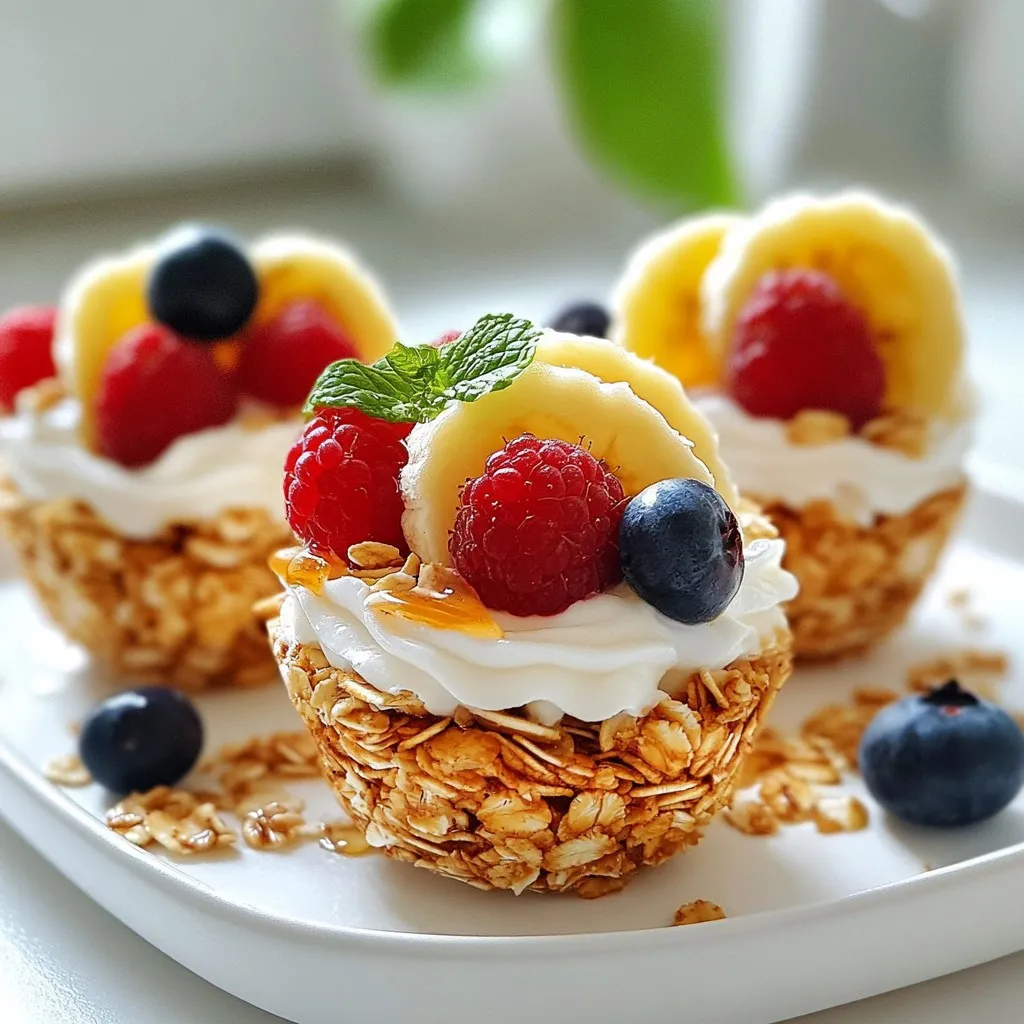
Delicious and healthy granola cups filled with yogurt and fresh fruits, perfect for breakfast.
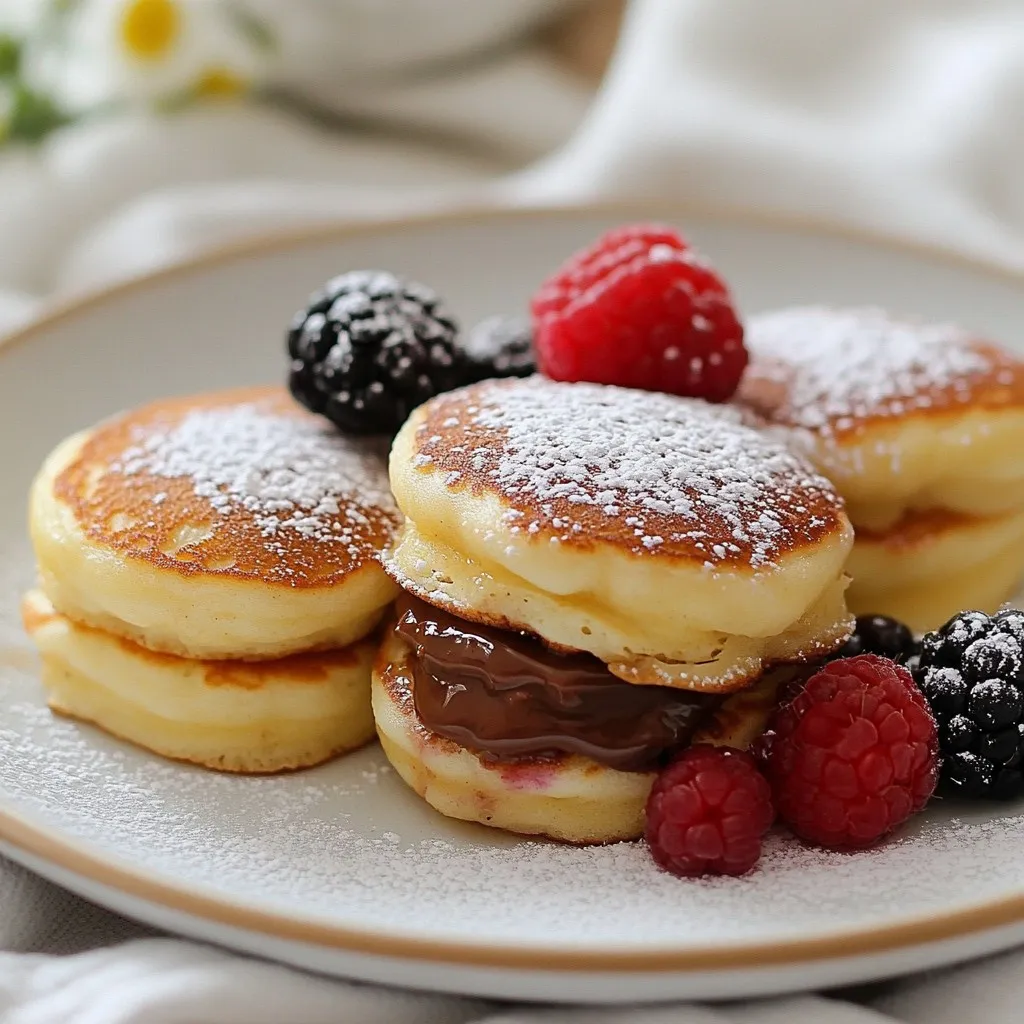
Delicious mini pancakes filled with creamy Nutella, perfect for breakfast or a sweet treat.
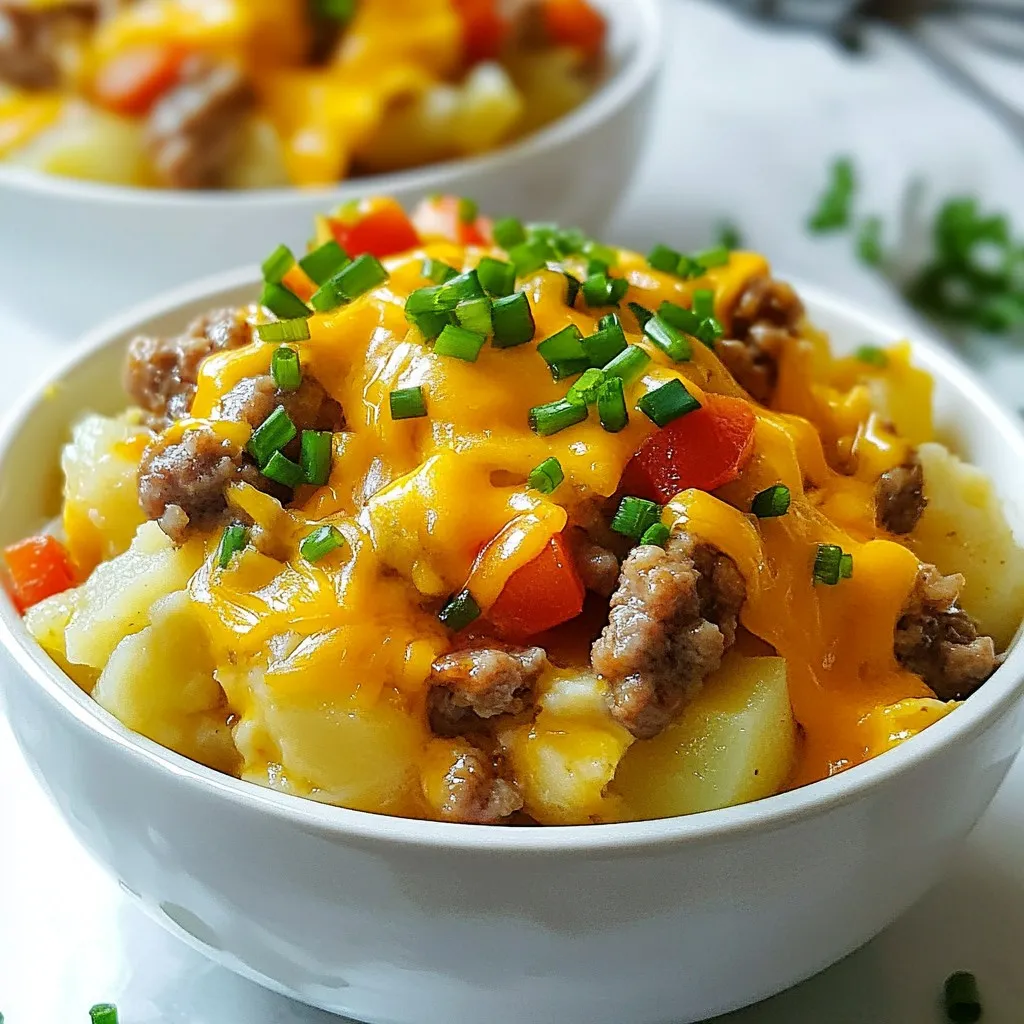
A hearty and filling breakfast dish made in a slow cooker, featuring potatoes, sausage, eggs, and ch...
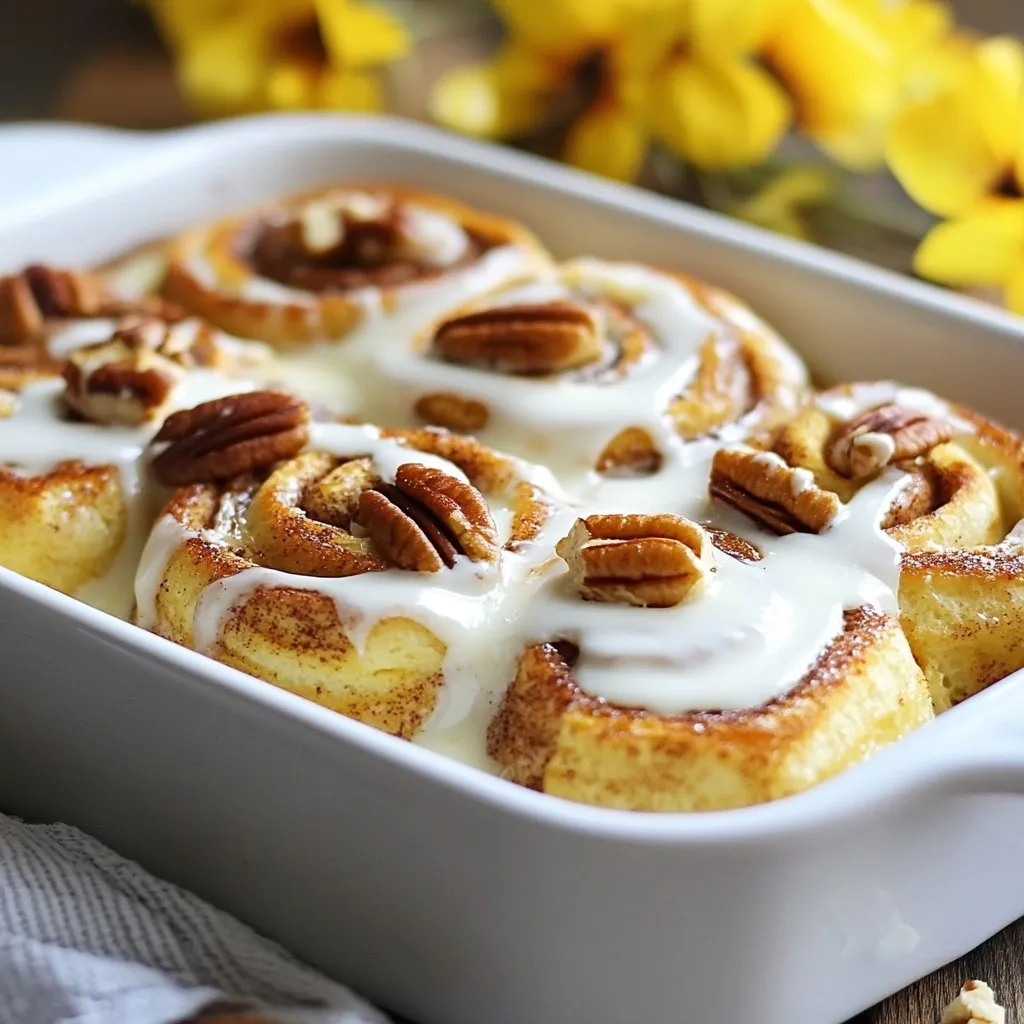
A delicious and easy-to-make breakfast casserole combining cinnamon rolls and French toast.
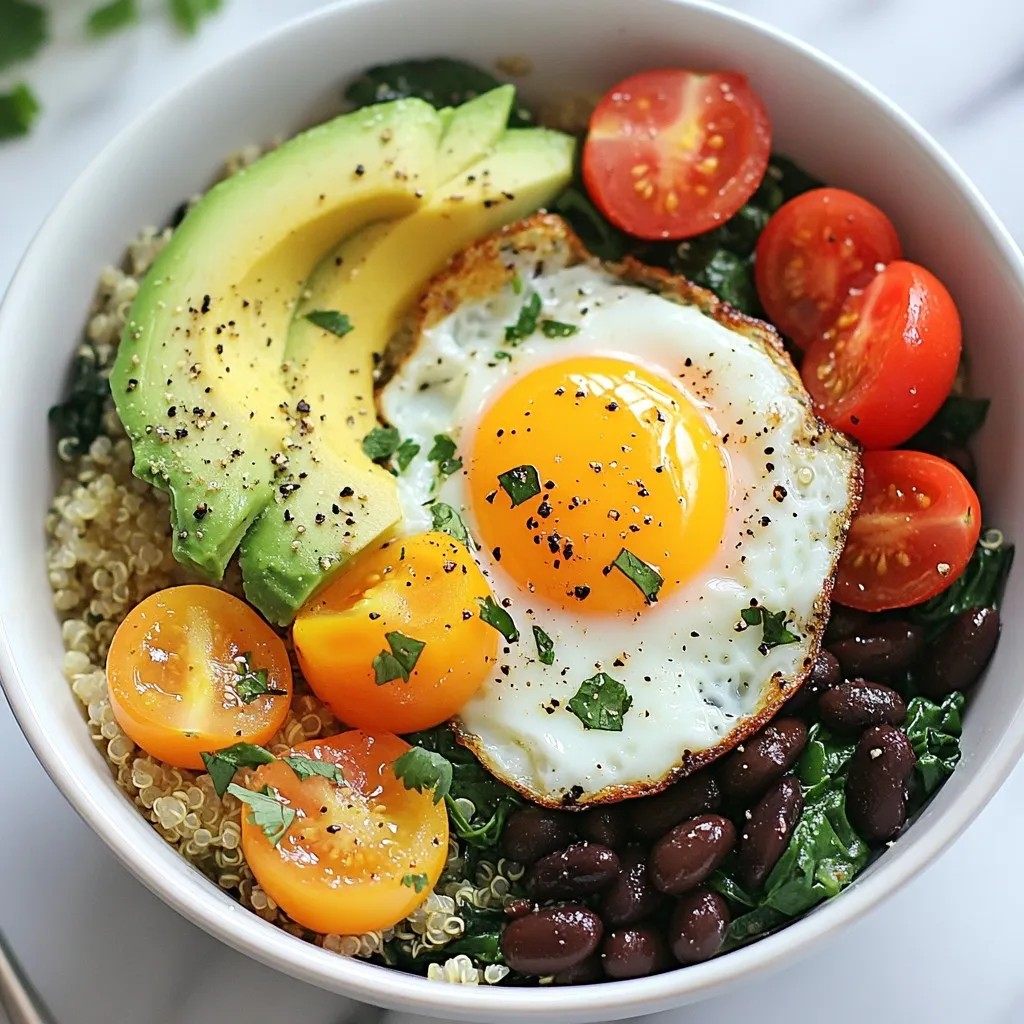
A nutritious and colorful breakfast bowl packed with quinoa, spinach, eggs, and fresh toppings.
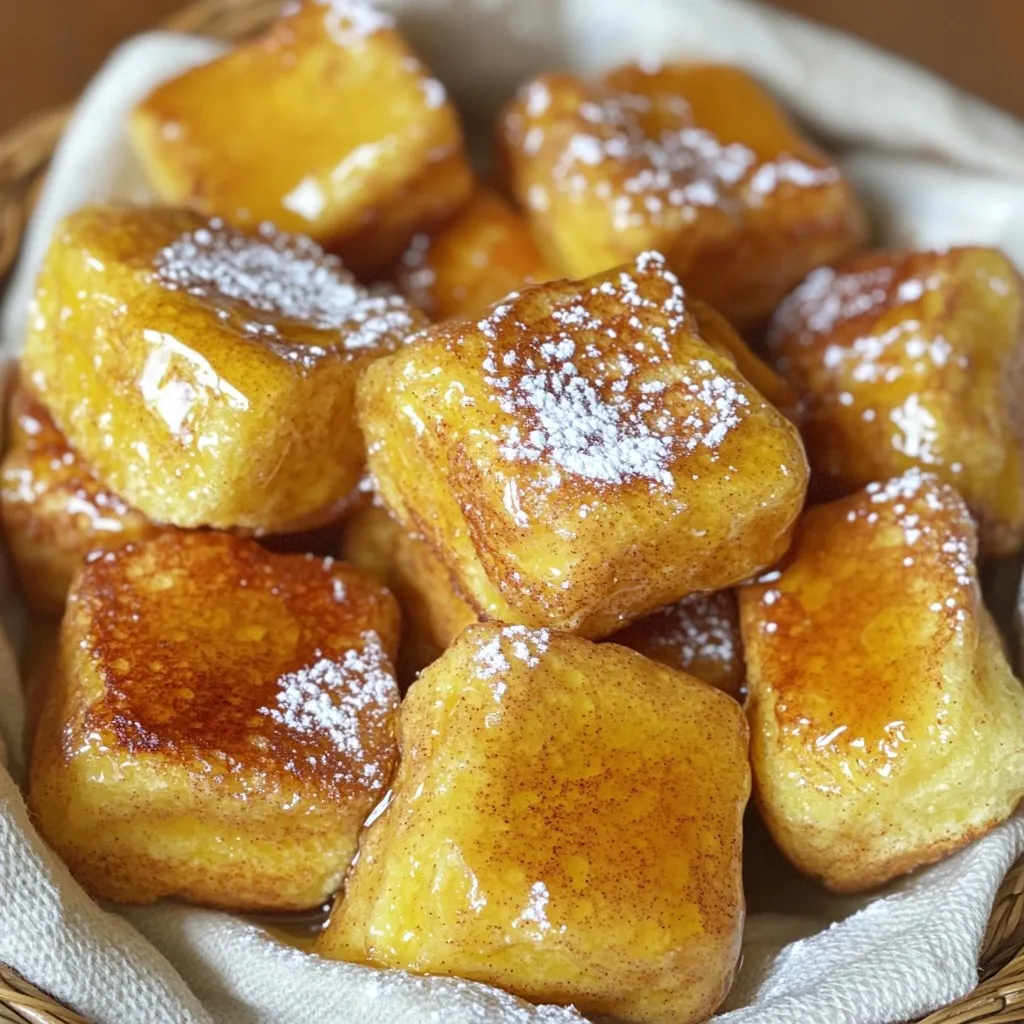
Delicious bite-sized cinnamon roll pieces coated in a sweet egg mixture, baked to perfection and dri...
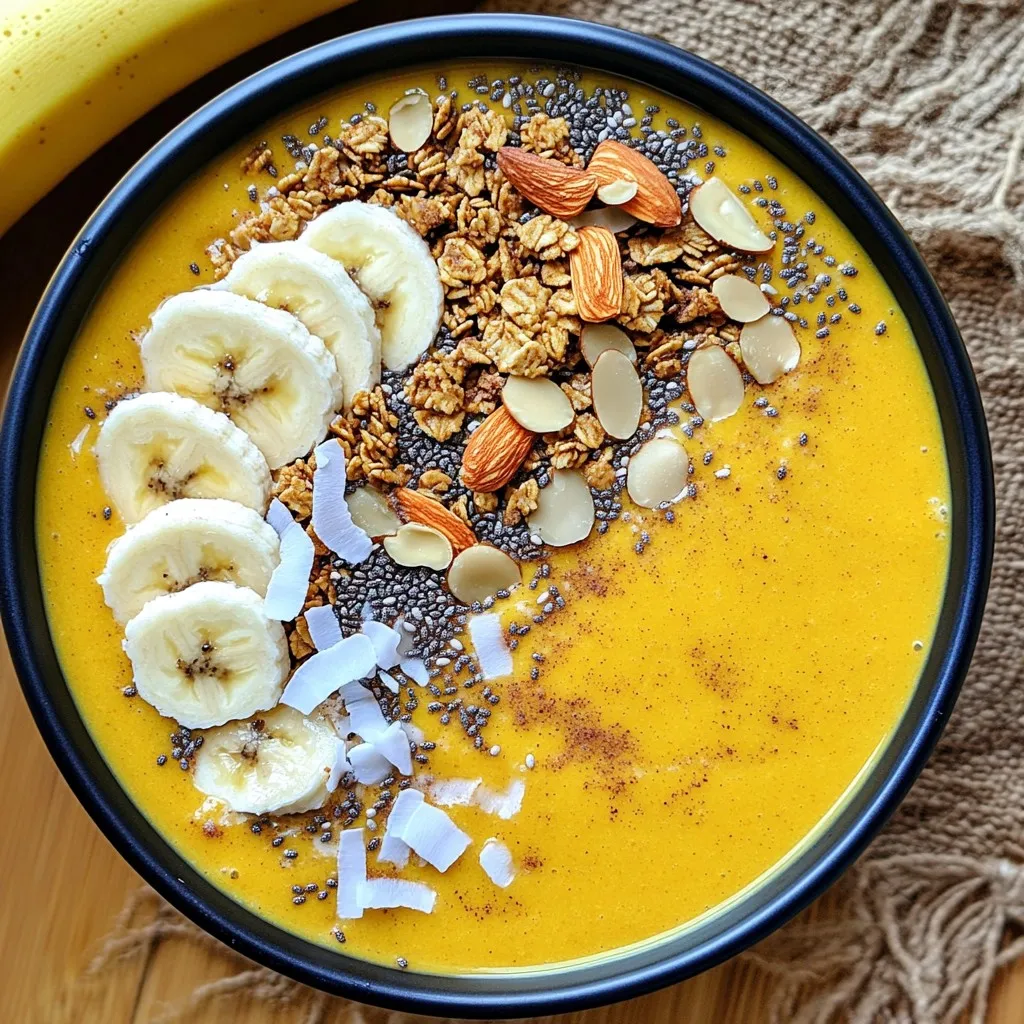
A delicious and nutritious smoothie bowl packed with pumpkin flavor and extra protein.
A nutritious and delicious overnight oats recipe featuring pumpkin and protein for a filling breakfa...

Delicious and fluffy egg muffins made with cottage cheese, cheddar, and bell peppers.

A delicious and hearty breakfast wrap filled with eggs, cheese, and fresh tomatoes.
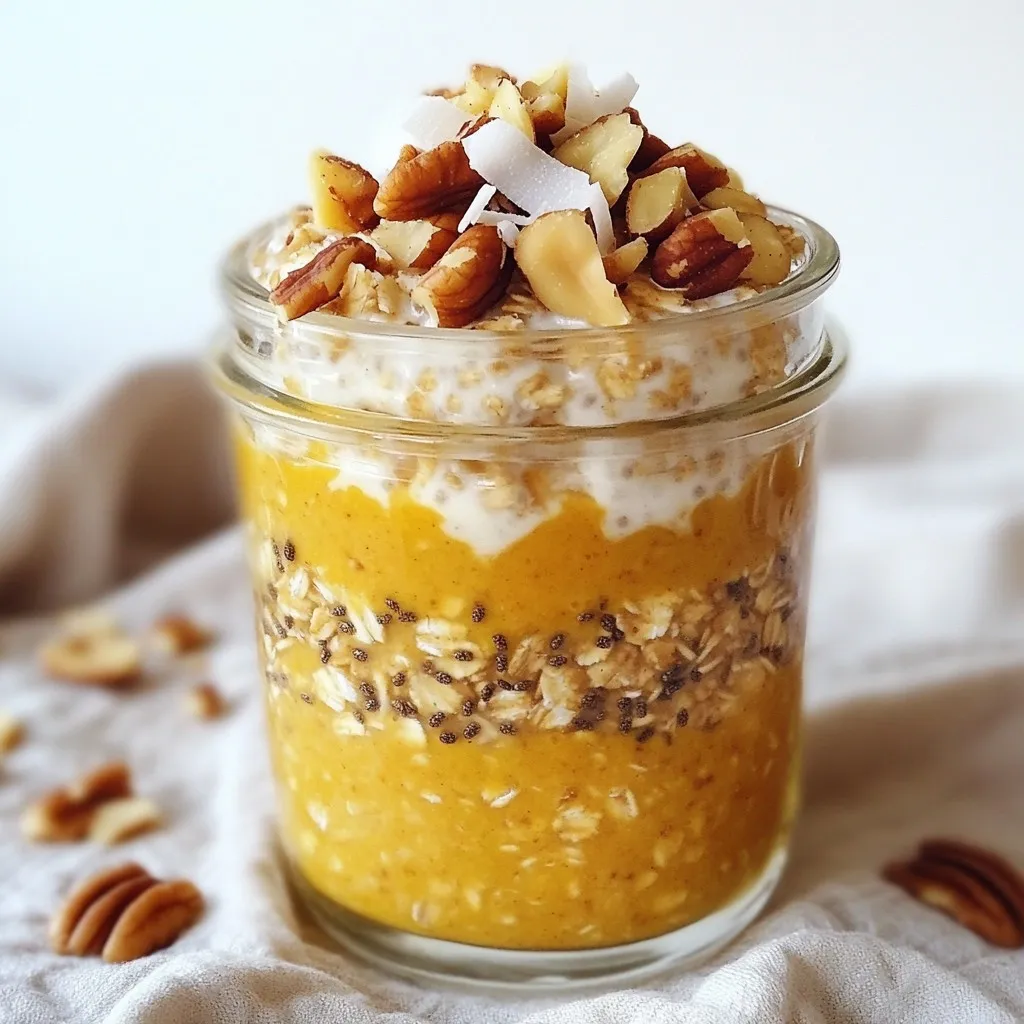
A creamy and flavorful overnight oats recipe featuring pumpkin and warm spices, perfect for a quick...