Appetizers

Air Fryer Honey Garlic Chicken Wings Tasty Delight
Get ready to impress your friends with Air Fryer Honey Garlic Chicken Wings! These wings are sweet, sticky, and packed with flavor. You’ll love how

Crockpot Taco Chicken Nachos Flavorful and Fun Dish
Looking for a tasty twist on nachos? My Crockpot Taco Chicken Nachos combine zesty chicken, creamy cheese, and fresh toppings for a fun meal! This

Tortilla Pizza Rolls Tasty and Fun Snack Idea
Looking for a fun and tasty snack? Tortilla Pizza Rolls are the answer! They’re easy to make, and you can customize them to fit your

Pepperoni Pizza Muffins Tasty and Easy Recipe
Looking for a fun and easy recipe? I’ve got you covered with these Pepperoni Pizza Muffins! They pack all the flavor of your favorite pizza

Easy Mini Corn Dog Muffins Tasty Snack for Everyone
Looking for a fun and easy snack that everyone will love? Try making Easy Mini Corn Dog Muffins! They’re simple to whip up and packed
![- 10 tomatillos, husked and halved - 1/2 large white onion, quartered - 2 cloves garlic, unpeeled - 2 jalapeños, halved - 1/4 cup fresh cilantro, chopped - 1 tablespoon lime juice - Salt and olive oil - Baking sheet - Blender - Knife and cutting board When I make 20 Minute Roasted Tomatillo Salsa Verde, I gather fresh ingredients. The tomatillos bring a bright, tangy taste. The onion adds sweetness, and the garlic gives depth. Jalapeños offer a kick, but you can adjust them for less heat. Fresh cilantro adds a burst of flavor, while lime juice brightens everything up. A pinch of salt and a drizzle of olive oil tie it all together. For tools, I use a baking sheet to roast the veggies. A good blender helps mix everything smoothly. A knife and cutting board make prep quick and easy. With these ingredients and tools, you’re set to create a salsa that bursts with flavor. If you want to follow the complete process, check out the Full Recipe linked above. - Preheat the oven to 425°F (220°C). This makes sure your veggies roast well. - Prepare your baking sheet by arranging the ingredients. Place the halved tomatillos, quartered onion, unpeeled garlic, and halved jalapeños on it. - Drizzle the vegetables lightly with olive oil. This adds flavor and helps with cooking. - Sprinkle salt over them. This enhances their natural tastes. - Roast for about 15 minutes. Check the veggies to see if they soften and char slightly. - Once done, take the baking sheet out. Let the veggies cool for a few minutes to handle them safely. - Transfer the roasted ingredients into a blender. Add the chopped cilantro and lime juice for freshness. - Blend everything until you reach your desired consistency. You can make it chunky or smooth, based on your taste. - Taste your salsa. If you need more salt or lime, add it now for the best flavor. You can find the full recipe for this delightful salsa in the main article. To get tomatillos just right, look for a nice char. They should soften and take on a rich color. This means they are ready to blend. The key is to check them after about 15 minutes. If they look a bit blistered, you’re on the right track. Enhancing Flavor with Spices Add salt before roasting. This helps bring out the natural taste of the tomatillos. You can also sprinkle in some cumin or smoked paprika. These spices add depth and a hint of smokiness that elevates the salsa. Feel free to adjust based on your taste. Roasted tomatillo salsa verde is a star on its own. Serve it warm or at room temperature. It pairs wonderfully with crispy tortilla chips. Just scoop and enjoy! Pairing Ideas You can also use this salsa with tacos, grilled meats, or fish. It adds a fresh, zesty kick. For a fun twist, drizzle it over a salad or use it as a dressing. The options are endless! For the full recipe, check out the [Full Recipe]. {{image_4}} You can change the spice level of your salsa with ease. Start by adjusting the number of jalapeños. If you want more heat, add another pepper. If you prefer less heat, remove one or two jalapeños. You can also play with different peppers. Try serrano or poblano peppers for a unique flavor. Each pepper brings its own taste and heat. This way, you can make salsa that suits your taste perfectly. Want to make your salsa even more exciting? Consider adding fruits like mango or pineapple. These fruits bring a sweet twist to the tangy tomatillos. You can also use fresh herbs like oregano or thyme. They add a great aromatic flavor to your salsa. Mixing these ingredients can create a one-of-a-kind salsa. Feel free to experiment and find the mix you love best. For more ideas, check the Full Recipe to see how you can customize your dish. To keep your salsa verde fresh, use an airtight container. Glass jars work great. They help keep out air and moisture. Store your salsa in the fridge. It stays tasty for about one week. After that, the flavors may fade. Always check for smell or color changes before using. You can freeze salsa verde for later use. Start by pouring it into freezer-safe bags or containers. Leave some space at the top. Salsa expands when it freezes. Seal the bags tightly to prevent air. When ready to eat, thaw it in the fridge overnight. To use the frozen salsa, shake it well. It may separate when thawed. Stir it before serving for the best taste. You can also add fresh herbs or a splash of lime juice to refresh the flavor. For more details, check the Full Recipe. Making this salsa verde takes just 20 minutes. Here’s the breakdown: - Prep time: 5 minutes to get your ingredients ready. - Cook time: 15 minutes to roast the tomatillos and other veggies. This quick process gives you a fresh and zesty salsa in no time! Yes, you can use canned tomatillos. They save time but may change the flavor. Canned tomatillos are softer and less bright than fresh ones. If you use them, drain the liquid well. You might also add a bit more lime juice to boost the flavor. This salsa verde is super versatile. Here are some great pairings: - Tacos: Use it as a topping for chicken or fish tacos. - Grilled meats: Drizzle it over grilled chicken or pork for added zest. - Dips: Serve with tortilla chips for a tasty snack. - Rice or quinoa: Mix it in to add flavor to your grains. You can check the [Full Recipe] for more ideas and detailed instructions! You learned how to make 20 Minute Roasted Tomatillo Salsa Verde today. We covered all the key ingredients, tools, and step-by-step instructions to create a tasty salsa. We also explored tips for roasting and flavoring, plus ways to customize the recipe to fit your taste. Lastly, I shared best storage practices to keep your salsa fresh. Now, you’re ready to impress your friends and family. Enjoy this bright, zesty salsa with everything from chips to tacos. Happy cooking!](https://meltedrecipes.com/wp-content/uploads/2025/08/5927af9f-1b7e-4f5f-81b1-66565448abf3.webp)
20 Minute Roasted Tomatillo Salsa Verde Delight
Are you ready to spice up your meals in just 20 minutes? In this blog, I’ll show you how to make a delicious roasted tomatillo

Chicken Quesadilla Simple and Flavorful Recipe
If you crave a quick meal that bursts with flavor, you’ve come to the right place! In this post, I’ll share my simple and delicious
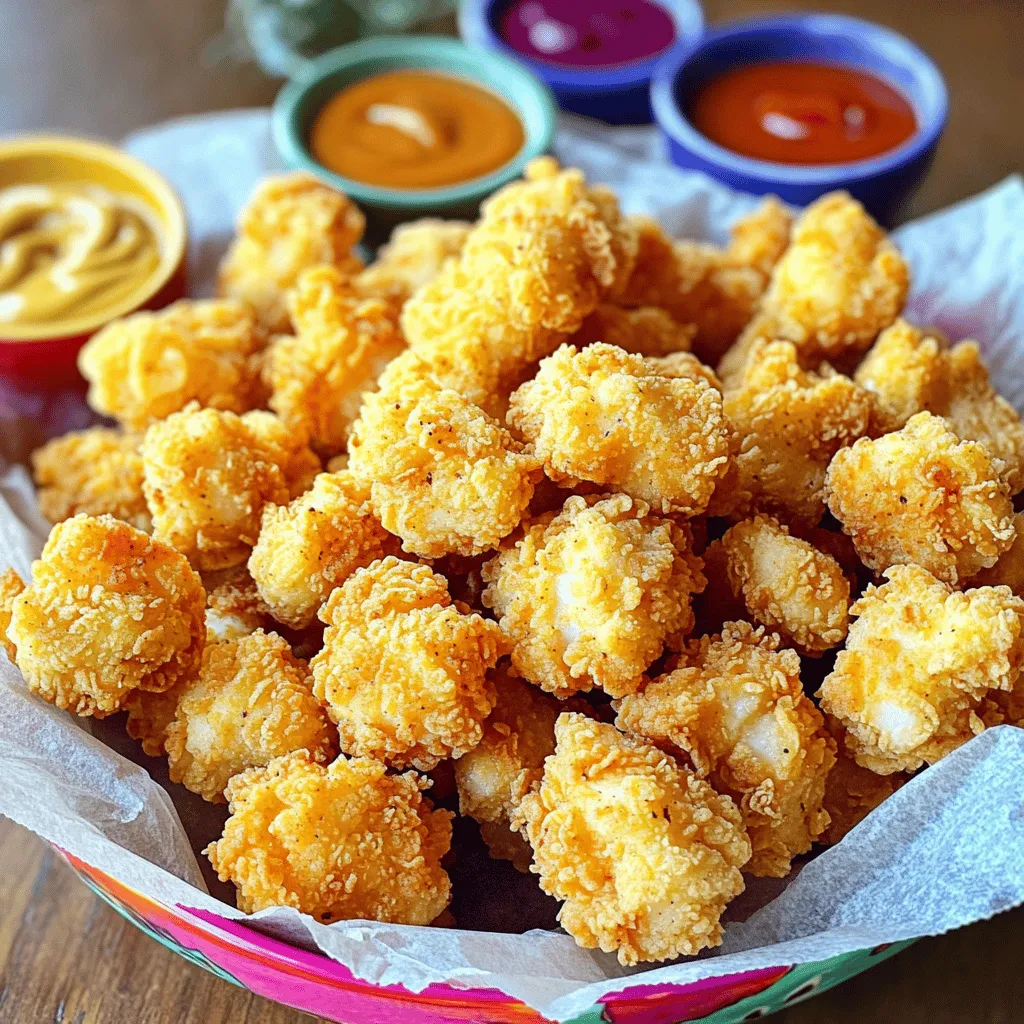
Popcorn Chicken Delightful Bite-Sized Treat
Popcorn chicken is a fun and tasty treat you can enjoy anytime. This bite-sized delight is crispy on the outside and juicy on the inside.

Easy Baked Ham and Cheese Pinwheels Tasty Snack Treat
Craving a snack that’s quick to make and full of flavor? Easy Baked Ham and Cheese Pinwheels are the perfect treat! With just a few
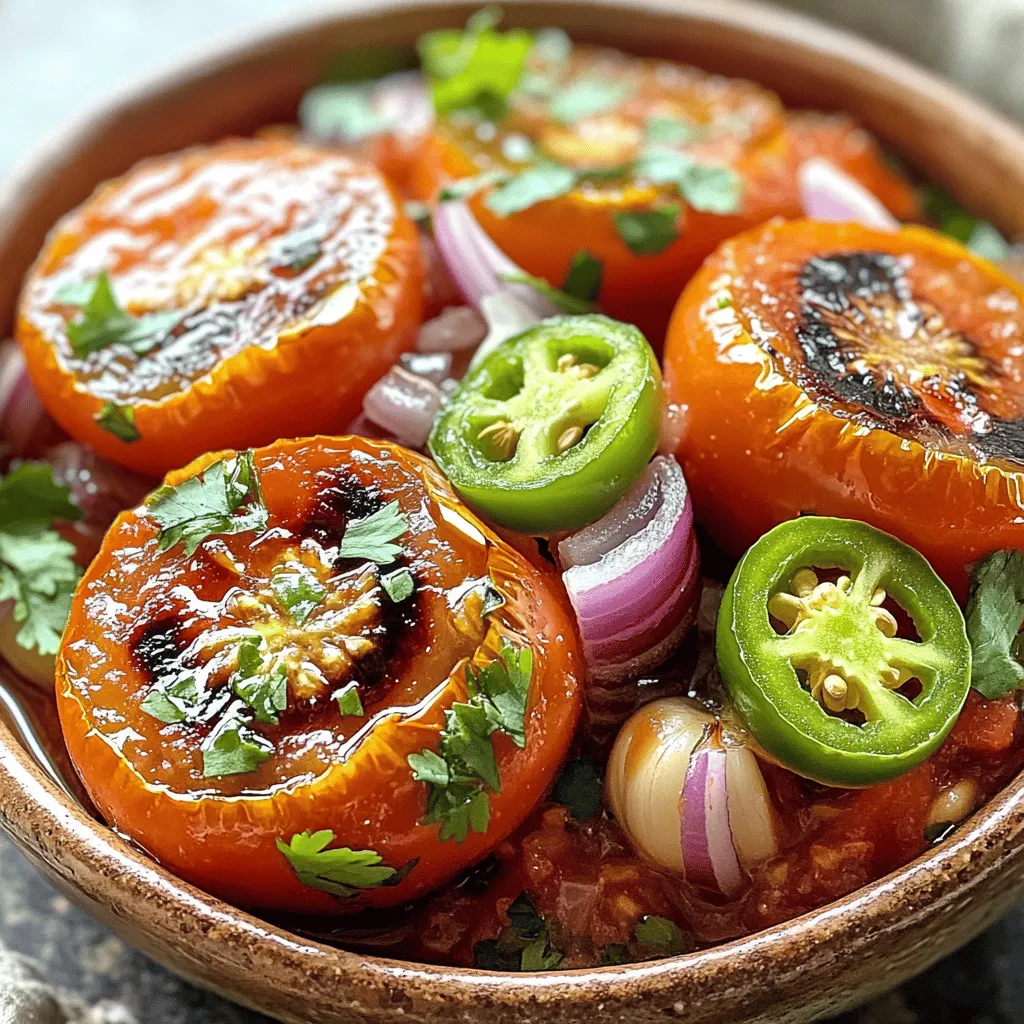
Roasted Tomato Salsa Flavorful and Fresh Dip Recipe
Are you ready to elevate your snack game with a vibrant Roasted Tomato Salsa? This fun and fresh dip packs in the flavor you crave