Appetizers

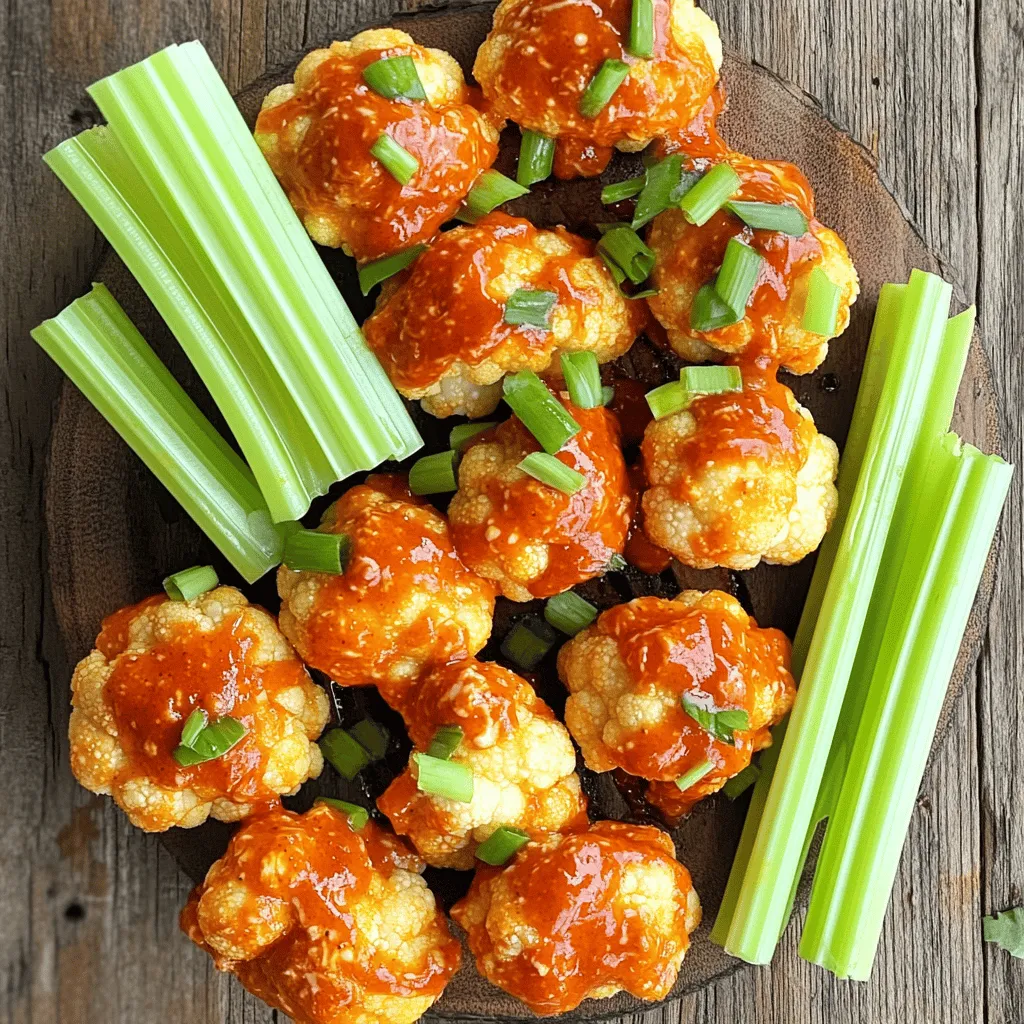
Spicy Buffalo Cauliflower Bites Crunchy and Tasty Treat
Are you ready to take your snacking game up a notch? These Spicy Buffalo Cauliflower Bites are the perfect crunchy and tasty treat for any

Buffalo Ranch Chicken Wraps Tasty and Simple Meal
Looking for a quick and tasty meal? You’re in the right place! Buffalo Ranch Chicken Wraps are simple to make and packed with flavor. With
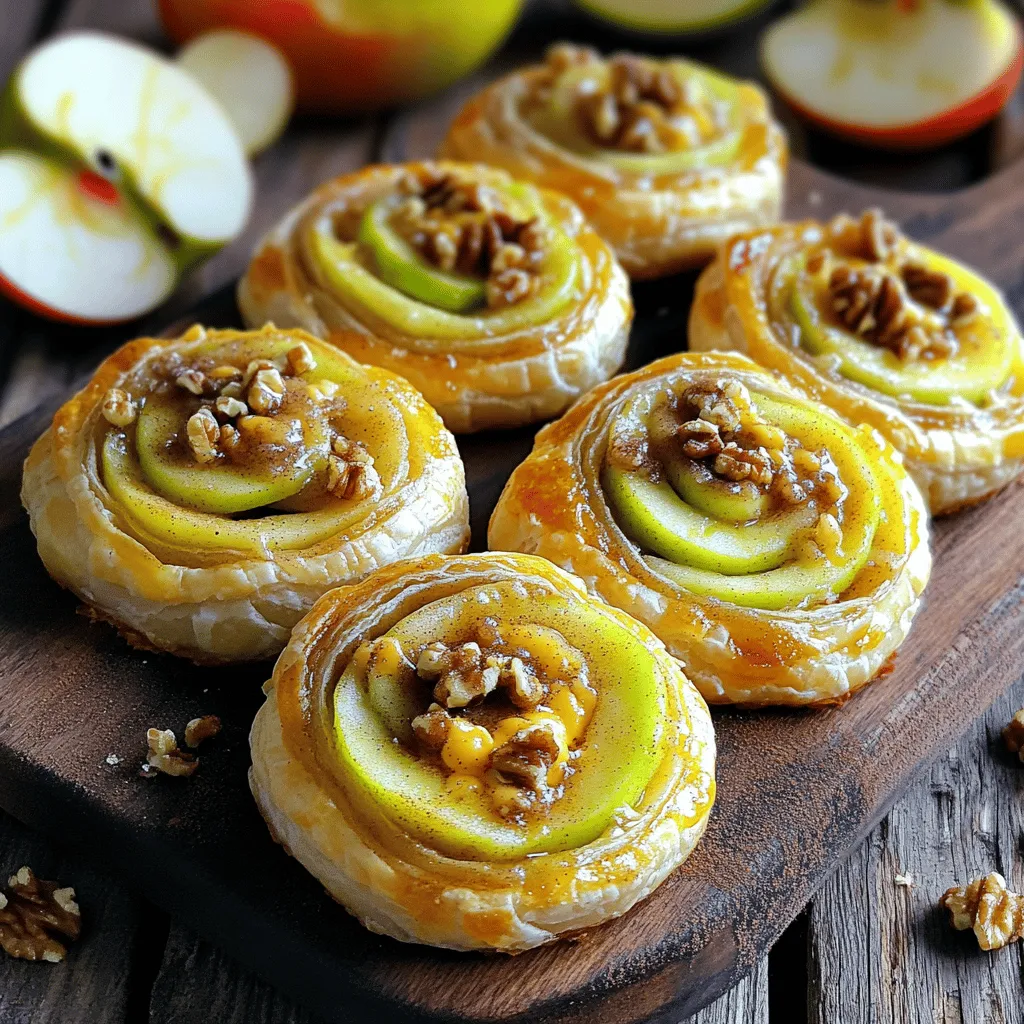
Apple Cheddar Puff Pastry Pinwheels Easy and Tasty
If you love quick and tasty snacks, Apple Cheddar Puff Pastry Pinwheels are for you! These little treats combine crisp apples and sharp cheddar in

Crispy Lemon Pepper Air Fryer Wings Flavorful Delight
Get ready to enjoy a crispy treat that’ll make your taste buds dance! My Crispy Lemon Pepper Air Fryer Wings are not just easy to
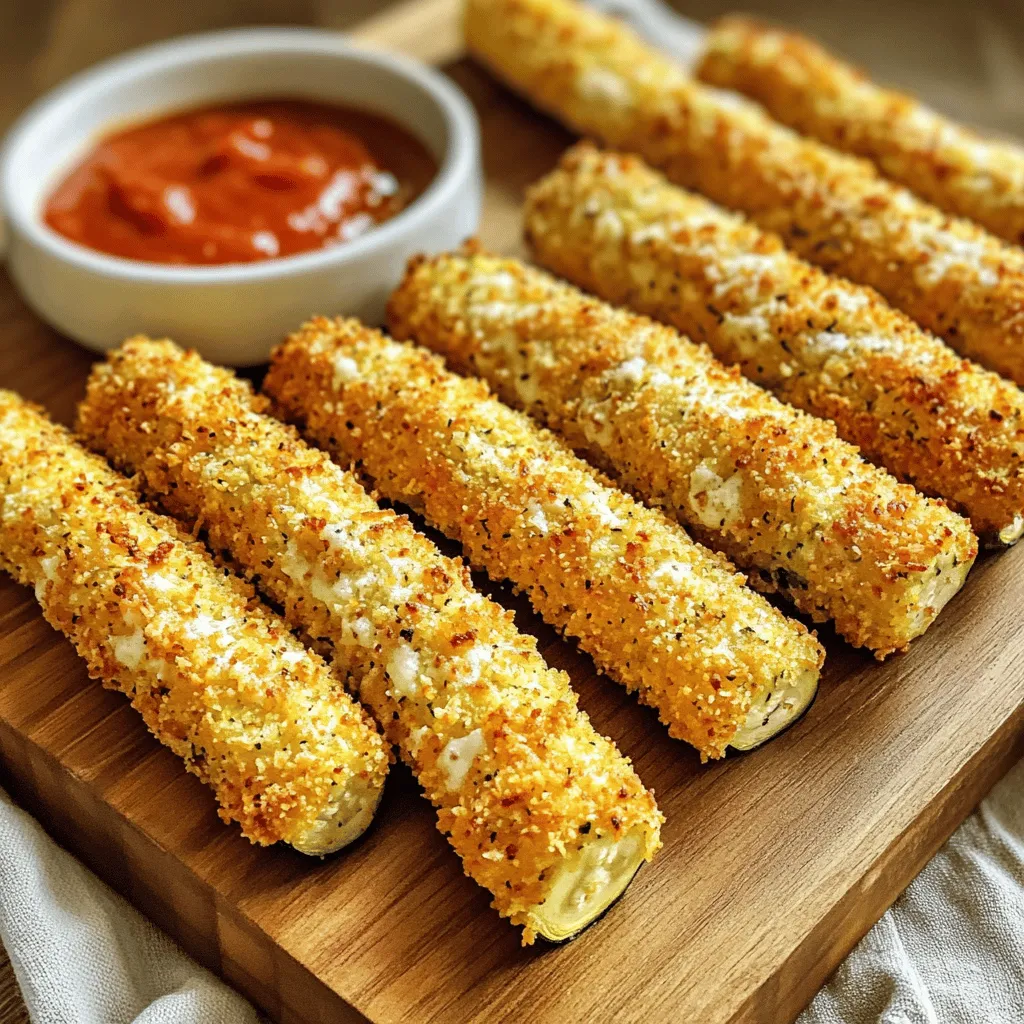
Savory Air Fryer Parmesan Zucchini Sticks Recipe
Are you ready to enjoy a tasty, healthy snack? My Savory Air Fryer Parmesan Zucchini Sticks recipe will be your new favorite! These crispy, cheesy
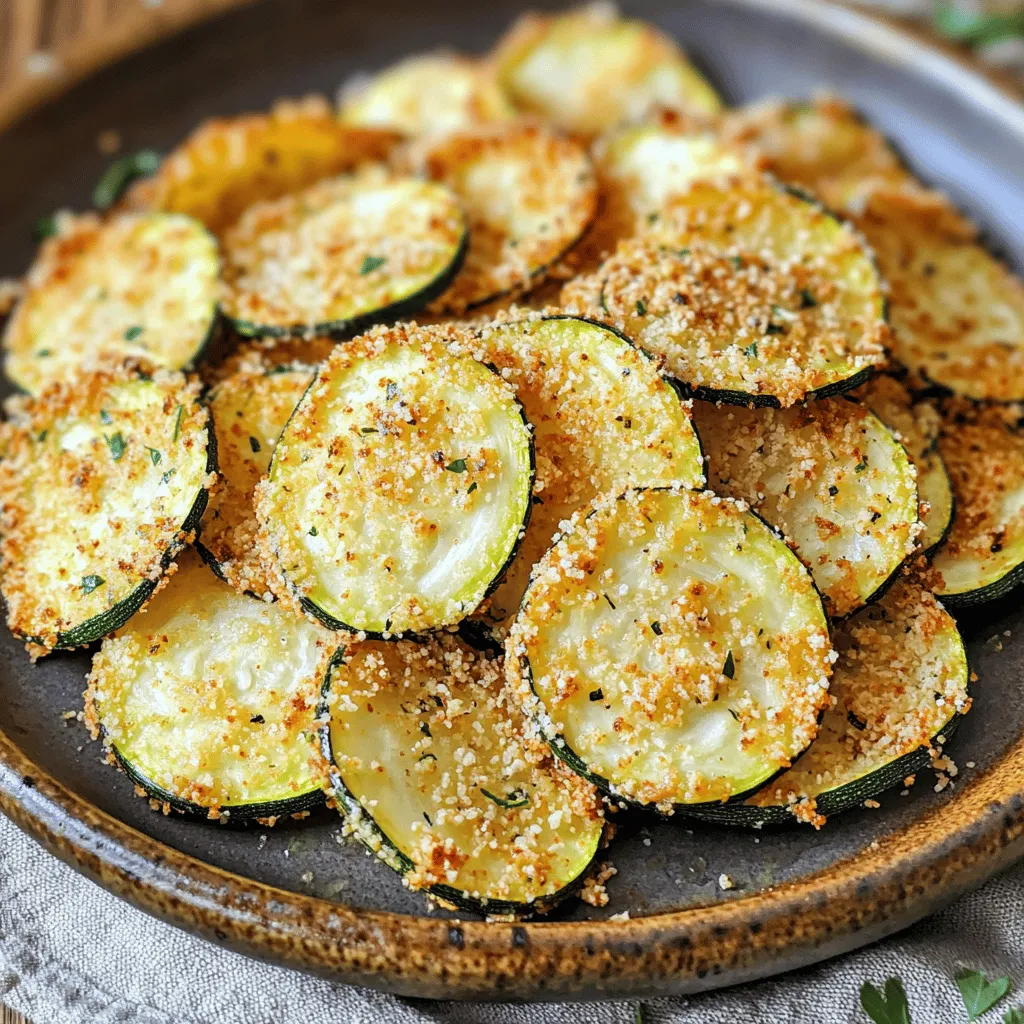
Air Fryer Parmesan Zucchini Chips Crispy Snack Delight
Looking for a tasty snack that’s light and crispy? You’ve come to the right place! In this guide, I’ll show you how to make Air

Garlic Butter Air Fryer Green Beans Deliciously Simple
Do you want a side dish that’s both easy and tasty? Look no further than Garlic Butter Air Fryer Green Beans! This simple recipe turns
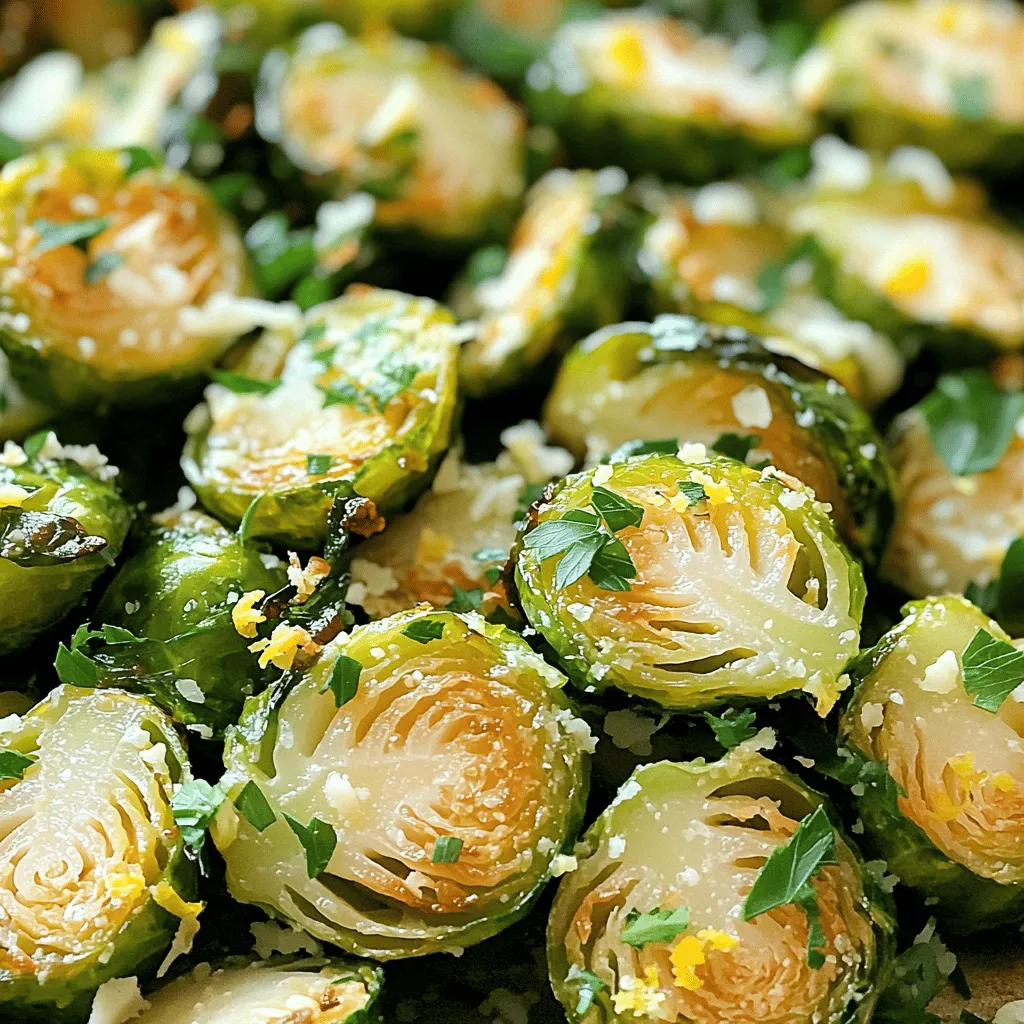
Roasted Garlic Parmesan Brussels Sprouts Delight
If you think Brussels sprouts are boring, this recipe will change your mind! In Roasted Garlic Parmesan Brussels Sprouts Delight, I’ll show you how to
Air Fryer Buffalo Cauliflower Bites Crispy Delight
Are you ready to spice up your snack game? My Air Fryer Buffalo Cauliflower Bites are crispy, tasty, and oh-so-simple to make. With just a
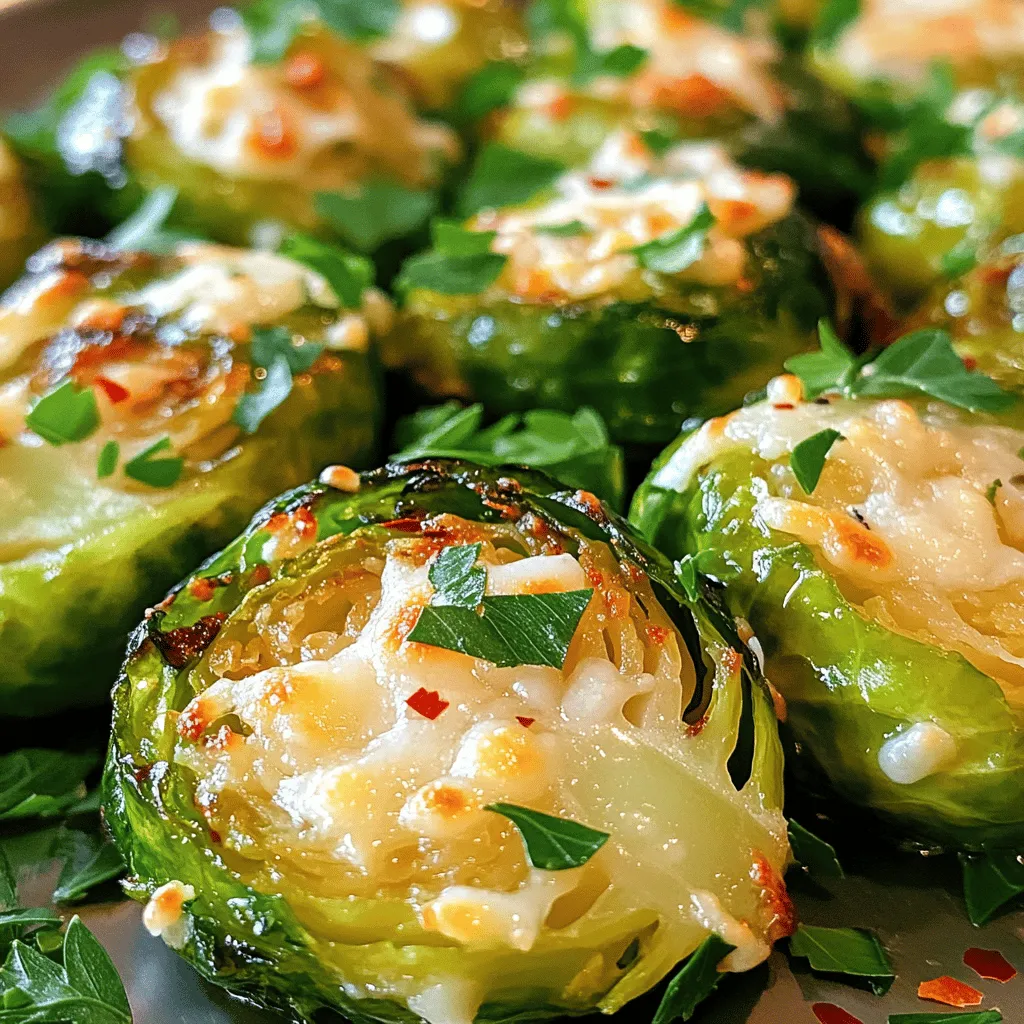
Garlic Parmesan Roasted Brussels Sprouts Delight
If you are looking for a tasty side dish, try Garlic Parmesan Roasted Brussels Sprouts! This recipe is simple and quick, perfect for busy weeknights.