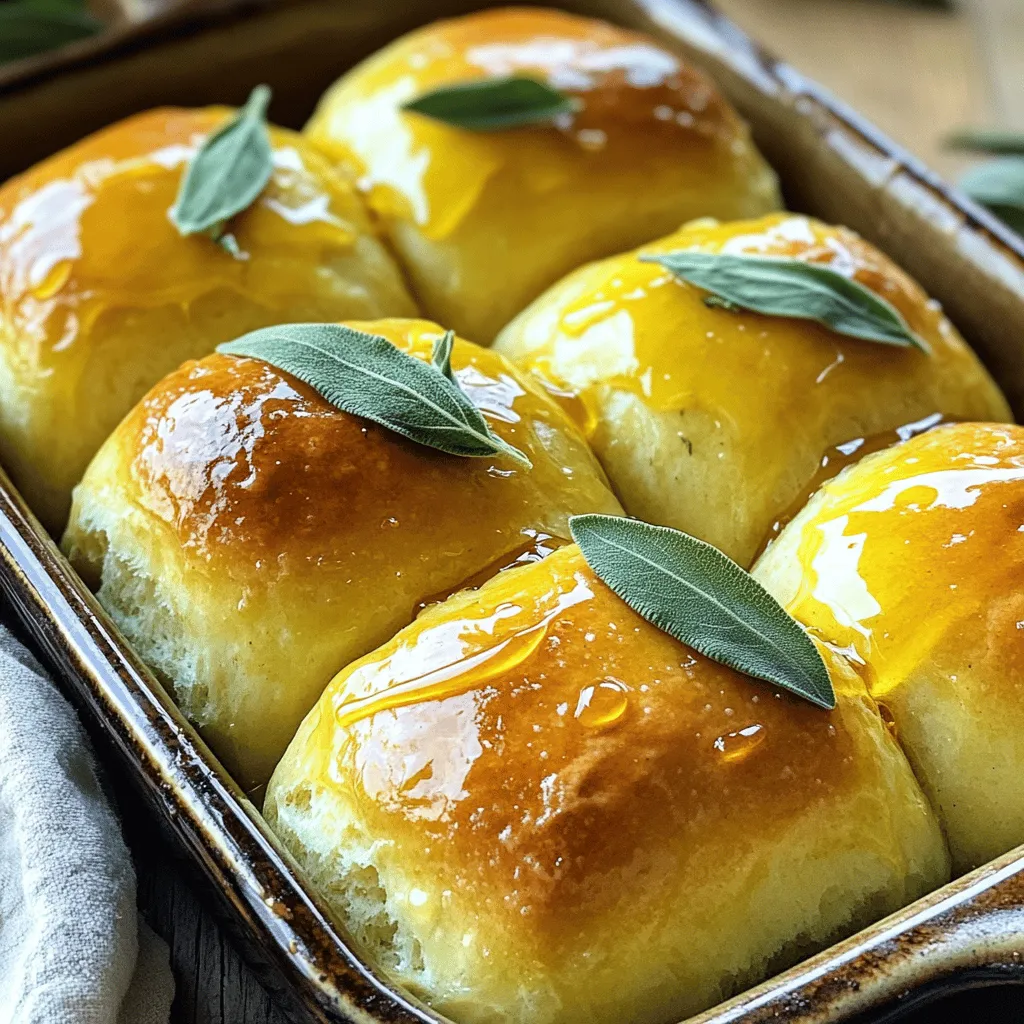
Get ready to elevate your bread game with my Brown Butter Sage Dinner Rolls! These rolls are fluffy, flavorful, and bursting with savory notes that make any meal special. I’ll guide you through simple steps to craft these mouthwatering treats. With my tips, you’ll master the art of perfect texture and flavor. Join me and make dinner unforgettable with this amazing recipe!
Ingredients
Complete List of Ingredients
To make Brown Butter Sage Dinner Rolls, gather these items:
– 4 cups all-purpose flour
– 1 packet (2 ¼ teaspoons) active dry yeast
– 1 cup warm milk (about 110°F)
– 1/4 cup brown sugar
– 3/4 cup unsalted butter (divided: 1/4 cup for mixing and 1/2 cup for browning)
– 1 teaspoon salt
– 1/2 teaspoon freshly ground black pepper
– 1/4 cup fresh sage leaves, finely chopped
– 1 large egg
– 1 tablespoon honey (optional, for brushing)
Measuring Tips for Accurate Quantities
Accurate measuring is key to great rolls. Use a dry measuring cup for flour. Spoon the flour into the cup and level it off with a knife. Avoid packing it down. For brown sugar, fill the cup and press it firmly. Use a digital scale for precise amounts. This can help you achieve perfect texture every time.
Best Quality Ingredients for Optimal Flavor
Choose high-quality ingredients for the best taste. Use fresh sage leaves, as they give a vibrant flavor. Opt for unsalted butter to control salt levels. Select active dry yeast that is fresh to ensure good rise. Milk should be warm, not hot, for the yeast to activate properly. Quality matters as it enhances the overall flavor of your rolls.
Step-by-Step Instructions
Preparing the Brown Butter
To start, melt 1/2 cup of unsalted butter in a small saucepan. Use medium heat and stir it often. Watch closely as it foams and changes color. You want it to turn a rich golden brown. This will give your rolls a nutty flavor. Once it reaches the right color, remove it from the heat. Let it cool for a few minutes while you gather the other ingredients.
Mixing and Kneading the Dough
In a large mixing bowl, combine 1 cup of warm milk, 1/4 cup of brown sugar, and 1 packet of active dry yeast. Stir gently and let it sit for about 5 to 10 minutes. You should see bubbles forming. This means the yeast is alive and ready. Next, add the cooled brown butter, chopped sage, 1 teaspoon of salt, 1/2 teaspoon of black pepper, and 1 large egg. Mix everything until it blends well.
Gradually add 4 cups of all-purpose flour, one cup at a time. Use a wooden spoon or spatula to mix. Once a soft dough forms, turn it onto a floured surface. Knead the dough for about 8 to 10 minutes. You want it to be smooth and elastic. Press it lightly, and it should spring back.
Shaping and Rising Techniques
After kneading, place the dough in a greased bowl. Turn it over to coat lightly with oil. Cover it with a clean kitchen towel and set it in a warm spot. Let it rise for about 1 hour or until it doubles in size.
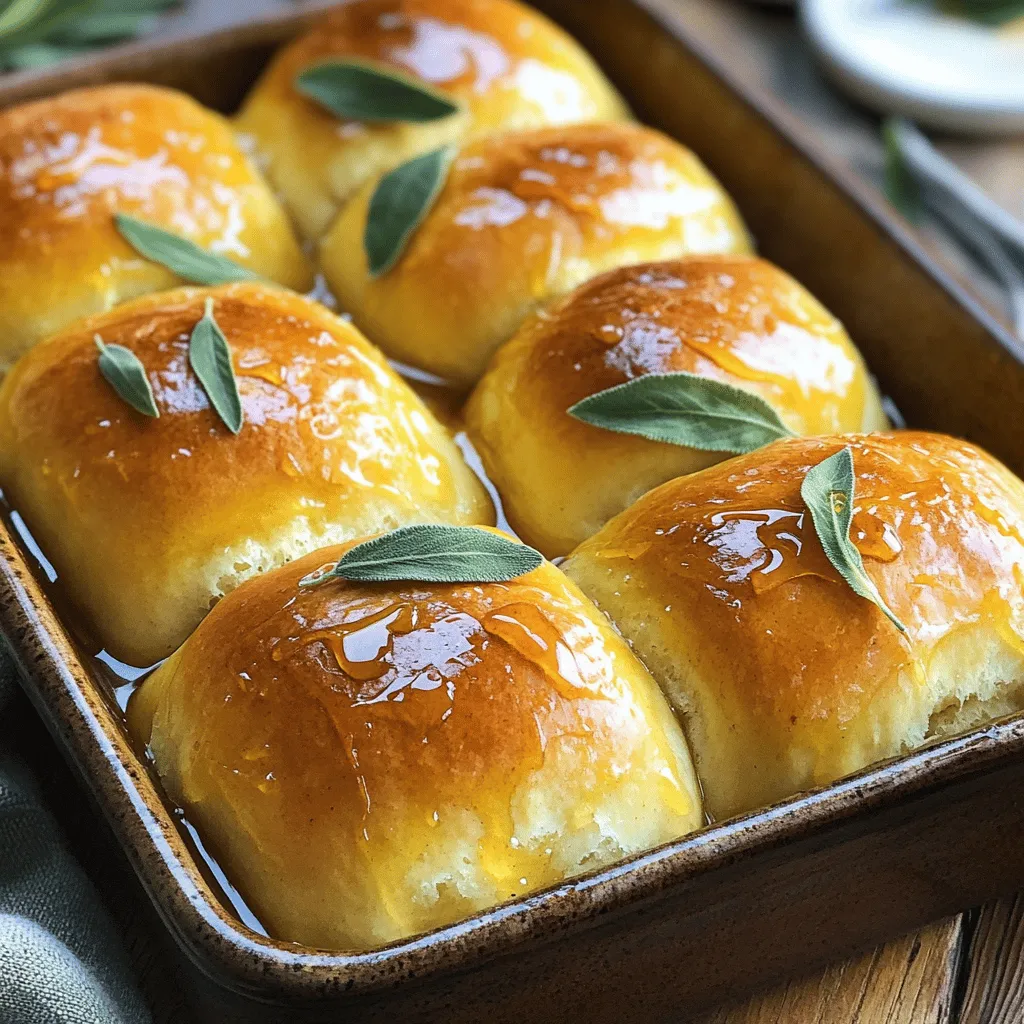
Once the dough has risen, gently punch it down to release air. Turn it out onto the floured surface again. Divide the dough into 12 equal pieces. Shape each piece into a smooth ball. Place the balls in a greased baking dish, leaving space between each one. Cover them again with the towel and let them rise for another 30 minutes.
Follow these steps from the Full Recipe for perfect Brown Butter Sage Dinner Rolls!
Tips & Tricks
How to Achieve the Perfect Texture
To get soft, fluffy rolls, use warm milk. It helps the yeast grow. Make sure your butter is browned but not burnt. This adds a rich flavor. Knead the dough well for about 8-10 minutes. You want it smooth and elastic. Let the dough rise in a warm spot. This helps the rolls puff up nicely.
Recommended Tools and Equipment
Here are some tools I always use:
– Mixing bowl
– Wooden spoon or spatula
– Measuring cups and spoons
– Kitchen towel
– Baking dish
– Rolling pin (optional)
– Oven mitts
These tools make the process easier and more fun. Using the right equipment helps you get the best results.
Troubleshooting Common Issues
If your rolls are too dense, check the yeast. Make sure it’s fresh and active. If they don’t rise, your kitchen might be too cool. Try placing the dough near a warm oven. If the rolls are dry, you may have added too much flour. Always measure carefully. You can also brush them with butter for added moisture.
Variations
Cheesy Brown Butter Sage Dinner Rolls
You can add cheese to the dough for a savory twist. I love using sharp cheddar or Gruyère. Mix in about one cup of shredded cheese when you add the flour. The cheese melts and creates a gooey center. It pairs well with the nutty flavor of brown butter and sage. Serve these rolls warm for a cheesy experience.
Gluten-Free Option for Dinner Rolls
If you need a gluten-free version, use a gluten-free flour blend. Make sure it has xanthan gum for structure. Follow the same steps in the recipe. The rolls may be denser, but they will still taste great. You can also add a bit of extra brown butter for flavor. This option allows everyone to enjoy these rolls.
Adding Different Herbs for Flavor
Experiment with herbs for a unique taste. Rosemary or thyme works well with brown butter. Use about one tablespoon of finely chopped herbs in place of sage. You can also mix herbs for a richer flavor. This is a fun way to customize your rolls. Each batch can surprise you with new tastes.
Storage Info
Best Ways to Store Leftover Rolls
To keep your Brown Butter Sage Dinner Rolls fresh, store them in an airtight container. Place a paper towel inside to absorb moisture. This helps maintain their soft texture. You can also wrap them in plastic wrap for added protection. Keep them at room temperature for up to three days. If you want to keep them longer, freezing is a great option.
Freezing Tips for Longer Freshness
If you have extra rolls, freeze them for later use. Allow the rolls to cool completely before freezing. Place them in a single layer on a baking sheet. Once frozen, transfer them to a freezer bag. Remove as much air as possible to prevent freezer burn. These rolls can last up to three months in the freezer. When ready to eat, simply thaw them at room temperature.
Reheating Instructions for Enjoying Later
To enjoy your leftover rolls, reheating is key. Preheat your oven to 350°F (175°C). Place the rolls on a baking sheet. Cover them lightly with foil to keep them moist. Heat for about 10-15 minutes, or until warm. You can also microwave them for 15-20 seconds each. If you prefer a crispy crust, the oven works best. Enjoy these rolls warm for the best flavor and texture!
FAQs
Can I make Brown Butter Sage Dinner Rolls ahead of time?
Yes, you can make these rolls ahead of time. Prepare the dough as directed, but stop before the second rise. After shaping the rolls, place them in the baking dish, cover, and refrigerate overnight. When ready to bake, allow them to rise at room temperature for about 30 minutes before baking. This method adds great flavor and saves you time.
What can I serve with these rolls?
These rolls pair well with many dishes. Here are some ideas:
– Roasted meats like chicken or pork
– Creamy soups, such as butternut squash or potato leek
– Salads, especially those with nuts or cheese
– A warm bowl of pasta with garlic butter sauce
These rolls add warmth and flavor to any meal.
How long do the rolls stay fresh?
Brown Butter Sage Dinner Rolls are best enjoyed fresh. However, you can store them in an airtight container at room temperature for up to three days. For longer freshness, freeze them. Wrap the rolls tightly in plastic wrap and place them in a freezer bag. They can last up to three months in the freezer. To enjoy, simply thaw and reheat in the oven.
For the full recipe, check the detailed steps and ingredients above.
In this post, we covered how to make delicious Brown Butter Sage Dinner Rolls. You learned about key ingredients, step-by-step instructions, and essential tips for success. I also shared fun variations to try, storage methods for leftovers, and answers to your common questions.
Baking these rolls is simple and rewarding. With practice, you’ll perfect your skills and create tasty meals everyone will love. Enjoy your baking journey!