
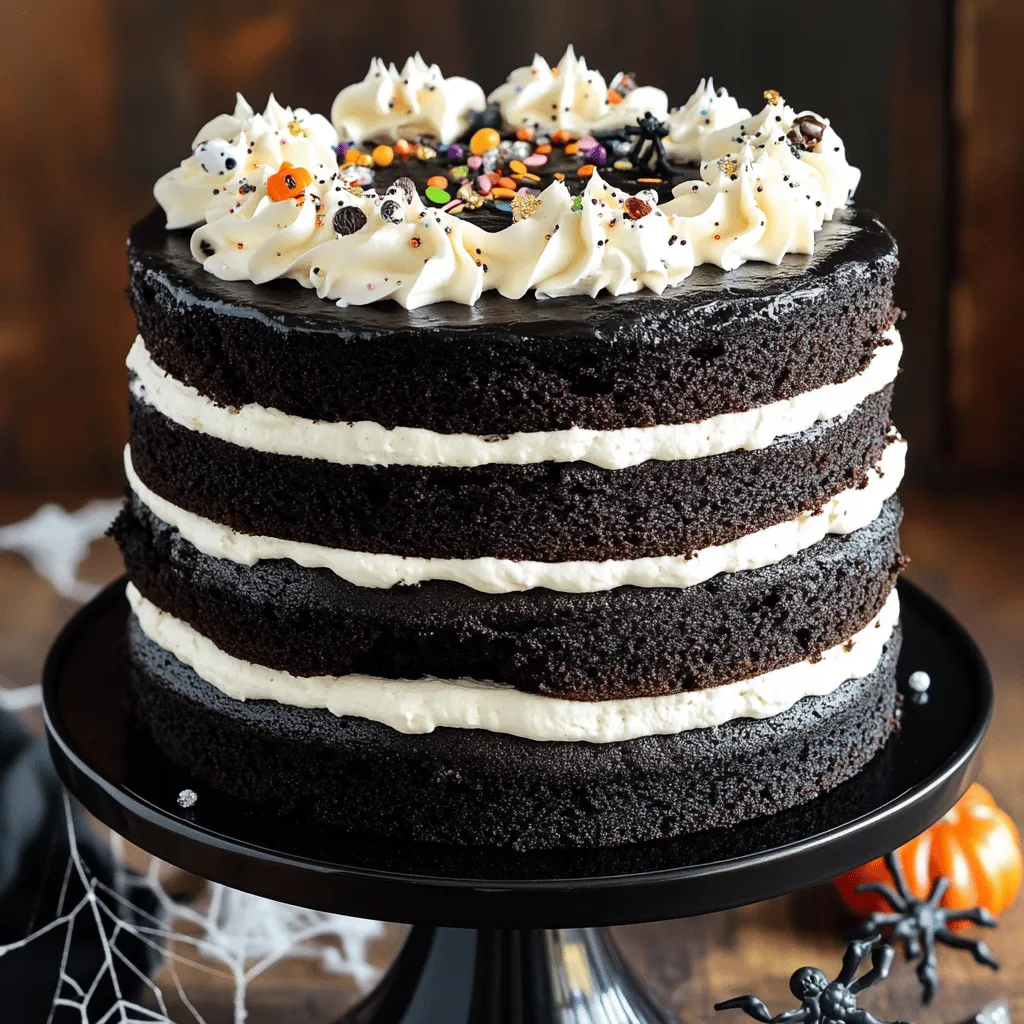
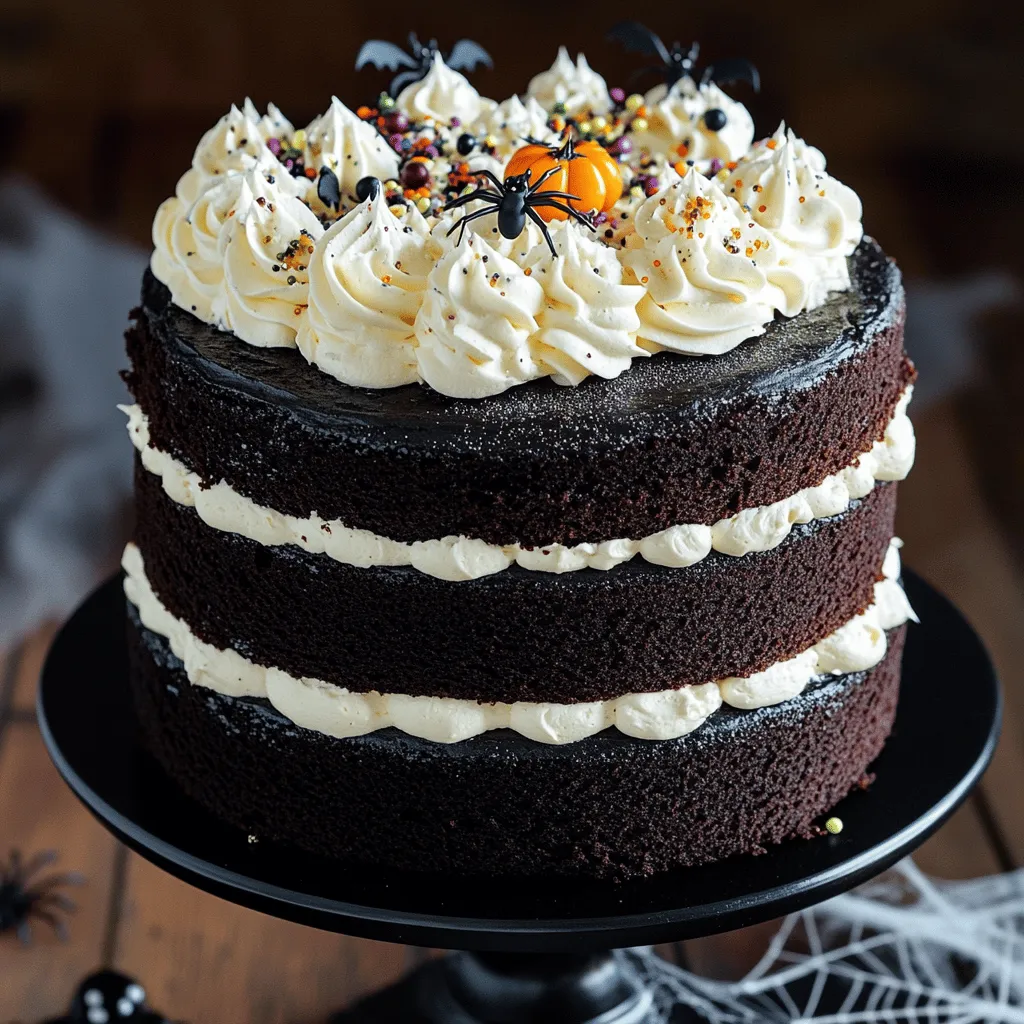
Get ready to impress at your Halloween party with the spooktacular Black Velvet Halloween Cake! This rich and dark treat sets the perfect spooky mood while delighting your taste buds. In this article, I’ll guide you through simple ingredients, helpful tips, and fun decorating ideas. Whether you’re a baking novice or a pro, you’ll find everything you need to create this impressive cake that’s sure to be a crowd favorite!
Ingredients
List of Essential Ingredients
To make your Black Velvet Halloween Cake, gather these must-have items:
– 2 cups all-purpose flour
– 1 ½ cups granulated sugar
– ¾ cup unsweetened cocoa powder
– 1 teaspoon baking soda
– 1 teaspoon baking powder
– ½ teaspoon salt
– 1 cup buttermilk, at room temperature
– ½ cup vegetable oil
– 2 large eggs
– 2 teaspoons vanilla extract
– 1 cup boiling water
– 1 cup heavy whipping cream
– ½ cup powdered sugar
– 1 teaspoon vanilla extract (for the whipped cream)
Optional Ingredients for Customization
You can add a few fun twists with these options:
– Black gel food coloring (for a deeper color)
– Edible glitter or Halloween-themed sprinkles for decoration
Equipment Needed
Ensure you have the right tools for a smooth baking process:
– Two 9-inch round cake pans
– Mixing bowls (large and small)
– Whisk or electric mixer
– Rubber spatula
– Measuring cups and spoons
– Toothpick (for testing doneness)
– Wire rack (for cooling)
– Sturdy serving plate (for presentation)
This list will help you create a spooky and delicious cake. For full details on how to bake and assemble, check the Full Recipe.
Step-by-Step Instructions
Preparation Steps
Start by preheating your oven to 350°F (175°C). Grease two 9-inch round cake pans. Lightly flour the pans to keep the cake from sticking. In a large bowl, sift together the flour, sugar, cocoa powder, baking soda, baking powder, and salt. This step makes sure all dry ingredients mix well. In another bowl, whisk the buttermilk, vegetable oil, eggs, and vanilla extract. Mix until it is smooth. Slowly add this wet mix to the dry ingredients. Stir gently with a spatula. Be careful not to overmix. Next, carefully add the boiling water to the batter. It will be very thin. If you want a darker shade, add a few drops of black gel food coloring.
Baking the Cake
Now, evenly divide the batter between the two prepared pans. Bake in the oven for 30-35 minutes. To check if they are done, insert a toothpick in the center. If it comes out clean, the cakes are ready. Once baked, let them cool in the pans for about 10 minutes. After that, transfer the cakes to a wire rack. Allow them to cool completely before frosting.
Cooling and Assembling
While the cakes cool, it’s time to make the whipped cream. In a mixing bowl, beat the heavy cream with powdered sugar and vanilla extract. Keep beating until soft peaks form. This will create a light and fluffy frosting. Once the cakes are cool, place one layer on a sturdy serving plate. Spread a generous layer of whipped cream on top. Then, gently place the second layer on top. Cover the entire cake with the remaining whipped cream. Smooth it out with a spatula. For a spooky touch, decorate with edible glitter or Halloween sprinkles. This cake will surely be a hit at your Halloween gathering! For the complete details, check the Full Recipe.
Tips & Tricks
How to Perfect the Whipped Cream
To make the best whipped cream, use cold ingredients. Start with heavy whipping cream from the fridge. Add powdered sugar and vanilla extract to the bowl. Use a hand mixer or stand mixer on medium speed. Beat until soft peaks form, about 2-3 minutes. Watch it closely so you don’t overbeat. Overbeating can turn it into butter. A perfect whipped cream is light and fluffy. It adds a nice touch to your cake.
Ensuring a Moist Cake
Keeping your Black Velvet Halloween Cake moist is key. Use buttermilk; it adds richness and moisture. Don’t skip the boiling water in the recipe. It helps dissolve the cocoa powder and keeps the cake soft. Make sure to bake just until done; this prevents dryness. Insert a toothpick into the center; it should come out clean but not dry. Let the cake cool completely before frosting. This step locks in moisture.
Decorating Ideas for Halloween
Get creative with your cake decoration! Use edible glitter for a spooky shimmer. Halloween-themed sprinkles add fun colors and shapes. Try placing plastic spiders or ghosts on top for a frightful touch. You can also pipe extra whipped cream around the base. A black cake stand makes the cake pop. Consider using faux cobwebs or small pumpkins around the display. These ideas make your cake a showstopper at any Halloween party. For the full recipe, check below.
Variations
Alternative Frosting Options
If you want to change up the frosting, go for cream cheese frosting. It adds a nice tang to the sweet cake. You can also try chocolate ganache for a rich, glossy finish. Another fun option is a buttercream made with orange zest. This gives a bright burst of flavor and ties into the Halloween theme.
Flavor Add-ins for Different Tastes
To make the cake even more special, consider adding flavor extracts. A teaspoon of almond extract gives a sweet, nutty taste. If you prefer something fruity, lemon zest adds a fresh twist. You can also mix in mini chocolate chips for extra texture. These small changes can make your cake unique for any spooky celebration.
Using Different Cake Sizes
You can easily adapt this recipe for different cake sizes. For a sheet cake, use a 9×13-inch pan. Bake for about 40-45 minutes. If you want cupcakes, fill each liner half full. Bake them for 18-20 minutes. Adjusting the size lets you serve more guests or create fun cake pops. Each variation still captures the rich flavors of the Black Velvet Halloween Cake. For the full recipe, check the details above.
Storage Info
How to Store Leftover Cake
To keep your leftover Black Velvet Halloween Cake fresh, store it in an airtight container. This helps to keep the cake moist and tasty. If you don’t have a container, cover the cake with plastic wrap. Place it in the fridge if you plan to eat it later. The cake can stay good for about 3 to 5 days in the fridge.
Freezing Instructions
If you want to save the cake for later, freezing is a great option. First, let the cake cool completely. Wrap each layer in plastic wrap tightly. Then, place the wrapped layers in a freezer bag or a sealed container. This way, the cake can last for up to three months in the freezer.
Best Practices for Thawing
When it’s time to enjoy your frozen cake, take it out of the freezer. Leave it wrapped and let it thaw in the fridge overnight. This helps the cake stay moist. If you’re in a hurry, you can thaw it at room temperature for a few hours. Just remember not to rush it in the microwave, as this can make the cake dry. For the best taste, frost it after thawing. You can find the Full Recipe to refresh your memory on how to make it again!
FAQs
What is Black Velvet Cake?
Black Velvet Cake is a rich, dark dessert. It combines cocoa powder with a soft, moist texture. The cake has a deep black color, often enhanced by food coloring. It is similar to red velvet but with cocoa’s unique flavor. This cake is perfect for Halloween due to its spooky look. I love how the dark cake contrasts with the bright whipped cream frosting. It makes for a stunning centerpiece at any spooky celebration.
Can I make this cake in advance?
Yes, you can make this cake ahead of time! I recommend baking the cake layers a day or two before your event. Let the layers cool completely, then wrap them tightly in plastic wrap. Store them in the fridge to keep them fresh. You can also freeze the layers for up to a month. Just make sure to let them thaw in the fridge before frosting. This way, you save time on the big day!
How do I make it less sweet?
If you want to reduce the sweetness, you have a few options. First, cut back on the granulated sugar in the cake recipe. You can also decrease the powdered sugar in the whipped cream. Another idea is to add a pinch of salt to balance the flavors. You can make a cream cheese frosting instead, as it usually has less sugar than whipped cream. This gives a nice tang that offsets the sweetness. Enjoy your cake your way!
You now have all you need to make a delicious Black Velvet Cake. We explored the essential and optional ingredients, shared step-by-step baking instructions, and provided tips for perfecting your whipped cream. We also discussed variations and storage methods to keep your cake fresh. Remember, you can customize this cake to fit any occasion. Whether for Halloween or a special event, make it your own! Enjoy your baking journey, and have fun with each bite you take.


