Flavorful Balsamic Chicken Caprese Salad Recipe
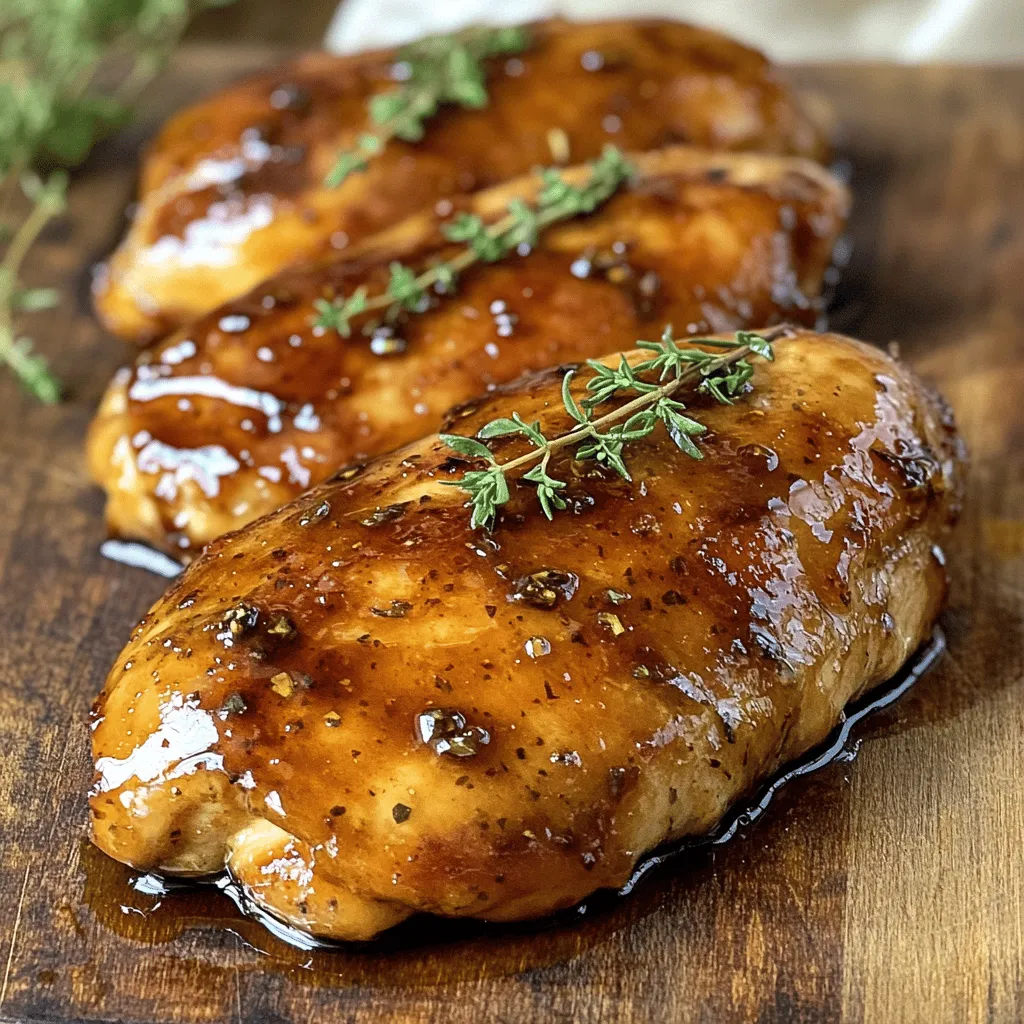
![- 2 boneless, skinless chicken breasts - 1 cup cherry tomatoes, halved - 1 cup fresh mozzarella balls (bocconcini or ciliegine) - 2 cups fresh basil leaves, loosely packed - 3 tablespoons balsamic vinegar - 2 tablespoons extra virgin olive oil, divided - Salt and freshly ground black pepper, to taste - 1 teaspoon garlic powder - 1 teaspoon dried oregano - Additional fresh basil leaves for garnish To make this flavorful balsamic chicken caprese salad, you need fresh and vibrant ingredients. First, choose two boneless, skinless chicken breasts. They will be the star of your dish. Next, gather one cup of cherry tomatoes, sliced in half. They add sweetness and color. You will also need one cup of fresh mozzarella balls, which give a creamy texture. Don't forget the basil! You will need two cups of fresh basil leaves. They bring a fresh flavor to the salad. For the dressing, grab three tablespoons of balsamic vinegar. This will add a tangy kick. You'll use two tablespoons of extra virgin olive oil for richness. Also, have salt and freshly ground black pepper on hand for seasoning. You should add one teaspoon of garlic powder and dried oregano to boost the flavor. Lastly, set aside a few extra basil leaves for a lovely garnish. This recipe brings together bright flavors and textures, making it a perfect choice for any meal. For the full recipe, check out the details above. Seasoning the Chicken First, take two boneless, skinless chicken breasts. I like to season them well. Sprinkle garlic powder, dried oregano, salt, and black pepper on both sides. This gives the chicken great flavor. Cooking Technique Next, heat one tablespoon of olive oil in a large skillet over medium heat. Once the oil is hot, add the chicken. Cook each side for about 6 to 7 minutes. You want the chicken to reach 165°F (75°C). After cooking, let the chicken rest for 5 minutes. Then, slice it into strips. Preparing the Salad Base In a large salad bowl, combine one cup of halved cherry tomatoes, one cup of fresh mozzarella balls, and two cups of fresh basil leaves. Gently toss these ingredients together. Making the Dressing For the dressing, whisk together three tablespoons of balsamic vinegar and one tablespoon of olive oil in a small bowl. Taste it. If needed, add salt and black pepper for flavor. Adding Chicken to Salad Now, take the sliced chicken and add it to the bowl with the tomatoes and mozzarella. Drizzling Dressing and Tossing Drizzle the balsamic dressing over the salad. Carefully toss everything together, so each piece gets coated in the dressing. For the full recipe, check the earlier section. Enjoy this fresh, vibrant salad! Ensuring Juicy Chicken To make juicy chicken, start with fresh breasts. You can also brine them before cooking. A simple brine uses salt and water. Let the chicken sit in the brine for 30 minutes. This helps keep the moisture in. Cook the chicken over medium heat, so it doesn’t dry out. Always use a meat thermometer to check the internal temperature. Aim for 165°F (75°C) for safe eating. Adjusting Flavor Profiles Taste as you go! If you want more flavor, add extra garlic powder or oregano. You can also try a splash of lemon juice for brightness. Adjust salt and pepper to your liking. Don’t forget the balsamic vinegar! It adds a delicious tang. If you like it sweeter, use a balsamic glaze instead. Presentation Ideas Make your salad pop! Serve it in a clear glass bowl to show off the colors. Arrange the chicken strips on top for a nice look. A drizzle of balsamic around the bowl adds elegance. Use fresh basil leaves as a garnish for a lovely finish. Ideal Pairings This salad pairs well with crusty bread or garlic bread. A light white wine, like Sauvignon Blanc, enhances the flavors. For a heartier meal, serve with grilled vegetables or a side of quinoa. You can also add a light soup to round out your dinner. For the full recipe, check out the complete instructions and tips! {{image_4}} You can switch the chicken for other meats. Try grilled shrimp or steak. If you want to keep it light, use turkey breast. These options still work well with the salad's fresh flavors. For a vegan version, skip the chicken and cheese. Instead, use chickpeas or grilled tofu for protein. You can also add some avocado for creaminess. This keeps the salad tasty and filling. If you want a twist, try different dressings. A lemon vinaigrette can brighten the dish. A creamy ranch can add richness. Just drizzle it over the salad before serving. Add nuts or seeds for crunch. Toasted pine nuts or sunflower seeds work great. You can also sprinkle some red pepper flakes for heat. These toppings add texture and make your salad even more exciting. For the complete recipe, check out the [Full Recipe]. - How to Store Leftovers: First, let the salad cool to room temperature. Then, place any leftover salad in the fridge. Use a clean spoon to avoid germs. - Ideal Containers: Use airtight containers. Glass or plastic containers work well. Make sure the lid is on tight to keep the salad fresh. - Freezing and Thawing: I don't recommend freezing this salad. The fresh ingredients, like tomatoes and basil, can become mushy. If you must freeze, store only the chicken. Thaw in the fridge before using. - Best Practices for Flavor Retention: Always wrap the chicken tightly in plastic wrap or foil. This helps lock in flavor. Avoid freezer burn by not leaving it too long. Use within a month for best taste. For more details on making this dish, check out the Full Recipe. To make Balsamic Chicken Caprese Salad, follow these steps: 1. Season the Chicken: Sprinkle garlic powder, oregano, salt, and pepper on both sides of the chicken breasts. 2. Cook the Chicken: Heat olive oil in a skillet. Cook the chicken for 6-7 minutes on each side until it reaches 165°F (75°C). Let it rest and slice it. 3. Prepare the Salad Base: In a bowl, mix halved cherry tomatoes, mozzarella balls, and basil leaves. Toss them gently. 4. Make the Dressing: Whisk balsamic vinegar and olive oil in a small bowl. Add salt and pepper to taste. 5. Combine the Salad: Add chicken strips to the salad base. Drizzle the dressing and toss everything well. 6. Serve: Place the salad on a platter and garnish with more basil leaves. This recipe is quick and full of fresh flavors. You can find the [Full Recipe] for more details. Yes, you can! Feel free to swap or add veggies. Bell peppers, cucumbers, or arugula work well. Each vegetable adds its own flavor and crunch. Think about what you enjoy or have on hand. Just remember to cut them into small pieces for easy eating. This salad pairs well with many sides. You might serve it with crusty bread or garlic bread. A light soup, like tomato basil, also complements it nicely. For a heartier meal, try it with quinoa or a grain salad. Enjoy the mix of flavors and textures! This post shared how to make a tasty Balsamic Chicken Caprese Salad. We covered key ingredients like chicken, veggies, and herbs. You learned how to prepare the chicken and assemble the salad in simple steps. Plus, you got tips on cooking and serving. Now, you can make this dish your own with variations and smart storage tips. Enjoy this flavorful salad that everyone will love!](https://meltedrecipes.com/wp-content/uploads/2025/07/7b5560e7-176e-4518-8dfe-8aa07bd72463.webp)
Are you ready to elevate your salad game? I’m excited to share my Flavorful Balsamic Chicken Caprese Salad Recipe! This dish combines tender chicken, fresh veggies, and zesty seasonings, making …

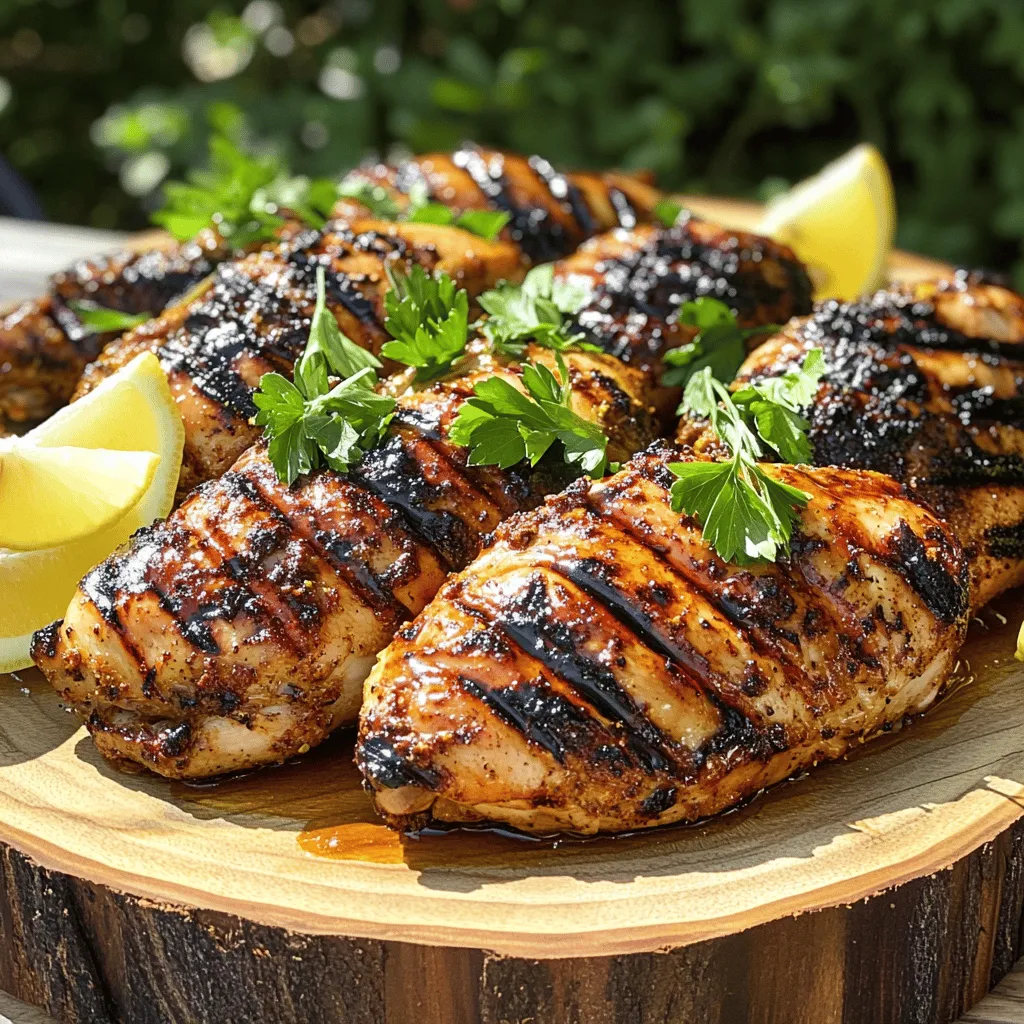


![- Chicken and Broccoli Components - 2 boneless, skinless chicken breasts - 2 cups broccoli florets - Seasoning and Flavor Enhancers - 4 tablespoons unsalted butter, divided - 4 cloves garlic, minced - 1 teaspoon paprika - 1 teaspoon Italian seasoning - Salt and freshly cracked black pepper, to taste - 1 tablespoon freshly squeezed lemon juice - Optional Serving Suggestions - Cooked rice or quinoa (for serving, optional) Gather these ingredients for a quick and tasty meal. The chicken and broccoli create a healthy base. The butter and garlic bring rich flavors. You can add lemon juice for a fresh twist. If you want a filling side, serve it with rice or quinoa. I recommend using fresh ingredients for the best taste. This combination makes a colorful plate that looks as good as it tastes. For the full recipe, refer to the main section. - Drying and Seasoning the Chicken Start by patting the chicken breasts dry with paper towels. This step is key. Dry chicken sears better and forms a nice crust. Next, season both sides with paprika, Italian seasoning, salt, and pepper. This mix boosts the flavor of your dish. - Searing Techniques for Optimal Flavor Grab a large, deep skillet. Heat 2 tablespoons of unsalted butter over medium-high heat. Wait until the butter melts and starts to foam. Carefully add the seasoned chicken breasts. Sear them for 6-7 minutes on each side. You want rich golden brown color. Check that the internal temperature reaches 165°F (75°C). After cooking, transfer the chicken to a plate. Let it rest for a few minutes. - Sautéing Tips for Perfectly Cooked Broccoli In the same skillet, add 2 more tablespoons of butter. Next, toss in the broccoli florets. Sauté for 3-5 minutes. You want the broccoli to turn vibrant green and tender-crisp. Stir often for even cooking. - Garlic Sautéing Techniques to Avoid Bitterness Now, add minced garlic to the skillet. Sauté for about 30 seconds. Stir constantly to keep the garlic from burning. Remember, burnt garlic tastes bitter and ruins the dish. - Method to Blend Flavors Together After cooking, return the rested chicken to the skillet with broccoli. Squeeze fresh lemon juice over everything. This adds brightness and flavor. Gently toss to coat the chicken in the garlic butter. Blend the flavors well. - Final Cooking Tips for Texture and Taste Let the mixture cook for an additional minute. This warms everything through. Remove from heat, and your dish is ready to serve. You can find the full recipe details above. Enjoy your meal! - Best Practices for Searing Chicken To get great flavor, start with dry chicken. Pat it down with paper towels. Season it well with salt, pepper, and spices. Heat your skillet until it's hot. Add butter and let it melt. Place the chicken in the pan gently. Let it sear without moving it for 6-7 minutes. This forms a nice crust. Flip it over and cook the other side until golden brown. - Tips for Using Fresh Ingredients Fresh ingredients make a big difference. Choose bright green broccoli and firm chicken breasts. Fresh garlic gives the best flavor. If possible, use fresh herbs too. They add a burst of taste. Always wash your veggies to remove dirt and pesticides. - How to Ensure Chicken is Moist and Tender Moist chicken needs careful cooking. Use medium-high heat, but don’t rush it. Cook until the internal temperature is 165°F. Let it rest after cooking. This keeps the juices inside. Cutting it too soon lets them escape. - Broccoli Cooking Methods to Retain Nutrients To keep broccoli healthy, don’t overcook it. Sauté it for just 3-5 minutes. This keeps it crisp and bright. You can also steam it for 3 minutes if you prefer. This way, it stays nutritious and tasty. - Plating Tips for a Beautiful Meal For an eye-catching plate, stack the chicken nicely. Place the broccoli beside it. Use a large plate to give space. Drizzle extra garlic butter sauce over the top. This adds shine and flavor. - Garnishing Ideas for Added Visual Appeal Garnish your dish with lemon slices. Fresh herbs like parsley or basil look great too. A sprinkle of black pepper adds a nice touch. These simple additions make your meal pop. For more ideas, check the Full Recipe. {{image_4}} Substitutions for Chicken You can swap chicken breasts for chicken thighs. Thighs stay juicy and tender. You can also use turkey cutlets for a lighter option. For a vegetarian choice, try firm tofu or tempeh. Options for Different Vegetables Broccoli is great, but other veggies work too. You can use green beans, bell peppers, or asparagus. Cauliflower is another tasty choice. Just adjust cook times to keep them crisp. Spicy Garlic Butter Version Want some heat? Add red pepper flakes to the garlic butter. Start with a pinch and taste as you go. You can also mix in some sriracha for extra kick. Herbs and Seasoning Variations Feel free to play with herbs. Fresh thyme or parsley brighten the dish. You can also try rosemary or dill for a unique twist. Experimenting will lead to new favorites. Gluten-Free Adjustments This dish is already gluten-free. Just ensure your butter and seasonings are free from gluten. Serve with rice or quinoa for a gluten-free grain. Dairy-Free Options For a dairy-free version, use olive oil instead of butter. Coconut oil adds a nice flavor too. You can also try vegan butter for the same rich taste. For the full recipe, click [Full Recipe]. To store leftover garlic butter chicken and broccoli, let it cool first. Place it in an airtight container. This keeps the dish fresh and tasty. If you use a glass container, it helps you see the food inside. Store it in the fridge for up to three days. For reheating, I recommend using the stovetop. Heat it in a skillet over medium heat. Add a splash of water or broth to keep it moist. Stir gently to maintain the flavor and texture. You can also microwave it in short intervals, stirring in between. Yes, you can freeze this dish. Freezing helps preserve its flavor and nutrients. First, let the chicken and broccoli cool completely. Here are steps for successful freezing: - Cut the chicken into smaller pieces for easier thawing. - Place the chicken and broccoli in a freezer-safe container. - Label the container with the date for easy tracking. To thaw, move it to the fridge overnight. Reheat it in a skillet for the best taste. In the fridge, garlic butter chicken and broccoli lasts about three days. If frozen, it stays safe for about three months. Watch for signs of spoilage: - Look for a change in color or texture. - If it smells off or sour, it’s best to discard it. This way, you can enjoy your meal without worry! For the full recipe, check out the complete details. What’s the Best Way to Season Chicken? To season chicken well, use salt, pepper, and spices. I like paprika and Italian seasoning. They add a nice taste. Always season both sides of the chicken. This helps the flavor spread evenly. Can I Use Frozen Broccoli Instead? Yes, you can use frozen broccoli! Just thaw it first. If you cook it straight from frozen, it may become mushy. Thawed broccoli cooks fast, so watch it closely. How to Make This Recipe for a Larger Group? To serve more people, simply double or triple the recipe. Make sure you have enough chicken and broccoli. Use a larger skillet to cook everything at once. If you run out of space, cook in batches. Can I Make it in Advance for Meal Prep? You can prepare this meal in advance. Cook the chicken and broccoli, then store them in containers. They last well in the fridge for a few days. Just reheat before serving. What’s the Secret to Tender Broccoli? To keep broccoli tender, do not overcook it. Sauté it just until it turns bright green. This usually takes about 3-5 minutes. Stir it often to cook evenly. How Do I Know When the Chicken is Fully Cooked? The chicken is done when it reaches 165°F (75°C). Use a meat thermometer for accuracy. The chicken should be golden brown on the outside. If it is still pink inside, it needs more cooking. In this post, we covered how to make Garlic Butter Chicken and Broccoli. You learned about the key ingredients, step-by-step cooking methods, and tips for great flavor. We also explored variations, storage tips, and answered common questions. Enjoy experimenting with your dish. Make it your own by trying new flavors and methods. Cook with fresh ingredients for the best taste. Your meals can be easy, delicious, and healthy!](https://meltedrecipes.com/wp-content/uploads/2025/07/35d226f4-fb4e-40bb-b420-af04cd0f941a.webp)
. This blog post covered everything you need to know to make the perfect Black Forest Cake. You learned about the essential ingredients, step-by-step instructions, tips for texture, and variations. We also discussed how to store leftovers and answered common questions. With these details in hand, you can create a cake that impresses everyone. Enjoy the process and have fun experimenting with flavors and techniques. Start baking and share your delicious results!](https://meltedrecipes.com/wp-content/uploads/2025/07/525f29cd-ba5d-495c-b2c9-d97234ee36a9.webp)
![Gathering the right ingredients is key to making these tasty donuts. Here’s what you need: - 1 cup freshly grated zucchini - 1 cup all-purpose flour - 1/2 cup unsweetened cocoa powder - 1/2 teaspoon baking soda - 1/2 teaspoon baking powder - 1/4 teaspoon salt - 1/2 cup granulated sugar - 1/4 cup packed brown sugar - 1/2 cup vegetable oil - 2 large eggs - 1 teaspoon pure vanilla extract - 1/2 cup semi-sweet chocolate chips - Optional: powdered sugar for a dusting Each ingredient plays a role in flavor and texture. The zucchini adds moisture and nutrition without a strong taste. Using both sugars gives a nice balance of sweetness. The cocoa powder brings rich chocolate flavor, while the baking soda and baking powder help the donuts rise. Make sure to have all these items on hand before you start. This will make the process smooth and fun! If you want to see the full recipe, check [Full Recipe]. - Preheat oven to 350°F (175°C). - Grease donut pan or use silicone mold. - Grate one medium zucchini and remove excess moisture. - In a bowl, sift together flour, cocoa powder, baking soda, baking powder, and salt. - In a separate bowl, mix sugar, brown sugar, oil, eggs, and vanilla until smooth. - Add the grated zucchini into this mixture. - Gradually blend the wet mixture into the dry ingredients. - Fold in semi-sweet chocolate chips carefully. - Fill each cavity of the donut pan about two-thirds full with batter. - Bake for 12 to 15 minutes. Use a toothpick to check if they are done. Cool before serving. For a detailed guide, check the Full Recipe. To get the best texture, you must remove moisture from the zucchini. Zucchini holds a lot of water. If you skip this step, your donuts may turn out soggy. Grate the zucchini, then pat it dry with a clean towel. This will help create a light and fluffy donut. Avoid over-mixing the batter. When you combine the wet and dry ingredients, mix until just combined. This keeps the donuts from becoming too dense. A few lumps are just fine. They will bake out in the oven. Baking time can vary based on your oven type. Most home ovens bake at 350°F (175°C). Check your donuts after 12 minutes. If a toothpick inserted in the center comes out clean, they are done. If not, give them a few more minutes. Look for a golden-brown color on the top. This is a sign that your donuts are fully baked. They should spring back when lightly pressed. Get creative when presenting your donuts. Arrange them on a colorful plate. You can garnish with fresh mint leaves for a pop of color. A sprinkle of extra chocolate chips adds a fun touch. Optional toppings can enhance flavor and look. Dust with powdered sugar for a sweet finish. Try drizzling melted chocolate or a glaze over the top. These simple steps make your donuts look and taste amazing! {{image_4}} You can make your donuts even healthier by making a few simple swaps. - Substitute whole wheat flour for all-purpose flour: This adds fiber and nutrients. Whole wheat flour gives a nutty taste and a denser texture. - Using applesauce instead of vegetable oil: This cuts down on fat and adds moisture. Applesauce keeps the donuts soft and adds a hint of sweetness. Want to boost the flavor? There are easy ways to do this. - Adding spices such as cinnamon or nutmeg: A touch of cinnamon warms the flavor. Nutmeg adds a nice hint of sweetness. These spices make your donuts taste special. - Experimenting with different types of chocolate: Try dark chocolate or white chocolate chips. Each type gives a unique twist to your donuts. If you have dietary needs, you can adjust this recipe easily. - Gluten-free options using alternative flours: Almond flour or oat flour work well. They keep the donuts moist while being gluten-free. - Vegan substitutions for eggs and dairy: Use flax eggs or applesauce in place of eggs. For dairy, try almond milk or coconut yogurt. These swaps keep your donuts delicious and suitable for everyone. For the complete recipe, check out the [Full Recipe]. To keep your chocolate zucchini donuts fresh, store them at room temperature. Place them in an airtight container. This helps maintain their moisture and flavor. They will stay good for about two days this way. If you want to keep them longer, consider refrigeration. Just remember to wrap them tightly with plastic wrap or foil. This will help avoid them drying out in the fridge. Freezing donuts is a great way to extend their life. To freeze, first cool the donuts completely. Then, wrap each donut in plastic wrap. Place them in a freezer-safe bag. This way, they won’t stick together. They can last up to three months in the freezer. To enjoy them later, remove a donut and let it thaw at room temperature. If you want to eat it warm, pop it in the microwave for a few seconds. These donuts have a good shelf life. If stored properly, they stay fresh for about two days at room temperature. In the fridge, they can last up to a week. Look for signs of spoilage. If the donuts smell off or develop mold, it’s best to toss them. Always trust your nose and eyes when checking for freshness. Good storage keeps your treats tasty and safe! For the full recipe, check out the detailed instructions above. Yes, you can use a muffin tin! When using a muffin tin, the baking time will change. Donuts usually bake for 12 to 15 minutes. Muffins may need an extra 2 to 5 minutes. Keep an eye on them as they bake. Muffins will give you a different shape, but the taste stays the same! To check if the donuts are done, use the toothpick test. Insert a toothpick into the center of a donut. If it comes out clean, the donuts are ready. If it has batter on it, bake for another minute and test again. This is a simple way to ensure your donuts are perfectly baked. Yes, you can mix it up! You could use carrots or squash instead of zucchini. Applesauce also works well. Each fruit or veggie will change the flavor a bit. For example, carrots add a sweet taste, while applesauce gives moisture. No donut pan? No worries! You can shape the batter into rounds and place them on a baking sheet. Use parchment paper to help them keep their shape. You can also use a muffin tin, as mentioned before, for a muffin version. Get creative with your shapes! This recipe is great for kids! They can help with grating the zucchini and mixing the batter. Just be careful with the oven. Let them sprinkle the powdered sugar on top for a fun finish. It’s a tasty way to get kids involved in baking! For the full recipe, check out the details above. This blog post covered how to make delicious zucchini donuts. We shared the key ingredients and provided step-by-step instructions to guide you through the process. Plus, we discussed tips for the best texture and decorating ideas. You can even switch up the recipe with variations for healthier options. In the end, baking these donuts is a fun way to enjoy a tasty treat. You'll love the combo of flavors and textures. Happy baking!](https://meltedrecipes.com/wp-content/uploads/2025/07/bdcbb42f-e99c-4f13-b6e5-6e47ccbde1a5.webp)