Streusel Pumpkin Loaf Delightful Fall Treat Recipe
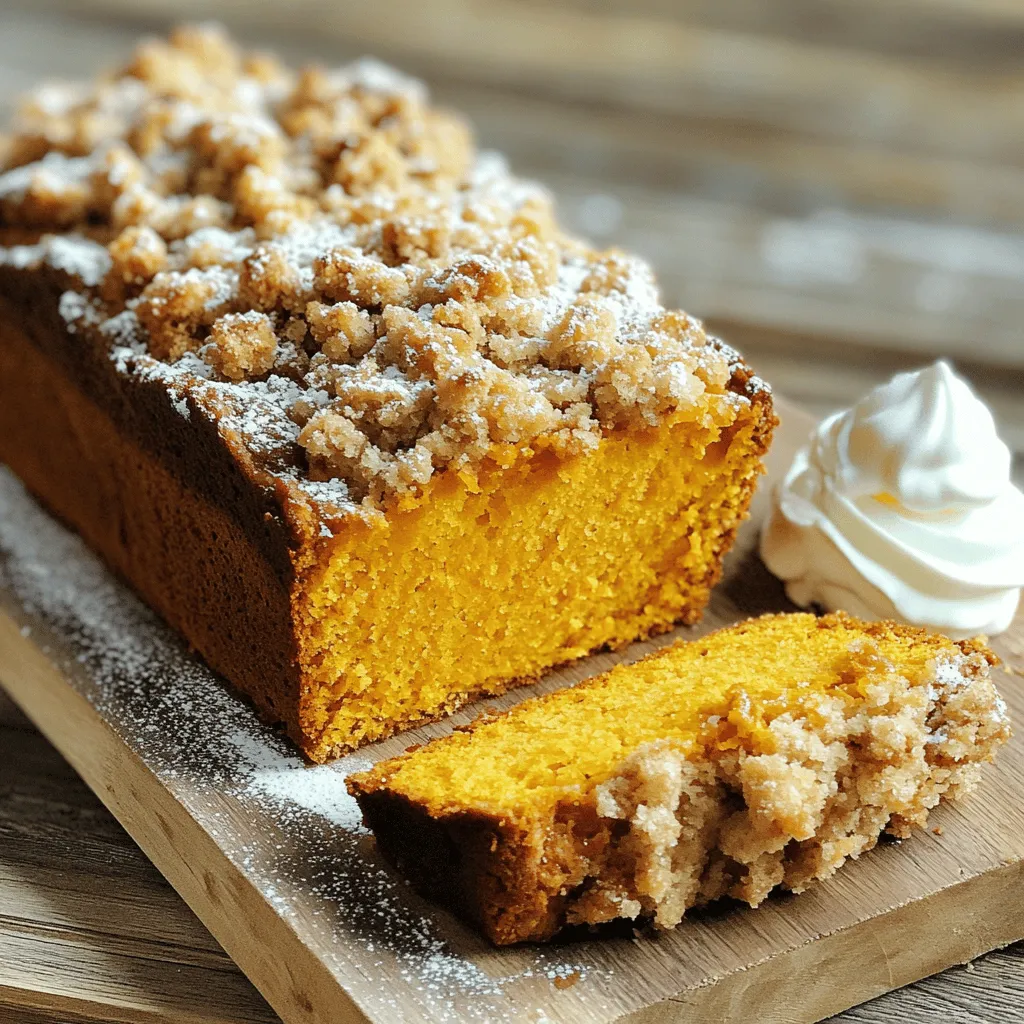
As fall approaches, the craving for cozy recipes awakens. I’m excited to share my delicious Streusel Pumpkin Loaf recipe. This cake is soft, rich, and topped with a sweet streusel …
As fall approaches, the craving for cozy recipes awakens. I’m excited to share my delicious Streusel Pumpkin Loaf recipe. This cake is soft, rich, and topped with a sweet streusel …
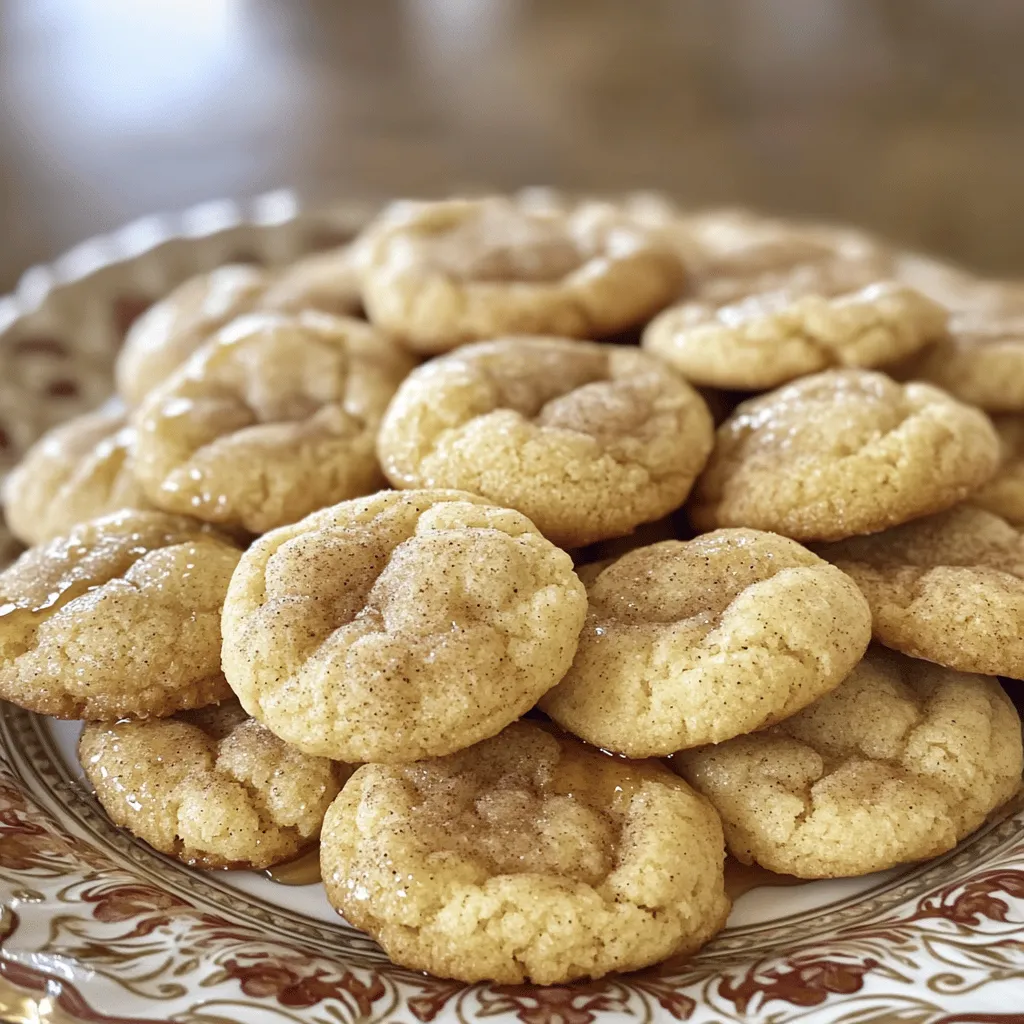
If you crave a cookie that’s both simple and delicious, you need to try Maple Snickerdoodles! These cookies blend the warm flavor of maple with the classic cinnamon touch we …
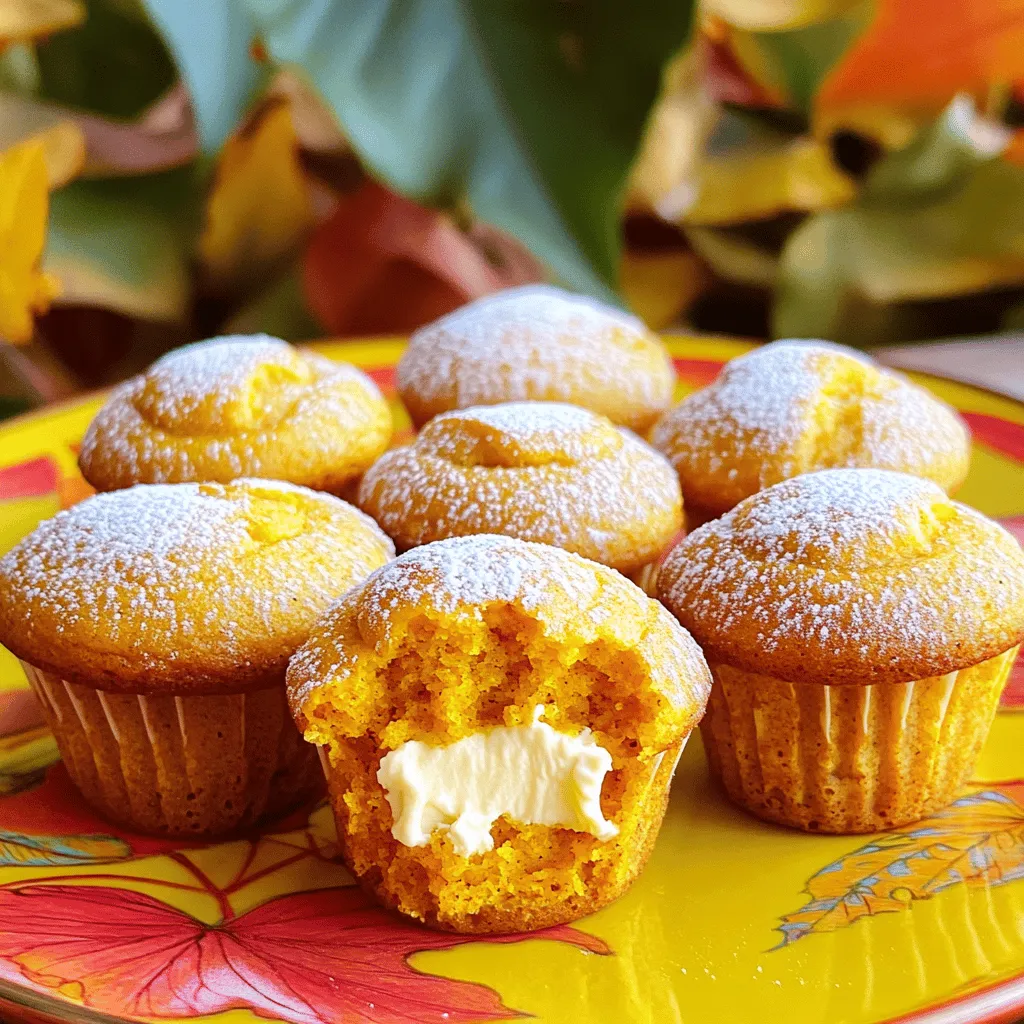
Fall is here, and what better way to celebrate than with mini pumpkin cream cheese muffins? These tasty bites are perfect for snacks, breakfast, or cozy gatherings. I’ll guide you …

If you love coffee and desserts, you must try the Tiramisu Latte! This creamy delight blends the rich flavors of espresso and mascarpone, giving you the best of both worlds. …

Looking for an easy and flavorful meal? BBQ Chicken Coleslaw Wraps are your answer! With simple ingredients and quick steps, you can whip up a tasty dish that’s perfect for …

Love fall flavors? You’ll adore making an Iced Pumpkin Cream Chai Latte at home! This easy recipe combines rich chai tea and creamy pumpkin for a drink that warms your …

Fall is here, and that means it’s pumpkin season! If you love the cozy vibes of Starbucks’ pumpkin bread, you’re in for a treat. In this blog post, I’ll share …
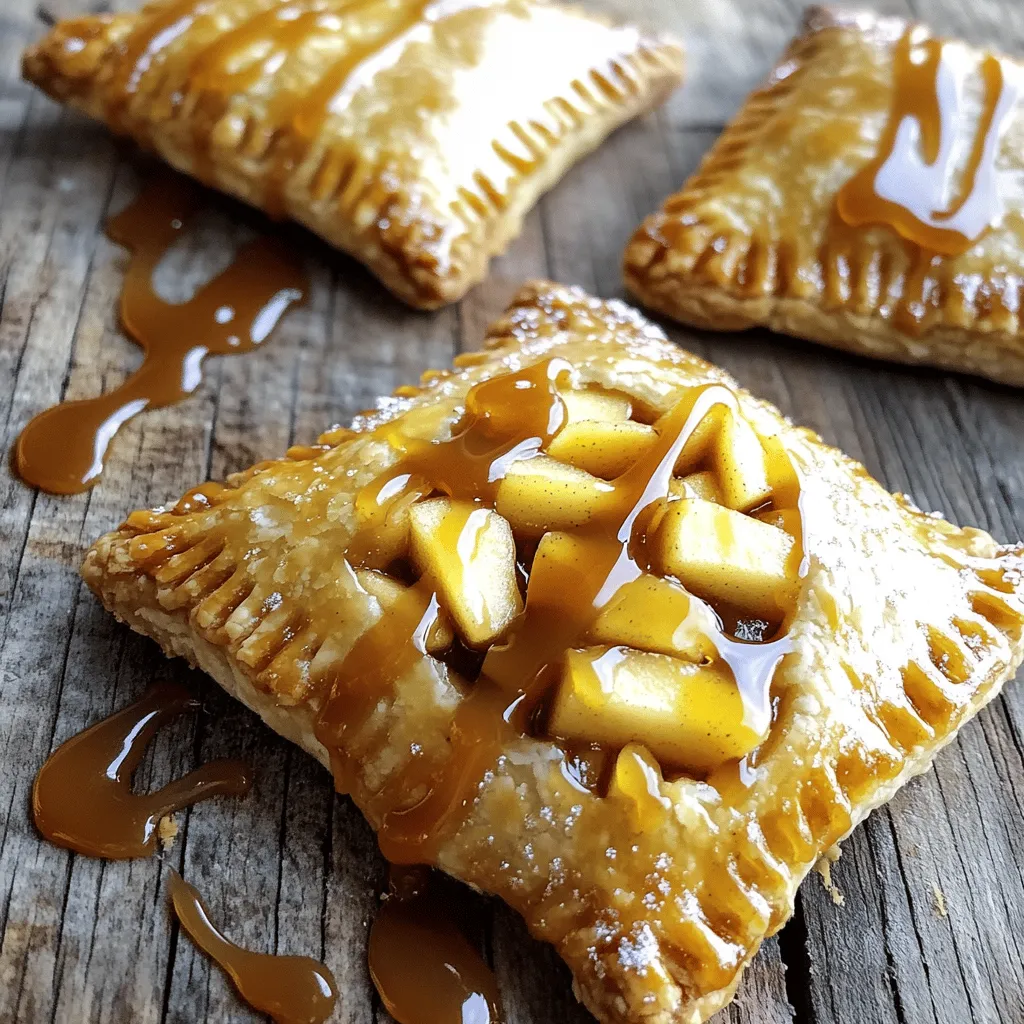
Craving a sweet, easy treat? Caramel apple hand pies are your answer! These mini pies blend warm apples, gooey caramel, and flaky crust for a bite-sized delight. Whether you’re hosting …

Ready to impress your family and friends with a mouthwatering meal? This Carne Asada Crockpot recipe is not only easy but also packed with flavor. From tender steak to zesty …

Looking for a quick, tasty meal? This Best Crockpot Chili recipe is your solution! You can make it flavorful and easy with just a few key ingredients. Whether you’re a …