Apple Fritter Bites Savory and Simple Delight
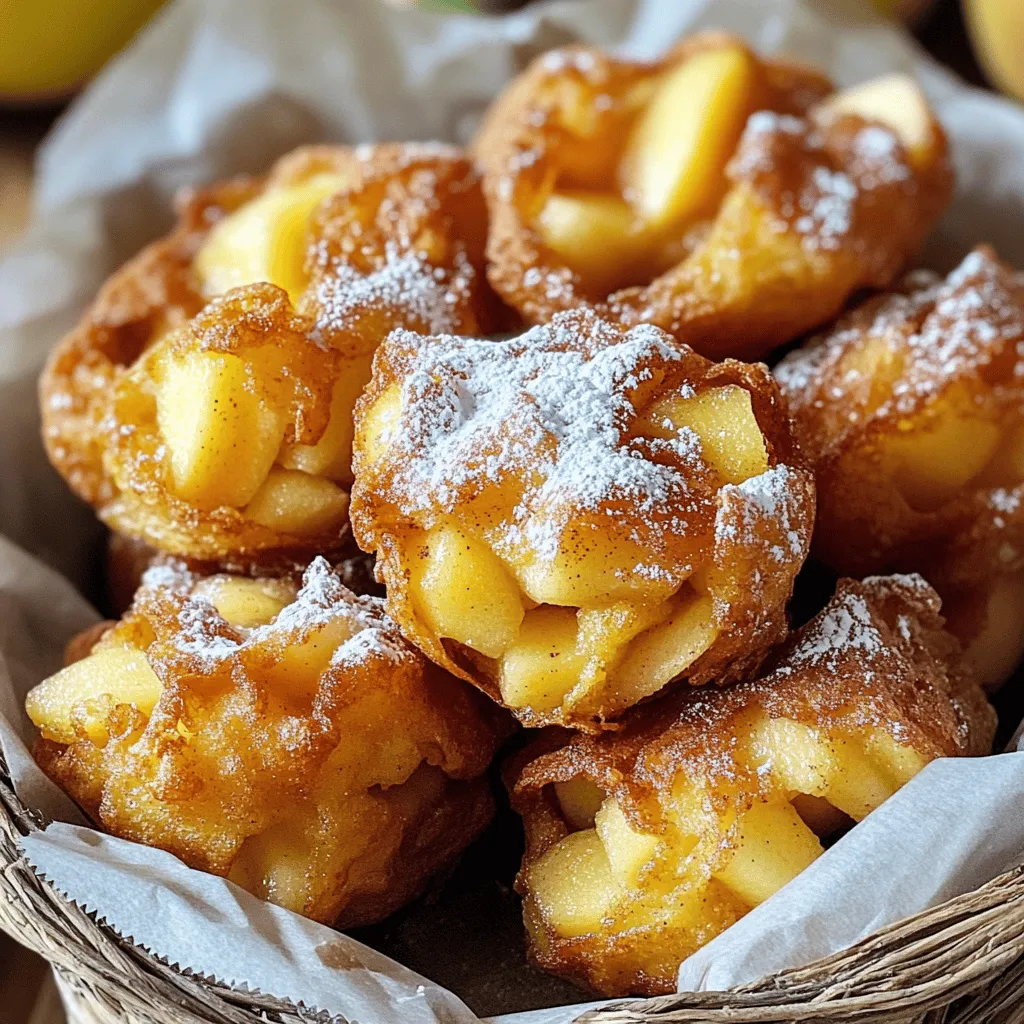
Get ready to experience a sweet treat like no other with my Apple Fritter Bites! These bites pack all the delightful flavors of traditional apple fritters, but with a simple …
Get ready to experience a sweet treat like no other with my Apple Fritter Bites! These bites pack all the delightful flavors of traditional apple fritters, but with a simple …
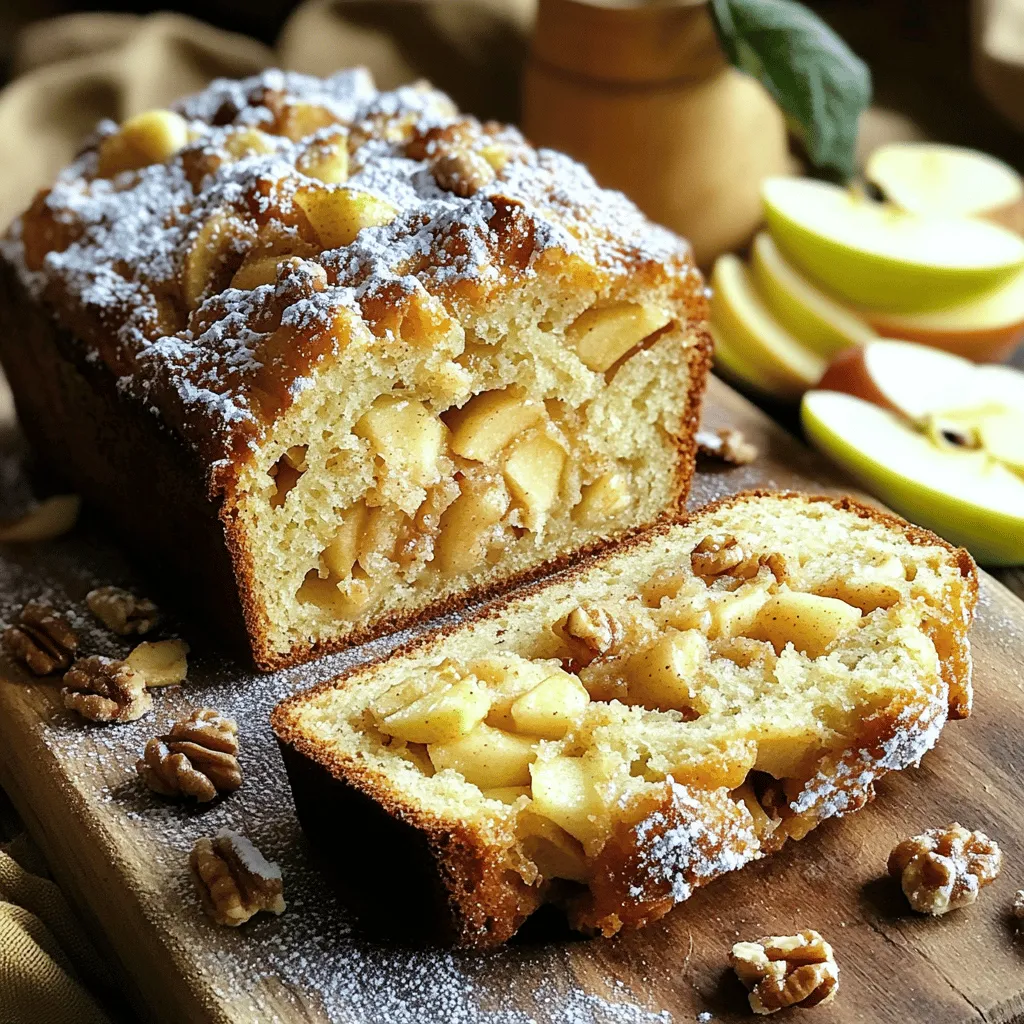
Are you ready to bake something truly delightful? This Country Apple Fritter Bread recipe combines sweet apples and soft dough for a treat that everyone will love. With easy steps …

Are you ready to enjoy a delicious Brown Sugar Vanilla Iced Coffee? This bold and simple recipe will transform your daily caffeine fix! With just a few easy ingredients and …
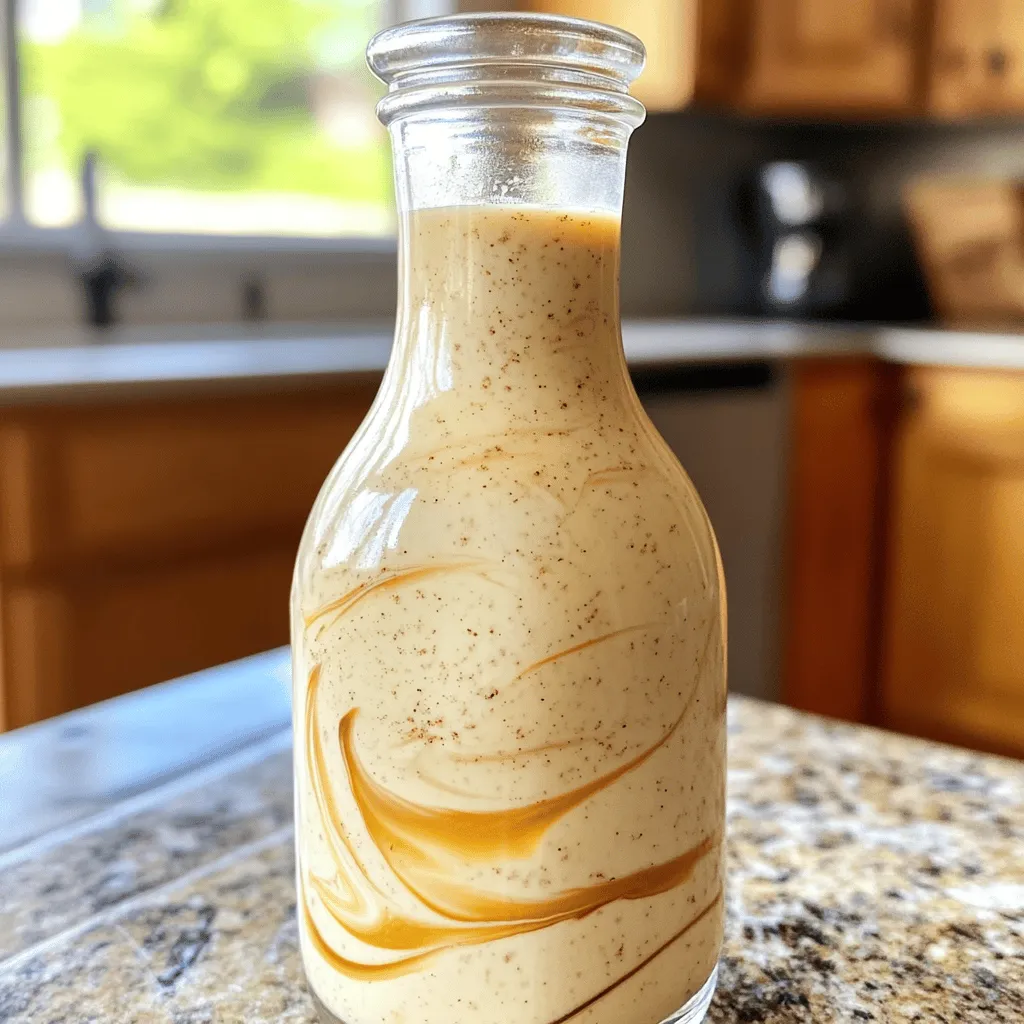
Are you ready to elevate your morning coffee with a rich, homemade Vanilla Bean Coffee Creamer? This delightfully creamy recipe will impress your taste buds and transform your daily brew. …
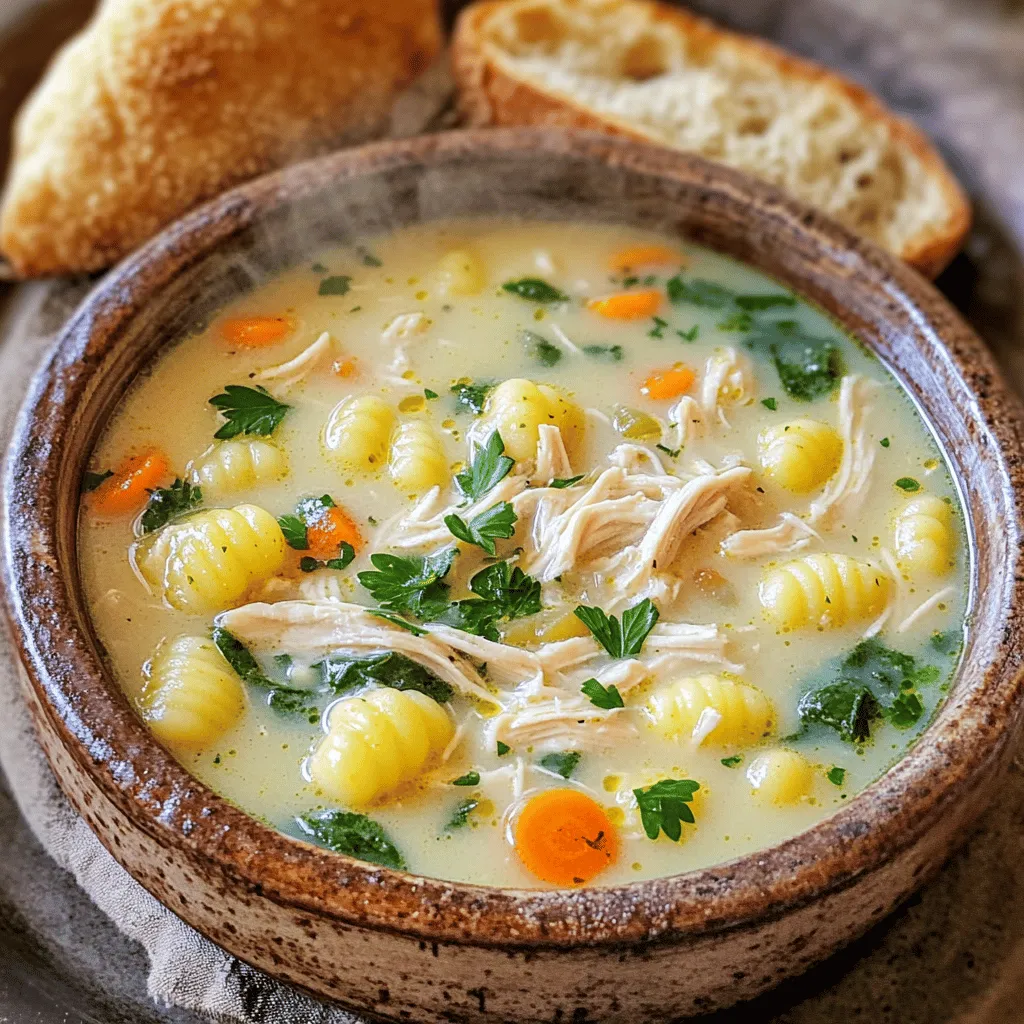
Warm up with my Slow Cooker Chicken Gnocchi Soup! This dish mixes tender chicken, soft gnocchi, and fresh veggies for pure comfort. It’s easy to make and perfect for busy …
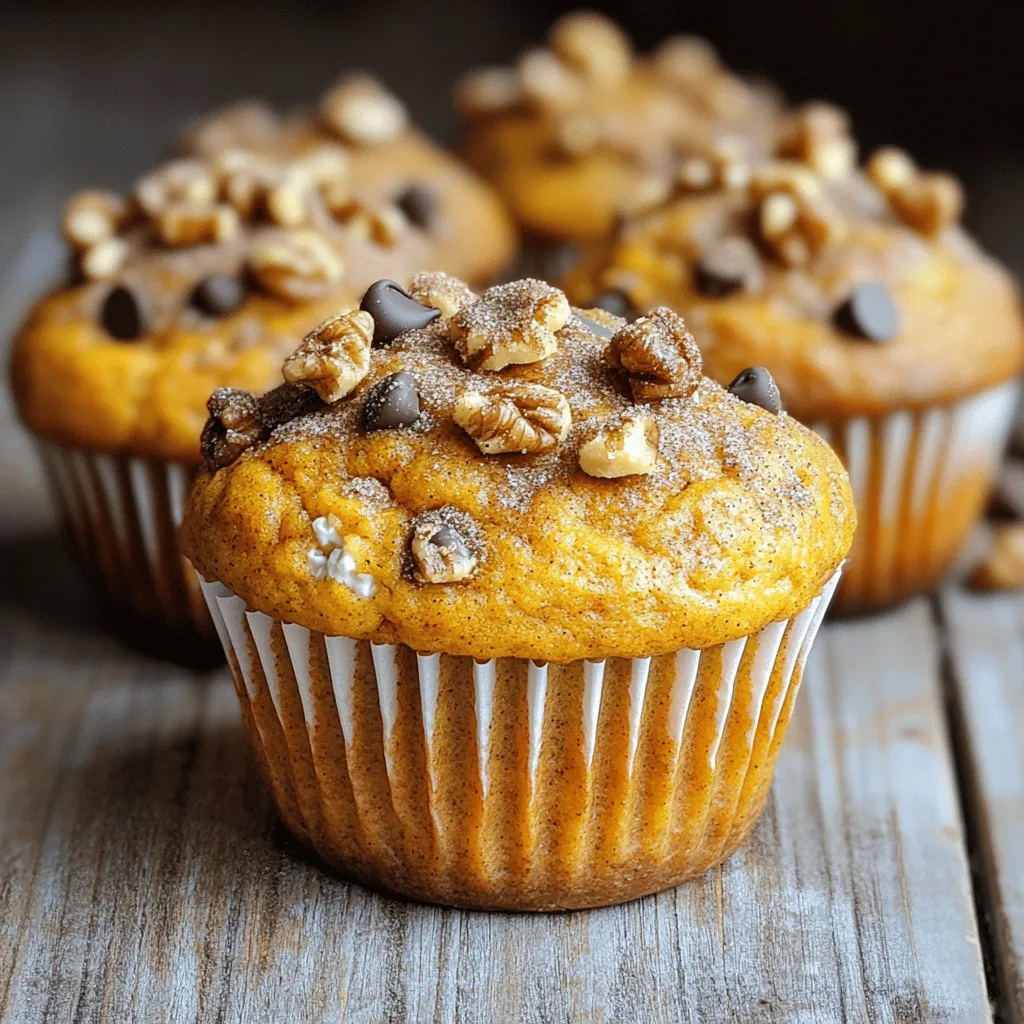
Are you ready for a tasty and healthy treat? Flourless pumpkin muffins are perfect for everyone, even those with dietary needs. These muffins are packed with flavor and use simple …
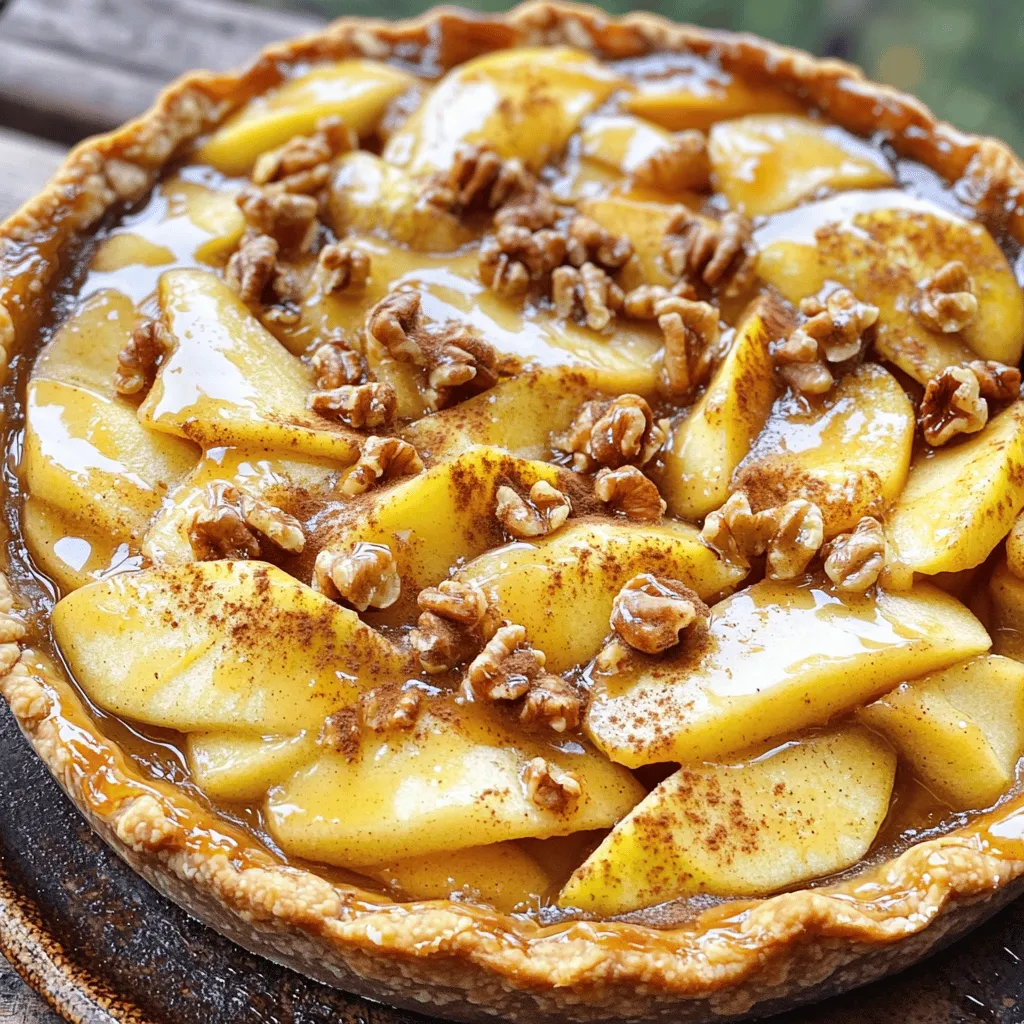
Craving a dessert that combines sweet, crunchy apples with rich, creamy custard? Look no further than this Toffee Apple Pie with Vanilla Custard! I’ll share my easy step-by-step guide for …
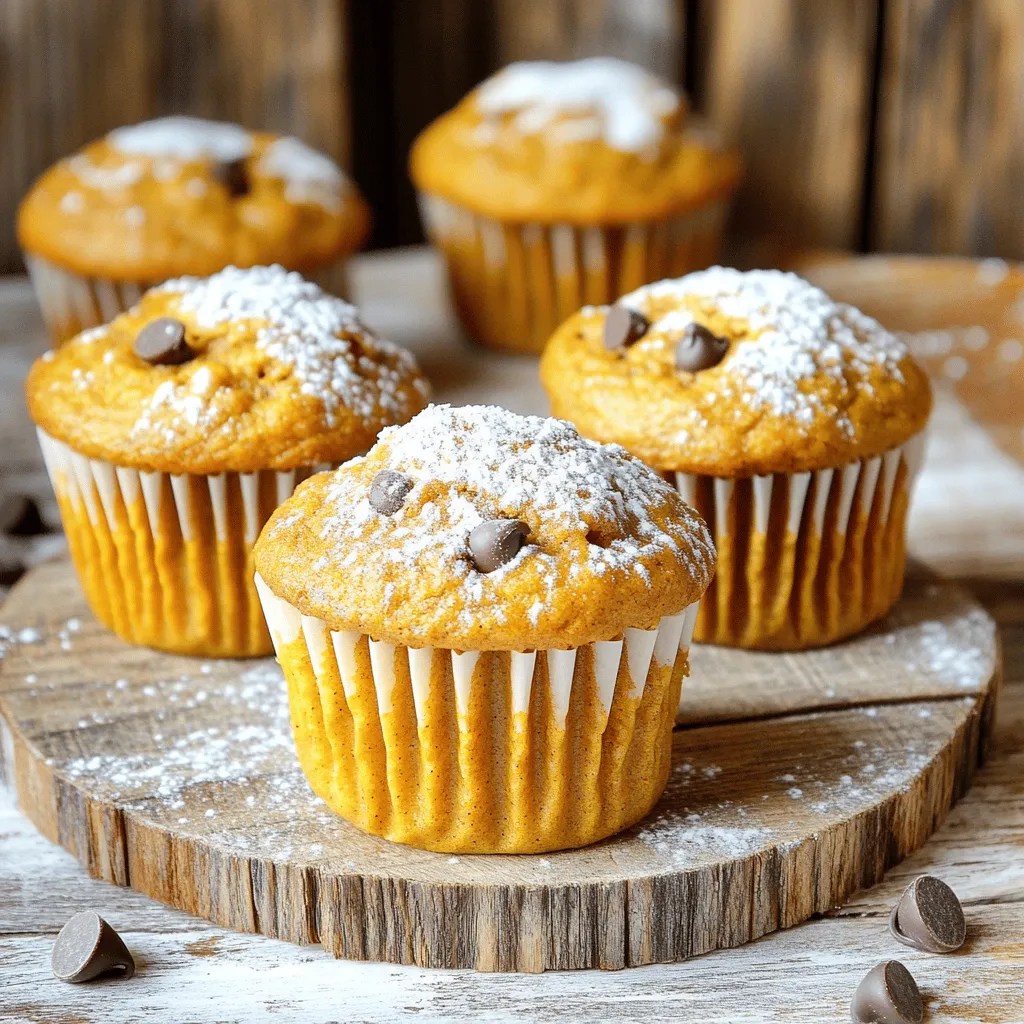
If you love the cozy flavors of fall, you’ll adore my Pumpkin Spice Cottage Cheese Muffins! These muffins blend the warm taste of pumpkin spice with the creamy goodness of …

Looking for a tasty treat that’s quick and simple? You’re in the right place! These Small Batch Pumpkin Biscuits are perfect for autumn or any time you crave something warm …
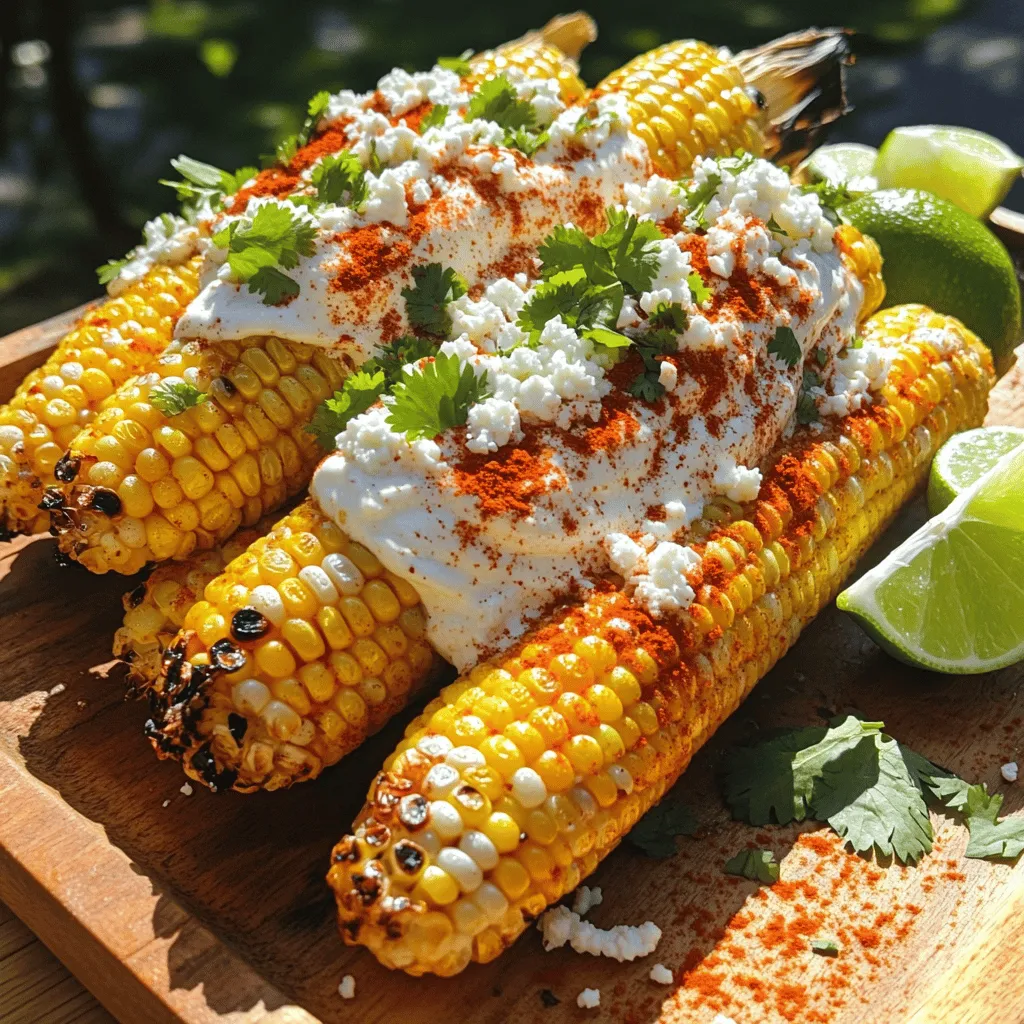
Do you want to bring the vibrant taste of Mexico to your kitchen? Elote, or Mexican street corn, is a fun and tasty dish that everyone loves. This easy recipe …