Pumpkin White Mocha Delightful Fall Coffee Recipe
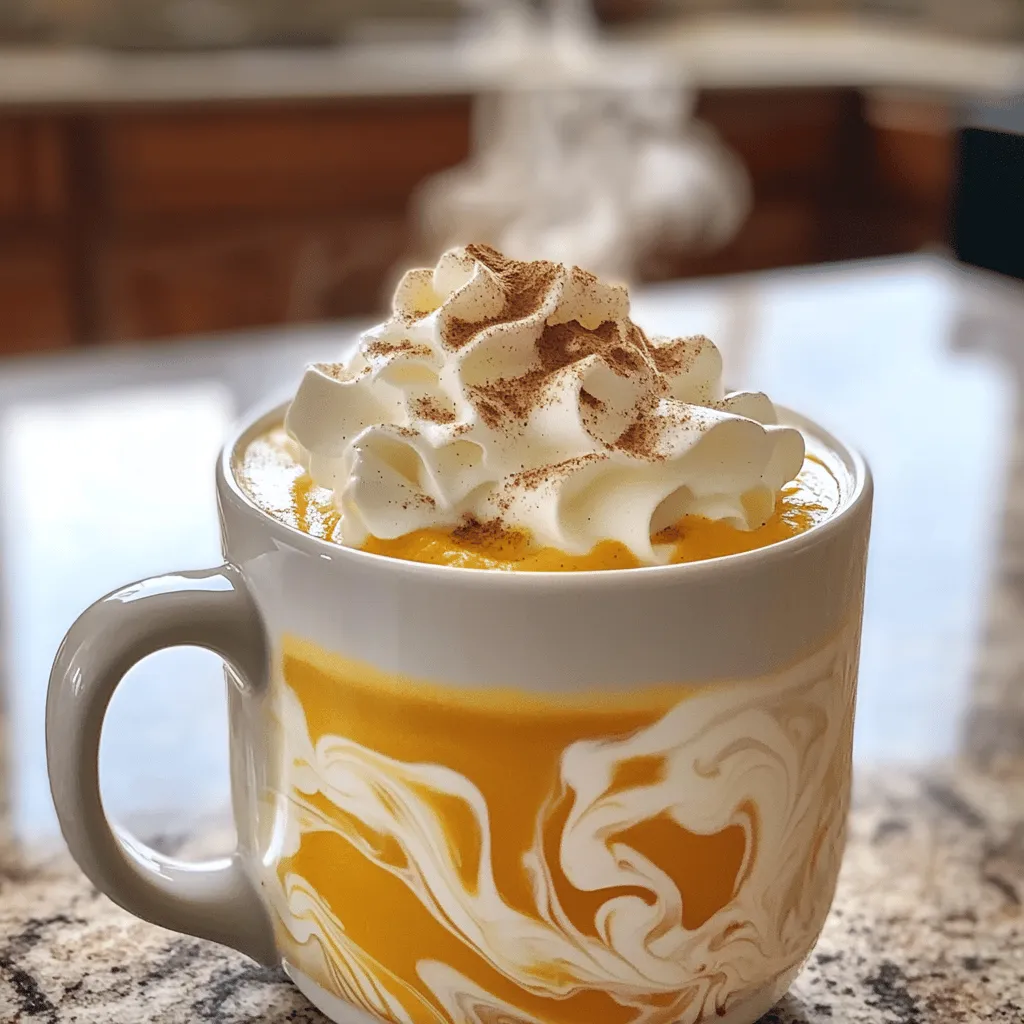
As fall arrives, cozy moments call for a delicious coffee treat. The Pumpkin White Mocha combines rich espresso with pumpkin puree and sweet white chocolate for a drink that warms …
As fall arrives, cozy moments call for a delicious coffee treat. The Pumpkin White Mocha combines rich espresso with pumpkin puree and sweet white chocolate for a drink that warms …
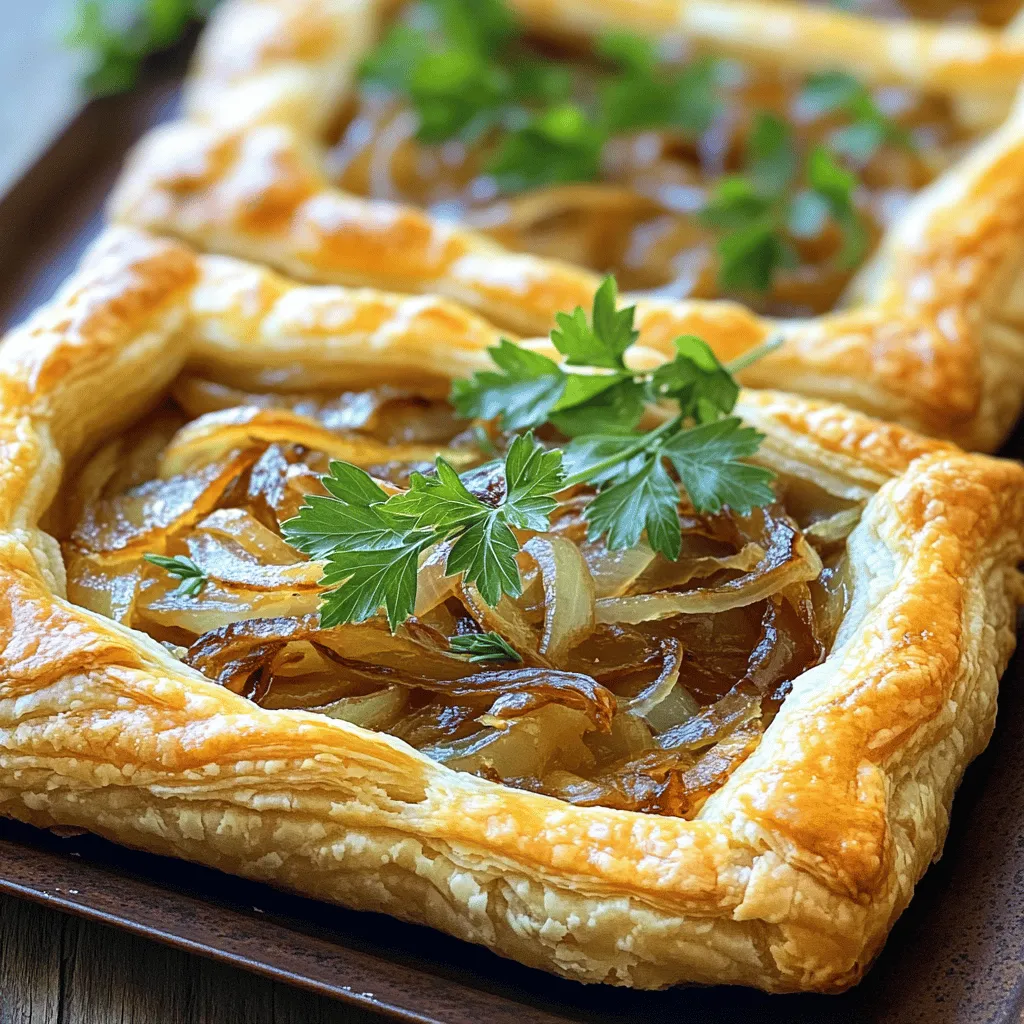
If you’re looking for a dish that’s both savory and simple, you’ve found it! This Caramelized Onion Gruyère Tart is a crowd-pleaser that combines rich flavors and easy steps. In …

Love pumpkin spice? You’ll adore this Pumpkin Pie Fudge! It blends creamy white chocolate with rich pumpkin puree for a sweet treat that’s perfect for any fall gathering. In just …
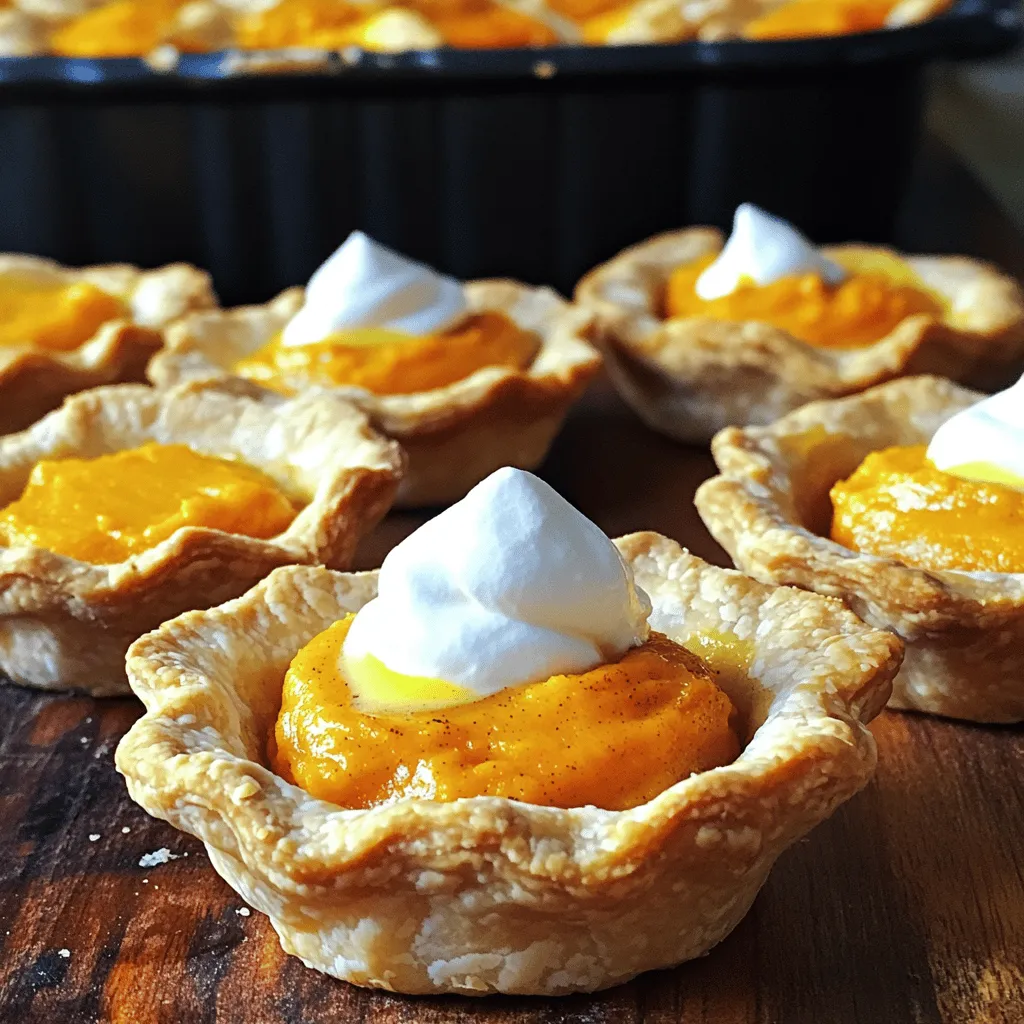
Looking for a tasty treat that’s both easy to make and fun to eat? These Mini Sweet Potato Pies are just the ticket! Packed with flavor and perfect for any …
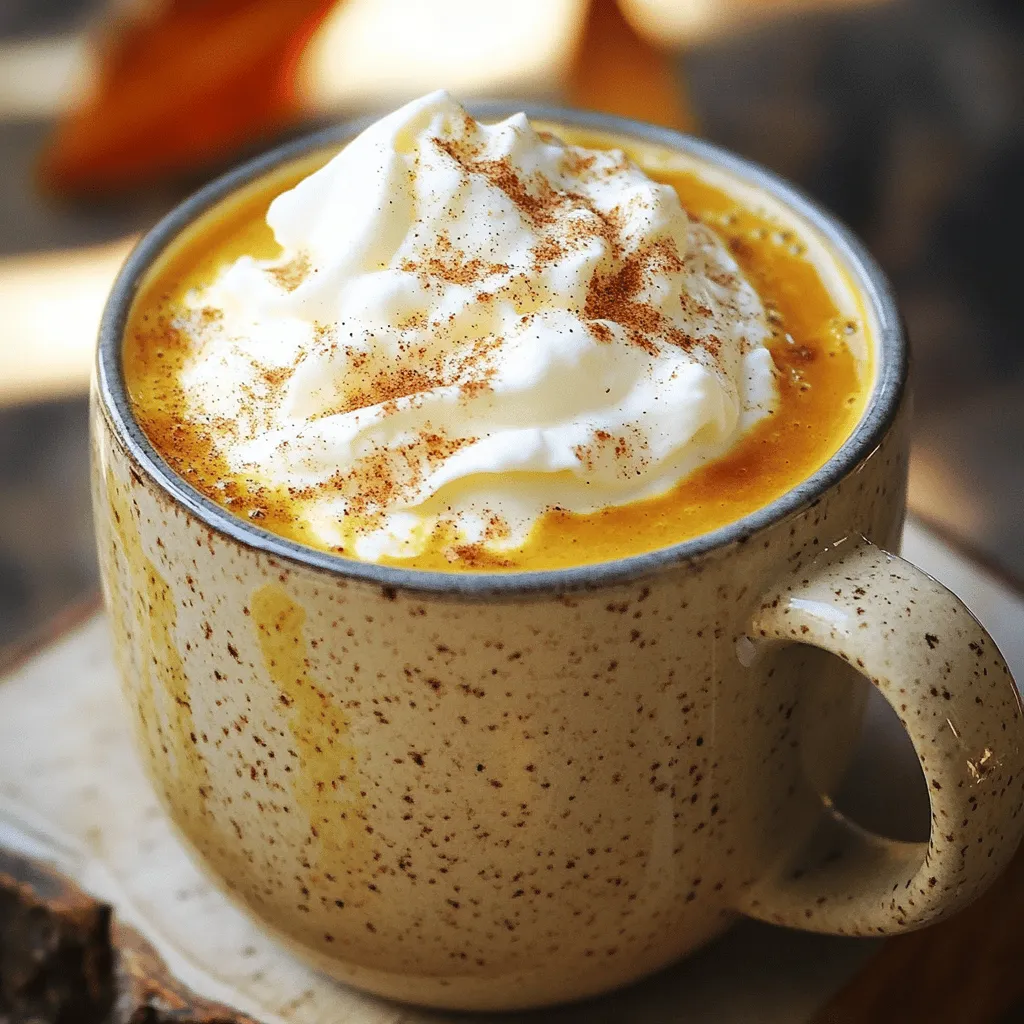
Are you craving a cozy fall drink without the dairy? Look no further! I’ll show you how to make a Dairy Free Pumpkin Spice Latte that’s rich, creamy, and packed …
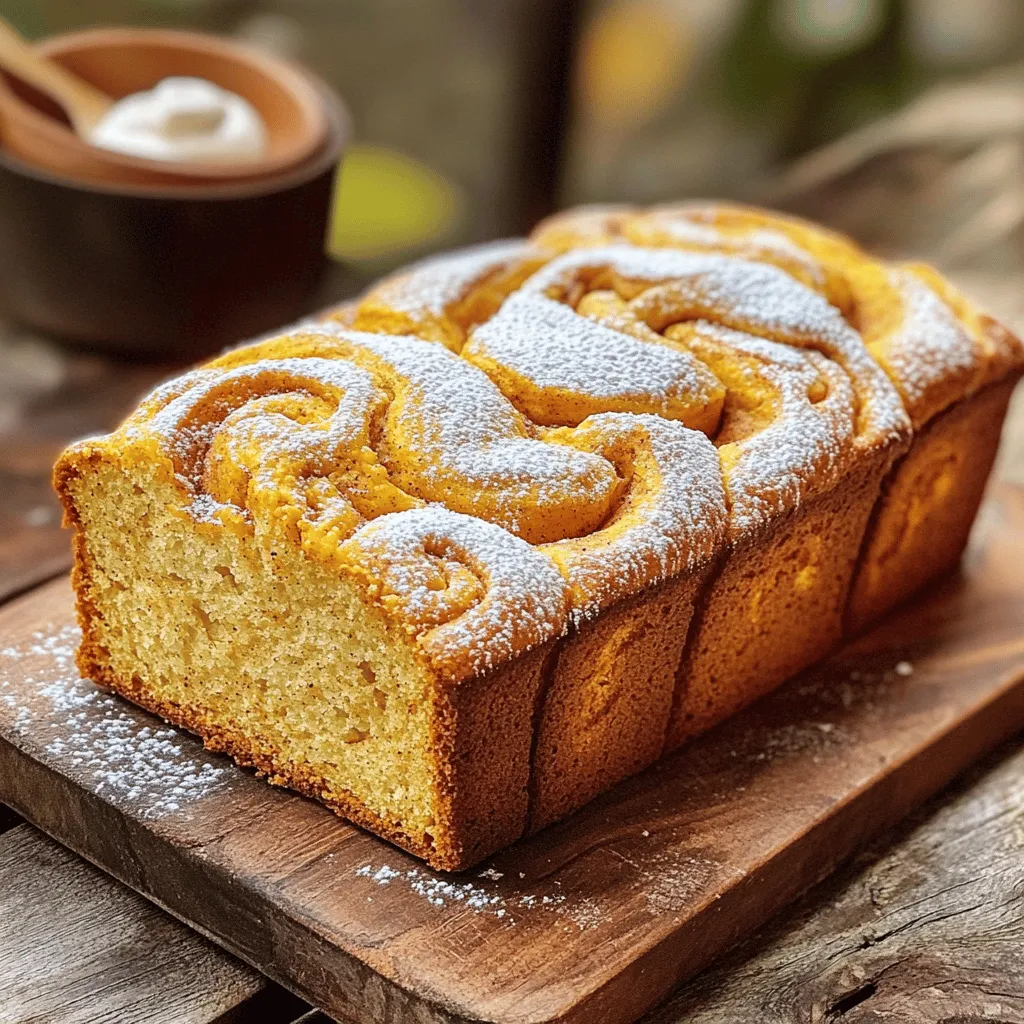
Craving that cozy Starbucks pumpkin bread? In this post, I’ll show you how to make it at home with a deliciously simple recipe. You’ll find easy steps, tips for the …
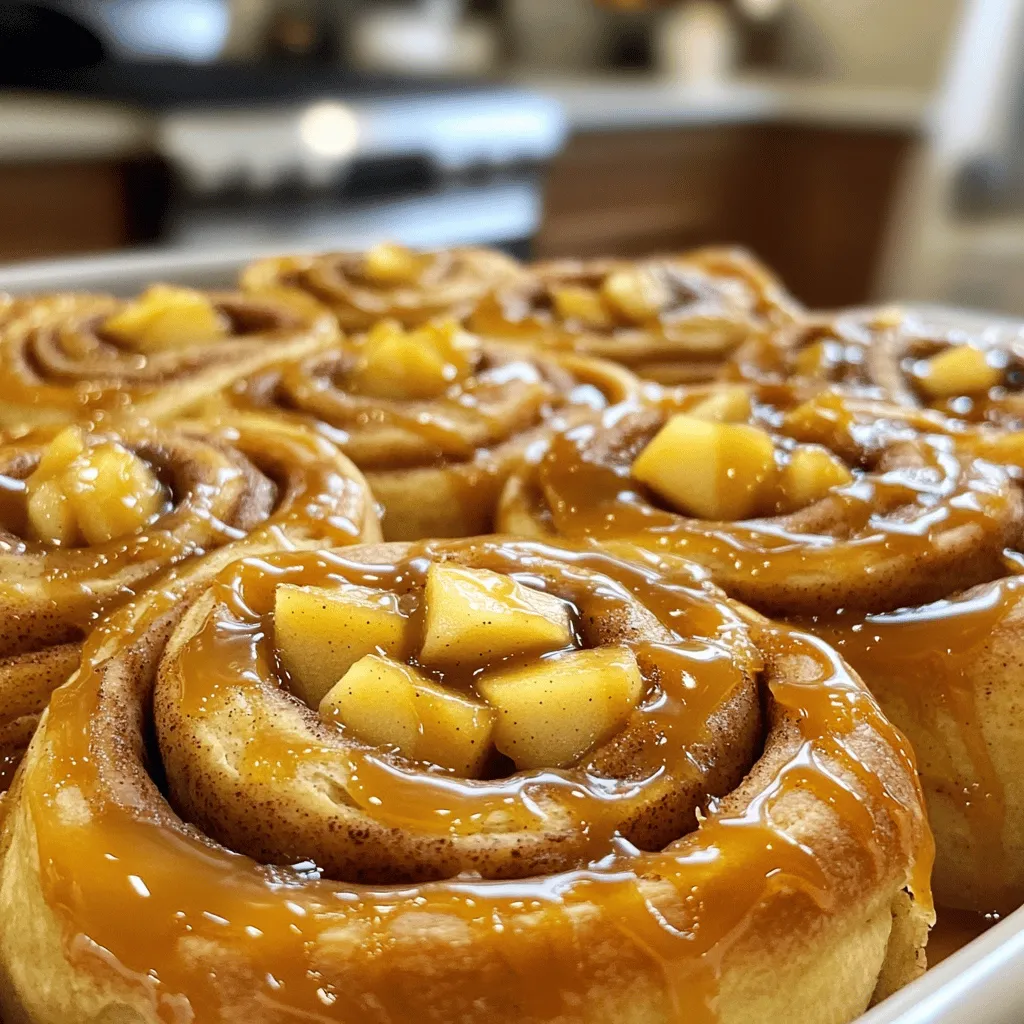
Get ready for a treat that’s hard to resist: Caramel Apple Cinnamon Rolls! Imagine warm, soft dough swirled with sweet apples and rich caramel. In this post, I’ll guide you …
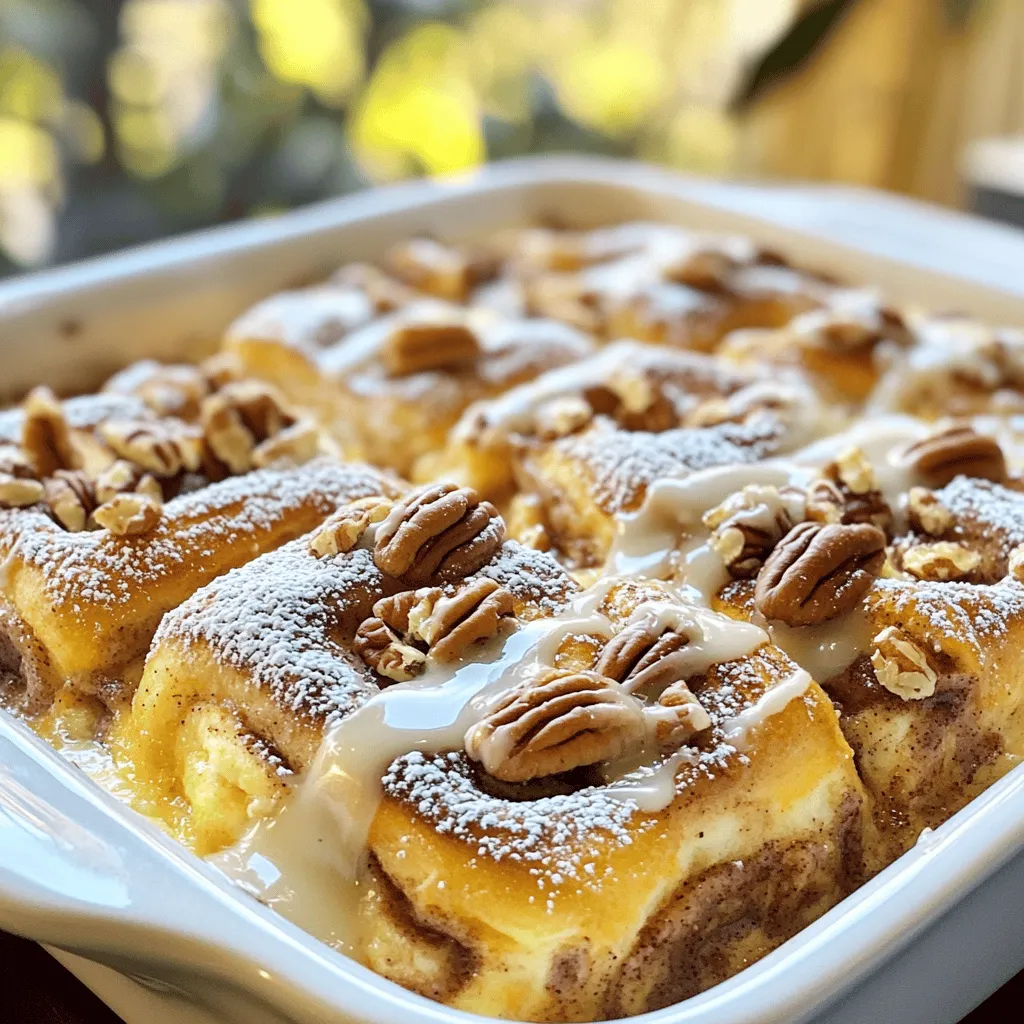
Looking for an easy breakfast that tastes like a sweet hug? Try my Cinnamon Roll French Toast Casserole! You’ll love how simple it is to make. With just a few …
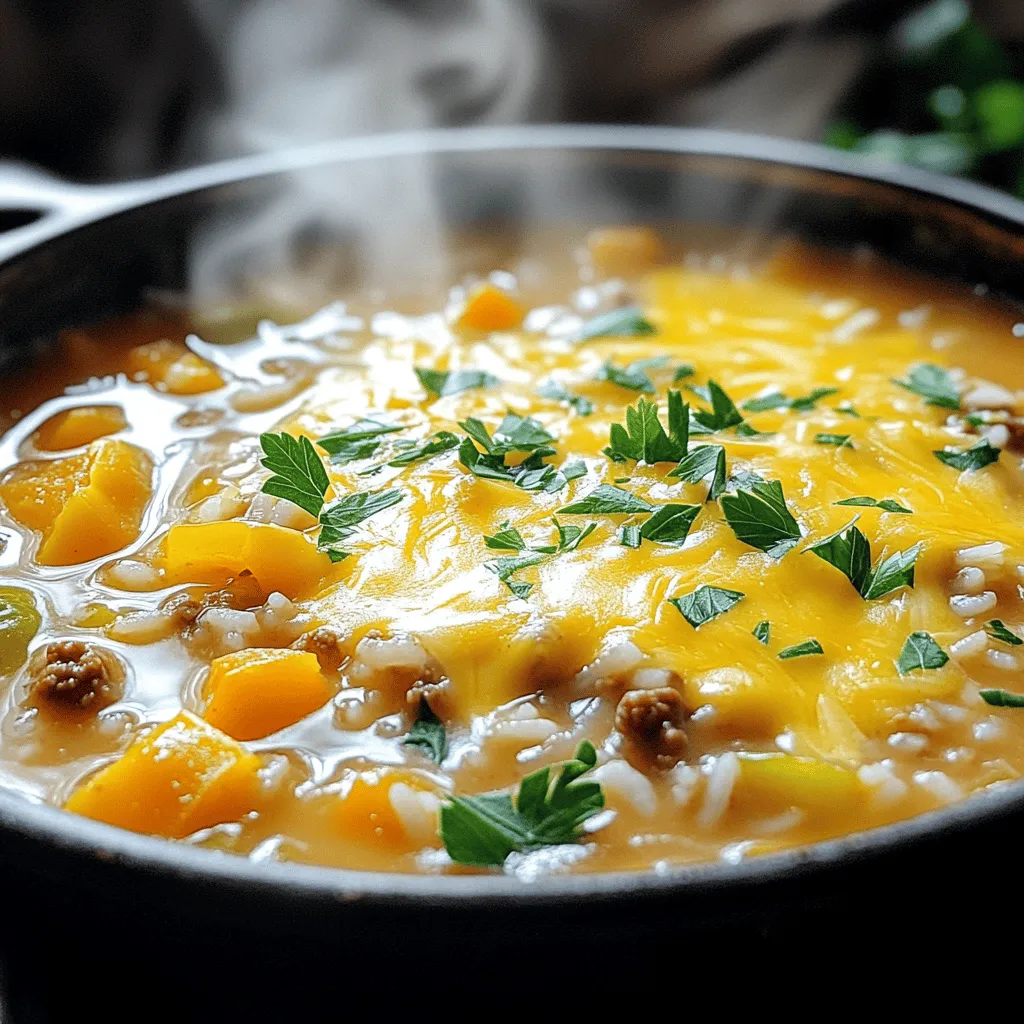
If you’re craving a warm, hearty meal that’s both simple and delicious, try my Cheesy Stuffed Pepper Soup! This recipe is packed with colorful bell peppers, savory meat, and gooey …
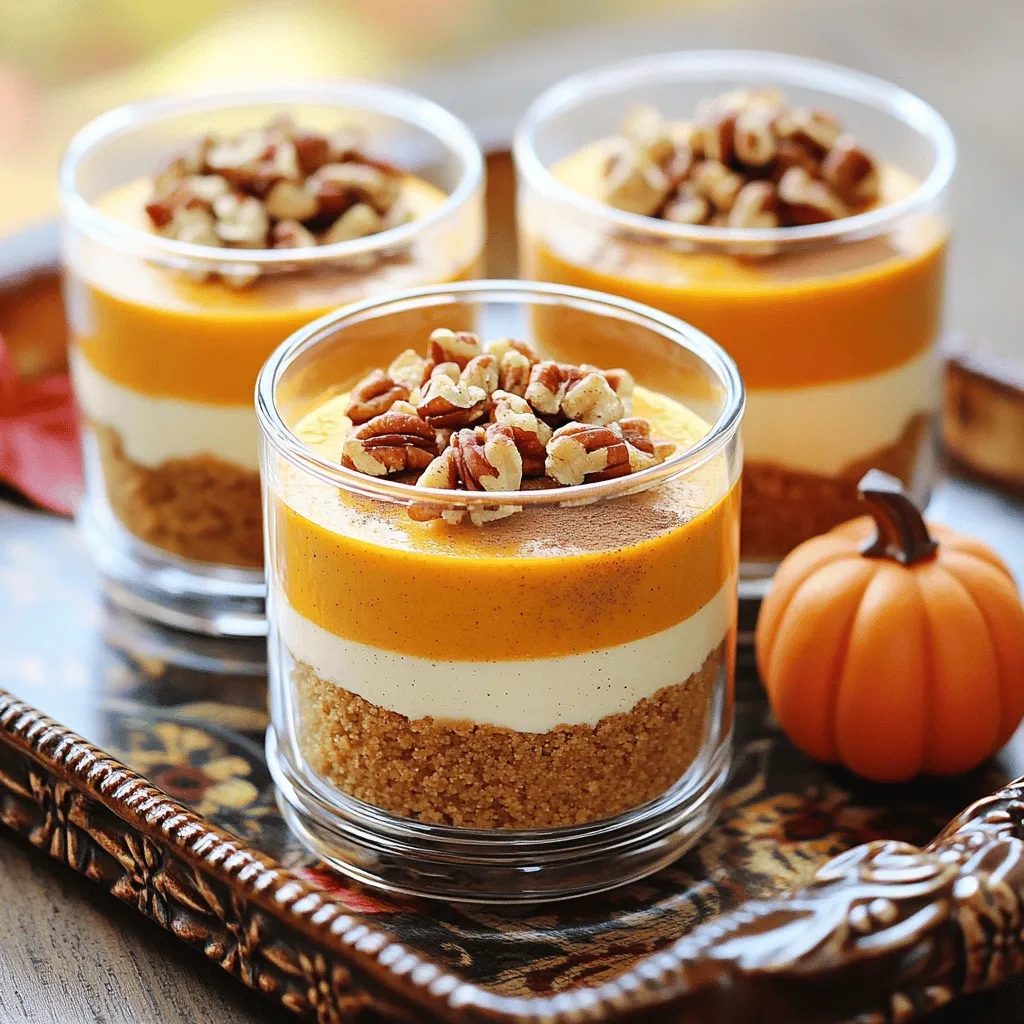
Get ready to enjoy a seasonal treat that’s easy to make and even easier to eat! My No-Bake Pumpkin Cheesecake Cups are a delicious delight that brings together creamy pumpkin …