Sun-Dried Tomato Spinach Tortellini Flavor Boost
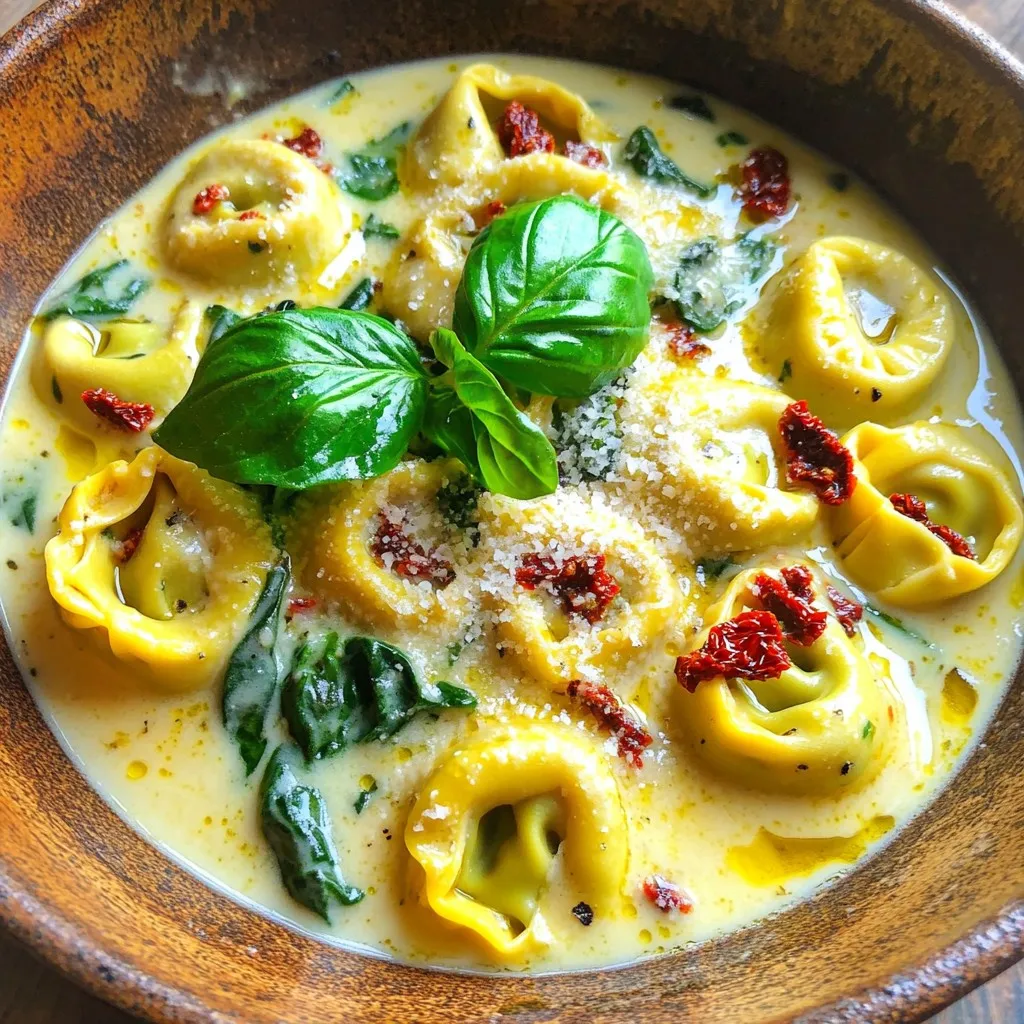
Looking to spice up your dinner routine? Dive into my Sun-Dried Tomato Spinach Tortellini recipe, where creamy goodness meets vibrant flavors! With just a few simple ingredients, you can create …