Creamy Coconut Chickpea Curry Tasty and Simple Dish
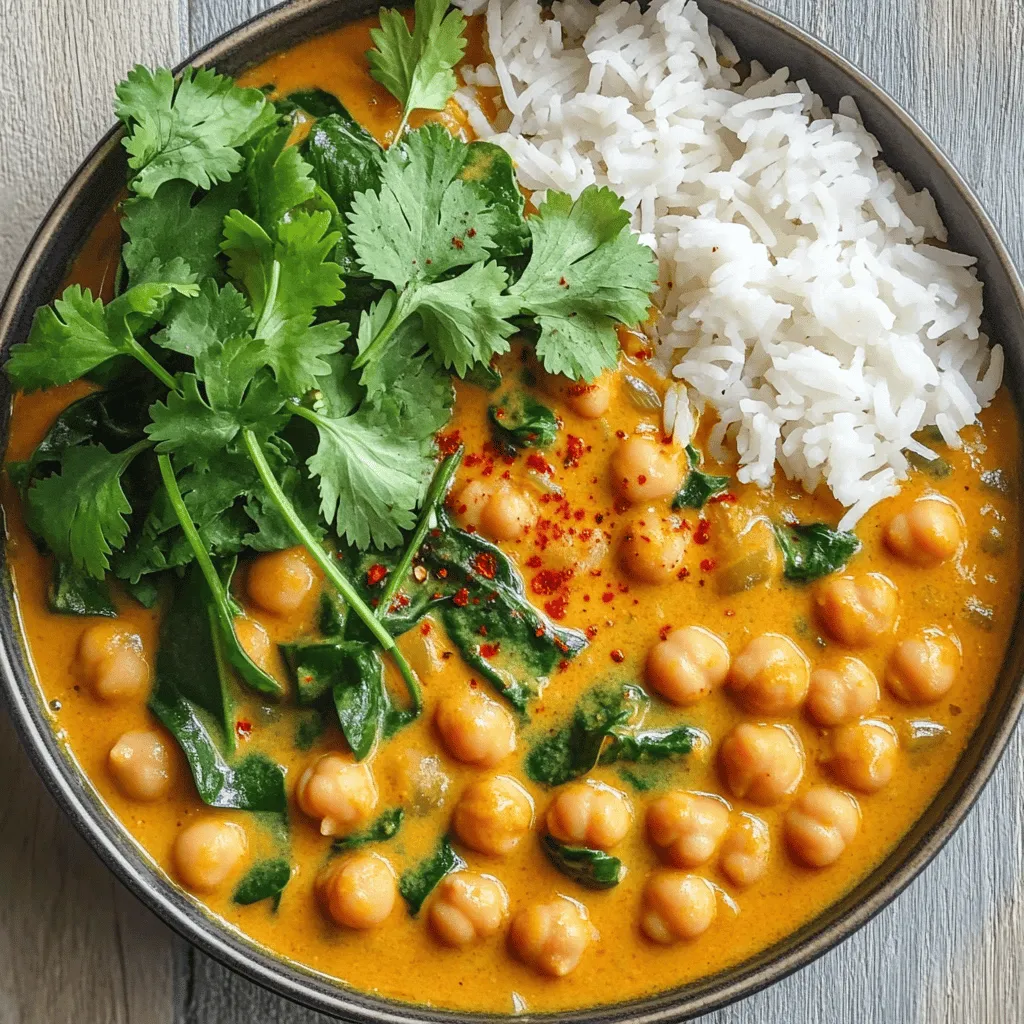
If you’re looking for a quick and tasty meal that bursts with flavor, you’ll love this creamy coconut chickpea curry. This easy dish combines creamy coconut milk, spiced chickpeas, and …