Minute Protein Beef Pasta Hearty and Simple Meal
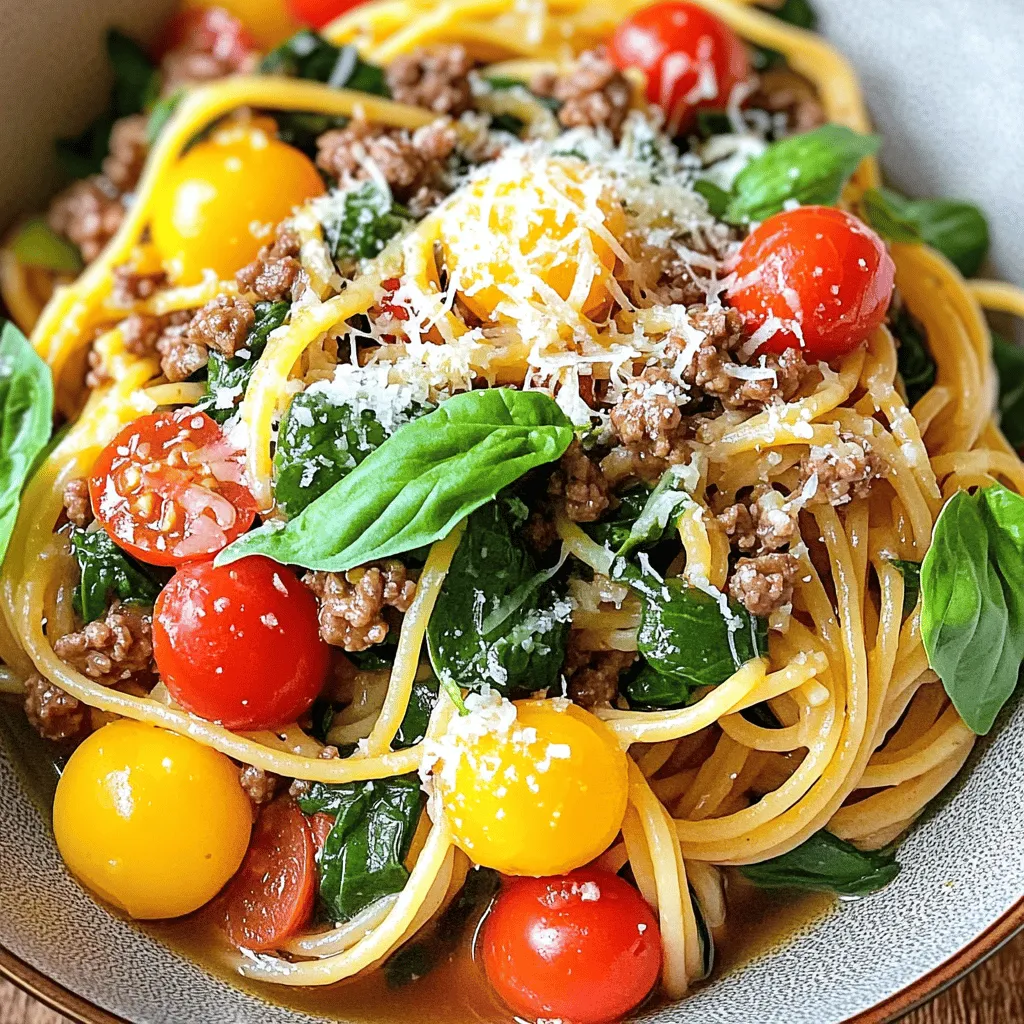
Are you looking for a meal that’s both hearty and quick? Look no further! This Minute Protein Beef Pasta combines lean ground beef with whole wheat pasta, fresh veggies, and …
Are you looking for a meal that’s both hearty and quick? Look no further! This Minute Protein Beef Pasta combines lean ground beef with whole wheat pasta, fresh veggies, and …
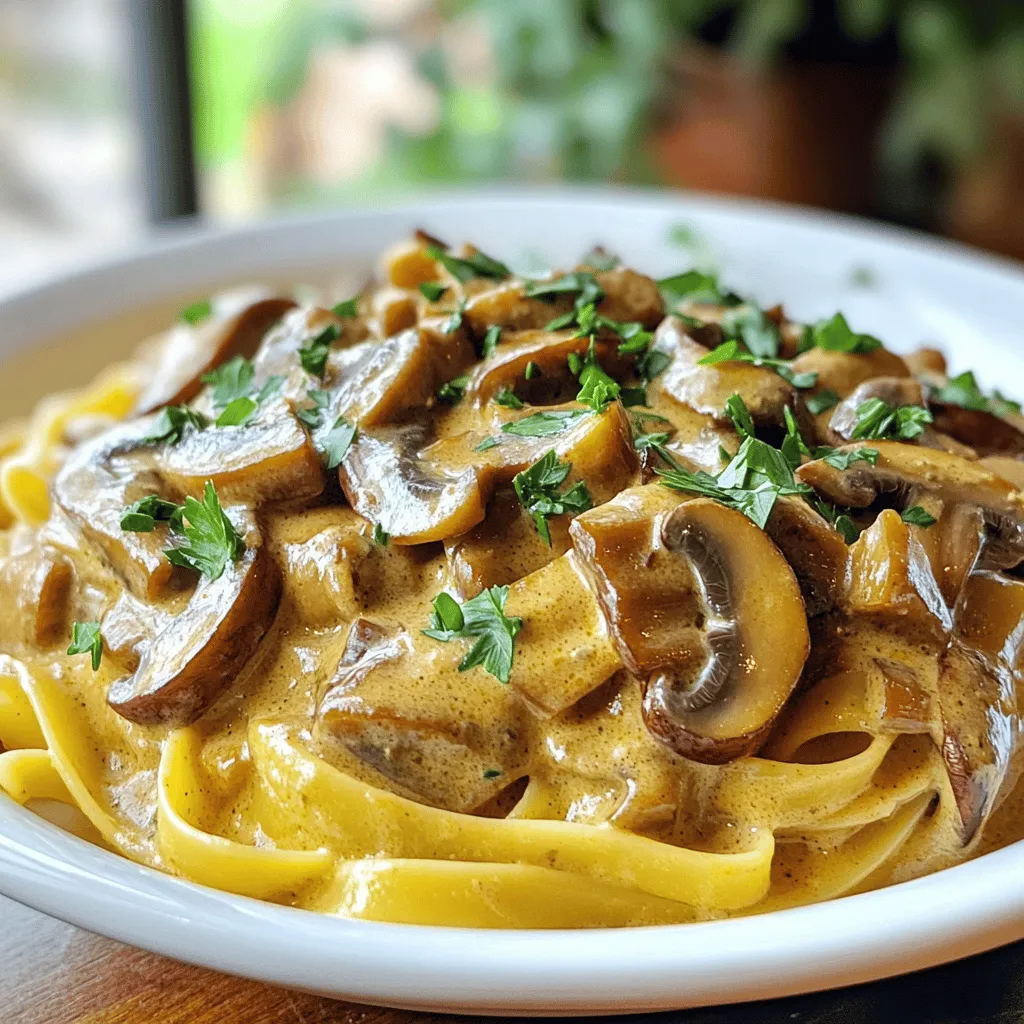
Are you ready to savor a rich and hearty meal that’s also vegan? This Vegan Mushroom & Seitan Stroganoff packs flavor and texture in every bite. With savory seitan and …
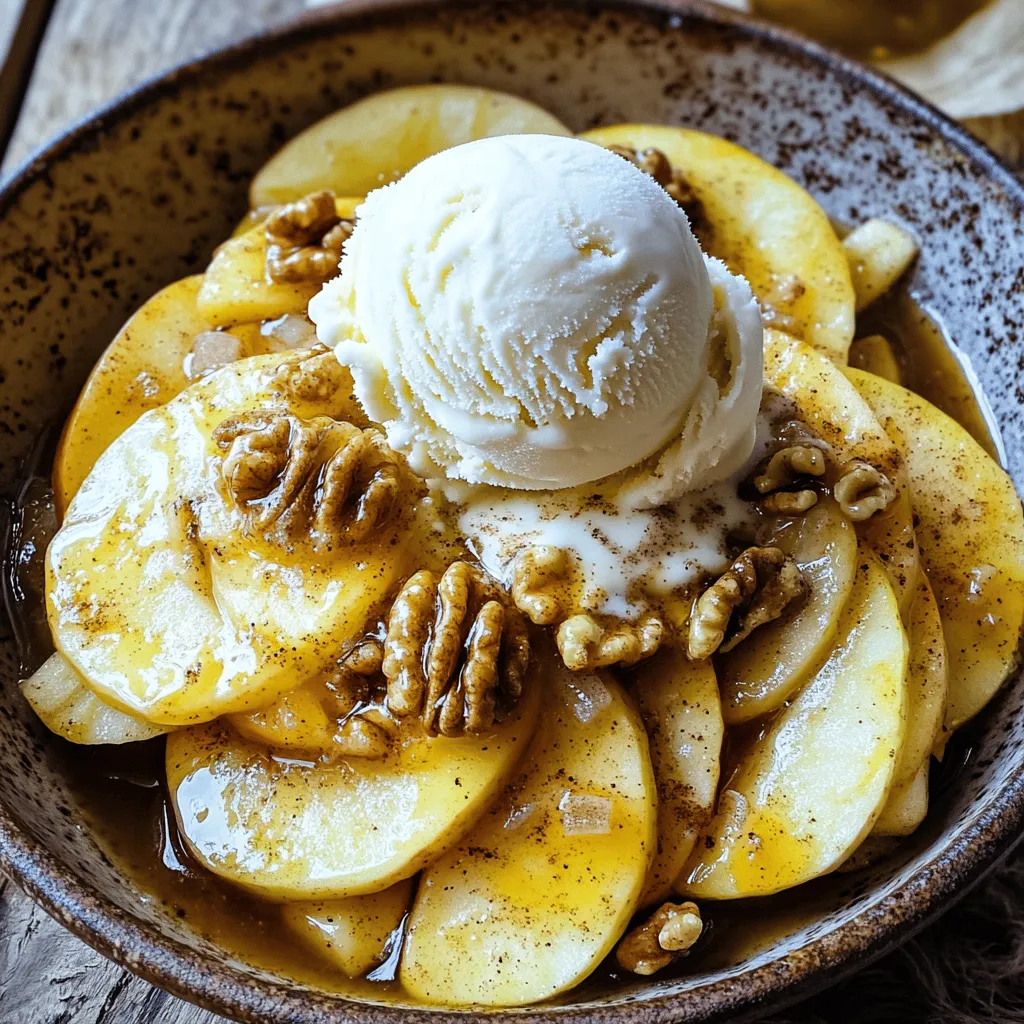
Looking for a sweet treat that’s quick and delightful? Skillet Fried Apples are the answer! With simple ingredients like fresh apples, brown sugar, and a touch of spice, this dessert …

If you crave a warm and hearty dish, you’ll love Smoky Ancho Chicken Chili. This recipe bursts with bold flavors, perfect for family dinners or game day gatherings. With tender …

If you’re looking for a quick and delicious dinner, try my Easy Baked Chicken Parmesan! This dish combines juicy chicken, zesty sauce, and gooey cheese for a meal everyone will …

Get ready to indulge in a crispy treat everyone will love—Fried Apple Rings! This easy recipe transforms sweet apples into golden, crunchy bites that are perfect for any occasion. You’ll …

Are you ready to treat yourself? My Strawberry Cheesecake Cinnamon Rolls are the perfect blend of sweet and creamy, bringing you a delicious pastry experience. Using just a few fresh …

Get ready to fill your kitchen with cozy fall scents! My Spiced Pumpkin Muffins are easy to make and packed with flavor. This recipe is perfect for everyone—whether you’re a …

Fall flavors are just a bite away with these No-Bake Pumpkin Pie Cups! This simple treat combines creamy pumpkin filling with a crunchy graham cracker base, making it perfect for …

Craving a sweet treat that’s quick and easy? Let me introduce you to Air Fryer Apple Fritter Bites! These tasty morsels pack all the flavor of classic apple fritters without …