Glazed Apple Fritter Bread Deliciousness Awaits You
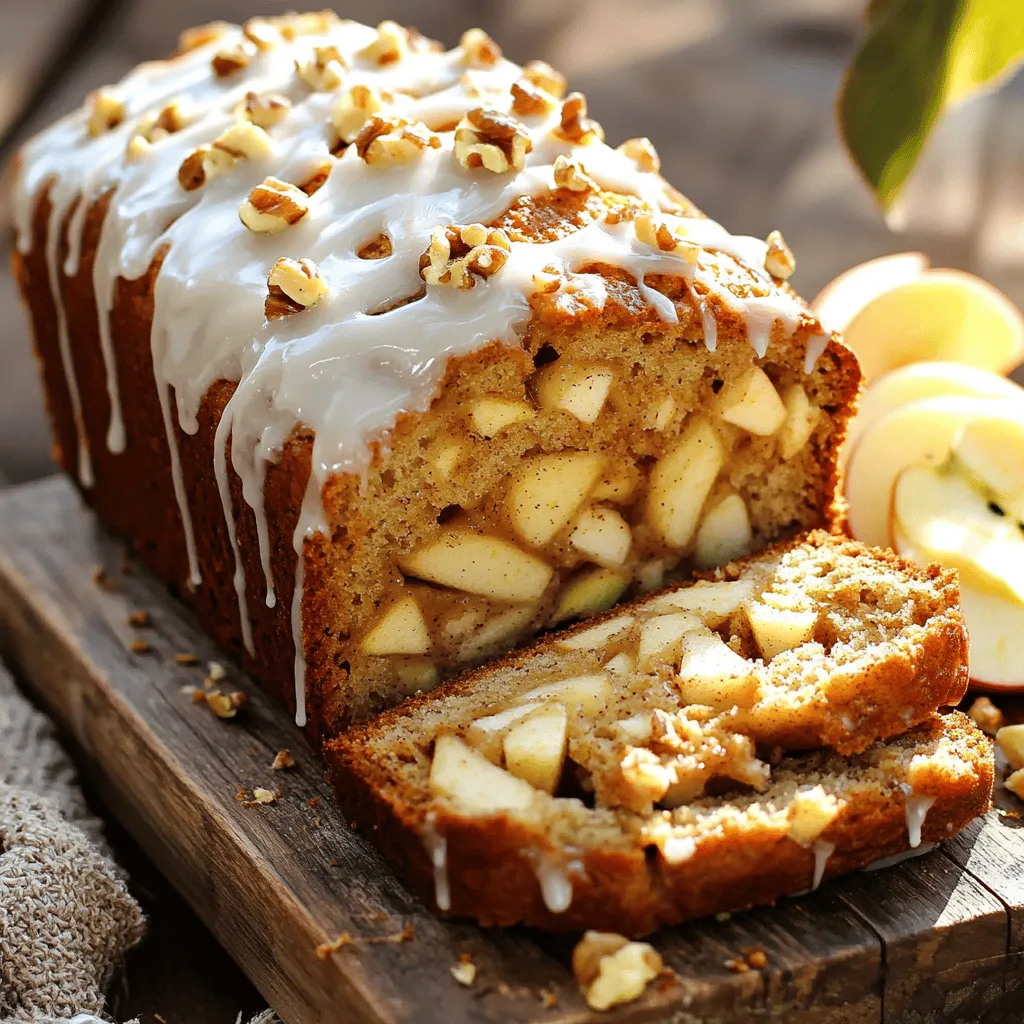
You’re about to dive into the delicious world of Glazed Apple Fritter Bread. Imagine warm bread, packed with sweet apples and a shiny glaze that makes your mouth water. This …
You’re about to dive into the delicious world of Glazed Apple Fritter Bread. Imagine warm bread, packed with sweet apples and a shiny glaze that makes your mouth water. This …
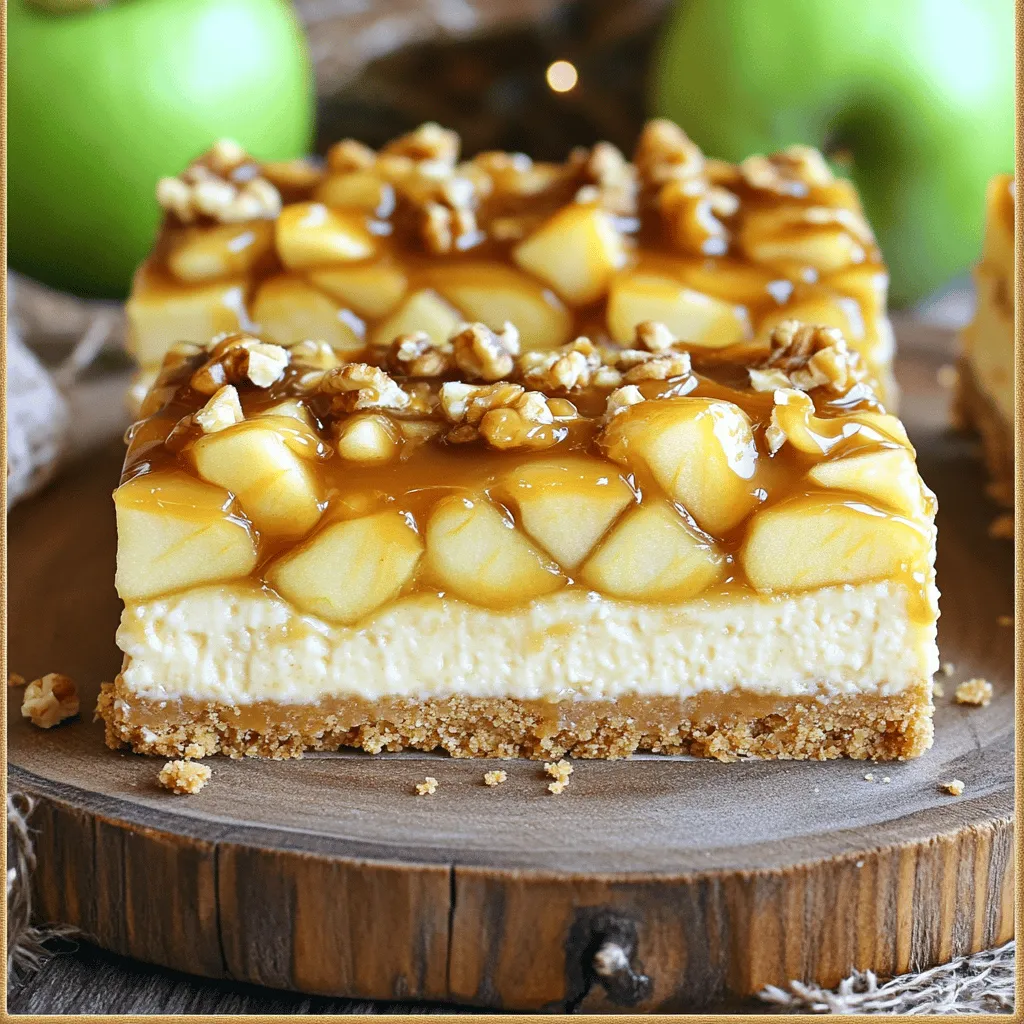
Fall is here, and it’s time to treat yourself with something special! Caramel Apple Cheesecake Bars are the perfect blend of sweet and creamy. Imagine a buttery graham cracker crust …
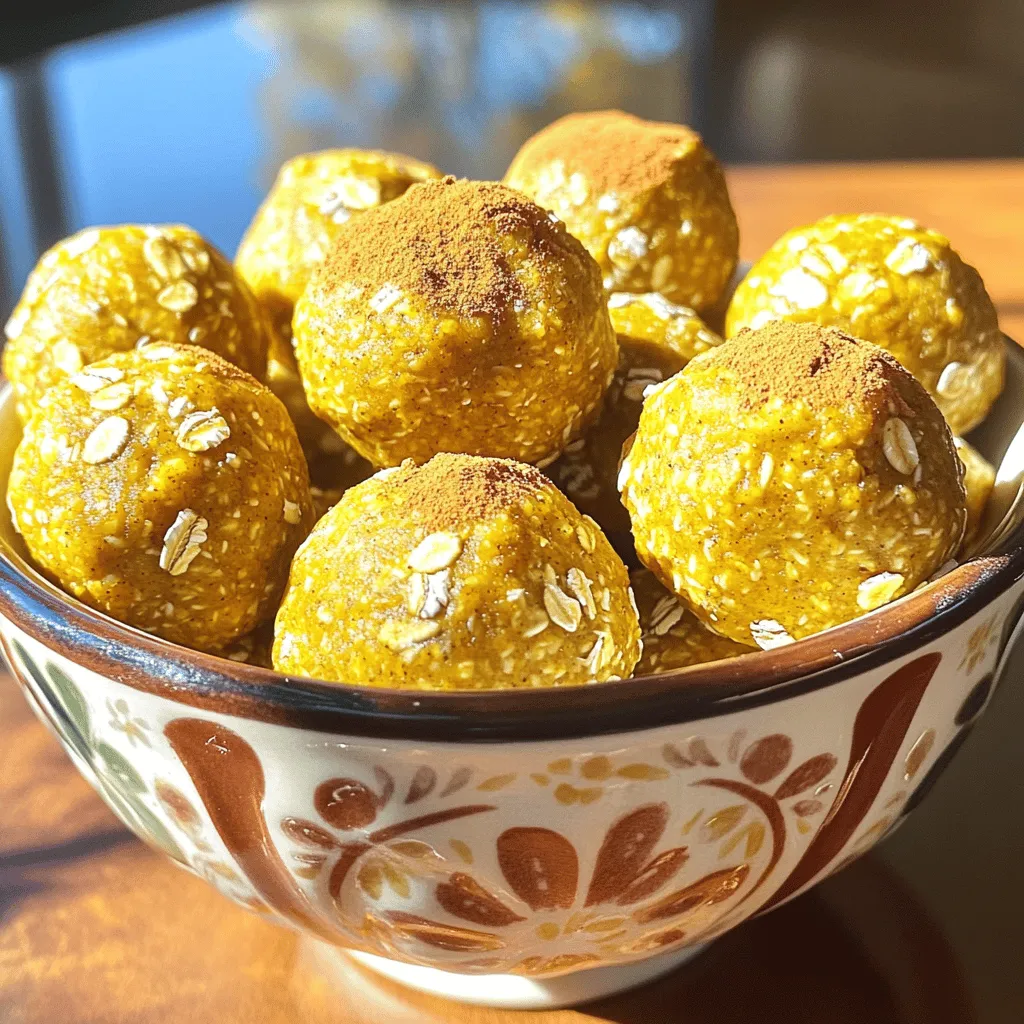
Looking for a quick, healthy snack that packs a pumpkin spice punch? These Pumpkin Spice Energy Bites are your answer! With simple ingredients, you’ll whip up a tasty treat in …
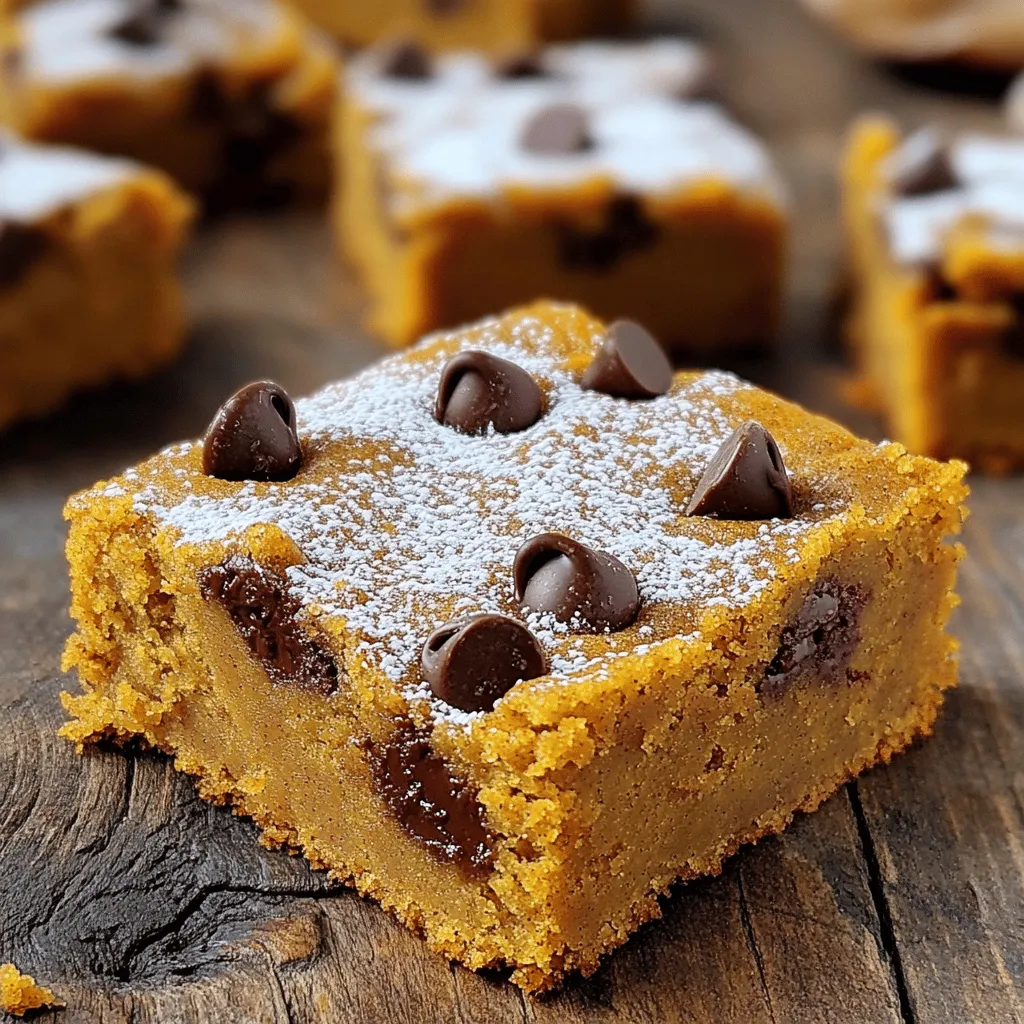
Looking for a simple way to bring fall flavors to your kitchen? You’re in the right place! These Pumpkin Bars with Cake Mix come together in a snap and deliver …
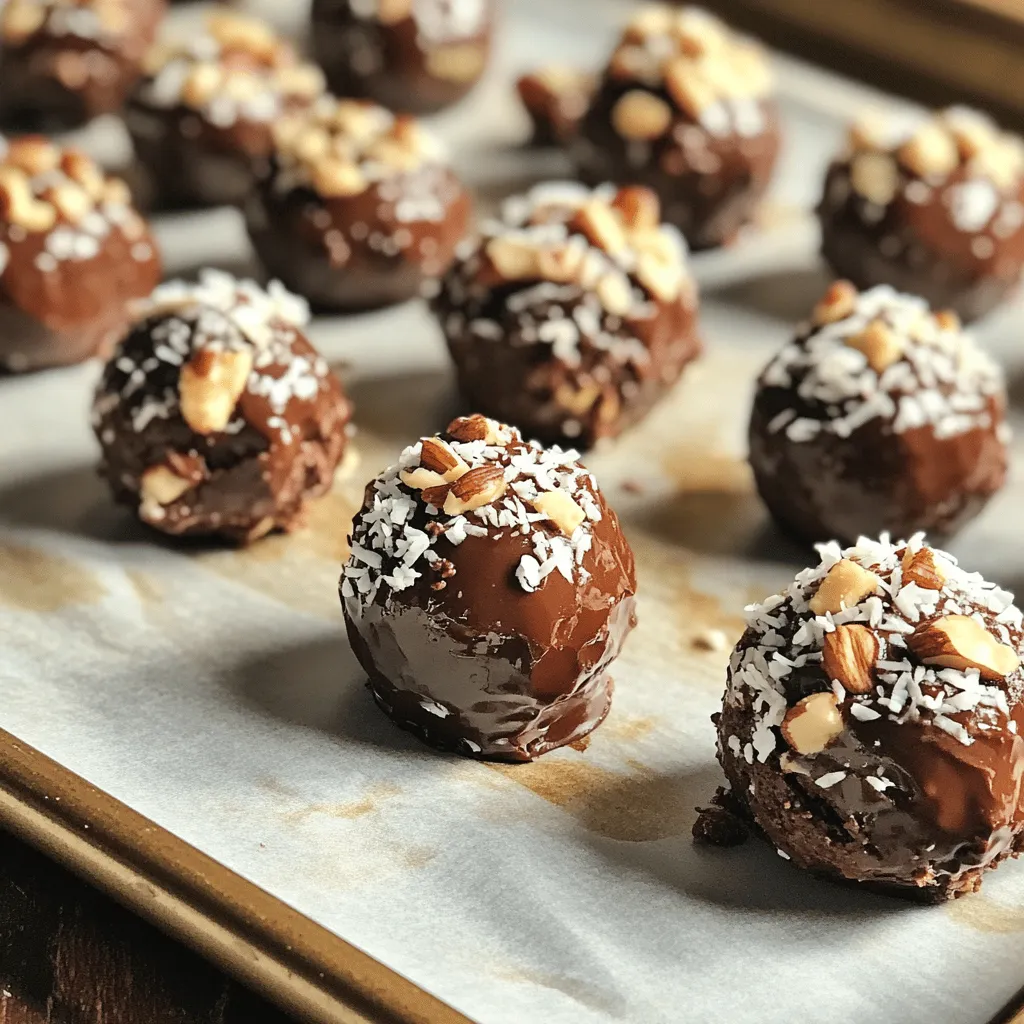
Looking for a quick and tasty dessert? You’ve found it! These No Bake Brownie Bites are easy to make and fun to eat. Whether you’re a busy parent or just …
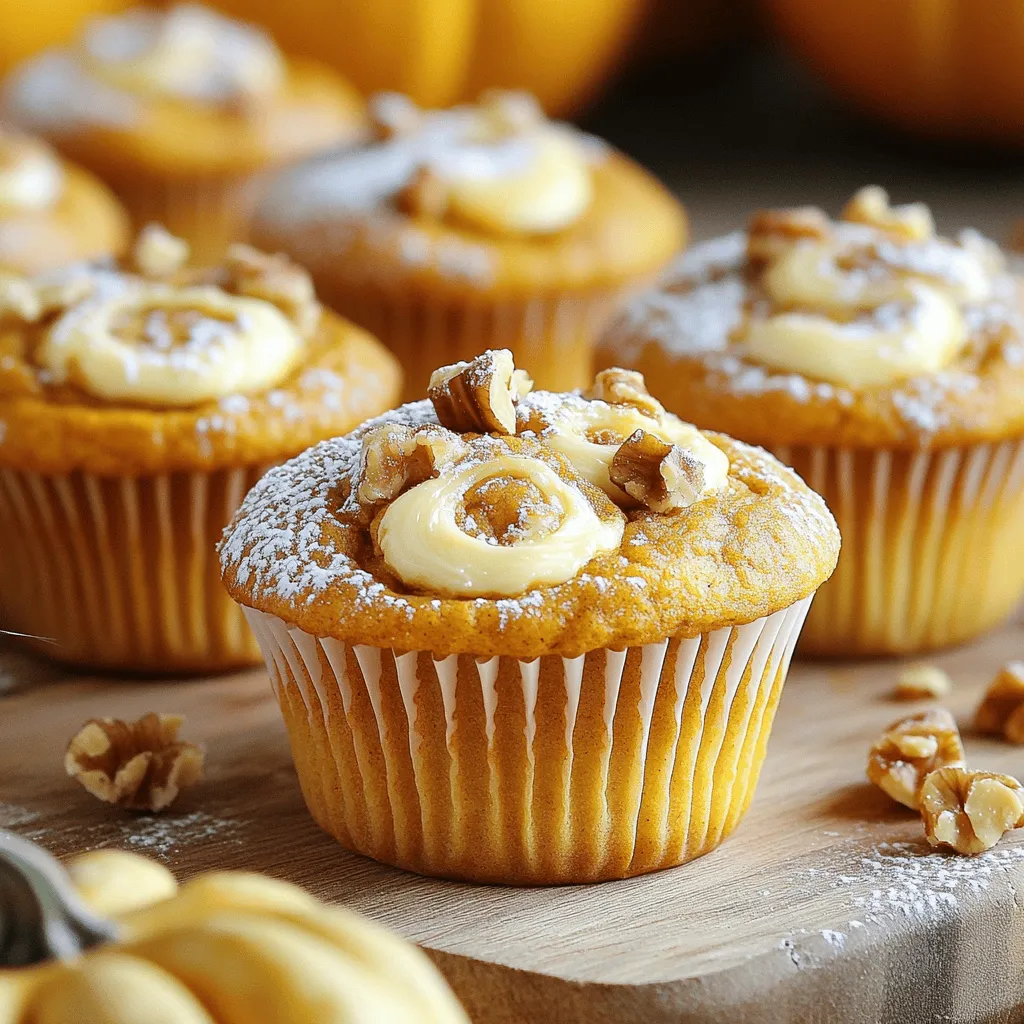
Are you ready to bake something truly delightful? These Pumpkin Cream Cheese Muffins will make your kitchen smell amazing! With a soft, spiced pumpkin base and a creamy filling, they …

Looking for a meal that’s both hearty and packed with flavor? You’re in the right place! My Classic Chili recipe is your go-to for a cozy night in or a …
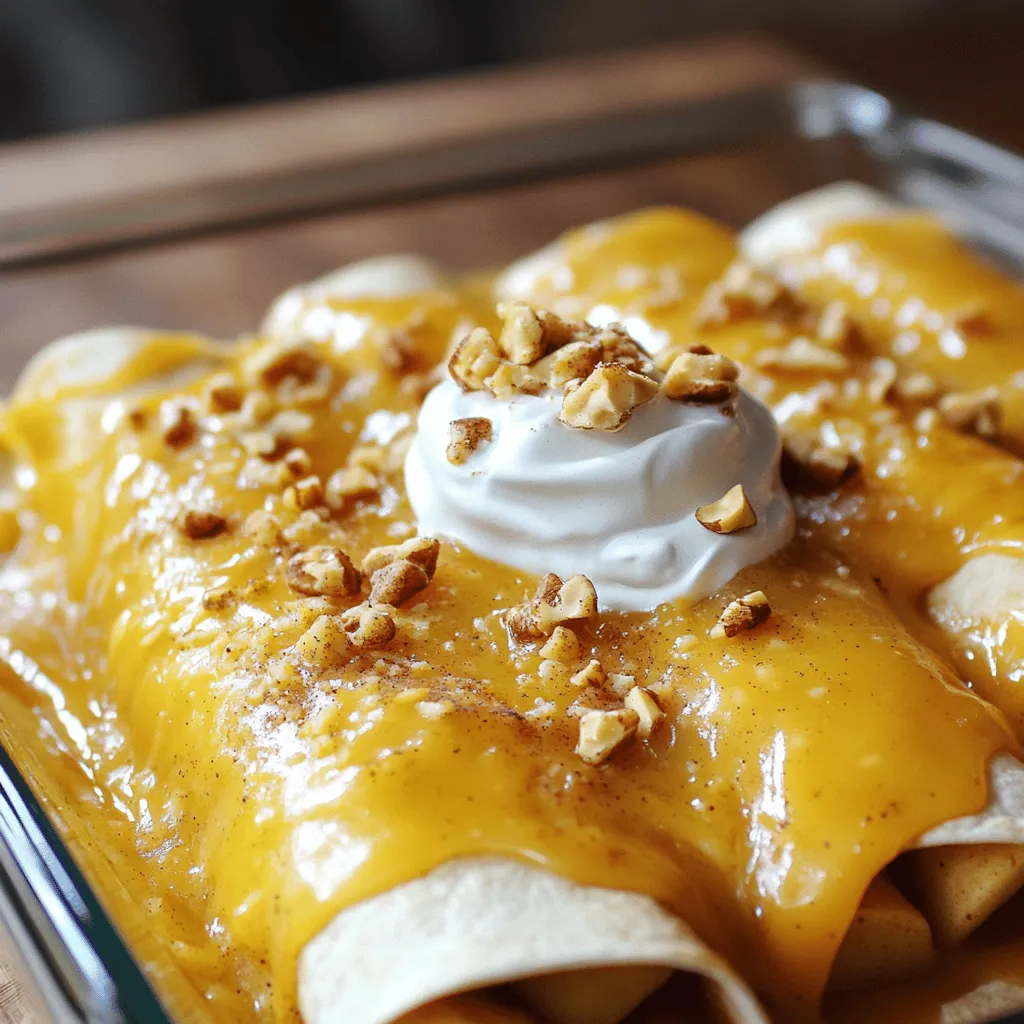
Craving a sweet twist on a classic dessert? Try my Apple Pie Enchiladas! This tasty, quick recipe combines warm, spiced apples wrapped in soft tortillas, topped with a rich sauce. …
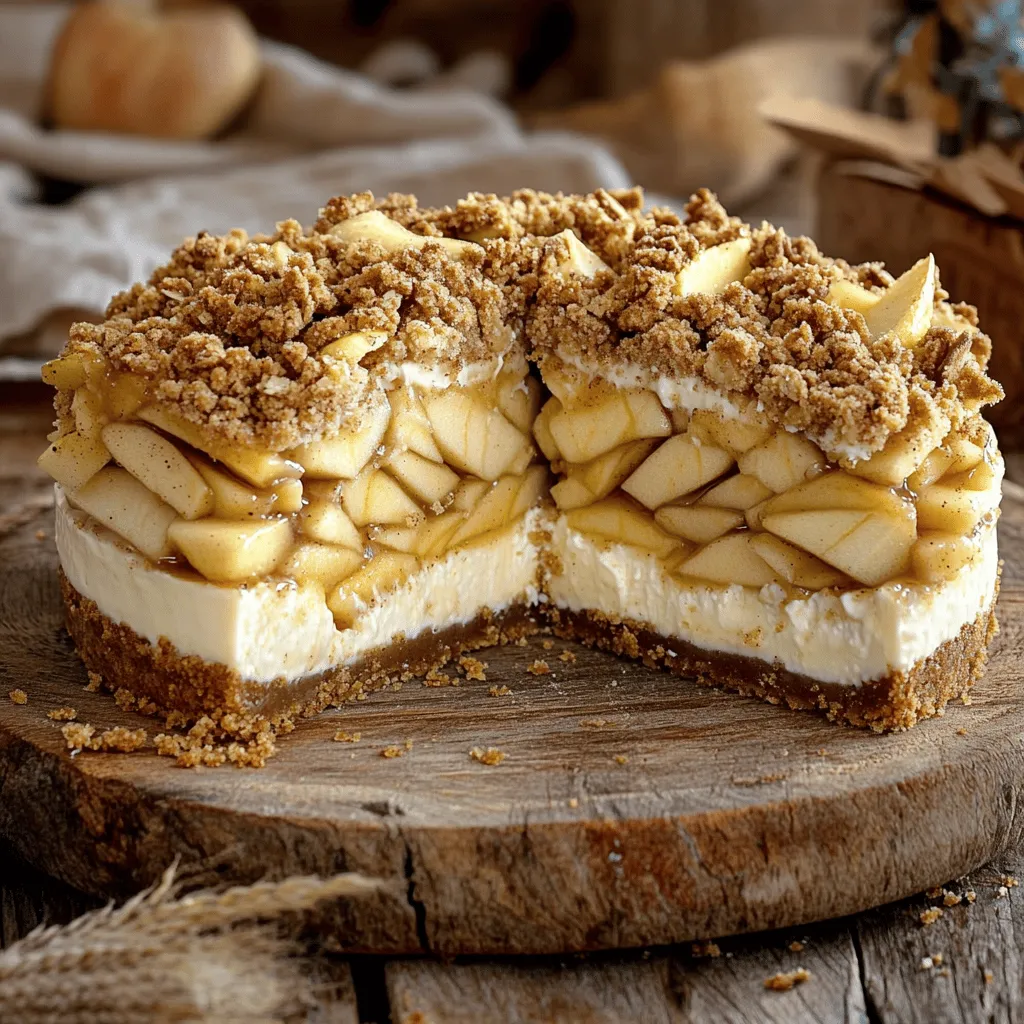
Craving a dessert that combines the warmth of apple pie with the creaminess of cheesecake? You’re in the right place! This Apple Crumble Cheesecake is an irresistible treat that will …
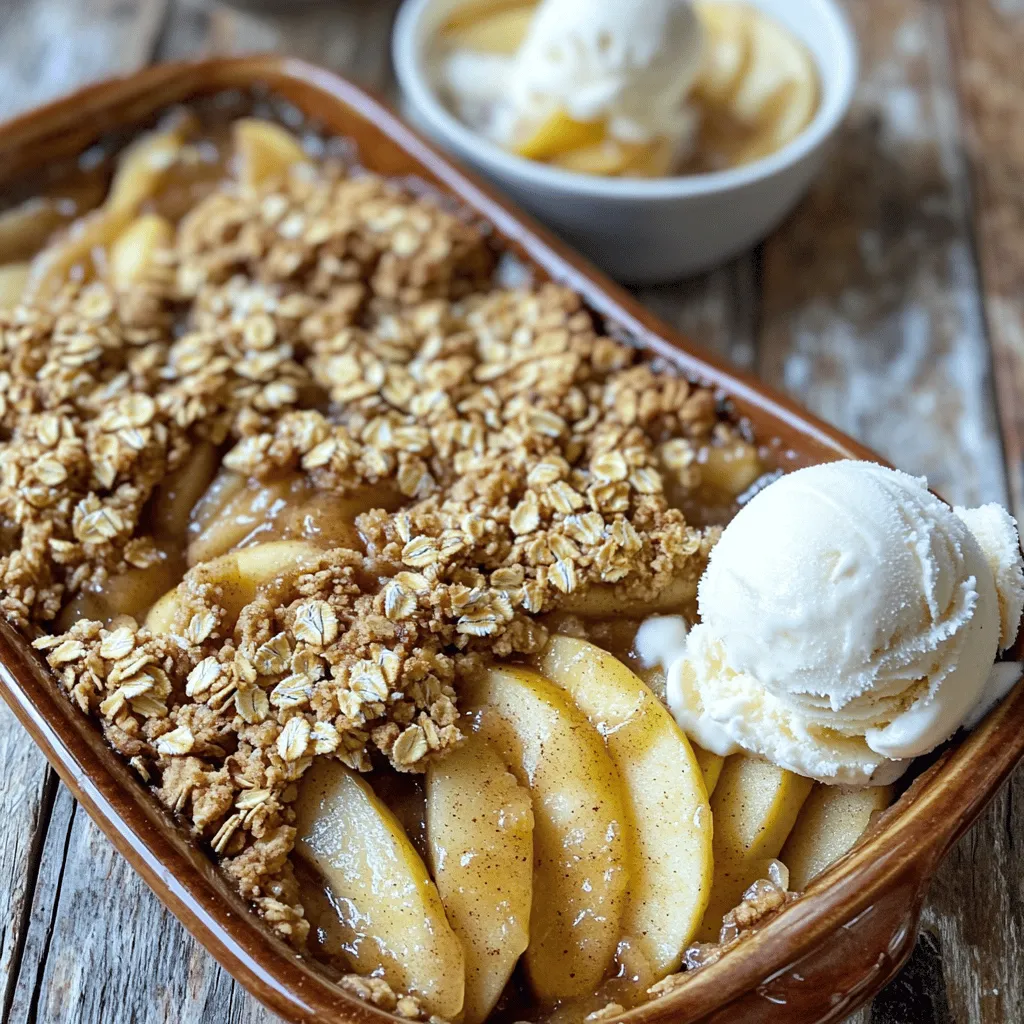
Craving a simple and tasty dessert? Look no further than this Easy Apple Crisp recipe! With just a few ingredients, you can create a warm, comforting treat that’s perfect for …