Chocolate Almond Butter Energy Balls Easy Recipe
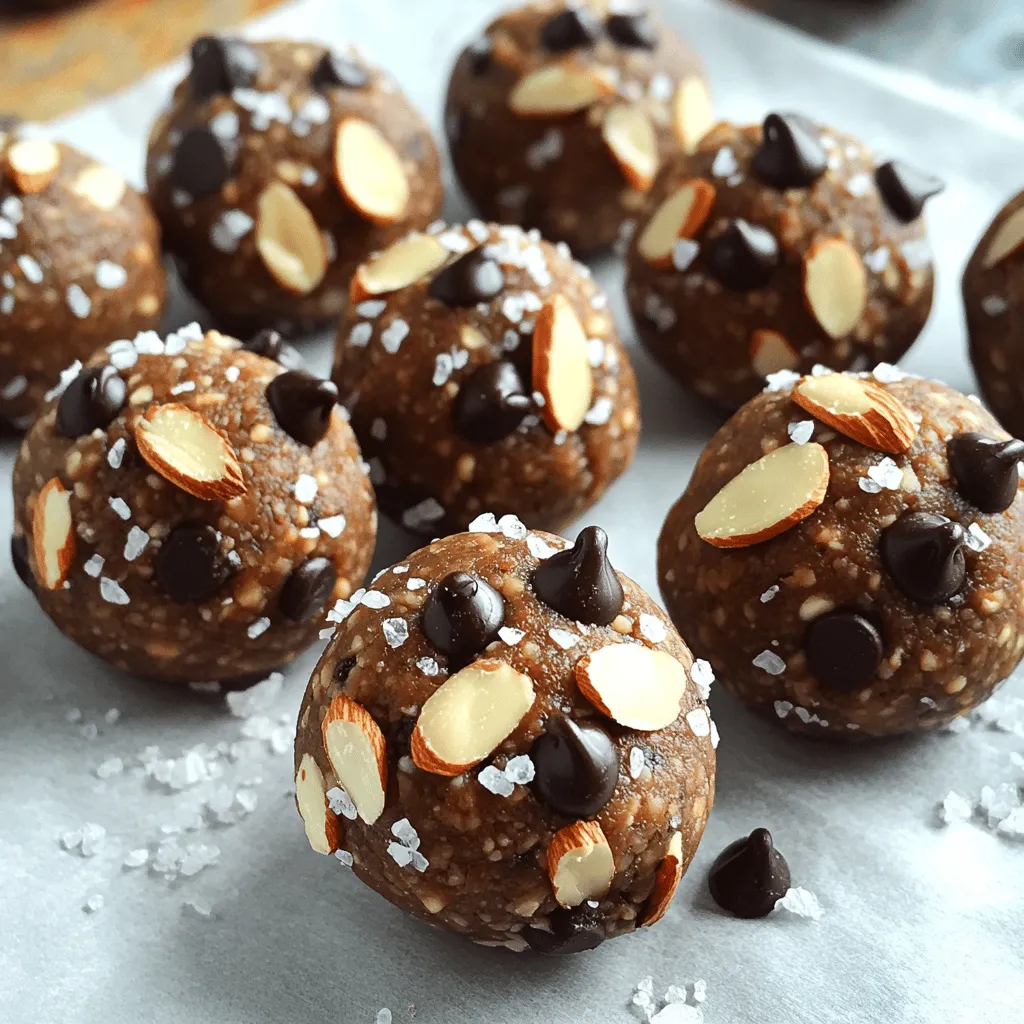
Are you ready to make a tasty snack that’s both easy and healthy? In this post, I’ll show you how to whip up chocolate almond butter energy balls. This fun …
Are you ready to make a tasty snack that’s both easy and healthy? In this post, I’ll show you how to whip up chocolate almond butter energy balls. This fun …
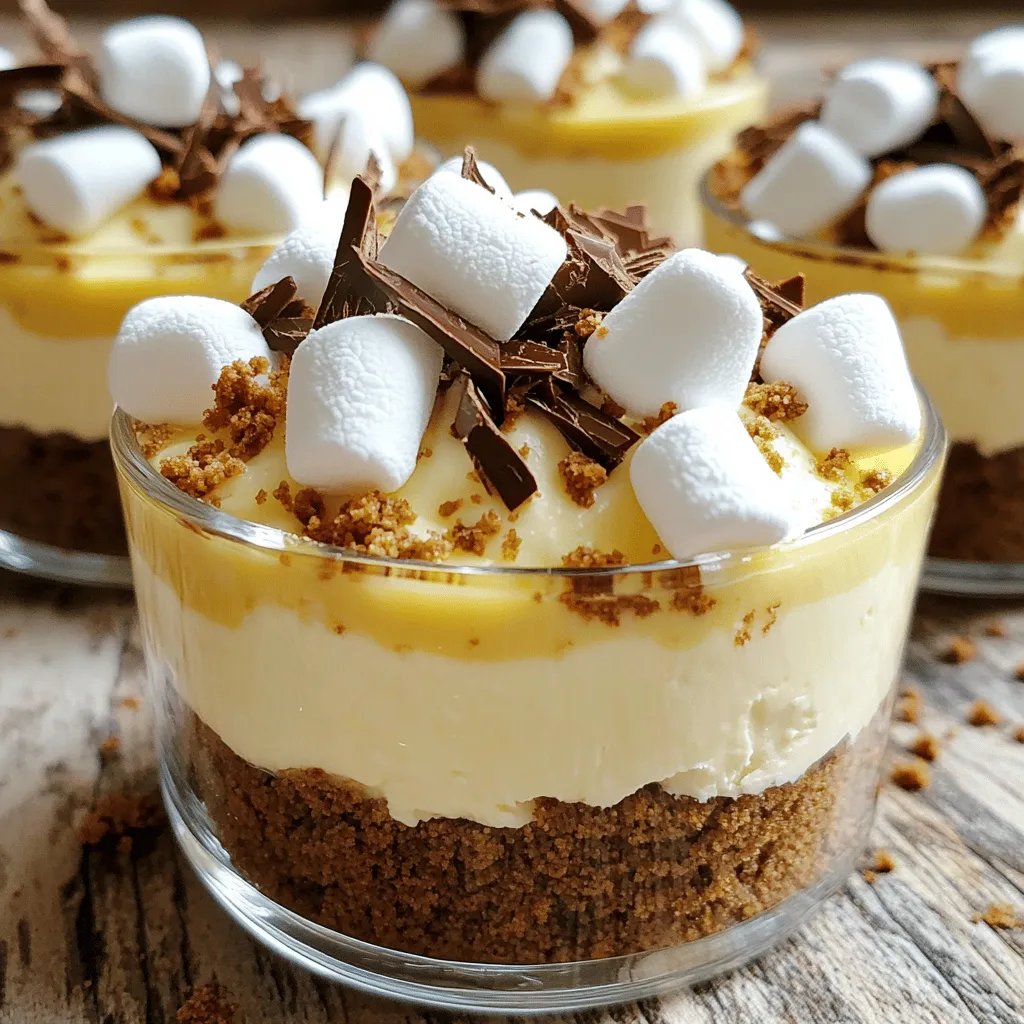
Craving a sweet and simple treat? Dive into my No-Bake S’mores Cheesecake Cups! This easy recipe combines creamy cheesecake, crunchy graham crackers, and rich chocolate for a perfect dessert. With …
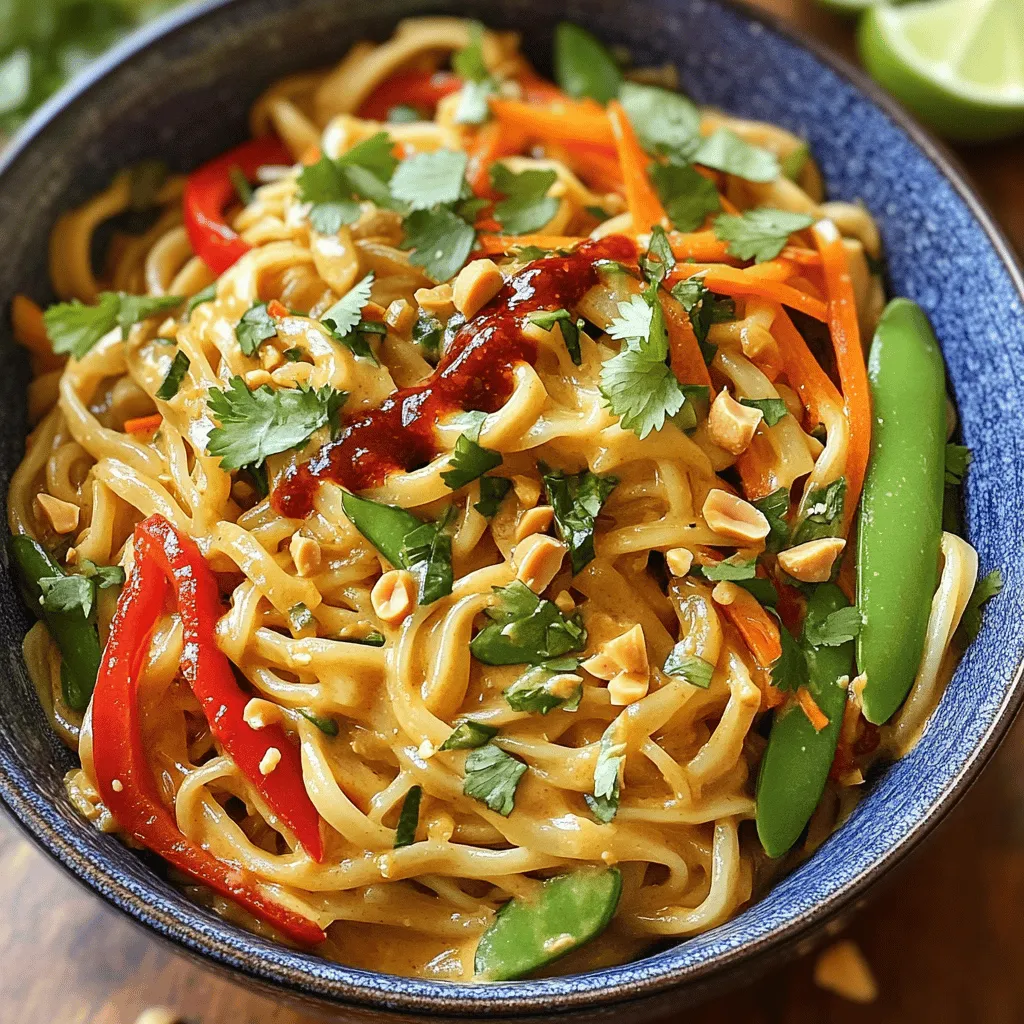
If you crave a quick and tasty meal, Spicy Thai Peanut Noodles One Pot is perfect for you. With creamy peanut butter, fresh veggies, and a kick of sriracha, this …
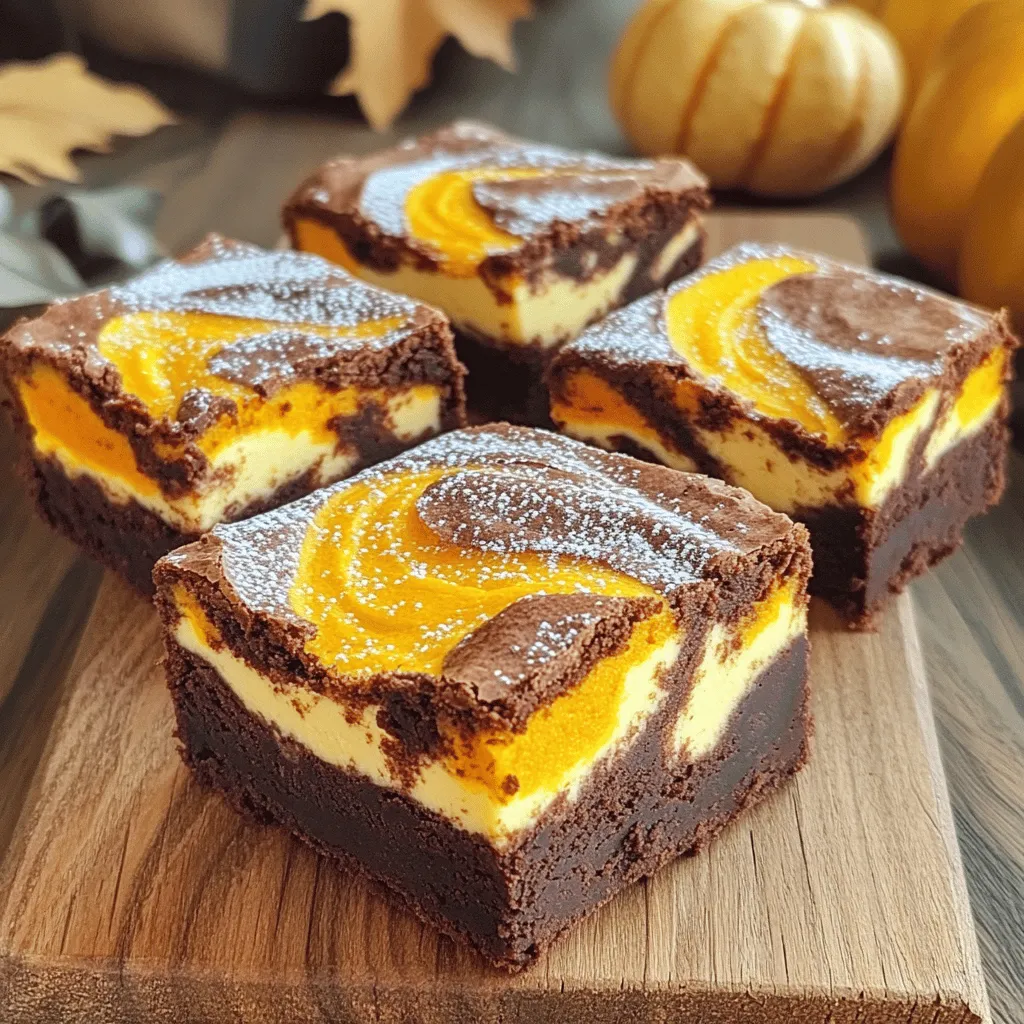
Fall is the perfect time to indulge in rich, decadent treats. These Pumpkin Cream Cheese Swirl Brownies are a must-try! They bring together the warm flavors of pumpkin and spices …

Do you want a side dish that’s both easy and tasty? Look no further than Garlic Butter Air Fryer Green Beans! This simple recipe turns fresh green beans into a …
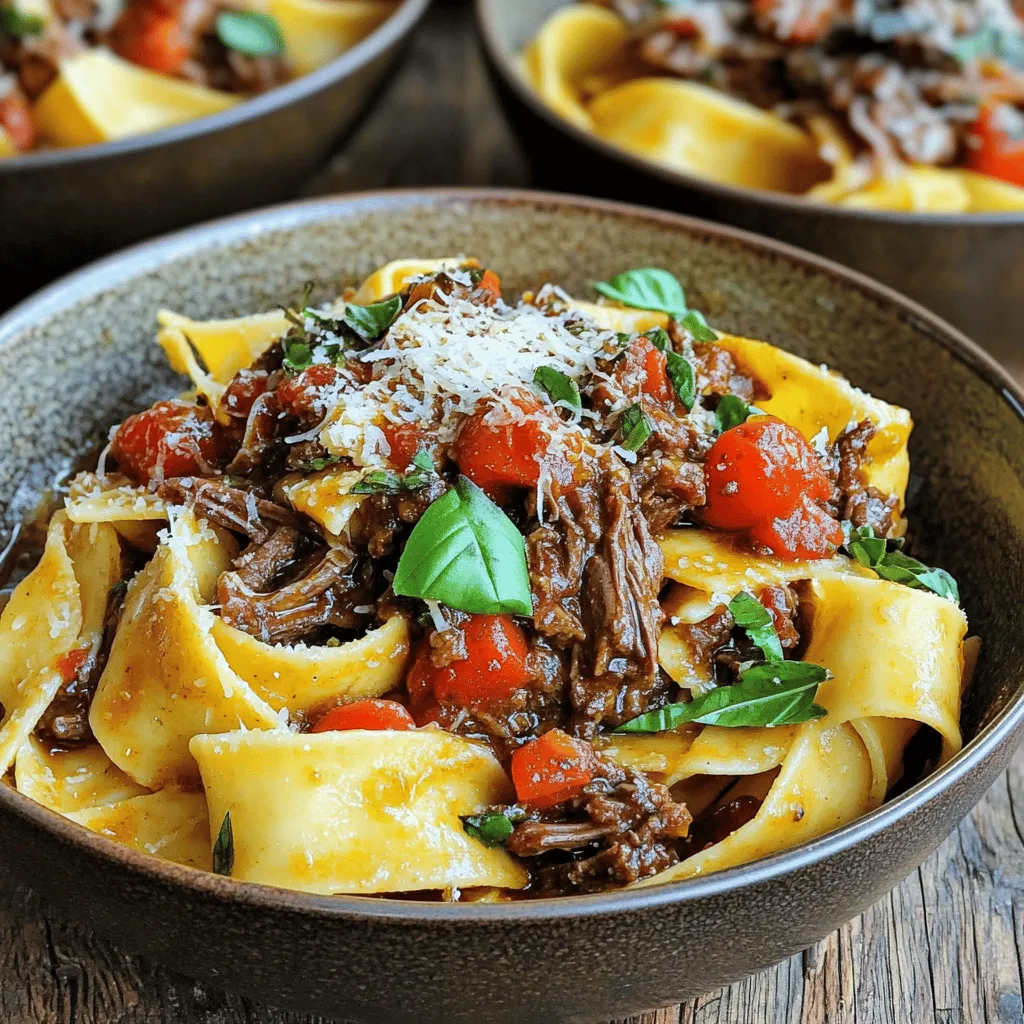
Looking for a cozy meal that warms your soul? My Balsamic Beef Ragu Slow Cooker recipe is just what you need! With tender beef, rich tomatoes, and the perfect blend …
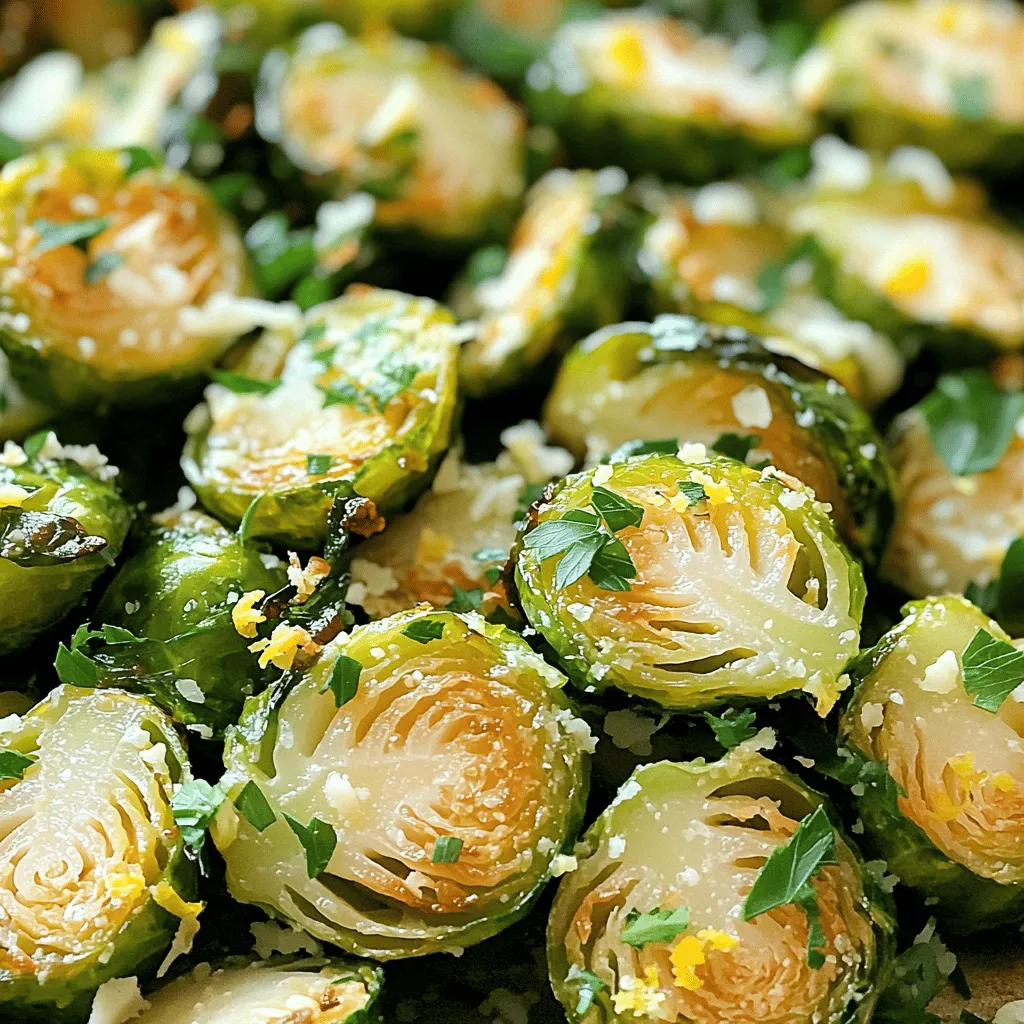
If you think Brussels sprouts are boring, this recipe will change your mind! In Roasted Garlic Parmesan Brussels Sprouts Delight, I’ll show you how to turn these tiny veggies into …
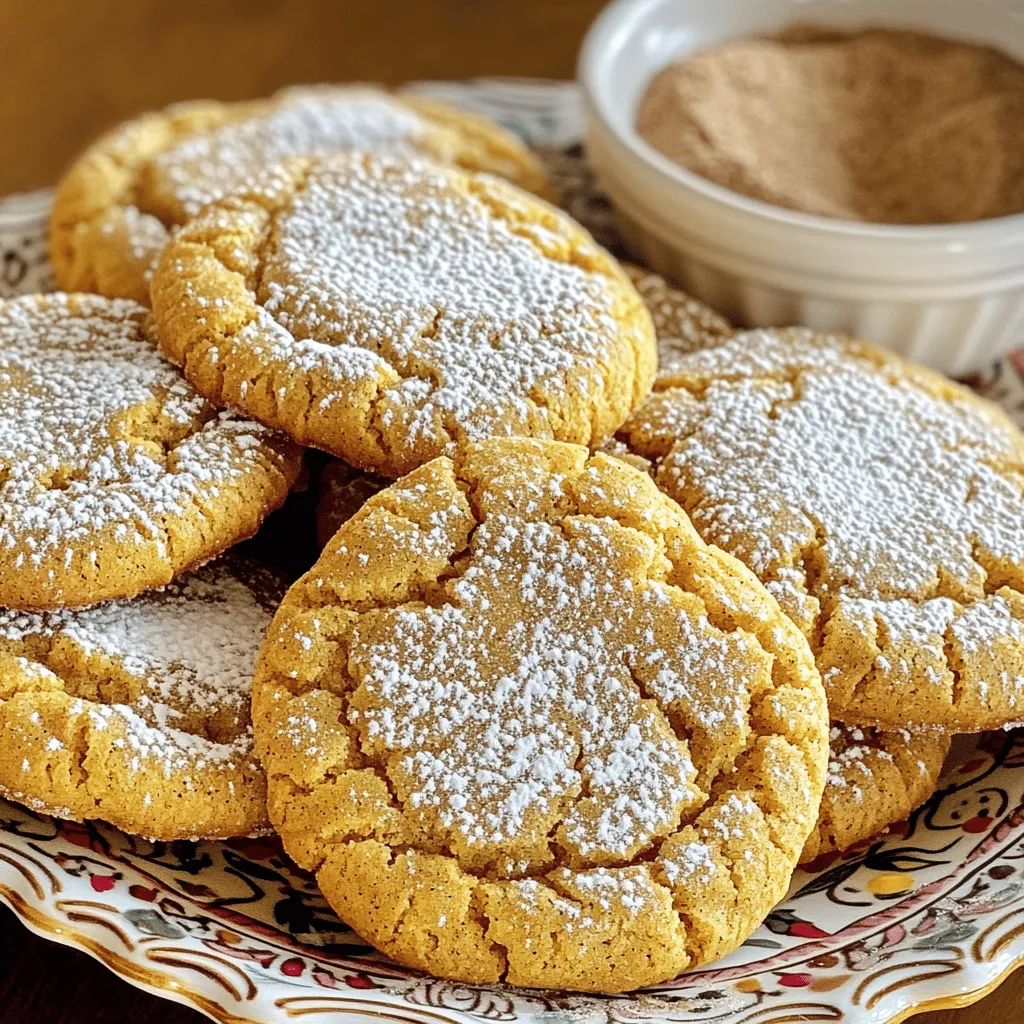
Are you ready to bake the best ginger molasses cookies? These cookies are soft, chewy, and filled with warm spices. With simple ingredients and easy steps, you’ll impress everyone with …
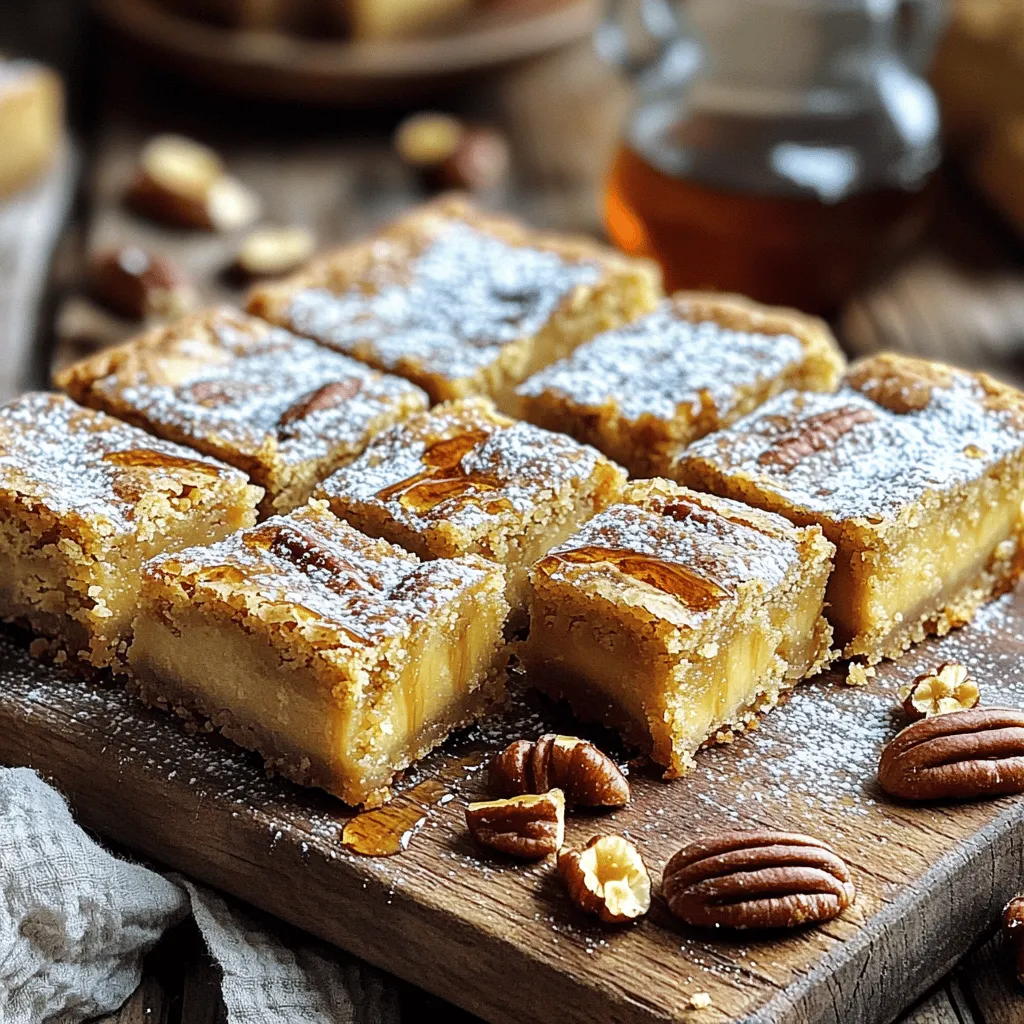
If you love sweet treats, you’re in for a delight with these Brown Butter Maple Blondies! These bars are rich, chewy, and bursting with the warm flavors of maple and …
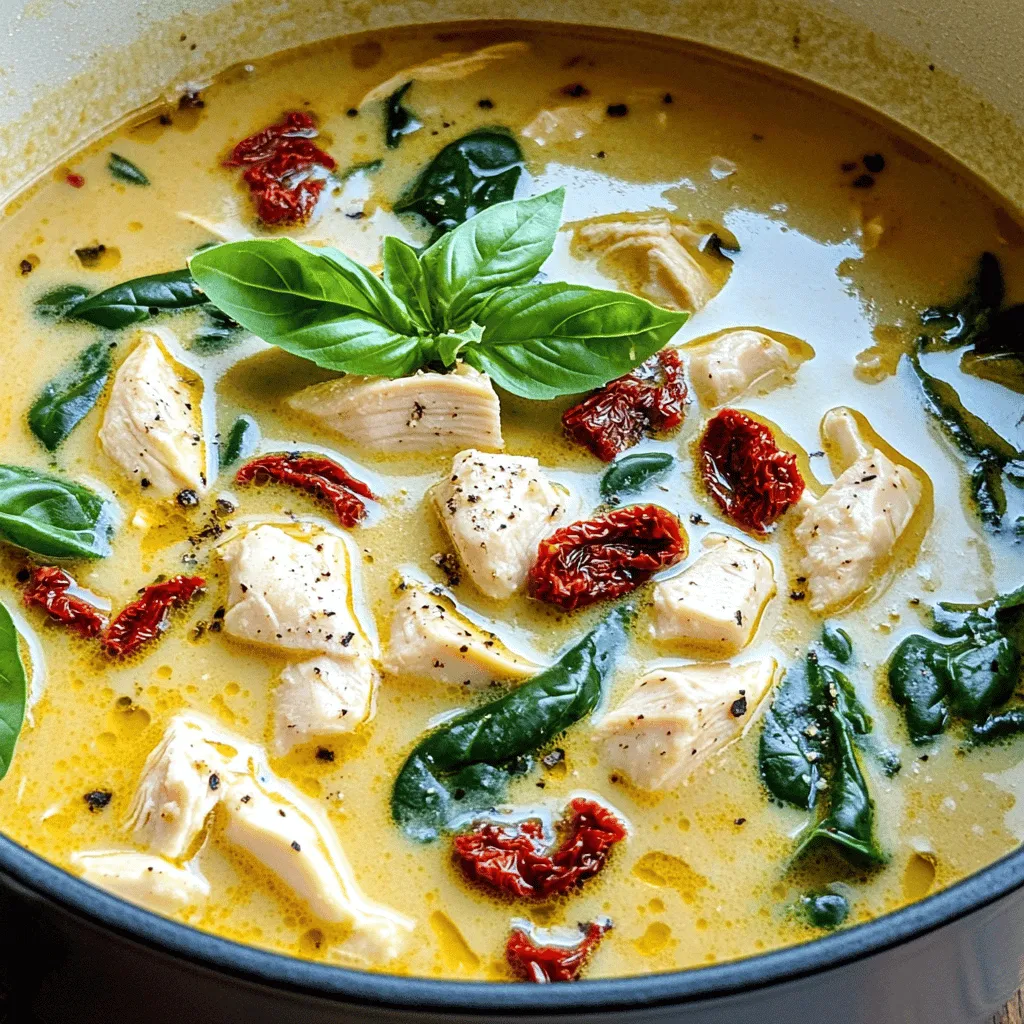
When the weather turns brisk, a warm bowl of Creamy Tuscan Chicken Soup can be your best friend. This cozy meal combines tender chicken, fresh vegetables, and rich cream for …