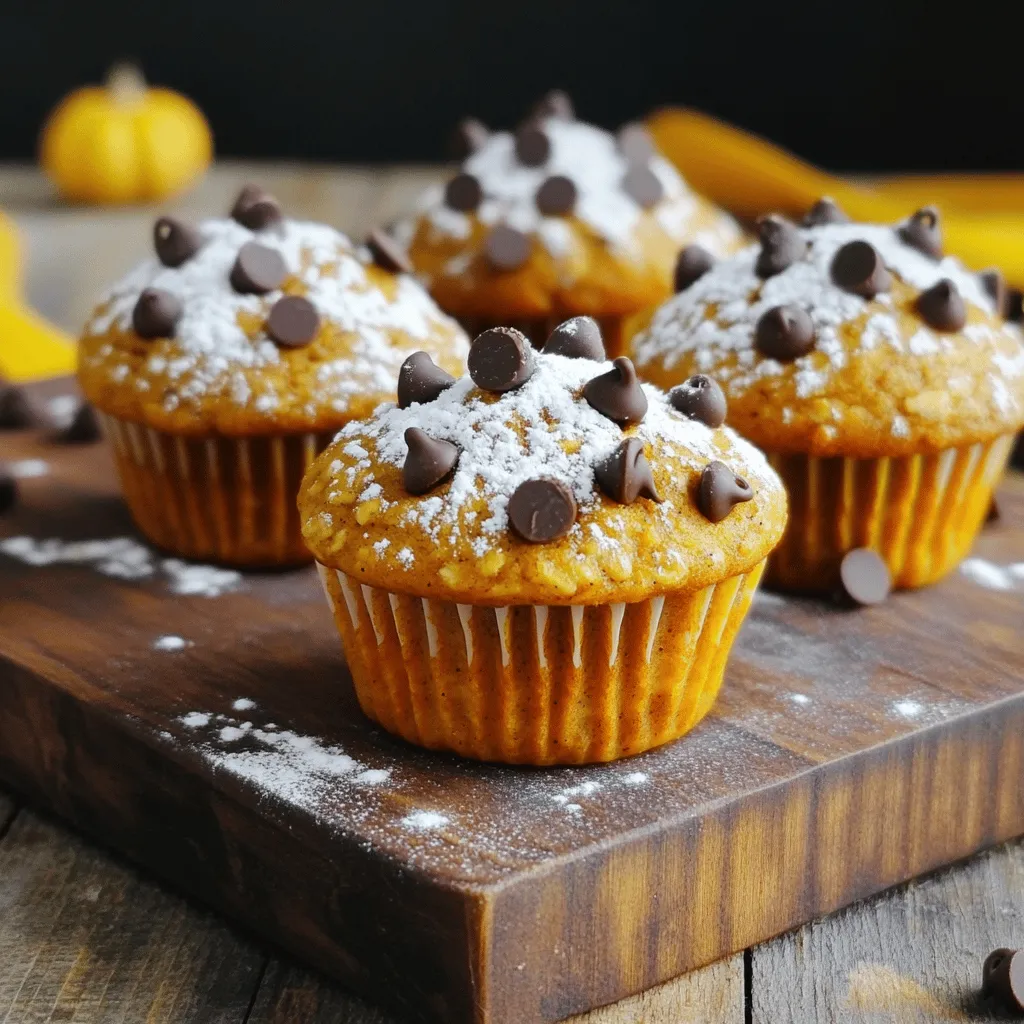
Sourdough Pumpkin Chocolate Chip Muffins Delightful Treat
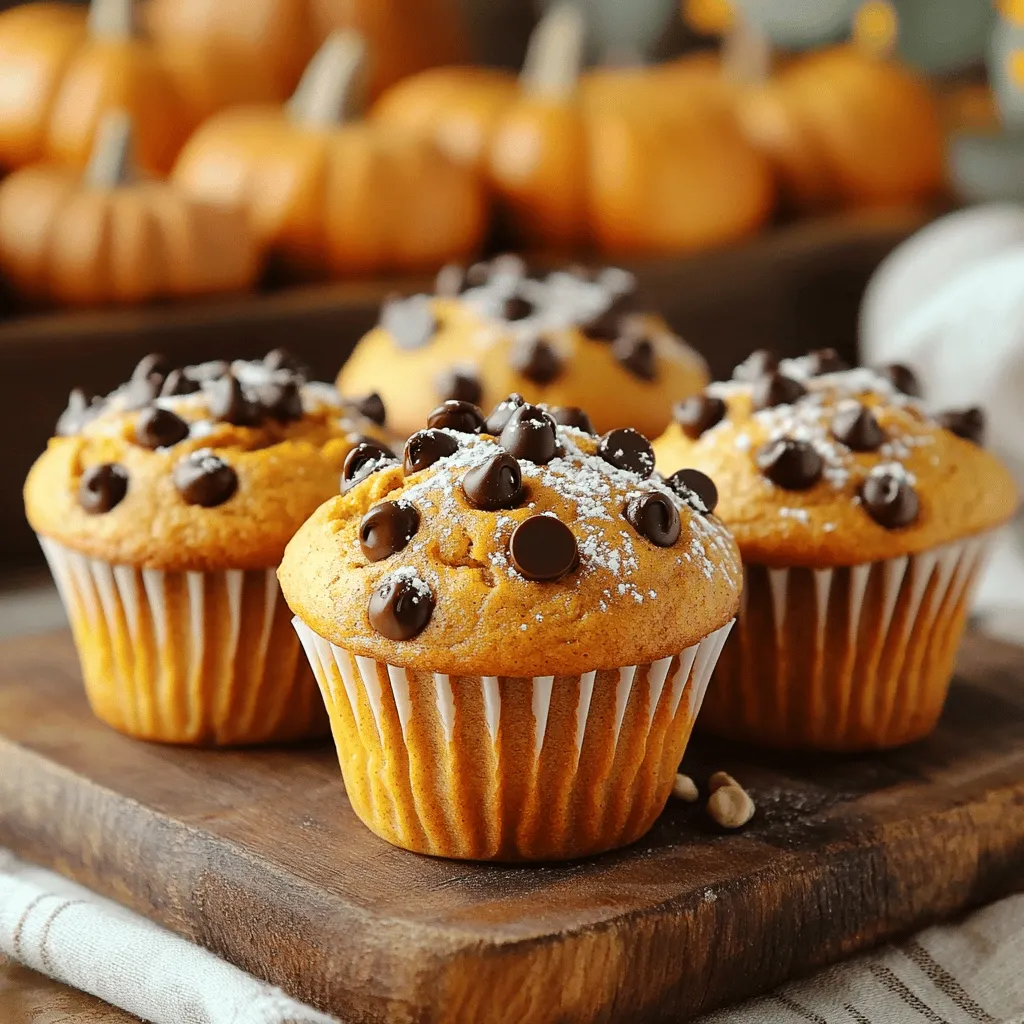
Are you ready to bake a treat that combines the warm flavors of fall with a fun twist? These Sourdough Pumpkin Chocolate Chip Muffins are not just tasty; they will …
Are you ready to bake a treat that combines the warm flavors of fall with a fun twist? These Sourdough Pumpkin Chocolate Chip Muffins are not just tasty; they will …

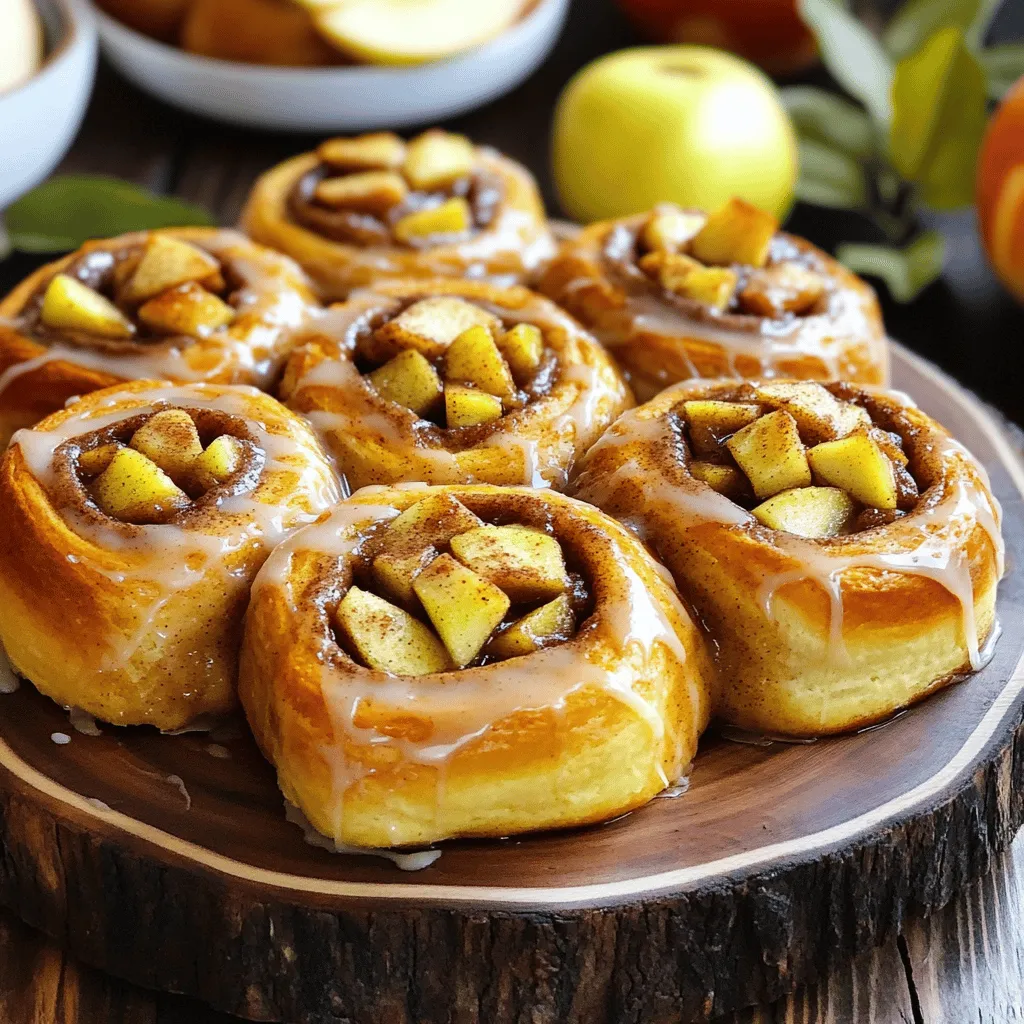
Are you ready to treat yourself to a warm, gooey delight? My Caramel Apple Cinnamon Roll Bake mixes sweet apples, rich caramel, and soft cinnamon rolls into one easy dessert. …
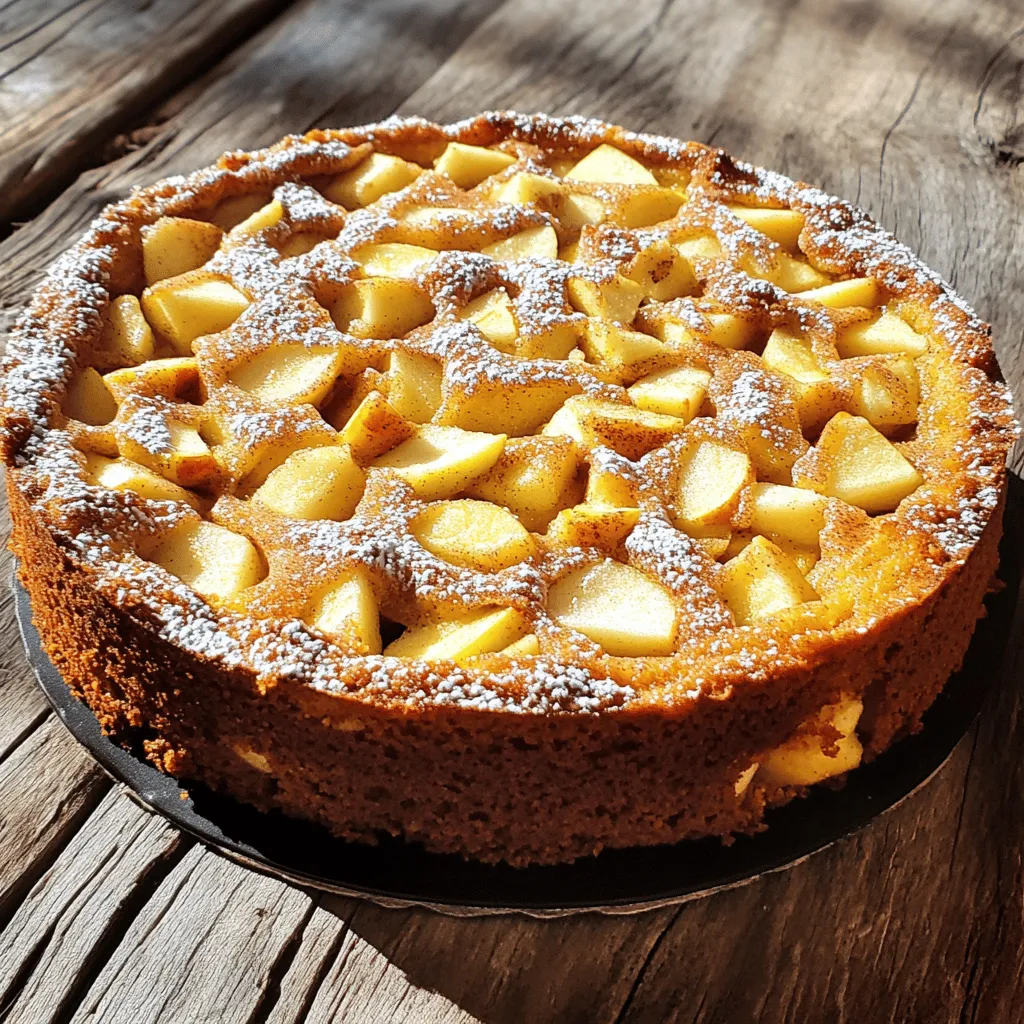
Welcome to my simple and tasty Cinnamon Apple Cake recipe! If you love warm, sweet flavors combined with juicy apples, you’re in for a treat. This recipe is perfect for …
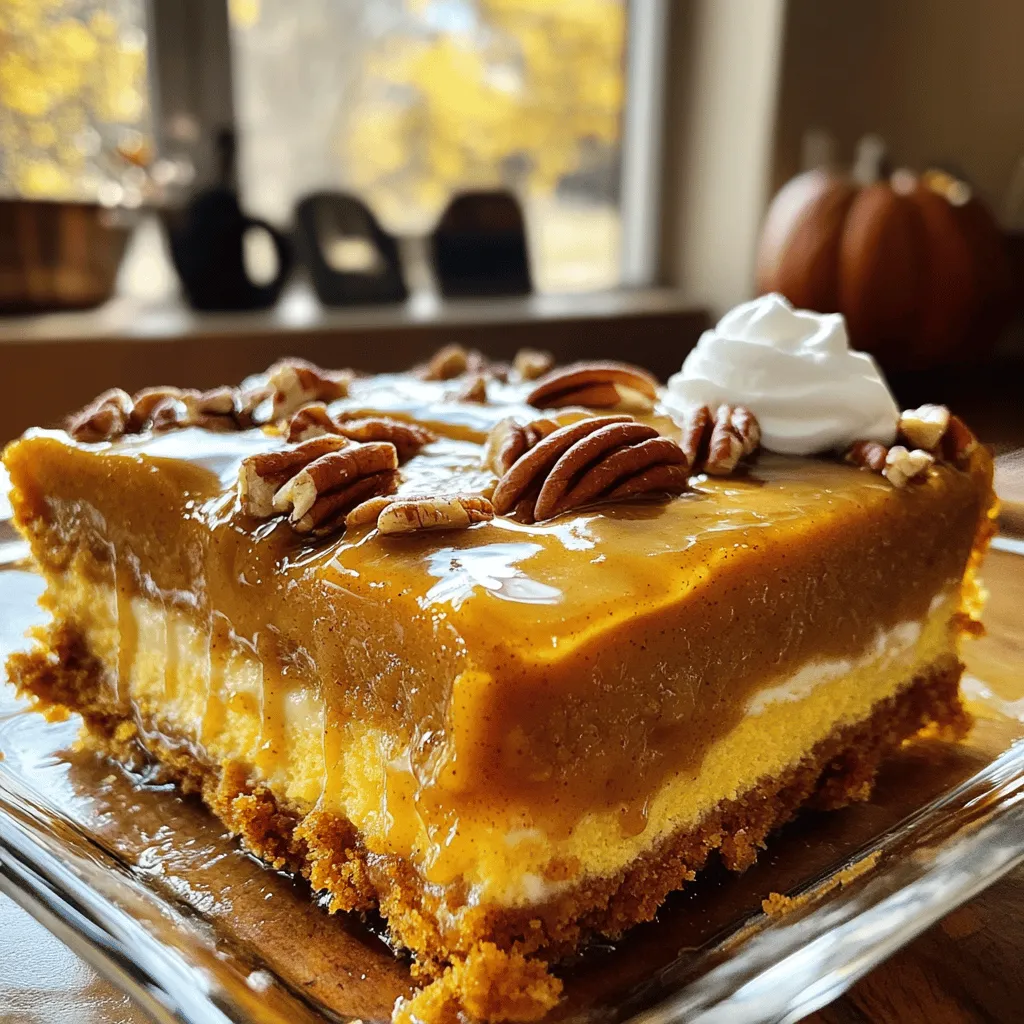
Fall is here, and it’s the perfect time to indulge in a Pumpkin Spice Dump Cake! This easy dessert combines rich pumpkin flavor with the cozy spices we all love. …
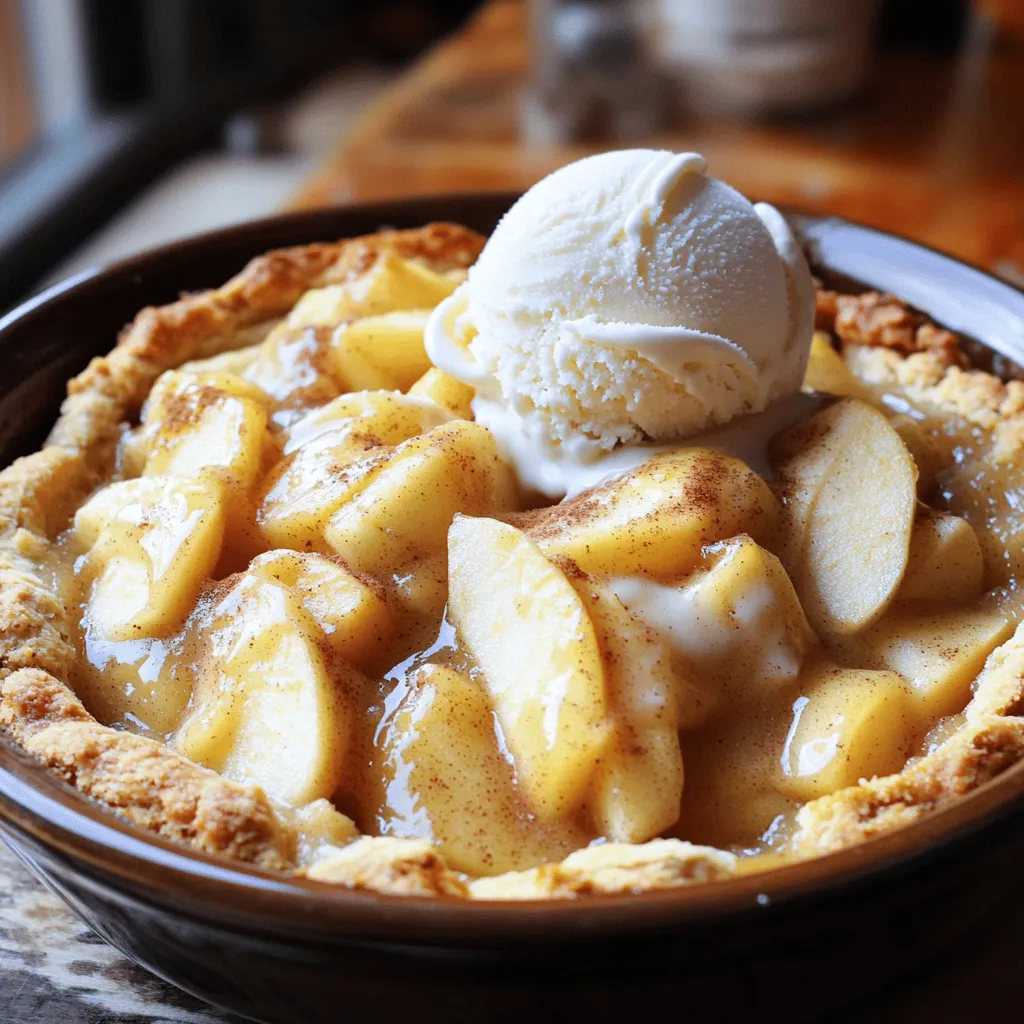
Craving a dessert that warms your heart and fills your home with the sweet scent of apples? Look no further than my Old-Fashioned Apple Cobbler! This delightful comfort dessert combines …
If you’re craving a simple yet delicious treat, these Pumpkin Chocolate Chip Oatmeal Muffins are for you! Packed with warm spices and rich chocolate chips, they are perfect for breakfast …
If you crave a dessert that brings warmth and joy, you’ll love these Apple Pie Cinnamon Rolls. Imagine soft, fluffy dough filled with sweet apples and cinnamon, all topped with …
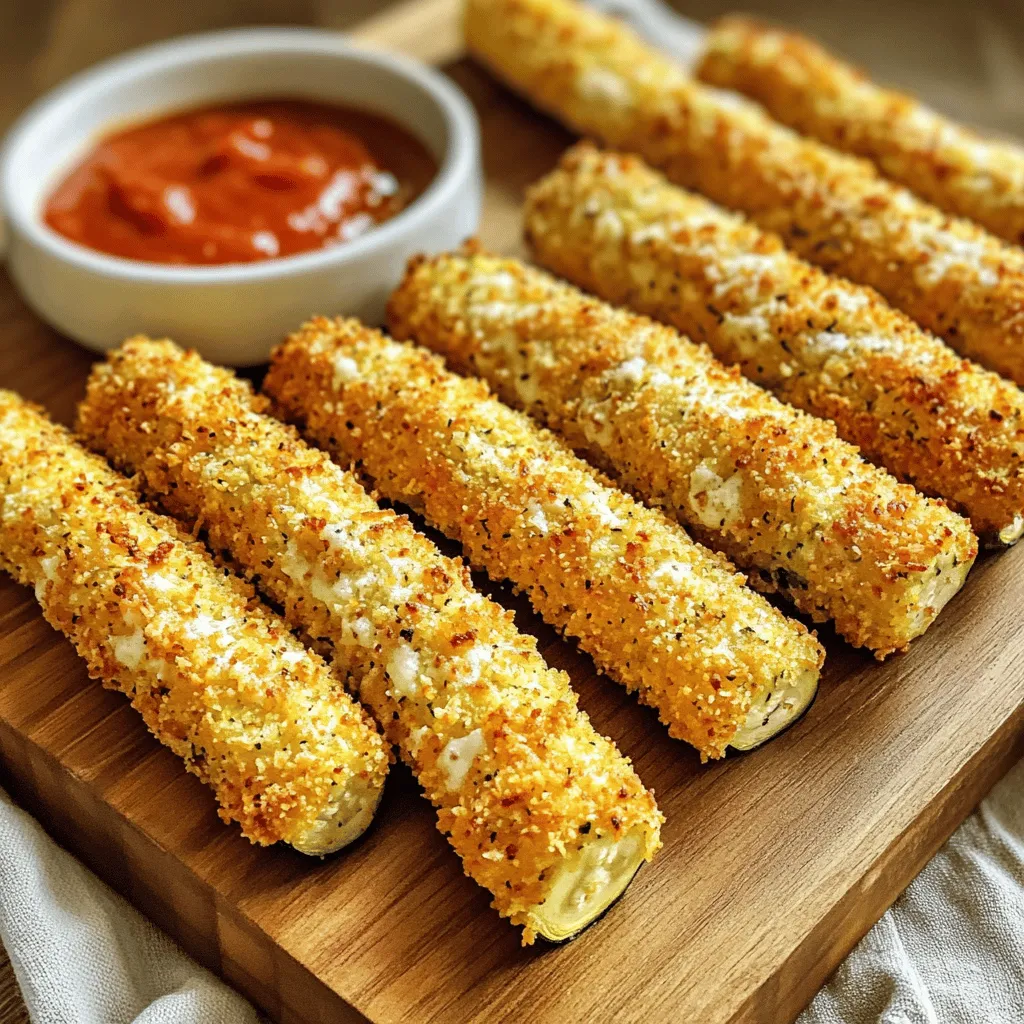
Are you ready to enjoy a tasty, healthy snack? My Savory Air Fryer Parmesan Zucchini Sticks recipe will be your new favorite! These crispy, cheesy sticks are a delight everyone …
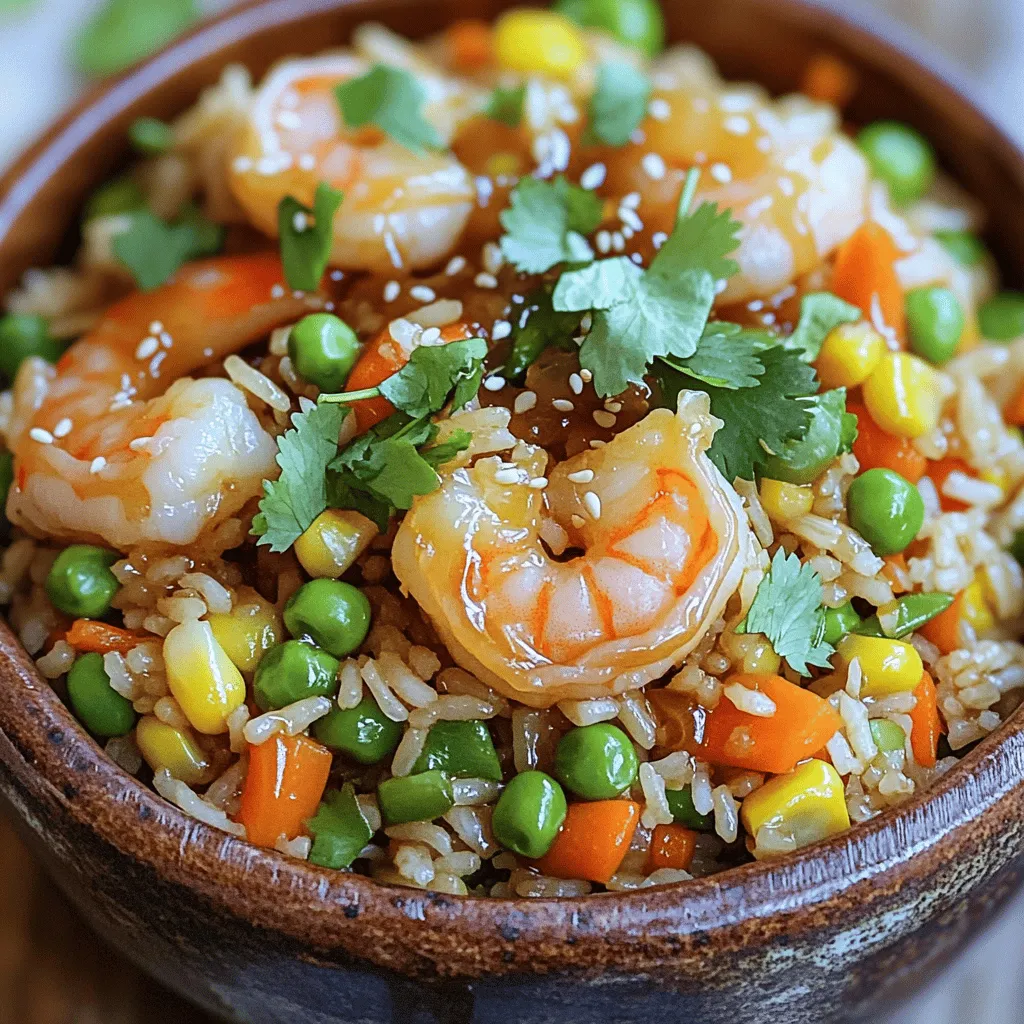
If you crave a meal that bursts with flavor and is quick to make, you’ll love this Honey Garlic Shrimp Fried Rice recipe. I’ll guide you through each step, from …
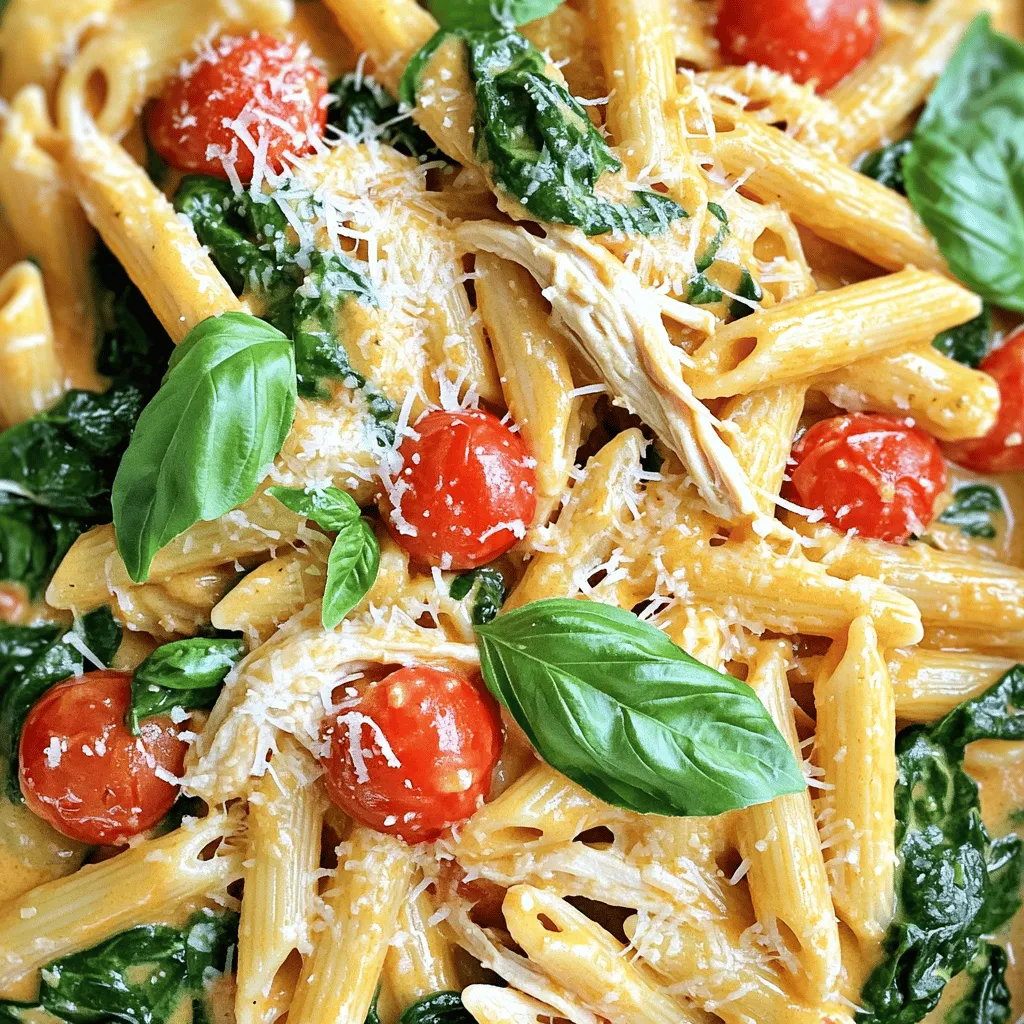
Craving a comforting meal that’s packed with flavor and super easy to make? Look no further! In this guide, I’ll show you how to whip up Slow Cooker Tuscan Chicken …