No-Bake Eggnog Cheesecake Bars Easy and Creamy Treat
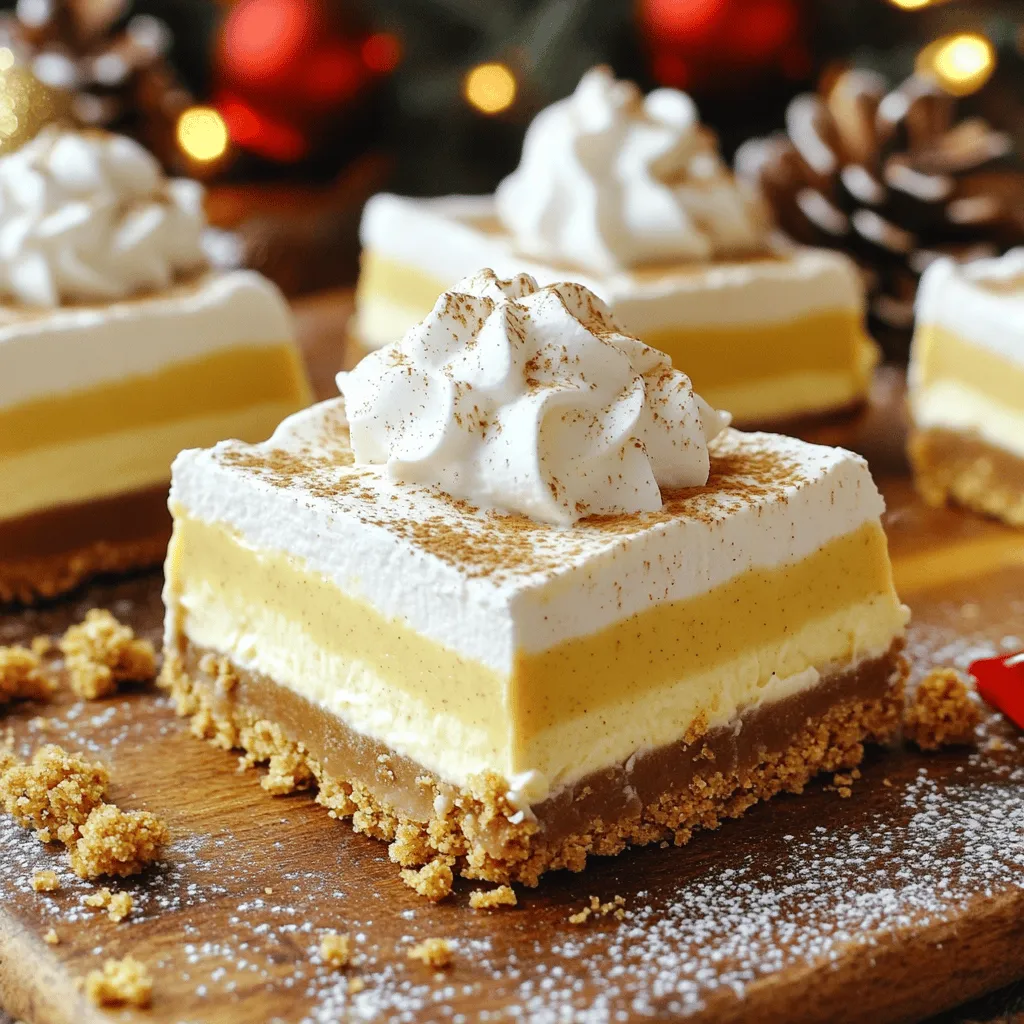
Get ready to delight your taste buds with my No-Bake Eggnog Cheesecake Bars! This easy recipe combines creamy cheesecake flavors with festive eggnog, making it perfect for holiday gatherings. You …