No-Bake White Chocolate Cranberry Oat Bars Delight
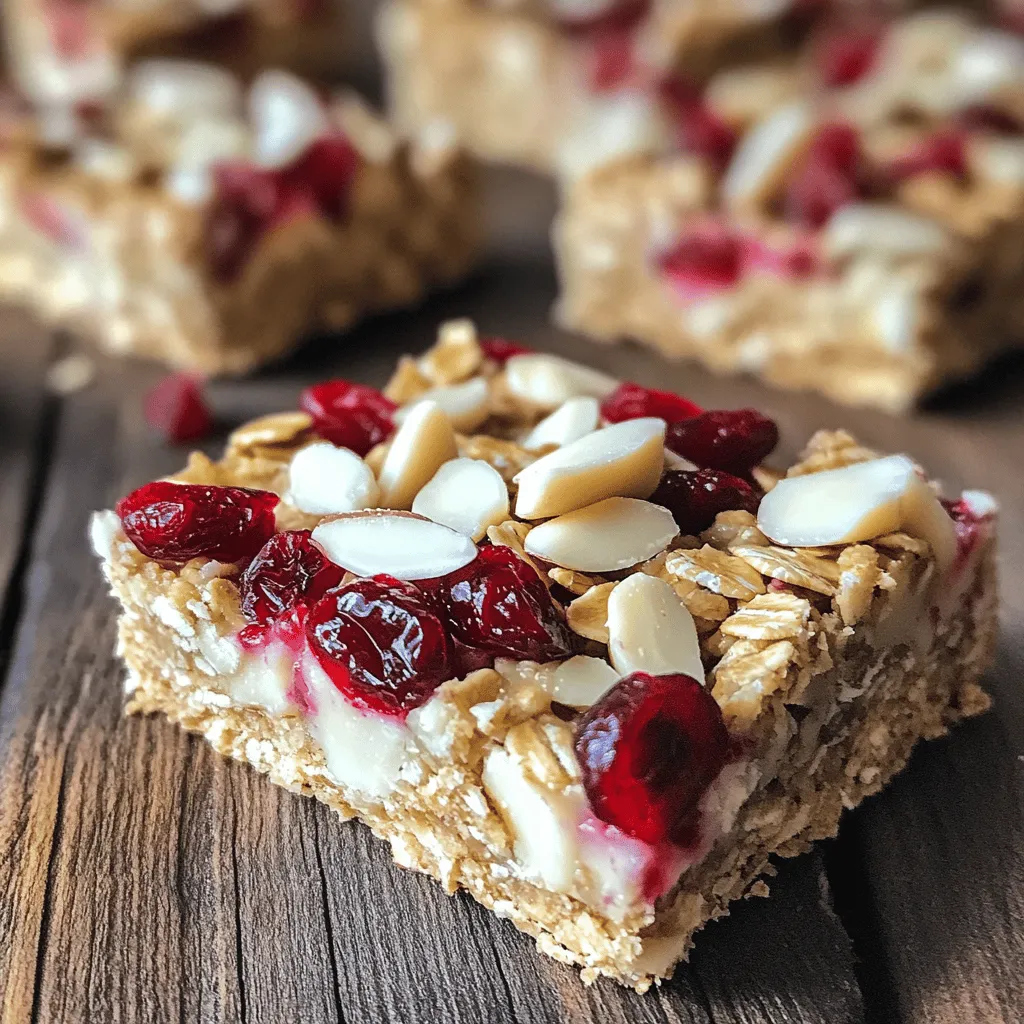
Looking for a sweet treat that’s both easy and delicious? These No-Bake White Chocolate Cranberry Oat Bars are the answer! Packed with wholesome oats, creamy almond butter, and a touch …