Warm Chocolate Peppermint Lava Cakes Irresistible Treat
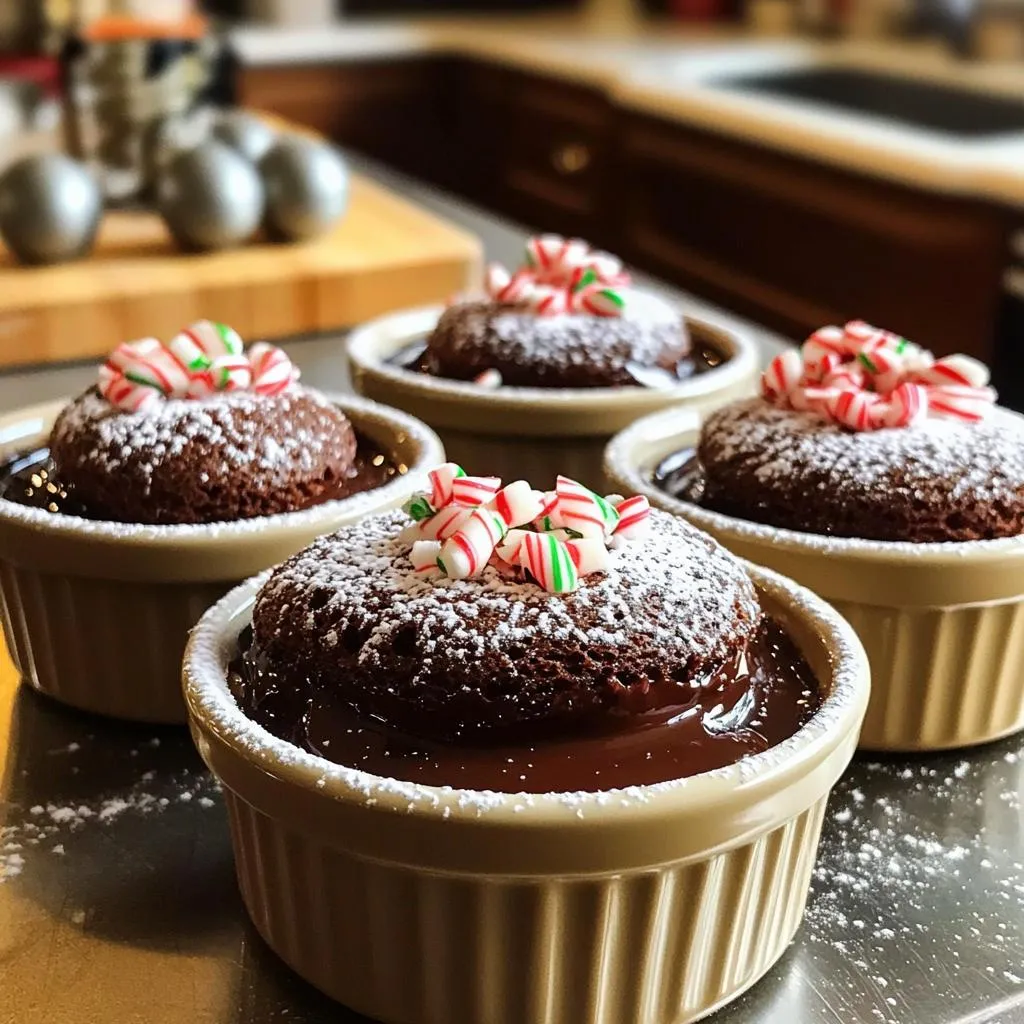
Looking for a dessert that warms your heart and soul? Try these Warm Chocolate Peppermint Lava Cakes! With a gooey center bursting with chocolate goodness, they’re a true holiday treat. …