Brown Sugar Pecan Pie Blondies Irresistible Treat
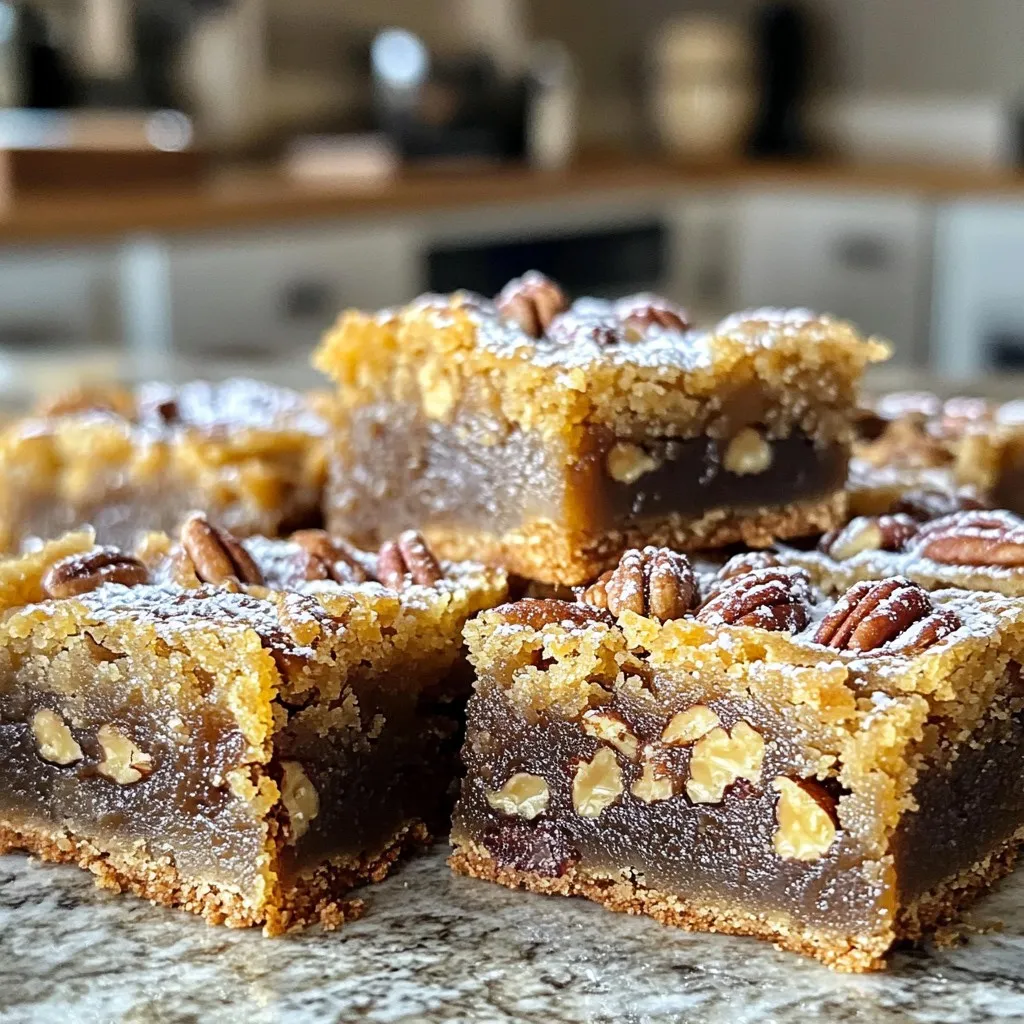
Get ready for a sweet treat that combines classic flavors with a twist! My Brown Sugar Pecan Pie Blondies will steal the show at any gathering. With rich brown sugar …
Get ready for a sweet treat that combines classic flavors with a twist! My Brown Sugar Pecan Pie Blondies will steal the show at any gathering. With rich brown sugar …

If you’re craving a simple yet delicious meal, my Creamy Tuscan Sun Dried Tomato Shrimp Skillet is a must-try! This dish blends juicy shrimp with sun-dried tomatoes, fresh spinach, and …

Are you ready to try a tasty snack that’s simple to make? Air Fryer Buffalo Cauliflower Bites bring bold flavor and crispy texture right to your kitchen. Using fresh ingredients …
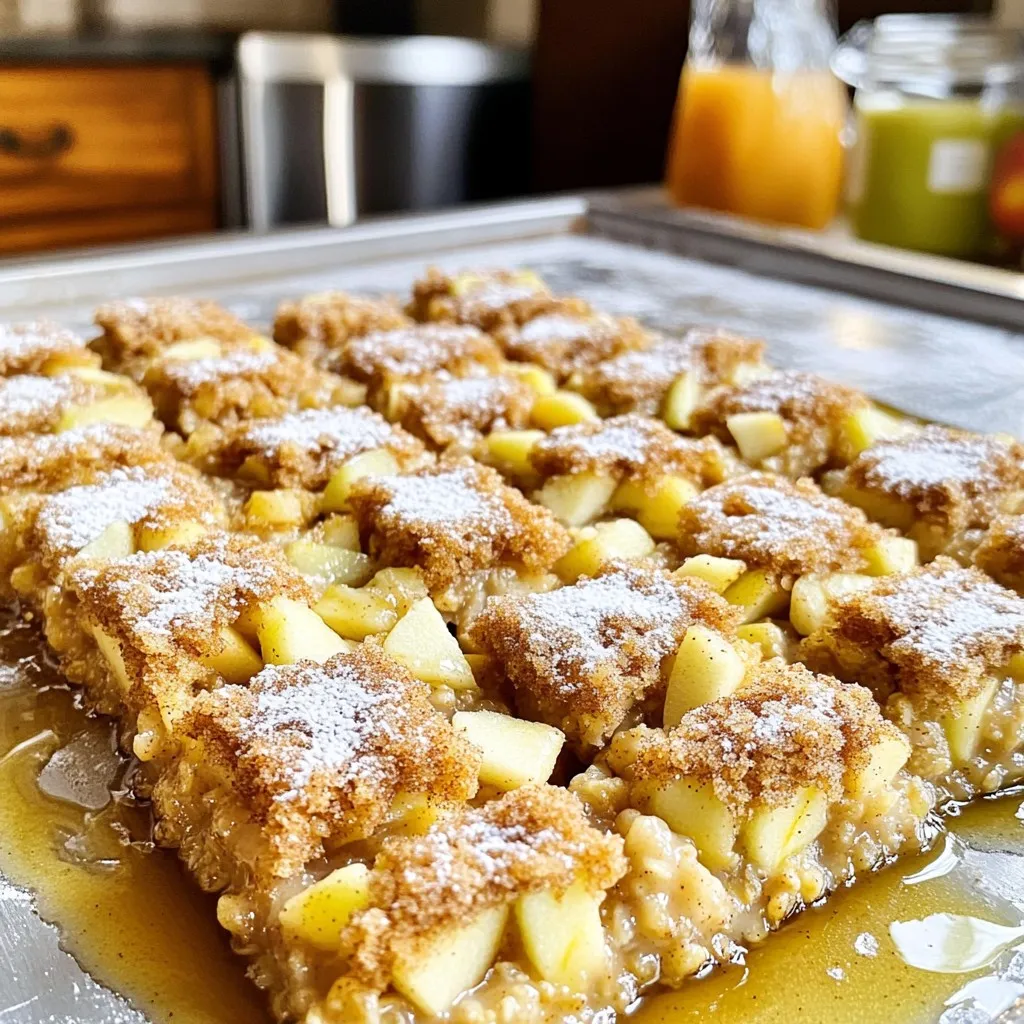
Get ready for a warm, cozy treat with my Apple Cider Doughnut Baked Oatmeal! This recipe combines sweet apple cider, spices, and oats into a delightful dish. Perfect for breakfast …

Craving a quick yet tasty meal? Look no further than Minute Sweet Chili Peanut Noodles! These noodles pack a punch with vibrant flavors and a simple sauce that anyone can …

If you’re ready to bake a treat that’s both tasty and good for you, you’re in the right place! These Lemon Poppy Seed Greek Yogurt Muffins are a delightful twist …
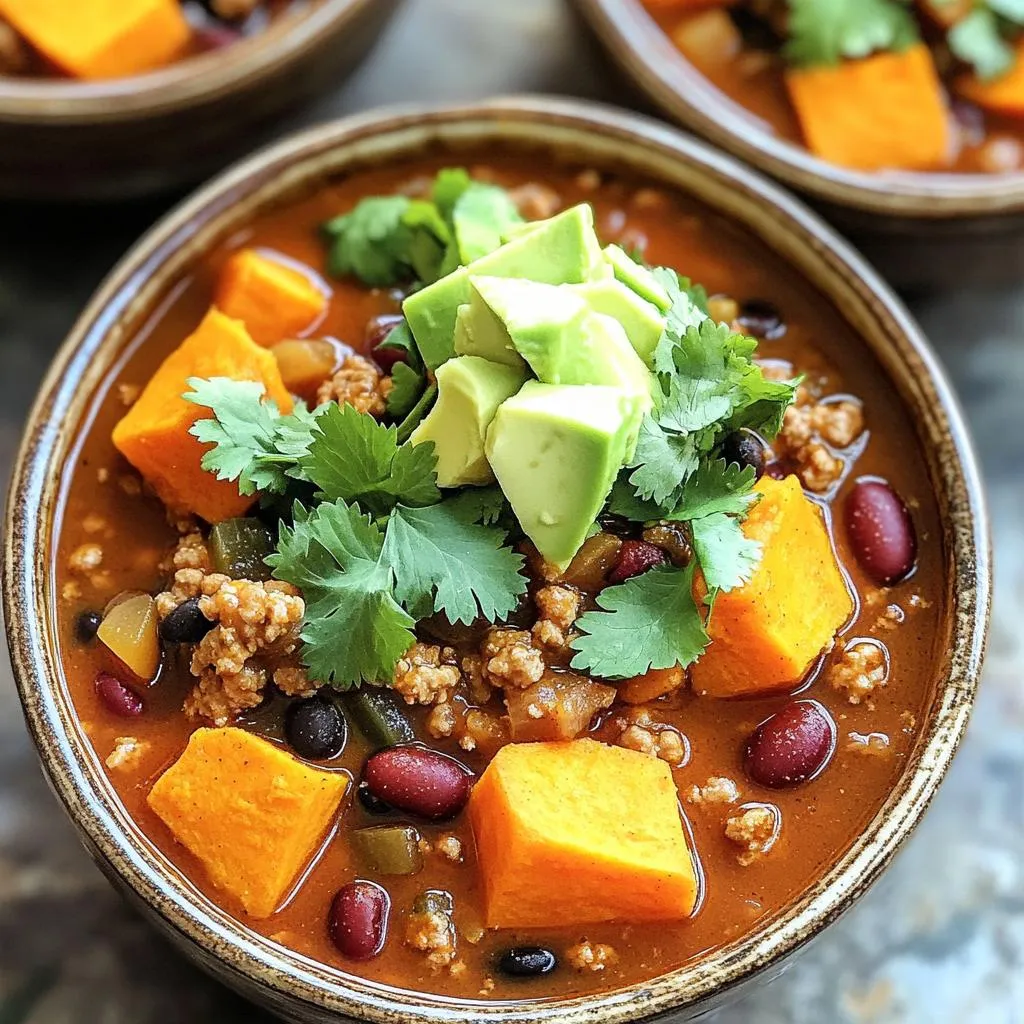
Want a hearty meal that warms your soul? This Slow Cooker Turkey Sweet Potato Chili is the answer! Packed with flavor and nutrients, it’s easy to make and perfect for …

Looking for a quick and delicious dish? Try my One-Pot Creamy Sun-Dried Tomato Tortellini Soup! It’s rich, comforting, and perfect for any night. With just a few simple ingredients, you …

Craving a quick meal that packs a spicy punch? Let me introduce you to Air Fryer Buffalo Chicken Taquitos! With just a few simple ingredients, you’ll whip up these crispy …

Are you ready to sip on something delicious and nutritious? I’ve crafted a Protein-Packed Gingerbread Cottage Cheese Smoothie that bursts with festive flavor and protein. With just a few key …