Spiced Caramel Latte Cupcakes Delightful Dessert Treat
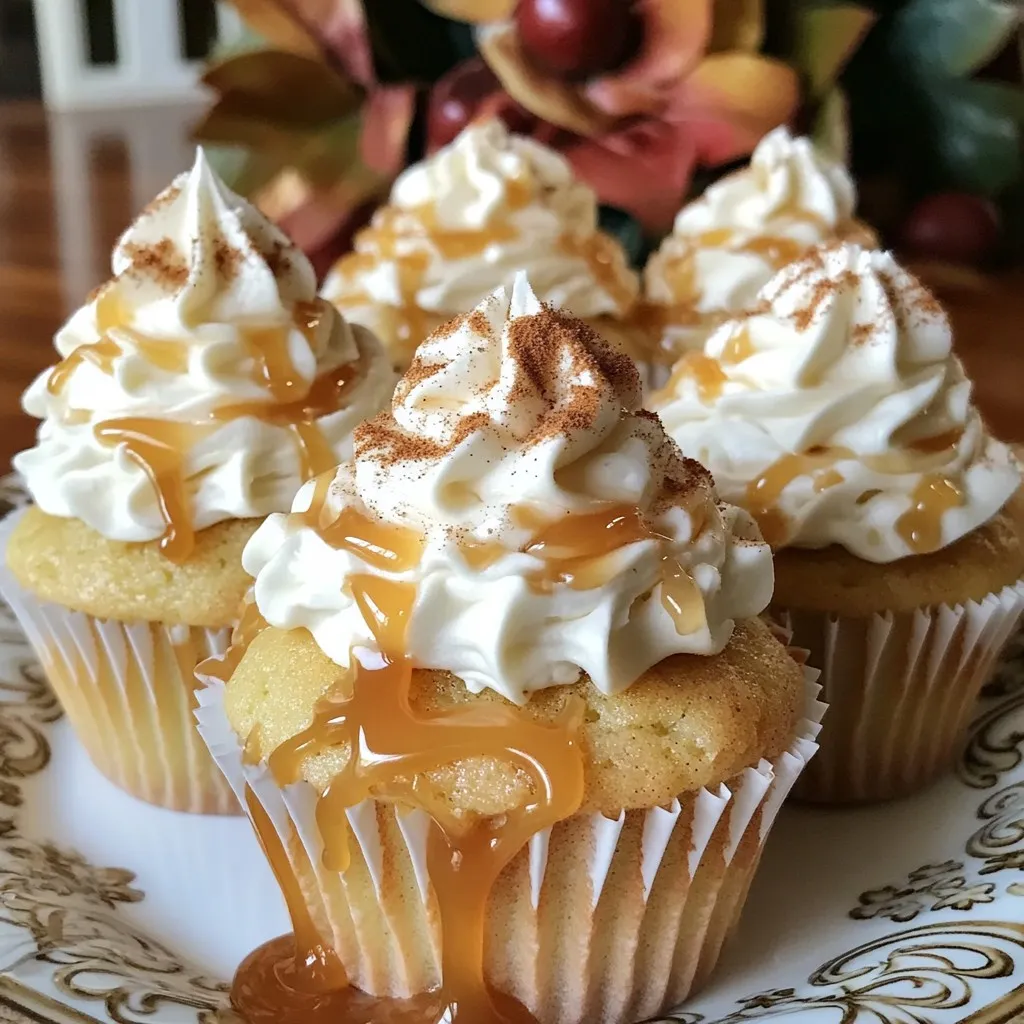
If you love the rich taste of coffee and warm spices, you’ll adore my Spiced Caramel Latte Cupcakes! These delightful treats combine the warmth of cinnamon and nutmeg with caramel’s …