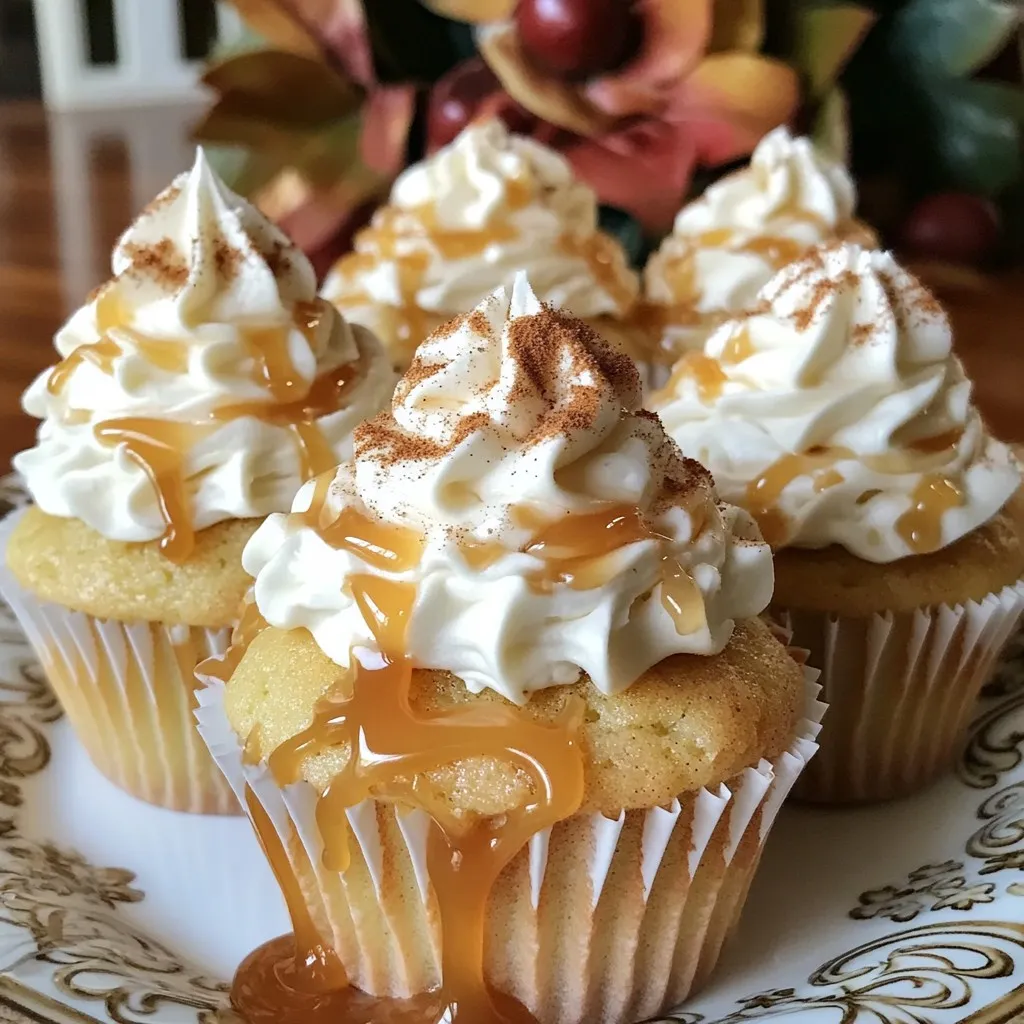
Spiced Caramel Apple Cupcakes with Buttercream Delight
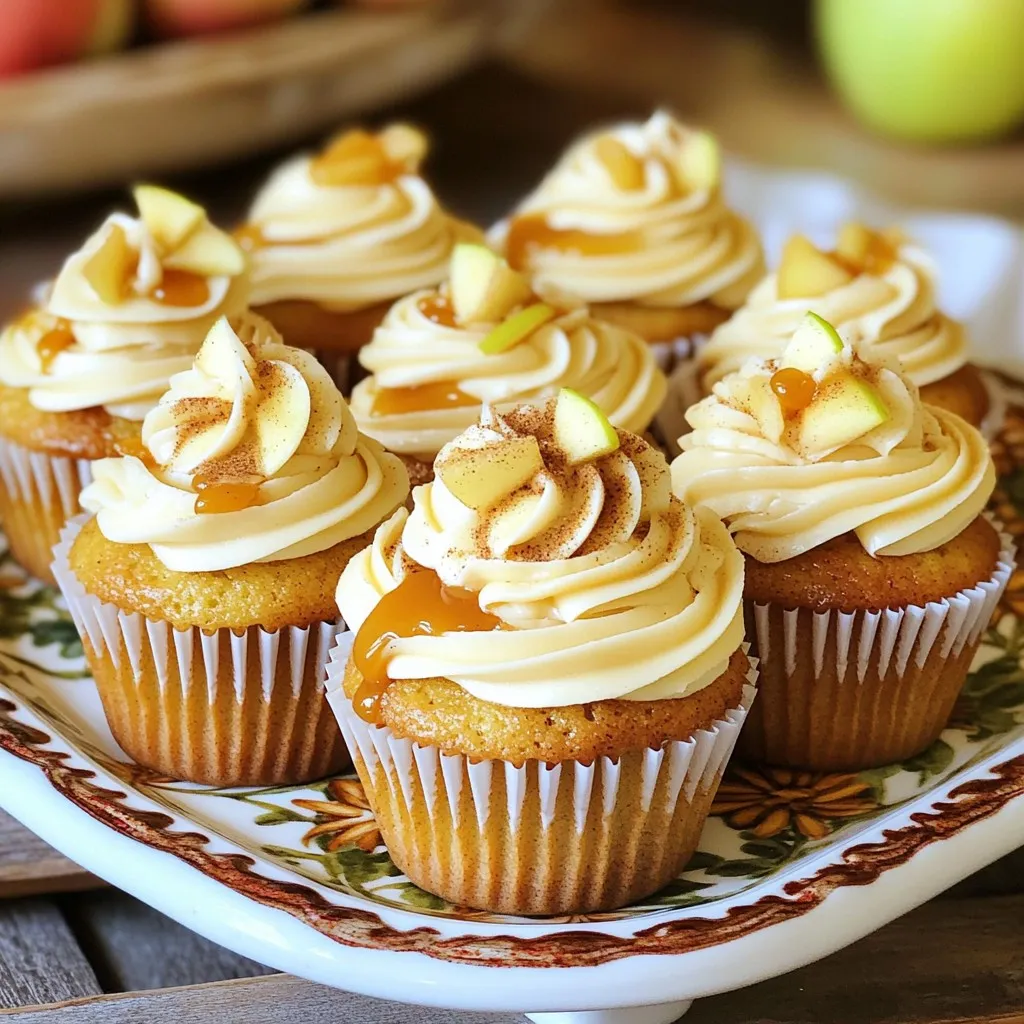
Get ready for a treat that blends fall flavors into each bite: Spiced Caramel Apple Cupcakes with Buttercream Delight! These soft, moist cupcakes are packed with warm spices and topped …