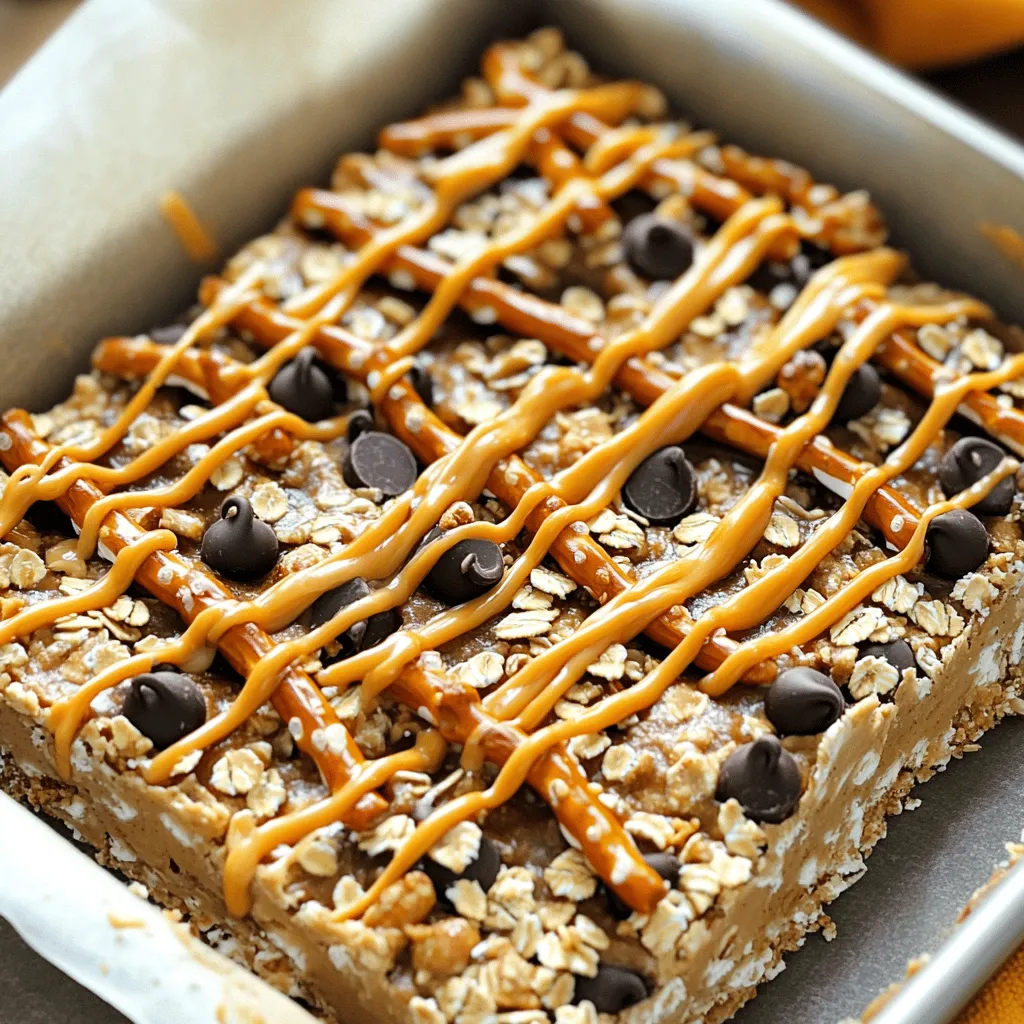
Are you ready for a sweet treat that’s simple to make? These No-Bake Peanut Butter Pretzel Bars combine salty and sweet for a tasty snack everyone loves. You’ll need just a few easy ingredients to whip up this quick recipe. No baking required! Get ready to impress your family and friends with a delicious dessert that’s perfect for any occasion. Let’s dive into the details!
Ingredients
Essential Ingredients for No-Bake Peanut Butter Pretzel Bars
To make these no-bake peanut butter pretzel bars, you will need:
– 1 ½ cups crushed pretzels
– 1 cup peanut butter
– ½ cup honey or maple syrup
– 2 cups rolled oats
– 1 cup chocolate chips
– ½ teaspoon salt
– ½ teaspoon vanilla extract
– ¼ cup mini chocolate chips for topping (optional)
These ingredients create a perfect mix of sweet and salty. The pretzels add crunch, while the peanut butter binds everything together.
Suggested Variations
You can easily switch things up! Use almond or cashew butter instead of peanut butter. Try agave syrup or brown sugar for different sweetness. For a nut-free version, sunflower seed butter works great.
Optional Toppings for Extra Flavor
Want to add a bit more flair? Sprinkle some sea salt on top for a salty kick. You can also drizzle melted chocolate or caramel over the bars. Chopped nuts or dried fruit can give extra texture and taste.
Step-by-Step Instructions
Preparing the Pretzel and Oat Mixture
Start by crushing 1 ½ cups of pretzels. You can use a rolling pin or your hands to do this. Place the crushed pretzels in a large bowl. Next, add 2 cups of rolled oats to the bowl. Mix them well with a spoon. This blend creates a crunchy base for your bars.
Making the Peanut Butter Mixture
In a small saucepan, combine 1 cup of peanut butter, ½ cup of honey or maple syrup, ½ teaspoon of salt, and ½ teaspoon of vanilla extract. Heat this over low flame. Stir the mix often until it is smooth. Avoid boiling it. This mixture gives your bars a sweet and nutty flavor.
Assembling and Setting the Bars
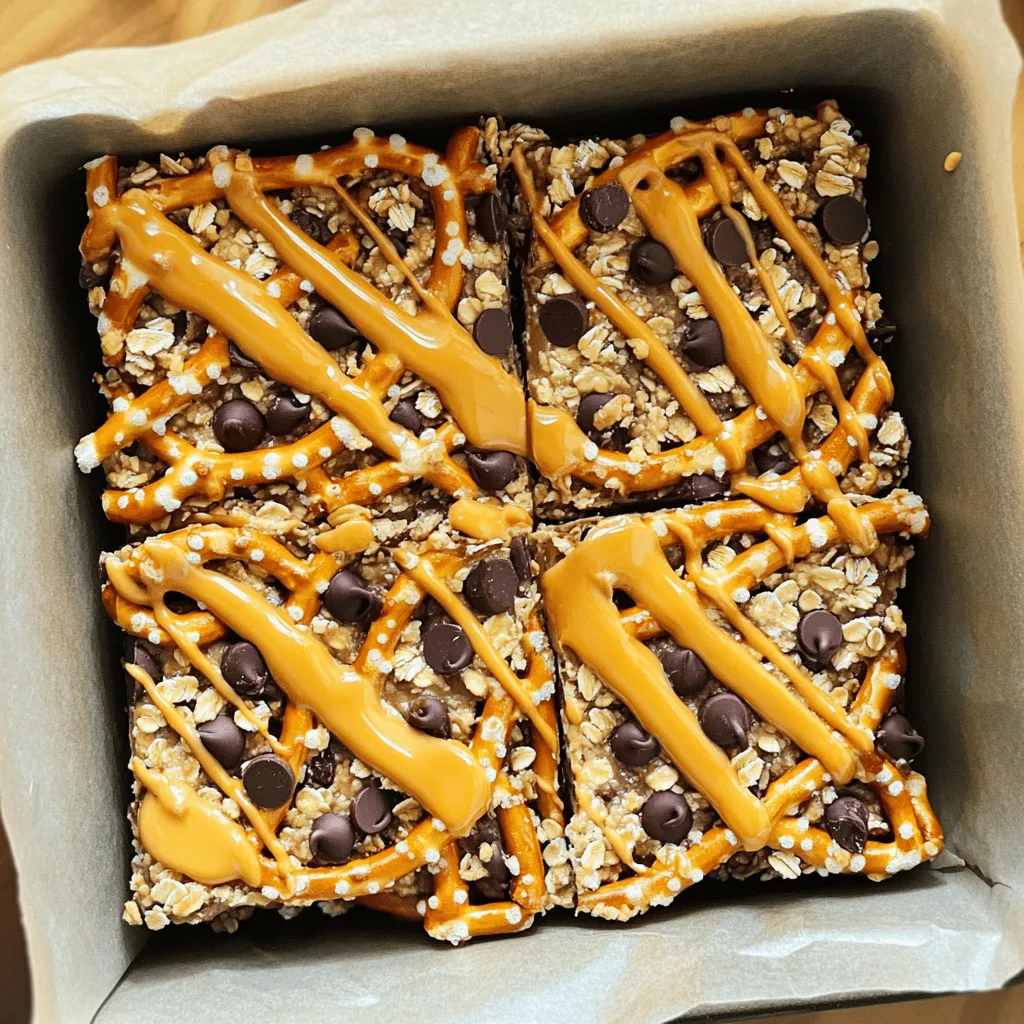
Once your peanut butter mix is ready, pour it over the pretzel and oat mixture. Stir well until everything is coated. Next, gently fold in 1 cup of chocolate chips. Line an 8×8 inch baking pan with parchment paper. Pour the mixture into the pan and press it down firmly. If you want, sprinkle ¼ cup of mini chocolate chips on top. Press them in lightly. Place the pan in the fridge for at least 2 hours. This helps the bars firm up. After they set, lift them out and cut them into squares. Enjoy your tasty treat!
Tips & Tricks
Best Practices for Mixing
Mixing is key to great bars. Start with dry ingredients. Combine crushed pretzels and oats first. This helps them mix well. Then, warm the peanut butter mix in a saucepan. Stir it until smooth. Pour this over the dry mix. This ensures even coating. Use a spatula to fold in the chocolate chips last. This keeps them from breaking.
How to Choose the Right Peanut Butter
Peanut butter adds flavor and texture. You can choose creamy or crunchy. Creamy peanut butter gives a smooth bite. Crunchy peanut butter adds a fun crunch. Look for natural options with no added sugars or oils. This choice boosts the bars’ taste and health.
Serving Suggestions for Maximum Enjoyment
Serve these bars chilled for the best taste. Cut them into fun shapes for kids. Pair them with a glass of cold milk. This makes a tasty snack or dessert. You can also wrap them individually for on-the-go treats. These bars are fun to share at parties or picnics!
Variations
Gluten-Free Adaptation
You can make these bars gluten-free by using gluten-free pretzels. Many brands offer great options that taste just as good. Check the label to ensure they are certified gluten-free. You can also swap out the oats for gluten-free rolled oats. This simple change keeps your bars tasty and safe for those with gluten issues.
Vegan Ingredients Substitutions
To make these bars vegan, use maple syrup instead of honey. Maple syrup is a great sweetener that works well in this recipe. For the chocolate chips, look for vegan chocolate chips. They taste amazing and keep the bars plant-based. Using these swaps makes the bars suitable for everyone!
Flavor Additions
You can jazz up your bars with some fun flavors! Try adding a pinch of cinnamon for warmth. You might also enjoy a dash of sea salt on top for a sweet-salty mix. If you want, mix in nuts or seeds for extra crunch. Dried fruit can also add sweetness and chewiness. Get creative and make these bars your own!
Storage Info
Best Ways to Store No-Bake Bars
To keep your no-bake peanut butter pretzel bars fresh, store them in an airtight container. You can layer the bars with parchment paper to prevent them from sticking together. Place the container in the fridge. This way, they stay cool and firm.
Shelf Life and Freezing Options
These bars last about one week in the fridge. If you want them to last longer, try freezing them. Wrap each bar tightly in plastic wrap. Then, place them in a freezer-safe bag. They can stay in the freezer for up to three months. When you want to eat one, thaw it in the fridge overnight.
Reheating Tips for Enjoyment
These bars are best enjoyed cold or at room temperature. If you prefer them warm, you can microwave a bar for about ten seconds. This will soften the chocolate and make it gooey. Just be careful not to overheat, as they can lose their shape. Enjoy every bite!
FAQs
Can I use other types of nuts in this recipe?
Yes, you can use other nuts! Almonds, walnuts, or cashews work well. Just chop them up small. This adds different flavors and textures. If you like crunch, choose nuts that are roasted. You can even mix nuts for more variety. Just keep in mind that each nut has a unique taste. Experiment to find your favorite blend!
How to prevent the bars from being too sticky?
To keep your bars from sticking, use less peanut butter or honey. Try adding more oats to the mix. This extra bulk helps absorb moisture. Make sure to press the mixture firmly into the pan. A well-packed layer reduces stickiness. You can also chill the bars longer. The colder they are, the firmer they will be!
Can these bars be made ahead of time for events?
Yes, these bars are great for making ahead! You can prepare them up to a week in advance. Just store them in the fridge. Cut them into bars only when you are ready to serve. This keeps them fresh and tasty. Wrap them in plastic or keep them in an airtight container to prevent drying out.
In this post, I shared how to make tasty no-bake peanut butter pretzel bars. We covered key ingredients, simple steps, and useful tips to enhance your bars. You can even try different flavors and toppings to suit your taste.
These bars are easy to make and fun to enjoy. Experiment with variations and find what you love best. With the right storage, they stay fresh and delicious. Enjoy creating your perfect treat!
