Craving a dessert that combines creamy cheesecake and warm spiced apples? You’re in the right place! Our Creamy Apple Crumble Cheesecake is the perfect treat for any occasion. With a crunchy crumble topping and a rich filling, you’ll impress your friends and family. Let me guide you through this delightful recipe step-by-step, ensuring you create a dessert that’s as fun to make as it is to eat!
Ingredients
To make the creamy apple crumble cheesecake, gather these ingredients:
– 1 ½ cups graham cracker crumbs
– ½ cup unsalted butter, melted
– 1 tablespoon granulated sugar
– 2 cups cream cheese, softened
– 1 cup granulated sugar
– 3 large eggs
– 1 teaspoon vanilla extract
– ½ cup sour cream
– 2 cups apples, peeled and diced
– 1 teaspoon ground cinnamon
– ½ teaspoon ground nutmeg
– ½ cup rolled oats
– ¼ cup packed brown sugar
– ¼ cup all-purpose flour
– Pinch of salt
These simple ingredients bring together the rich, creamy cheesecake and the delightful crumble. The graham cracker crumbs form a crisp base. The melted butter binds them, adding richness. Cream cheese is the star here, giving the cheesecake its creamy texture. Eggs help set the cheesecake while vanilla and sour cream add depth.
The apples bring a fresh, fruity flavor, enhanced by cinnamon and nutmeg. For the crumble, rolled oats, brown sugar, flour, and a pinch of salt create a crunchy topping. Each ingredient plays a key role in making this dessert a hit.
Step-by-Step Instructions
Preheat and Prepare the Crust
First, preheat your oven to 325°F (163°C). This is the perfect temperature for baking our cheesecake. Next, take a 9-inch springform pan and lightly grease it with cooking spray. This step helps to prevent the cheesecake from sticking. In a medium mixing bowl, mix 1 ½ cups of graham cracker crumbs, ½ cup of melted unsalted butter, and 1 tablespoon of granulated sugar. Stir until it resembles wet sand. Then, press this mixture evenly into the bottom of the pan. Bake for 10 minutes and let it cool completely.
Prepare the Cheesecake Filling
Now, let’s make the filling. In a large mixing bowl, beat 2 cups of softened cream cheese with an electric mixer. Keep mixing until it’s smooth and creamy. Gradually add 1 cup of granulated sugar. Mix until it’s fluffy. Then, add 3 large eggs one at a time, mixing on low speed after each addition. Stir in 1 teaspoon of vanilla extract and ½ cup of sour cream. Mix until everything is silky smooth.
Combine Apples and Assemble
Time to add some apples! In a separate bowl, mix 2 cups of diced apples with 1 teaspoon of ground cinnamon and ½ teaspoon of ground nutmeg. This gives the apples a nice warm flavor. Gently fold the spiced apples into the cheesecake batter. Make sure they are evenly mixed in. Then, pour the cheesecake mixture over the cooled graham cracker crust. Use a spatula to spread it evenly.
Make the Crumble Topping
Let’s create the crumble topping! In another bowl, mix ½ cup of rolled oats, ¼ cup of packed brown sugar, ¼ cup of all-purpose flour, and a pinch of salt. Stir until it’s well combined. Evenly sprinkle this topping over the cheesecake layer. This will add a nice crunch.
Baking and Cooling
Bake the cheesecake in the preheated oven for 55 to 65 minutes. The center should be set but still jiggle slightly when shaken. Once baked, remove it from the oven and let it cool on a wire rack for at least 1 hour. This cooling step is important for the texture.
Chilling and Serving
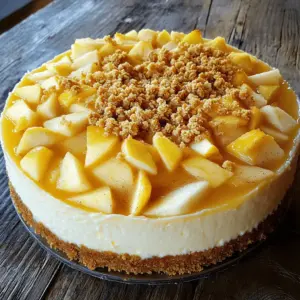
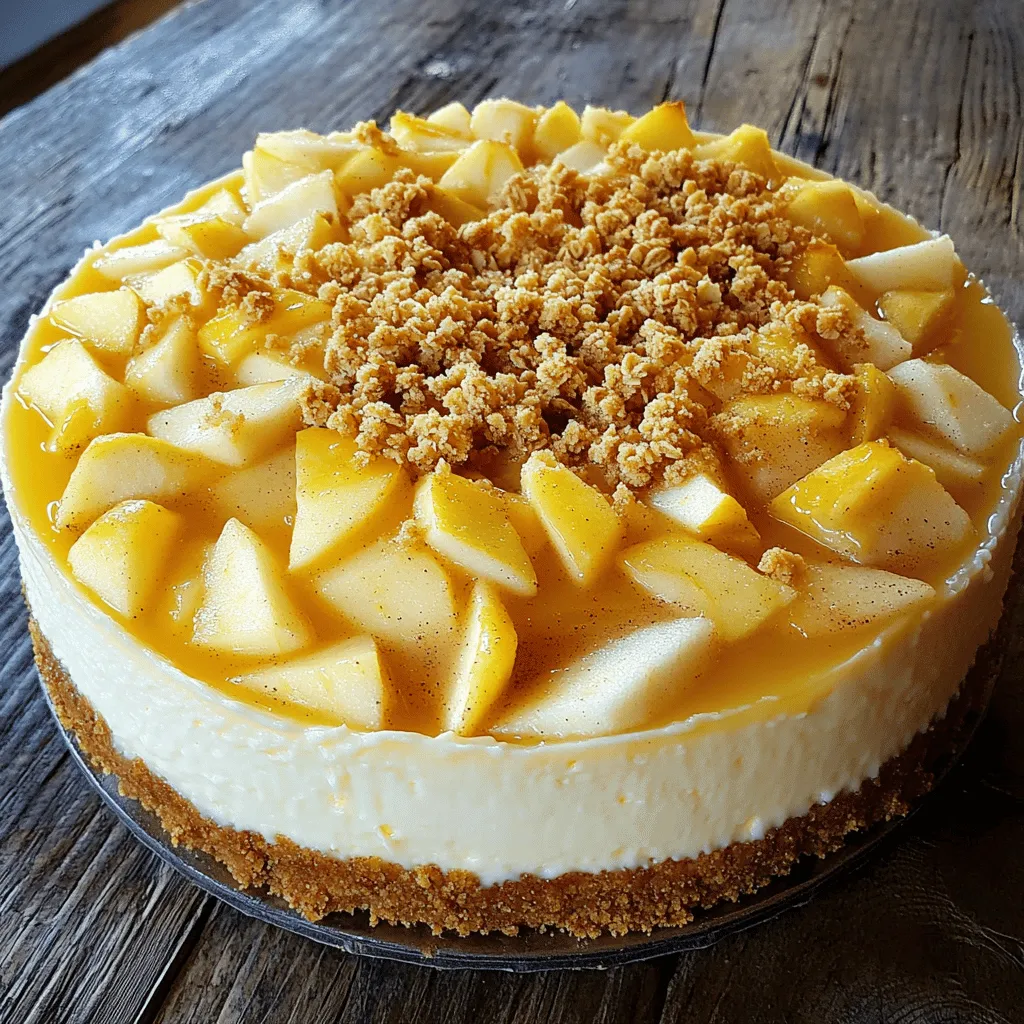
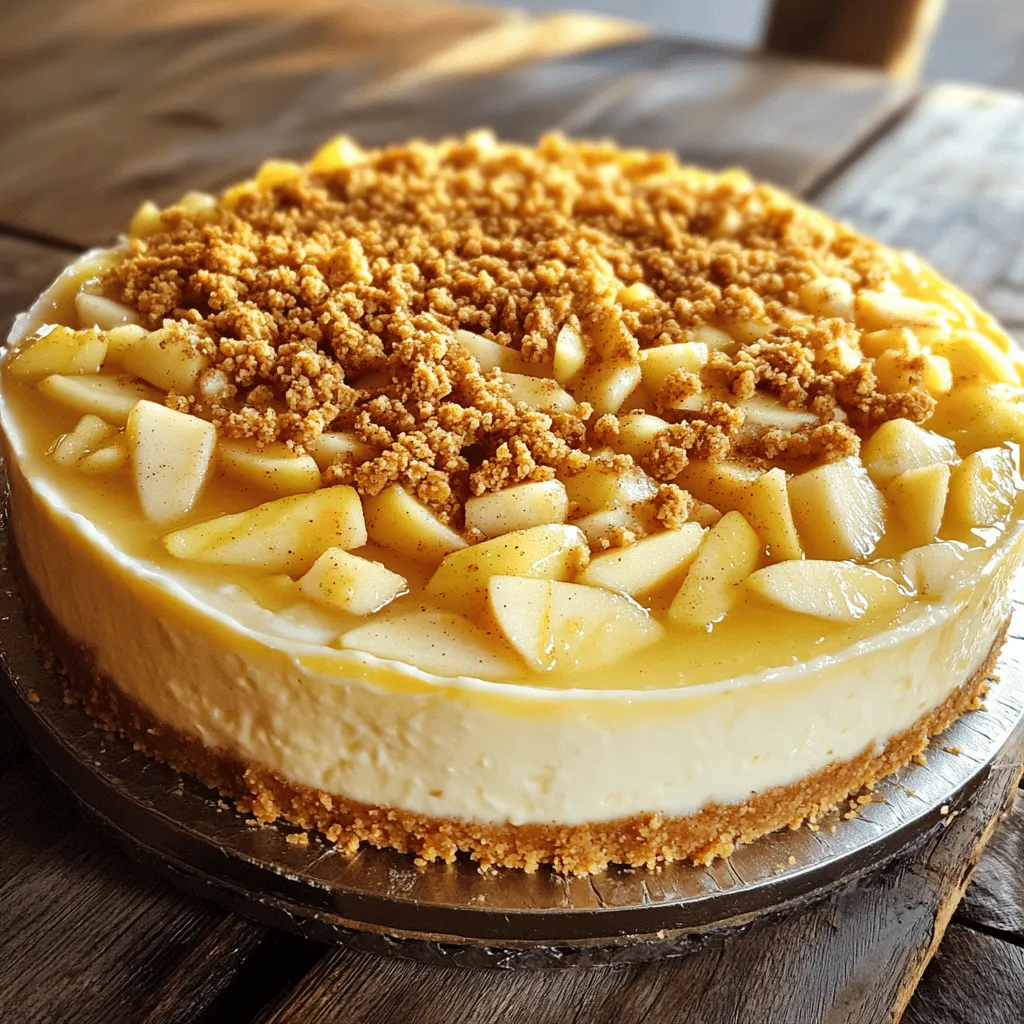
After cooling, transfer the cheesecake to the refrigerator. Chill for at least 4 hours, but overnight is best. This helps the flavors meld and sets the cheesecake. When ready to serve, carefully take off the sides of the springform pan. Slice the cheesecake into 10 even pieces. For a pretty touch, sprinkle some cinnamon on each slice and add a few thin apple slices on the side. Enjoy your creamy apple crumble cheesecake!
Tips & Tricks
Perfecting the Cheesecake Texture
To make your cheesecake smooth, beat the cream cheese well. Start with softened cream cheese for the best results. Mix until creamy, then add sugar slowly. This helps avoid lumps. When you add eggs, mix each one in just until combined. This keeps air from getting in and makes cracks less likely. Bake your cheesecake at a low temperature. A gentle bake helps it cook evenly, reducing cracks.
Customizing Flavors
You can make your cheesecake special by adding spices. Try mixing in a bit of ginger or cardamom for a unique twist. If you want to change the fruit, go for berries or pears. Just remember to adjust the spices to match the fruit you choose. This way, you can create your own flavor masterpiece!
Serving Recommendations
When you serve your cheesecake, think about garnishes. A sprinkle of cinnamon adds a nice touch. Thin apple slices on the side make it look fresh and pretty. For drinks, pair it with a warm cup of tea or a sweet cider. These choices enhance the flavors and make each bite more enjoyable.
Variations
Mini Cheesecake Versions
You can make mini cheesecakes using muffin tins. This method is fun and perfect for parties. Simply line the muffin tin with cupcake liners. Prepare the crust as usual and press it into each liner. Adjust the bake time to about 20 to 25 minutes. They are done when the center is just set. Let them cool, then chill before serving.
Gluten-Free Options
For a gluten-free version, substitute the graham cracker crumbs. You can use almond flour or gluten-free cookie crumbs instead. These options add nice flavor and texture. When making the crumble topping, use a gluten-free flour alternative like coconut flour. This way, everyone can enjoy the dessert!
Vegan Adaptations
Want a vegan cheesecake? Use plant-based ingredients. For the cream cheese, try cashew cream or a store-bought vegan cream cheese. Replace the eggs with flaxseed meal mixed with water. Use 1 tablespoon of flaxseed meal and 2.5 tablespoons of water for each egg. Adjust baking techniques by lowering the temperature to 300°F (150°C) and baking slightly longer. This helps achieve a creamy texture without dairy!
Storage Info
Refrigeration Guidelines
To store leftovers, place the cheesecake in an airtight container. This helps keep it fresh. You can also cover it tightly with plastic wrap. It’s best to chill the cheesecake for at least four hours before serving. But if you have time, letting it chill overnight is even better.
Freezing Instructions
If you want to freeze the cheesecake, first let it cool completely. Then, slice it into pieces. Wrap each slice in plastic wrap. Place the wrapped slices in a freezer-safe bag or container. This way, you can enjoy them later without losing flavor. When you want to eat a slice, take it out and let it thaw in the fridge. This usually takes a few hours.
Shelf Life
In the fridge, the cheesecake lasts about five days. Look for signs of spoilage, like an off smell or a change in texture. If the cheesecake feels slimy or dry, it’s best to throw it away. Enjoy this delicious dessert while it’s still fresh!
FAQs
What can I use instead of cream cheese?
You can use Greek yogurt or ricotta cheese. These options provide a creamy texture. You might also try mascarpone for a richer flavor. Just remember, the taste may slightly change.
Can I make this cheesecake ahead of time?
Yes, you can make this cheesecake a day or two in advance. It actually tastes better after chilling. Just cover it well and keep it in the fridge until you are ready to serve.
Why is my cheesecake cracking?
Cracking happens for a few reasons. The oven may be too hot, or you might have overmixed the batter. To prevent this, bake at a lower temperature and mix gently. Also, cool it slowly in the oven after baking.
Can I use a different fruit?
Absolutely! Pears or peaches work well too. You can even use berries for a fun twist. Just make sure to adjust the spices to suit the fruit you choose.
How do I know when the cheesecake is done?
The cheesecake is done when it has a slight jiggle in the center. It should not be liquidy. You can also check if the edges are set and slightly puffed.
This blog shared all the steps to make a tasty apple cheesecake. You learned about the ingredients, how to prepare the crust and filling, and tips for the best texture. Variations like mini versions and vegan options give you more choices.
Follow the tips for storage and serving suggestions to enjoy your cheesecake longer. I hope you feel ready to bake this delicious treat. Just remember, practice makes perfect! Happy baking!