If you’re craving a meal that’s both tasty and filling, look no further than the grilled cheese burrito! This delicious fusion combines the beloved comfort of a cheesy grilled sandwich with the fun of a burrito. In this post, I’ll guide you through the simple ingredients, easy steps, and lots of tips to make your own at home. Get ready for a satisfying dish that’s perfect for any time of day!
Ingredients
Full Recipe Overview
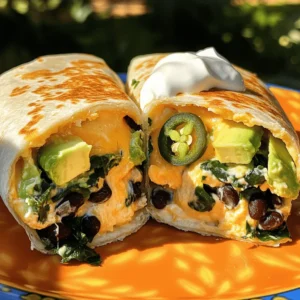
The Grilled Cheese Burrito is a fun twist on two classic comfort foods. It combines the gooey goodness of grilled cheese with the satisfying bite of a burrito. You can whip it up in just 20 minutes. This dish has a crispy outside and a cheesy, flavorful inside. It’s perfect for lunch or a quick dinner.
List of Ingredients
– 2 large flour tortillas
– 1 cup shredded sharp cheddar cheese
– 1 cup shredded Monterey Jack cheese
– 1 large ripe avocado, sliced
– 1 small jalapeño, thinly sliced (optional for a kick)
– 1/2 cup black beans, drained and rinsed
– 1/2 cup fresh baby spinach
– 2 tablespoons unsalted butter
– Salt and freshly ground black pepper to taste
Nutritional Information per Serving
Each serving of the Grilled Cheese Burrito offers a good balance of nutrients. Here’s a breakdown:
– Calories: 500
– Protein: 20g
– Carbohydrates: 45g
– Fat: 28g
– Fiber: 8g
This meal is rich in cheese and healthy fats from the avocado. It also packs fiber from beans and spinach. Enjoying this burrito means indulging while still getting some good nutrients.
Step-by-Step Instructions
Preparation for Cooking
Start by gathering your ingredients. You need two large flour tortillas, one cup of sharp cheddar cheese, and one cup of Monterey Jack cheese. Add a ripe avocado, a jalapeño (if you like spice), half a cup of black beans, and half a cup of fresh baby spinach. Don’t forget the butter, salt, and pepper!
Next, preheat your non-stick skillet over medium heat. This step is key for a crispy burrito. While it heats, mix your shredded cheeses in a bowl. You want them blended well for an even, cheesy filling.
Cooking the Grilled Cheese Burrito
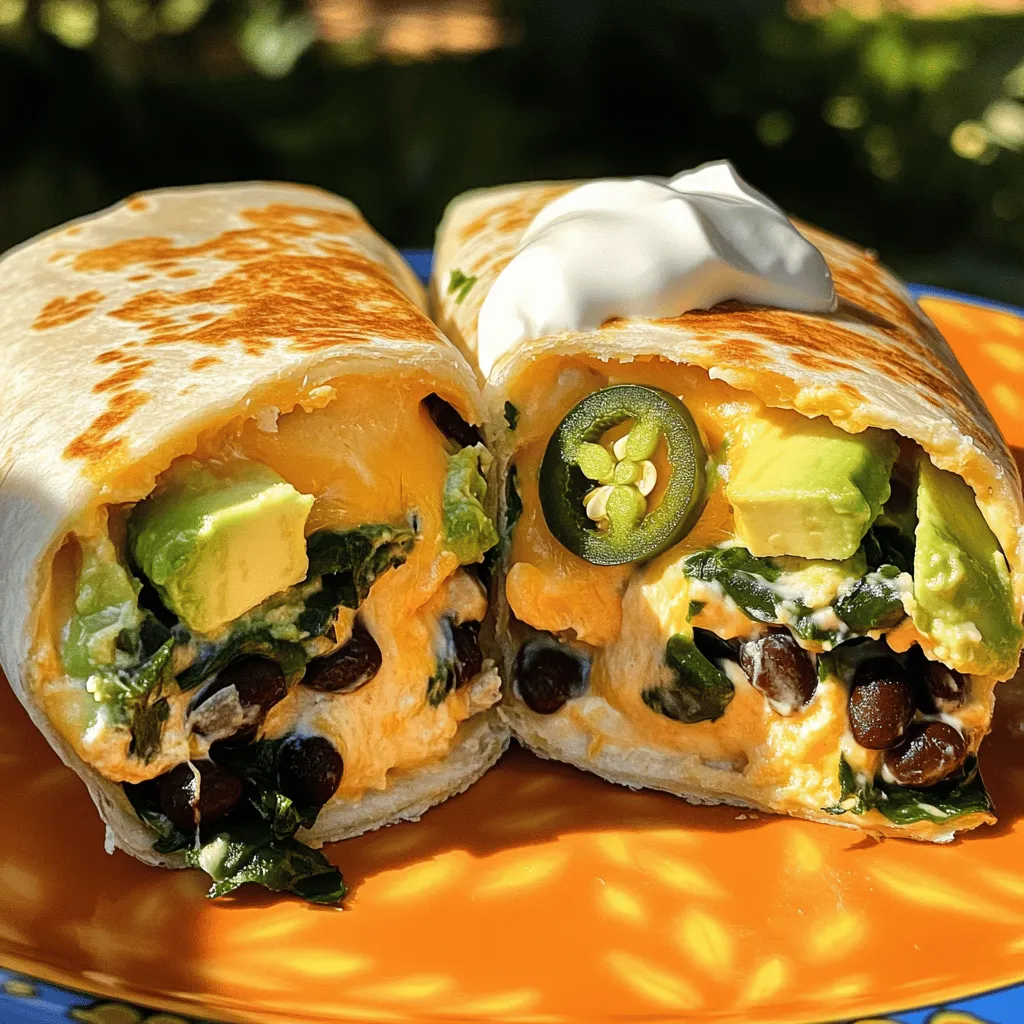
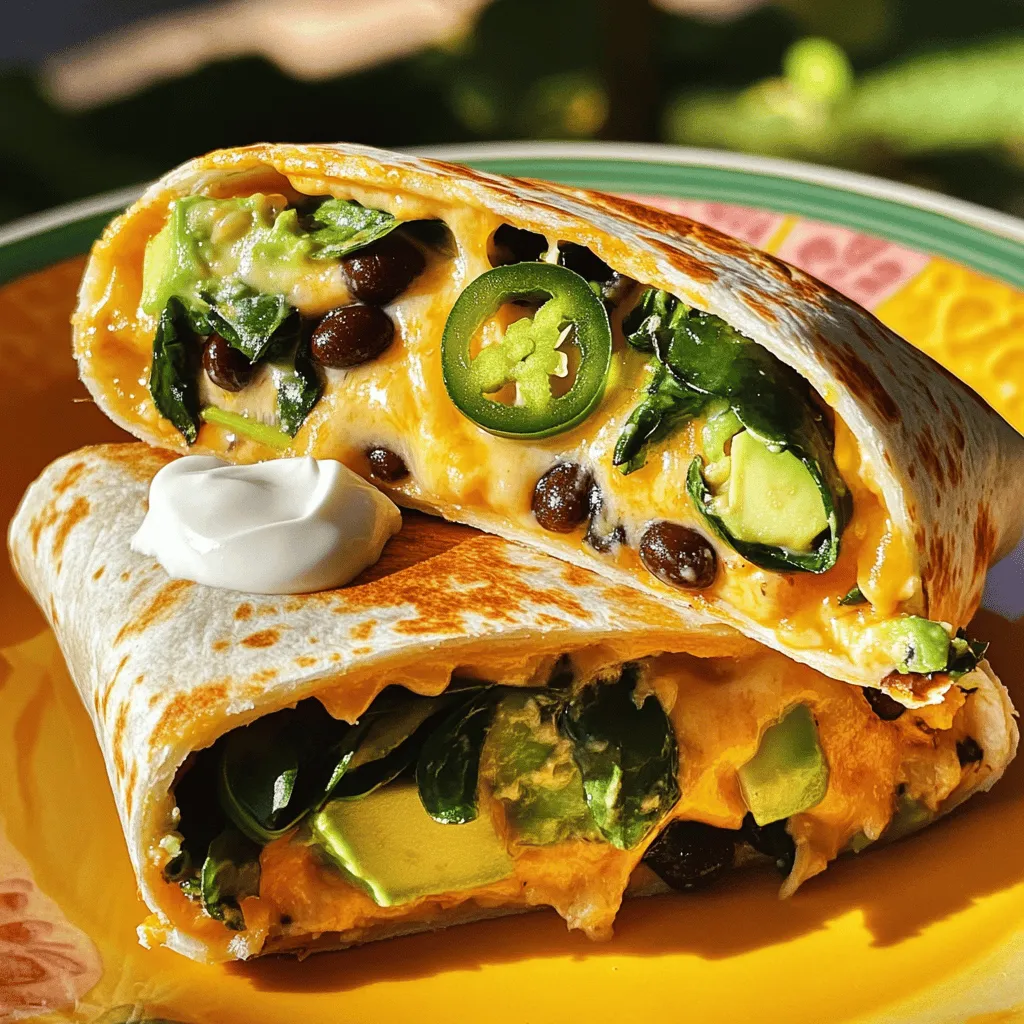
Lay one tortilla flat on your counter. On one half, spread a good amount of the cheese mixture. Make sure to cover it well. Then, add slices of avocado, jalapeño, black beans, and spinach. Season with salt and pepper for extra flavor.
Fold the tortilla in half, forming a half-moon shape around the filling. In your hot skillet, melt one tablespoon of butter. Place the folded burrito in the skillet, cooking for about three to four minutes until golden brown.
Carefully flip it over, adding the other tablespoon of butter. Cook the other side for another three to four minutes. You want the cheese inside to melt perfectly. Once done, remove the burrito from the skillet and let it cool for a minute before cutting it in half.
Tips for Achieving Perfect Crispiness
To get the best crispy texture, make sure your skillet is hot enough before adding the burrito. Don’t rush the cooking time; it needs those few minutes on each side. Use enough butter to help it crisp up nicely.
When you cut into the burrito, the melted cheese should ooze out, showing off that delicious filling. Serve it on a bright plate with a side of sour cream or guacamole. Enjoy every cheesy bite!
Tips & Tricks
Best Practices for Flavor Enhancement
To make your grilled cheese burrito burst with flavor, start with high-quality cheese. Sharp cheddar and Monterey Jack create a rich blend. Adding spices can elevate your burrito too. Try garlic powder, smoked paprika, or a pinch of cayenne.
Use fresh ingredients for the best taste. Ripe avocados add creaminess, while fresh spinach gives a nice crunch. Don’t forget to season well with salt and pepper. This simple step makes all the difference!
Customizing Your Burrito Filling
Your burrito can be as unique as you. Swap black beans for refried beans or chickpeas. Add cooked chicken or beef for protein. If you like veggies, try adding bell peppers or corn.
Want more heat? Dice up some serrano peppers or add a spicy salsa. For a twist, include a handful of quinoa or rice for extra texture. The options are endless, so have fun experimenting!
Cooking Techniques for Beginners
If you’re new to cooking, don’t worry! Start by preheating your skillet over medium heat. This ensures your burrito cooks evenly. Remember to use enough butter. It gives a golden, crispy crust.
When folding the burrito, make sure it’s tight. This helps keep the filling inside. Flip it gently to avoid spilling. If you’re unsure, use a spatula to help. With practice, you’ll master the art of the grilled cheese burrito!
For the full recipe, check out the delightful steps to create this tasty meal.
Variations
Vegetarian Options
You can easily make a vegetarian grilled cheese burrito. Just swap the black beans for more veggies. Try using bell peppers, zucchini, or mushrooms. These will add color and flavor. You can also add more cheese! I love using pepper jack for a creamy bite. This keeps the burrito filling and tasty without meat.
Adding Spice: Creative Heat Choices
If you like heat, there are many ways to add spice. Jalapeños are a great option. You can also use hot sauce in the filling. Another fun choice is to add some chipotle peppers. They give a smoky flavor that works well with cheese. For a milder kick, try adding a sprinkle of crushed red pepper. Each option lets you control the heat level of your burrito.
Using Different Types of Tortillas
You don’t have to stick to flour tortillas. Corn tortillas give a nice texture and taste. You can also use whole wheat tortillas for a healthier twist. Spinach or tomato-flavored tortillas add a fun pop of color. Each tortilla type changes the flavor and feel of your burrito. So, feel free to experiment!
For the full recipe, check out the detailed instructions above.
Storage Info
How to Store Leftover Burritos
To store leftover burritos, wrap them tightly in foil or plastic wrap. This keeps them fresh. Place the wrapped burritos in an airtight container. Store them in the fridge for up to three days. This way, you’ll have a tasty meal ready for later.
Reheating Instructions
When you’re ready to eat, you can reheat your burrito easily. The best way is to use a skillet. Heat it over medium-low heat. Unwrap your burrito and place it in the skillet. Cook for about 3-4 minutes on each side. This keeps the outside crispy and warms the inside. If you prefer the microwave, wrap it in a damp paper towel. Heat for about 1-2 minutes, checking often.
Freezing for Later Use
If you want to keep your burritos for a long time, freezing is great. Let them cool completely first. Wrap each burrito in foil or plastic wrap. Then, place them in a freezer bag. Squeeze out as much air as you can. You can freeze them for up to three months. When you want one, take it out and follow the reheating instructions. Enjoy your Grilled Cheese Burrito any time! For the full recipe, check out the details above.
FAQs
What Can I Substitute for Cheese?
You can use vegan cheese as a great alternative. It melts well and adds flavor. Nutritional yeast is another option. It gives a cheesy taste without dairy. You can also try hummus or mashed beans for creaminess. Just make sure to balance flavors in your burrito.
Can I Make This Recipe Gluten-Free?
Yes! You can easily make this recipe gluten-free. Just choose gluten-free tortillas instead of regular ones. Many brands offer tasty options that work well. Also, check all your ingredients to ensure they are gluten-free. This way, you can enjoy the burrito without worry.
How Do I Know When the Burrito is Fully Cooked?
A fully cooked burrito will be golden brown on both sides. You can peek inside to see if the cheese has melted. It should be gooey and warm throughout. If you’re unsure, cut it in half. If the cheese is melty and the filling is hot, it’s ready to eat!
Enjoy making your grilled cheese burrito with these helpful tips. For the full recipe, refer to the earlier section!
This article covered how to make a delicious grilled cheese burrito. We explored each ingredient, cooking steps, and tips for perfect crispiness. You learned how to customize your filling and tried vegetarian and spicy options. We also discussed storage and reheating tips to enjoy later.
In the end, this dish is fun to make and share. You can impress friends with your skills and creativity! Enjoy your burrito adventure and happy cooking!