WANT TO SAVE THIS RECIPE?
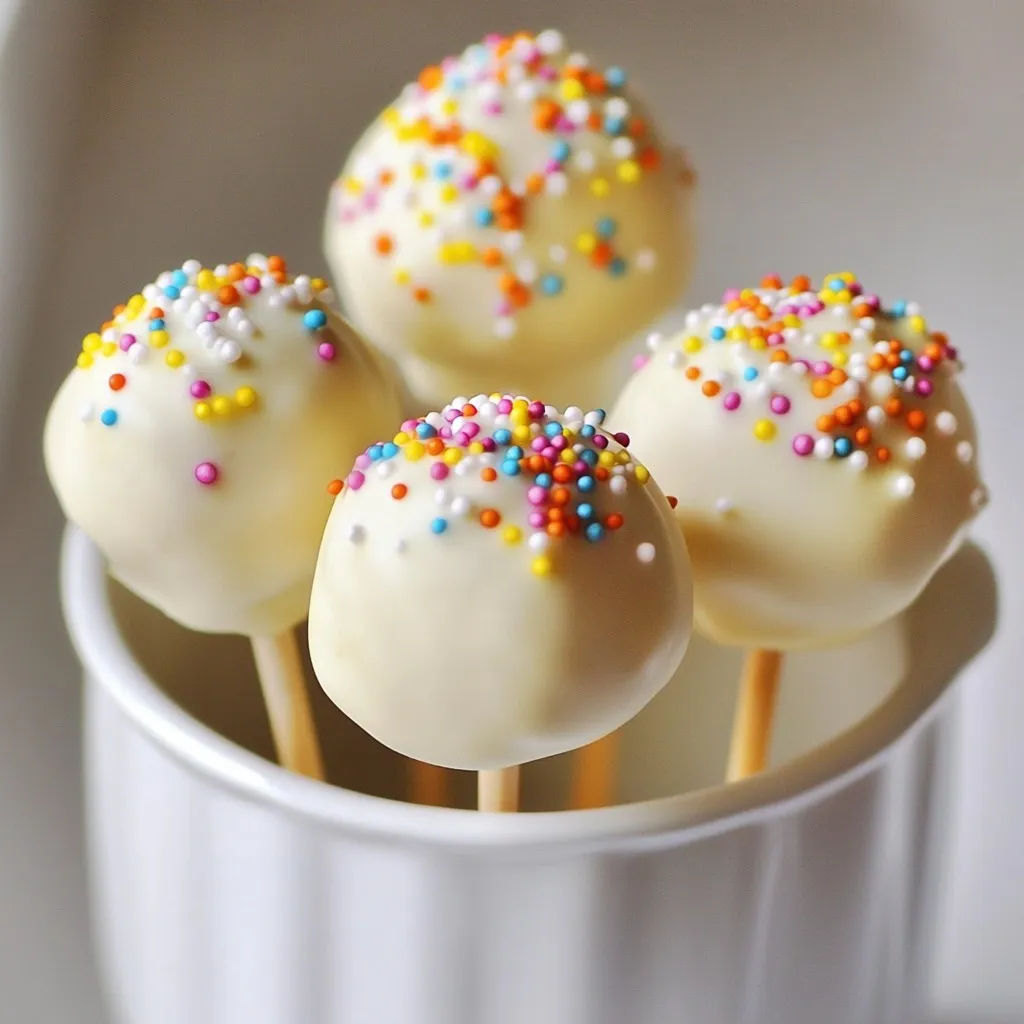
Craving a sweet treat that brings the joy of your favorite coffee shop home? Look no further! These Copycat Starbucks Cake Pops are simple to make and incredibly tasty. With just a few ingredients and easy steps, you can whip up these delightful bites that are perfect for sharing or indulging yourself. Get ready to impress your friends and family with this fun and delicious recipe!
Why I Love This Recipe
- Fun to Make: Creating cake pops is a fun and interactive activity that everyone can enjoy, making it perfect for parties or family gatherings.
- Customizable: You can easily personalize these cake pops with different flavors of cake and a variety of toppings to suit any occasion.
- Great for Gifting: These adorable cake pops make for delightful gifts or party favors, adding a sweet touch to any celebration.
- Deliciously Cute: Not only are they visually appealing, but the combination of cake and chocolate creates a delicious treat that is hard to resist!
Ingredients
List of Ingredients
– 1 box of vanilla cake mix
– 3 large eggs
– 1/2 cup vegetable oil
– 1 cup water
– 1/2 cup frosting (store-bought or homemade)
– 1 cup white chocolate chips
– 1 tablespoon coconut oil (for melting chocolate)
– Sprinkles (for decoration)
– Lollipop sticks
To make these tasty cake pops, you need just a few simple items. Start with a box of vanilla cake mix. This gives you a light and fluffy base. You will also need three large eggs, which help bind the cake together. Use half a cup of vegetable oil to keep the cake moist. One cup of water helps mix everything well.
Next, frosting is key. You can use store-bought frosting or make your own if you prefer. Adding half a cup will give the cake pops their sweet flavor and sticky texture. For the coating, you’ll need one cup of white chocolate chips. These melt down for a smooth dip. To help with melting, add one tablespoon of coconut oil. It makes the chocolate smooth and easy to work with.
Don’t forget sprinkles! They add fun colors and a festive look to your cake pops. Lastly, you’ll need lollipop sticks to hold your treats. These simple ingredients come together to make a delightful snack that’s sure to impress!

Step-by-Step Instructions
Preheat the Oven
Set your oven to 350°F (175°C). Grease a 9×13 inch baking pan well. This step helps the cake not stick later.
Mix the Batter
In a large bowl, mix together the cake mix, 3 large eggs, 1/2 cup of vegetable oil, and 1 cup of water. Use a whisk or electric mixer. Mix until smooth and blended.
Bake the Cake
Pour the batter into your greased pan. Spread it evenly for even cooking. Bake for 25-30 minutes. Check with a toothpick; it should come out clean when done.
Cool and Crumble
After baking, take the cake out and let it cool completely in the pan. Once cool, crumble the cake into a large bowl. Use your fingers or a fork to break it apart.
Combine with Frosting
Add 1/2 cup of frosting to the crumbled cake. Mix well until you have a sticky texture. Using your hands helps blend it better.
Shape the Cake Balls
Scoop out small portions of the mixture. Roll them into balls about 1 inch in size. Place the cake balls on a lined baking sheet.
Chill the Cake Balls
Refrigerate the cake balls for about 30 minutes. This makes them firm and easier to dip later.
Melt the Chocolate
In a microwave-safe bowl, combine 1 cup of white chocolate chips with 1 tablespoon of coconut oil. Melt in the microwave in 30-second bursts. Stir in between until smooth.
Prepare the Lollipop Sticks
Dip the end of each lollipop stick into the melted chocolate. Then insert the stick into the center of each cake ball. This helps the sticks stay put.
Dip the Cake Pops
Carefully dip each cake pop into the melted chocolate. Make sure to cover the whole ball. Let any extra chocolate drip off before setting it down.
Decorate
While the chocolate is still wet, add your toppings. Use sprinkles, edible glitter, or anything else you like.
Set the Cake Pops
Place the decorated cake pops upright in a styrofoam block or cake pop stand. This helps the chocolate harden without smudging.
Enjoy or Store
Once the chocolate is hard, your cake pops are ready! Store extras in an airtight container at room temperature or in the fridge.
Tips & Tricks
Perfecting Cake Pop Consistency
To create the best cake pops, you need the right texture. After baking your cake, let it cool completely. Crumble it well; no big chunks should remain. Mix in frosting until it feels sticky. If it’s too dry, add a little more frosting. If it’s too wet, add more cake crumbs. Roll the mixture into small balls, about one inch wide. This helps them hold together. Chill the balls for about 30 minutes. This makes them firm and easier to dip.
Melting Chocolate Successfully
Melting chocolate can be tricky. To avoid clumping or burning, use a microwave-safe bowl. Combine your white chocolate chips and coconut oil. Melt the mixture in 30-second bursts. Stir after each round to check the progress. When it’s smooth, it’s ready to use. If it looks thick, add a tiny bit more coconut oil. This keeps the chocolate smooth and glossy for dipping.
Handling Sprinkles and Decoration
Decorating your cake pops should be fun and easy. After dipping each pop in chocolate, sprinkle your toppings right away. This helps the sprinkles stick well. Use a wide variety of colors for a bright look. If you want uniform decoration, try using a small sieve to shake sprinkles over the cake pops. This creates an even layer. Let the pops set upright until the chocolate hardens.
Pro Tips
- Use Room Temperature Ingredients: Allow your eggs and frosting to come to room temperature before mixing. This helps create a smoother batter and better incorporation of ingredients.
- Experiment with Flavors: You can add different extracts, like almond or coconut, to the cake batter for a unique flavor twist. Just a teaspoon can elevate your cake pops!
- Keep the Chocolate Warm: If your melted chocolate starts to thicken while dipping, simply reheat it in the microwave for a few seconds. This ensures a smooth, even coating on your cake pops.
- Make Ahead: Cake balls can be made in advance and stored in the refrigerator for up to a week before dipping. This is a great time-saver for parties!

Variations
Different Cake Flavors
You can switch up the flavor of your cake pops. Try chocolate or red velvet. You can even use lemon or carrot cake for a fun twist. Each flavor brings a new taste to your treat.
Alternative Frosting Options
Frosting can change the whole cake pop vibe. Cream cheese frosting adds a rich taste. Chocolate frosting gives a sweet, bold flavor. You can also try peanut butter or funfetti frosting for variety. Each option makes each bite special.
Healthy Substitutes
If you want a healthier treat, there are options. Use whole wheat cake mix instead of regular. You can swap the frosting with Greek yogurt for a lighter choice. Try using dark chocolate instead of white chocolate. These swaps keep the fun while making it a bit healthier.
Storage Info
Best Practices for Storing Cake Pops
To keep your cake pops fresh, store them in an airtight container. This helps keep moisture out. You can use a cake pop stand if you have one. If not, place them upright in a cup or glass. Keep them at room temperature for short times.
Freezing Cake Pops
Freezing cake pops is easy. First, let them cool after you dip them in chocolate. Place them in a single layer on a baking sheet. Freeze them for about 2 hours. Once frozen, transfer them to a freezer bag. Squeeze out excess air before sealing. To reheat, simply let them thaw at room temperature for about 30 minutes.
Shelf Life
Cake pops last about 3 days at room temperature. If you store them in the fridge, they can last up to a week. Just make sure they stay in an airtight container. This keeps them from drying out. Always check for any signs of spoilage before eating.
FAQs
Can I use a different flavor of cake mix?
Yes, you can use a different flavor! Try chocolate, lemon, or red velvet. Each flavor brings a unique taste. Just follow the same steps in the recipe. You will still mix it with frosting for the right texture. This way, you can make cake pops that suit your taste!
What type of chocolate is best for dipping?
For dipping, I recommend white chocolate chips. They melt smoothly and give a sweet taste. You can also use milk chocolate or dark chocolate if you prefer. Just make sure to add a bit of coconut oil when melting. This helps the chocolate stay smooth and shiny.
How long can I refrigerate the cake pops?
You can refrigerate the cake pops for up to one week. Make sure they are in an airtight container. This keeps them fresh and tasty. If you want to keep them longer, try freezing them. They last up to three months in the freezer.
Can I make cake pops without frosting?
Yes, you can make cake pops without frosting. Instead, use cream cheese or melted chocolate to bind the cake. Just mix it well with the crumbled cake. This can make the pops taste richer and creamier.
What if my cake pops are falling off the sticks?
If your cake pops are falling off the sticks, try chilling them longer. Make sure they are firm before dipping. You can also dip the stick into melted chocolate before inserting it. This helps the stick stay put. If they still fall, the cake may be too moist. Add a bit more cake or let it dry a bit before rolling.
You learned how to make delicious cake pops from scratch. We covered the simple ingredients, easy steps, and helpful tips. Remember, practice makes perfect, especially with melting chocolate and shaping balls. Try different flavors or frostings to make it your own. Store your cake pops carefully to keep them fresh. Enjoy sharing these tasty treats with friends and family! Cake pops are fun, tasty, and perfect for any occasion. You can create memories with every bite. Now, it’s time to get baking and have fu
Deliciously Cute Cake Pops
These adorable cake pops are made from vanilla cake and coated in white chocolate, perfect for any celebration.
Course Dessert
Cuisine American
Servings 20
Calories 150 kcal
- 1 box vanilla cake mix
- 3 large eggs
- 0.5 cup vegetable oil
- 1 cup water
- 0.5 cup frosting
- 1 cup white chocolate chips
- 1 tablespoon coconut oil
- as needed sprinkles
- as needed lollipop sticks
Begin by preheating your oven to 350°F (175°C). Grease a 9x13 inch baking pan thoroughly to prevent sticking.
In a large mixing bowl, combine the box of vanilla cake mix with 3 large eggs, 1/2 cup of vegetable oil, and 1 cup of water. Stir the mixture together using an electric mixer or whisk until the batter is smooth and well combined.
Pour the prepared cake batter into the greased baking pan, spreading it evenly. Bake in the preheated oven for 25-30 minutes, or until a toothpick inserted in the center comes out clean.
Once baked, remove the cake from the oven and allow it to cool completely in the pan. Once cool, crumble the cake into a large mixing bowl using your fingers or a fork until no large pieces remain.
Add the 1/2 cup of frosting to the crumbled cake and mix thoroughly until the mixture is evenly combined and sticky. Using your hands can help achieve an even mix.
With clean hands, scoop out portions of the mixture and roll them into small balls, about 1 inch in diameter. Place the formed cake balls on a baking sheet lined with parchment paper.
Refrigerate the cake balls for about 30 minutes, allowing them to firm up for easier dipping later.
In a microwave-safe bowl, combine 1 cup of white chocolate chips and 1 tablespoon of coconut oil. Melt the mixture in the microwave in 30-second increments, stirring in between until the chocolate is fully melted and smooth.
To ensure the sticks stay in place, dip the end of each lollipop stick into the melted chocolate before inserting them into the cake balls.
Carefully insert a lollipop stick into the center of each chilled cake ball. Then, dip the entire cake pop into the melted white chocolate, allowing any excess chocolate to drip off.
While the melted chocolate is still wet, generously sprinkle your choice of toppings, such as colorful sprinkles or edible glitter, over the surface of each cake pop for a festive touch.
Place the decorated cake pops upright in a styrofoam block or a dedicated cake pop stand to allow the chocolate to set properly.
Once the chocolate has hardened, your delicious cake pops are ready to be enjoyed!
Store any leftovers in an airtight container at room temperature or in the refrigerator.
Keyword cake pops, dessert, party treats
WANT TO SAVE THIS RECIPE?