WANT TO SAVE THIS RECIPE?
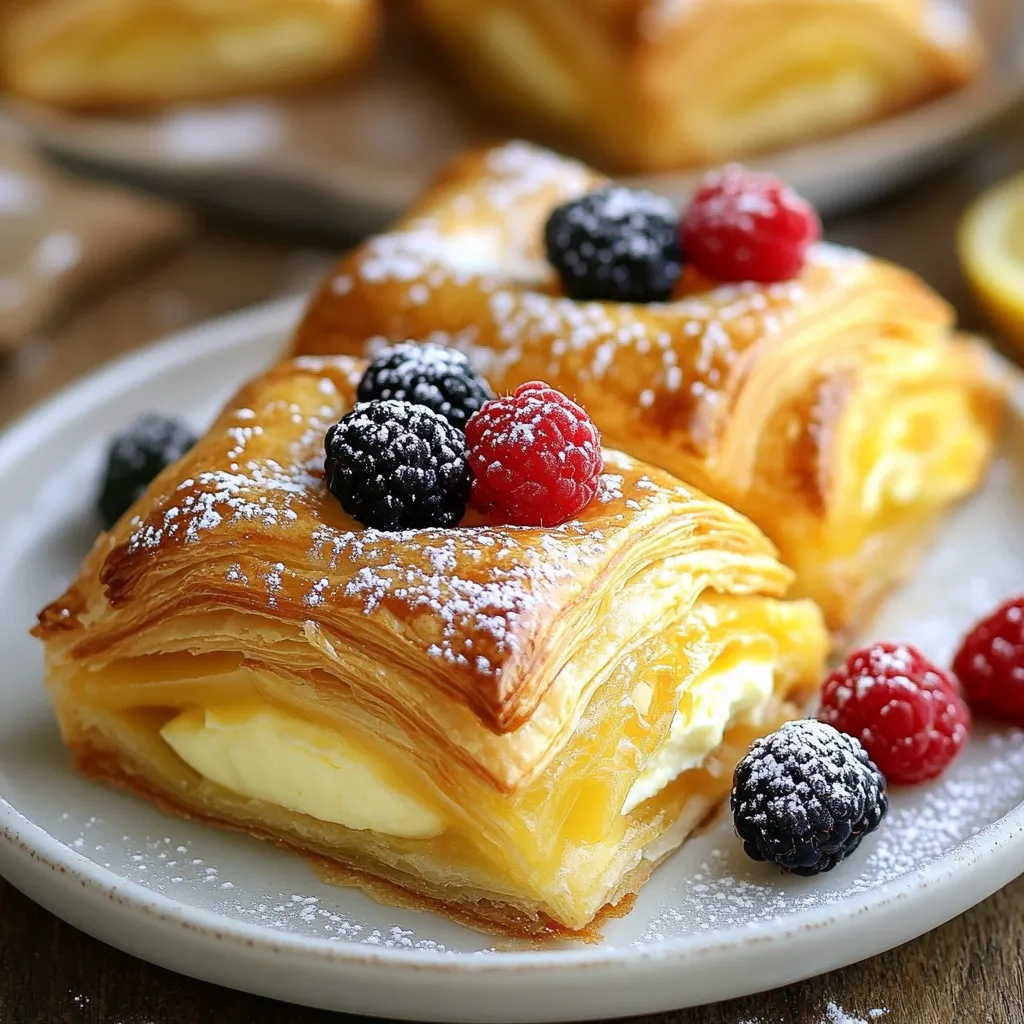
Ready to impress your friends and family with a tasty treat? This Easy Puff Pastry Cheese Danish recipe is the answer! With simple ingredients and quick steps, you’ll create a delightful pastry filled with creamy goodness. Whether you’re a kitchen pro or a newbie, this treat will have you smiling. Let’s dive in and make baking magic happen right in your own oven!
Why I Love This Recipe
- Easy to Make: This recipe requires minimal ingredients and simple steps, making it perfect for both novice and experienced bakers.
- Versatile Filling: The cream cheese filling can be customized with different flavors or additional ingredients like chocolate or fruit.
- Perfect for Any Occasion: Whether it’s breakfast, brunch, or dessert, these cheese Danishes are a delightful treat that fits any setting.
- Impressive Presentation: These puff pastries look elegant and inviting, making them a showstopper at any gathering.
Ingredients
List of Ingredients
– 1 sheet of frozen puff pastry, fully thawed
– 8 oz cream cheese, brought to room temperature
– 1/4 cup powdered sugar, sifted
– 1 tsp pure vanilla extract
– 1/2 tsp fresh lemon zest
– 1 egg, beaten (for egg wash)
– 1 tbsp milk (for egg wash)
– Optional toppings: a handful of fresh berries, extra powdered sugar for dusting, or a drizzle of honey
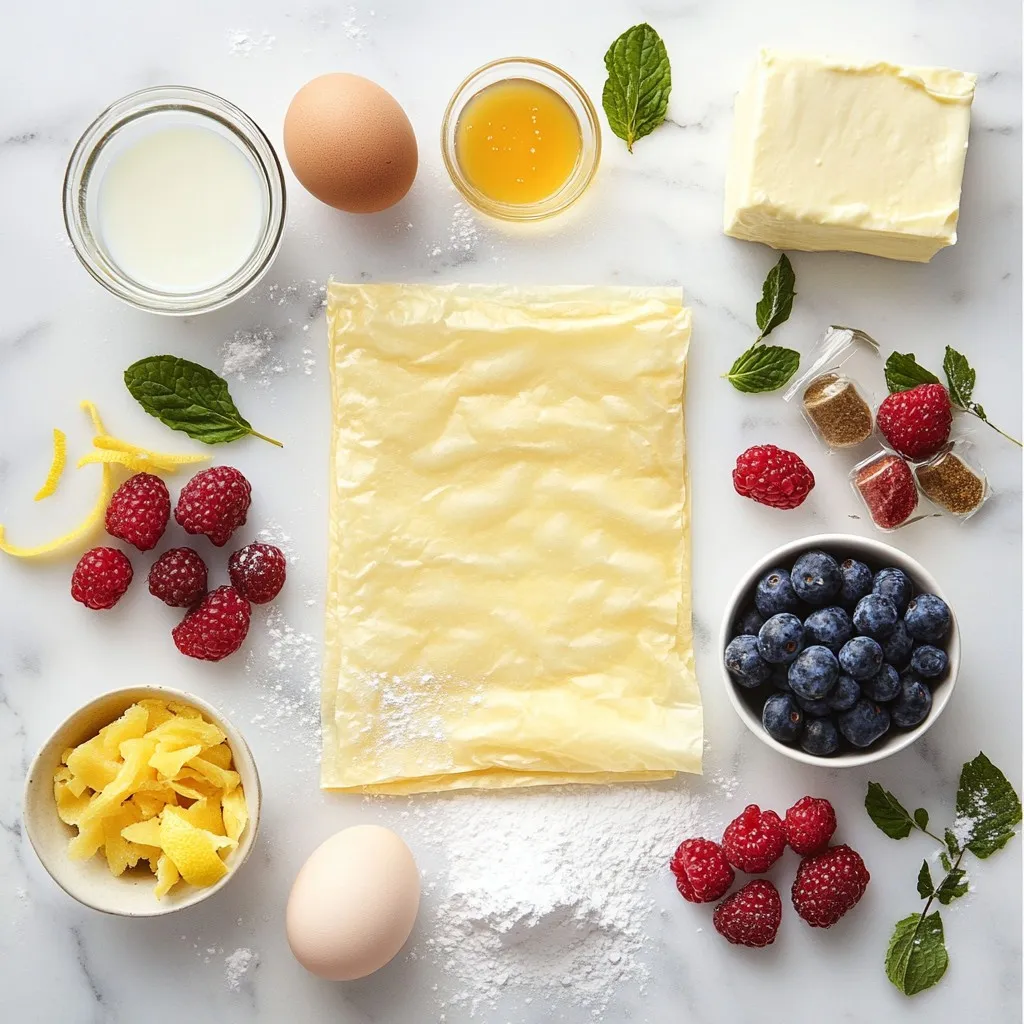
To make the Easy Puff Pastry Cheese Danish, gather your ingredients first. Start with frozen puff pastry. This gives the pastry its light and flaky texture. Make sure it is fully thawed before using. Next, you will need cream cheese. It must be at room temperature to blend well.
Now, for the filling, we add powdered sugar. This sugar adds sweetness to balance the tang of the cream cheese. Pure vanilla extract brings a lovely aroma and flavor. A bit of fresh lemon zest adds brightness.
For the egg wash, mix one beaten egg with a tablespoon of milk. This wash will give your pastries a golden look when baked.
Finally, consider optional toppings. Fresh berries add color and flavor. A dusting of powdered sugar gives a nice finish. Honey drizzled on top adds extra sweetness.
Having all these ingredients ready makes the process smooth and fun!
Step-by-Step Instructions
Preheat the Oven
First, preheat your oven to 400°F (200°C). This step is key for a nice, golden crust.
Prepare Puff Pastry
Next, take your thawed puff pastry and lightly flour your work surface. Roll it out a bit to smooth any creases. Cut it into 4 squares, each about 6 inches on each side.
Make Cream Cheese Filling
In a medium bowl, blend the cream cheese, powdered sugar, vanilla extract, and lemon zest. Use a hand mixer or fork. Mix until it’s smooth and creamy, with no lumps.
Add Filling to Puff Pastry
Now, take 1-2 tablespoons of the cream cheese mixture. Place it in the center of each puff pastry square.
Fold and Seal Pastry
Carefully fold each corner of the square toward the center. Pinch the corners together to seal the filling inside.
Apply Egg Wash
In a small bowl, whisk together the beaten egg and milk. Use a pastry brush to apply this egg wash evenly on each pastry. This gives them that beautiful golden color.
Bake and Cool
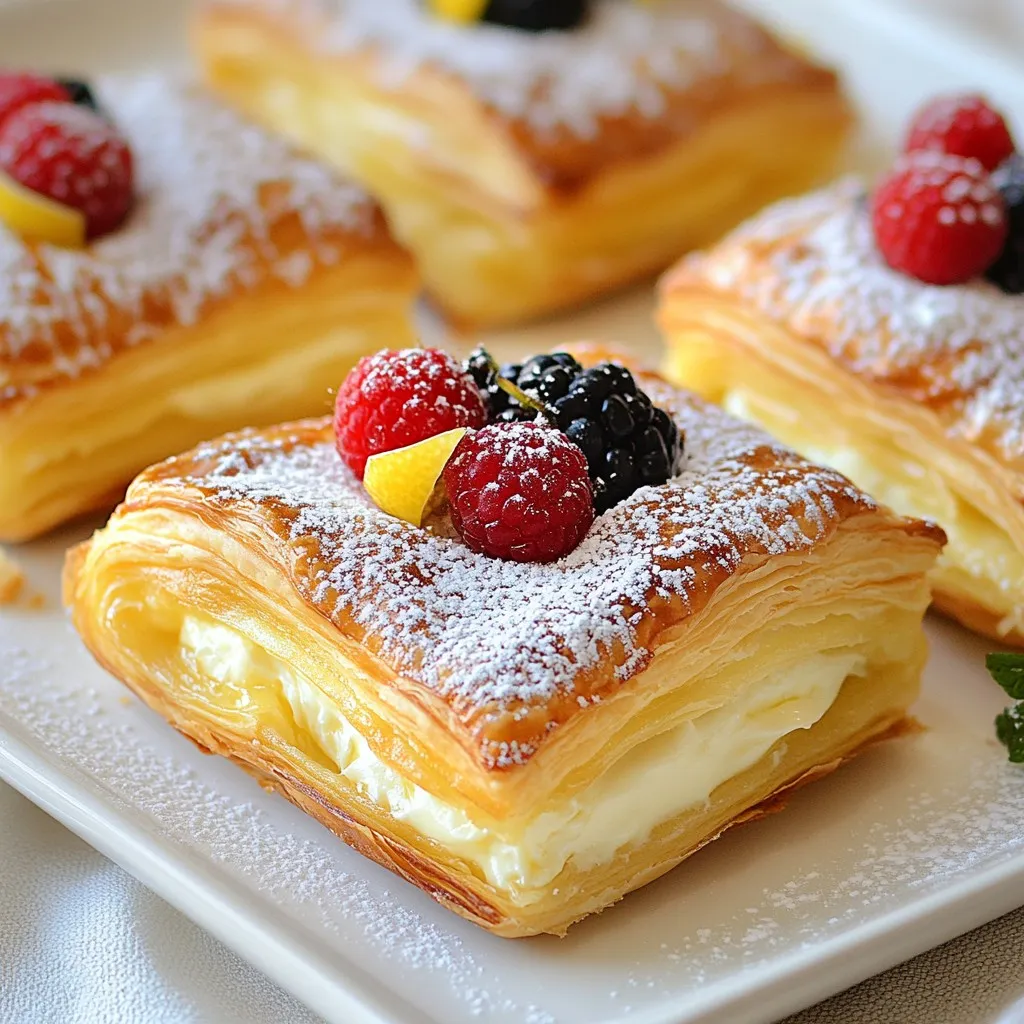
Arrange your pastries on a baking sheet lined with parchment paper. Bake them for 15-20 minutes. Look for a puffed, golden brown finish.
Serve and Enjoy
After baking, let them cool for a few minutes on a wire rack. You can serve them with fresh berries, a dusting of powdered sugar, or a drizzle of honey for added sweetness. Enjoy your delightful pastries!
Tips & Tricks
Perfecting Puff Pastry
To get the best puff pastry, follow these tips. First, always thaw the pastry overnight in the fridge. This keeps it cold and easy to handle. When rolling, use flour to prevent sticking. Roll gently to keep those layers intact. Never stretch the dough too much; it needs to rise during baking.
Cream Cheese Filling Variations
You can change the cream cheese filling to suit your taste. Try adding a bit of lemon juice for extra zest. Mix in some chopped herbs for a savory twist. You can also fold in chocolate chips or fresh fruit for a sweet touch. Each option adds a new flavor to your Danish.
Common Mistakes to Avoid
Many home cooks make a few common mistakes. One mistake is not sealing the pastry well, which lets the filling leak out. Make sure to pinch the corners tightly. Another error is skipping the egg wash. This step gives the pastry a lovely golden color. Lastly, do not overcrowd the baking sheet. Give each pastry space to puff up nicely.
Pro Tips
- Keep the Puff Pastry Cold: Make sure your puff pastry remains cold until you are ready to bake. This ensures it puffs up beautifully in the oven.
- Experiment with Fillings: Don’t hesitate to get creative with the filling! Try adding chocolate chips, fruit preserves, or nuts to the cream cheese mixture for extra flavor.
- Use Quality Ingredients: Since the recipe is simple, using high-quality cream cheese and pure vanilla extract will make a noticeable difference in flavor.
- Watch the Baking Time: Keep an eye on your pastries as they bake; they can go from perfectly golden to burnt quickly. Remove them once they reach a golden brown color.
Variations
Fruit-filled Cheese Danishes
You can easily make fruit-filled cheese Danishes. Just add fresh fruit to the cream cheese mix. Berries like raspberries, blueberries, or sliced strawberries work well. You can also use peaches or cherries. Simply chop the fruit and fold it into the cream cheese mixture. This adds a sweet and juicy burst of flavor.
Nutty Cheese Danish Options
For a nutty twist, try adding nuts to your filling. Chopped almonds, walnuts, or pecans bring great texture. Mix them into the cream cheese filling for a richer taste. You could even sprinkle some crushed nuts on top before baking. This adds a nice crunch and looks beautiful.
Savory Cheese Danish Ideas
If you like savory flavors, you can change the filling. Add herbs like chives or dill to the cream cheese. You can also mix in cooked bacon or sautéed spinach. These options make the Danishes perfect for brunch or a snack. They are great for those who prefer less sweetness in their treats.
Storage Info
Storing Leftovers
You can store leftover cheese Danishes in an airtight container. Make sure they cool completely first. Keep them in the fridge for up to three days. If you want to keep them fresh longer, consider freezing them.
Reheating Instructions
To reheat your cheese Danishes, preheat the oven to 350°F (175°C). Place the pastries on a baking sheet. Heat them for about 10-15 minutes. This will help them regain their crispiness. You can also use a microwave, but this may make them a bit soft. Heat on medium power for 15-20 seconds.
Freezing for Later Use
Freezing cheese Danishes is easy and fun. After baking, let them cool completely. Wrap each Danish in plastic wrap and then in foil. This helps prevent freezer burn. Label the packages with the date. You can freeze them for up to three months. When you’re ready to eat, thaw them in the fridge overnight. Reheat as mentioned above for the best results.
FAQs
Can I use phyllo dough instead of puff pastry?
Yes, you can use phyllo dough. Phyllo will be thinner and crispier. Layer several sheets for a thicker result.
How do I know when the cheese danishes are done?
Look for a golden brown color. The pastries should puff up nicely. A nice aroma will fill your kitchen too!
Can I make these ahead of time?
Yes! You can prepare the filling and pastry ahead. Store them separately in the fridge. Just bake when you’re ready.
What can I substitute for cream cheese?
You can use ricotta or mascarpone. Both will give you a rich, creamy filling. You can add a bit of lemon juice for tang.
Are there any gluten-free options for puff pastry?
Yes, some brands offer gluten-free puff pastry. Just check your local store. Make sure to follow the package instructions for best results.
In this blog post, we covered everything you need to make delicious cheese danishes. We explored the key ingredients, from frozen puff pastry to cream cheese fillings. I shared step-by-step instructions for perfect results, along with tips and tricks to avoid mistakes.
Try the variations for fun twists, and remember to store leftovers properly. Making cheese danishes can be easy and fun. Enjoy creating new flavors and share them with friends! Trust me, you’ll impress everyone with these treat
Delightful Puff Pastry Cheese Danish
A delicious pastry filled with creamy cheese and topped with optional fresh berries or honey.
Course Dessert
Cuisine American
Servings 4
Calories 250 kcal
- 1 sheet frozen puff pastry, fully thawed
- 8 oz cream cheese, brought to room temperature
- 1 cup powdered sugar, sifted
- 1 tsp pure vanilla extract
- 1 2 fresh lemon zest
- 1 egg beaten (for egg wash)
- 1 tbsp milk (for egg wash)
- optional fresh berries
- optional extra powdered sugar for dusting
- optional drizzle of honey
Preheat your oven to 400°F (200°C).
Lightly flour your working surface and roll out the thawed puff pastry gently, then cut it into 4 equal squares.
In a medium mixing bowl, combine the softened cream cheese, sifted powdered sugar, vanilla extract, and lemon zest. Blend until smooth.
Place a generous spoonful of the cream cheese mixture in the center of each puff pastry square.
Fold each corner of the square toward the center and pinch to seal.
Whisk together the beaten egg and milk, then apply the egg wash over each pastry.
Arrange the pastries on a baking sheet lined with parchment paper and bake for 15-20 minutes until golden brown.
Allow to cool for a few minutes and serve with optional toppings.
Serve warm for the best flavor.
Keyword cheese danish, dessert, puff pastry
WANT TO SAVE THIS RECIPE?